

Page 1
Page 2

Page 3
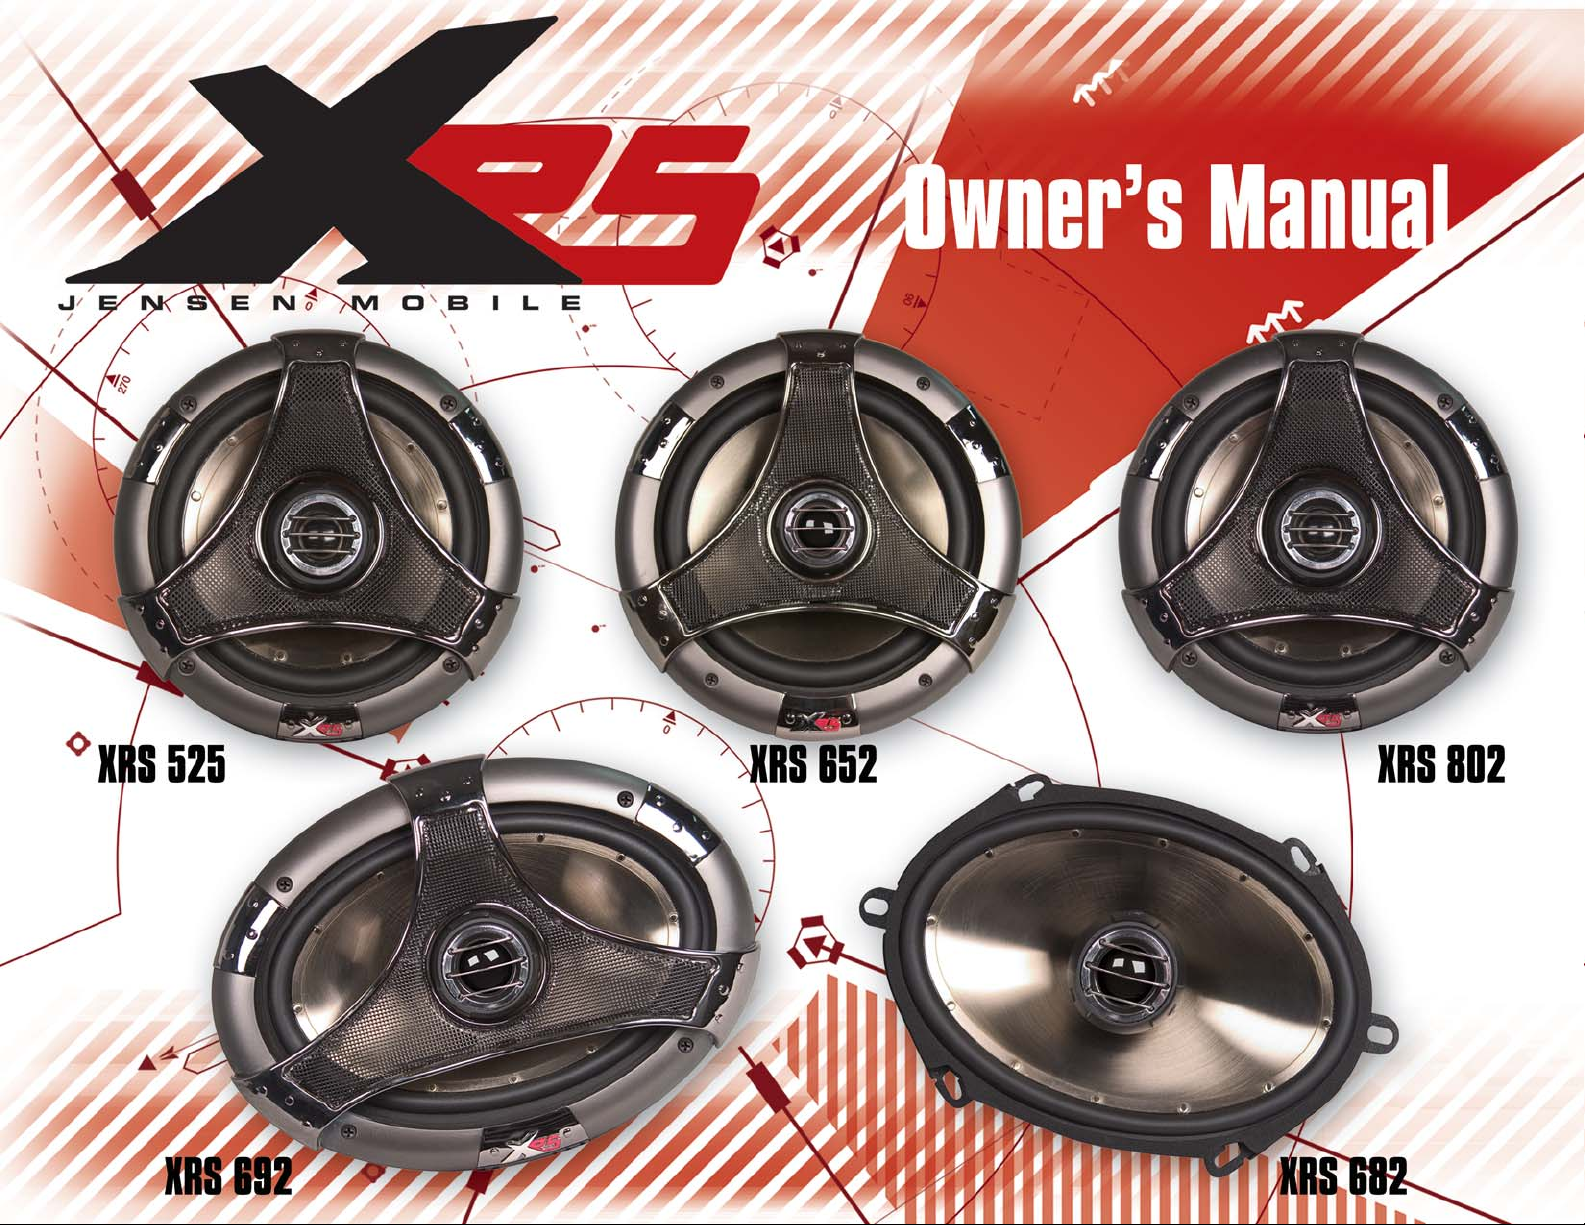
INTRODUCTION
Thank you!
Thank you for your purchase of these JENSEN mobile
speakers. JENSEN has been delivering great sounds for
more than 75 years, and is well known for its technology
leadership in the acoustic arena. Always at the
industry’s forefront, JENSEN speakers provide abundant
features, extreme power handling, and tremendous
versatility. The smooth, hip style is included.
'We're all about the music'
Actually we invented the sound you still hear today. Take
a listen to our scorching hot XRS Series speakers
incorporating the latest speaker technology from
JENSEN.
JENSEN's Sound Lab utilizes their latest innovation,
(CSTT) Clear-Sound Tweeter Technology . CSTT is
designed around Teteron, a revolutionary light weight
textile dome material so light weight it's almost clear. It
has very low moving mass for superior imaging, teeming
smooth high frequency response, low distortion and
excellent dynamic range. Super swivel-ability tweeter
means super flexible installations for almost any
application.
Our newly perfected Injection Molded Titanium-Lum
Poly-Cone Woofer (IMTPW) delivers deep rich bass
response and natural mid-range nuance reproduction,
replicating true-to-life vocals & music.
-
Ô
Voice coil leads are ingeniously interwoven into the
spider assembly to virtually eliminate cone “lead slap”;
this reduces low frequency distortion and increases
reliability. XRS speakers utilize Kapton voice coil
formers. These reduce the cone weight, enhance
speaker efficiency, and dramatically improves power
handling.
For installation assistance, the XRS speakers use nickelplated quick release push terminals and low profile ABS
grilles to reduce installation hassles.
Highlighted Features
!
CSTT Clear-Sound Tweeter Technology
!
Teteron Dome Material, for Extended Frequency
Response
!
Coaxial Super Swivel Tweeter Base Design for
Installation Flexibility
IMTPW- Injection Molded Titanium Poly-Cone Woofer
!
Nitrile Rubber Surround - Endures Temperature
!
Extremes and Outlasts Ordinary foam Surrounds
Kapton Voice Coil Formers
!
Low Profile ABS Grilles
!
Rubber Magnet Boot Cover
!
Nickel Plated Quick Release Push Terminals
!
Cold Rolled Stamped Steel Basket
!
Ô
Unlike foam surrounds, our ultra durable Nitrile rubber
suspension system absorbs undesired cone resonance's
to enhance the overall frequency response of the
speaker. It also keeps the cone centered and endures
more extreme environmental conditions than standard
foam surrounds.
1
Page 4

INTRODUCTION
Welcome to Jensen!
This manual is designed to provide information for the
owner, salesperson and installer. For those of you who
want quick information on how to install this product,
please turn to the Installation Section of this manual.
Other information can be located by using the Table of
Contents. We at Jensen have worked very hard to
make sure all the information in this manual is current.
But, as we are constantly finding new ways to improve
our product, this information is subject to change without
notice.
Installation...................................................Page 3
Specifications..............................................Page 7
Warranty .....................................................Page 8
If, after reading your manual, you still have questions
regarding this product, we recommend that you see your
Jensen dealer. If you need further assistance, you
can call us direct at 1-800-323-4815.
Be sure to have your model number and date of
purchase available when you call. Please read your
warranty clearly and retain your receipt for possible
future use.
Preparation
!
Disconnect battery cable from negative(-)battery
terminal.
WARNING: Check vehicle's owner's manual
before disconnecting the battery. Disconnecting
the battery in some vehicles may require an antitheft code when reconnecting. Some vehicles
may run rough after reconnecting the battery and
require that the on-board computer be reset at
the dealership. Check with your local dealer if
you are uncertain.
Check all safety regulations in your vehicle's owner's
!
manual.
To ensure an obstacle-free fit, check and double
!
check mounting depth of the speakers against
available depth, as well as the location of window
mechanics, door handles, and window handles.
If using provided grilles, be sure mounting location is
!
sufficient distance from door and/or window handles.
Required Tools
The following is a list of tools needed for installation:
#2 Phillips screwdriver
!
Battery post wrench
!
Hand held drill w/assorted bits
!
Wire strippers
!
Wire crimpers
!
Wire cutters
!
3mm allen wrench
!
Since some of these Jensen Full Range Speakers are
most often used as direct replacements for stock
speakers, some of the following instructions will not
apply. For custom installations see your Authorized
Jensen Dealer.
2
Page 5

INSTALLATION
Basic Installation Steps
Step 1
Step 2
Step 3
Step 4
Step 5
Step 6
: Remove existing speaker.
: Position new speaker and align with existing
mounting holes.
: Attach the positive (+) and negative (-) speaker
terminals (see FIGURE 2). Be sure to observe
proper polarity when connecting the wires.
: If not using factory grilles, attach grille.
: Mount speaker (using factory hardware when
possible).
: Reconnect negative battery terminal.
FIGURE 1 - DOOR PANEL INSTALLATION
Door Panel Speaker
FIGURE 2 - CONNECTING SPEAKER WIRES
(+) (-)
Push terminal UP to insert speaker wire.
FIGURE 3 - REAR DECK INSTALLATION
Grille
3
Page 6

INSTALLATION
Installing with Adapter Ring
The XRS525 and XRS652 come with an adapter ring to
fit a variety of different openings. To use the adapter ring,
secure the adapter ring to the vehicle using sheet metal
screws, then attach the speaker to the ring with the
machine screws provided.
If using both the adapter ring and the supplied grilles
(not factory), you will have to provide additional M4
screws of the appropriate length for your application.
NOTE
FIGURE 4 - ADAPTER RING INSTALLATION
Door Panel Speaker
Adapter Ring
Grille
Rear Deck
4
Page 7

INSTALLATION
Using the Conversion Ring with the XRS802
The conversion ring should be installed when an existing
6x9 hole is to be used for installation. If cutting a new
installation hole, the diameter should be 7 1/8” round,
making the conversion ring unnecessary.
FIGURE 5 - CONVERSION RING BOTTOM INSTALL
FIGURE 6 - CONVERSION RING FRONT INSTALL
Door Panel
FIGURE 7 - CONVERSION RING TOP INSTALL
Conversion
Ring
XRS802
Speaker
Rear Deck
Rear Deck
5
Page 8

INSTALLATION
Adjusting the Swivel Tweeter
To get the best stereo imaging and most true-to-life
sound reproduction, the swivel tweeters should be
angled toward the listener's ears. To tilt the tweeter, push
the edge of the chrome tweeter bezel to rotate the
tweeter to the desired listening position. The bezel may
need to be rotated before swiveling to achieve
the desired angle.
Avoid using excessive force while swiveling the tweeter,
as permanent damage can occur.
slightly
NOTE
FIGURE 8 - ADJUSTING THE SWIVEL TWEETER
Push edge of swivel tweeter to angle it toward the listener's ear.
6
Page 9

SPECIFICATIONS
XRS 525 XRS652 XRS682 XRS692 XRS802
Configuration
Midrange Diameter
Super Tweeter
Diameter
Frequency Response
Crossover
Power Handling
Sensitivity
Grilles Included
Mounting Hardware
Adapter Ring
Mounting Depth
Magnet Weight
2-Way Full-Range 2-Way Full-Range 2-Way Full-Range 2-Way Full-Range 2-Way Full-Range
5.25" 6.5" 6" x 8" 6" x 9" 8"
19mm Swivel Tweeter 19mm Swivel Tweeter 19mm Swivel Tweeter 25mm Swivel Tweeter 25mm Swivel Tweeter
60Hz - 40kHz 40Hz - 40kHz 40Hz - 40kHz 37Hz - 40kHz 35Hz - 40kHz
6dB/Octave LPF; 6dB/Octave LPF; 6dB/Octave LPF; 6dB/Octave LPF; 6dB/Octave LPF;
6dB/Octave HPF 6dB/Octave HPF 6dB/Octave HPF 6dB/Octave HPF 6dB/Octave HPF
35 Watts RMS 50 Watts RMS 50 Watts RMS 60 Watts RMS 70 Watts RMS
175 Watts Peak 250 Watts Peak 250 Watts Peak 300 Watts Peak 350 Watts Peak
90dB @ 1 watt/1 meter 91dB @ 1 watt/1 meter 88dB @ 1 watt/1 meter 92dB @ 1 watt/1 meter 91dB @ 1 watt/1 meter
Yes Yes No Yes Yes
Yes Yes Yes Yes Yes
Yes Yes No No Yes
2 1/2" (64mm) 2 11/16" (68mm) 2 11/16" (68mm) 3 1/2" (90mm) 3 5/8" (92mm)
9oz. 13oz. 11oz. 27oz. 27oz.
7
Page 10

WARRANTY
Limited 1 Year Warranty - USA and Canada
Length of Warranty.
Electronics Corporation shall be in effect for a period of 1
year from the date of the first consumer purchase.
Persons Protected.
the original owner during the warranty period so long as
proof of date of purchase from an authorized dealer is
presented whenever warranty service is required.
What is Covered
this warranty covers all defects in material and
workmanship in this product. The following are not
covered: damage resulting from accident, misuse,
abuse, neglect, product modification, improper
installation, incorrect line voltage, unauthorized repair or
failure to follow instructions supplied with the product;
damage occurring during shipment (claims must be
presented to the carrier); any plexiglass included with the
product; elimination of car static or other electrical
interferences; any product purchased outside USA or
Canada, or on which the serial number has been
defaced, modified or removed.
How You Can Get Service.
U.S. Purchasers.
Service at 1-800-323-4815.
Canadian Purchasers.
to the dealer from whom it was purchased and such
dealer either will service or arrange for service of the
product. If shipment of the product is required, it should
be packed properly. The original dated bill of sale must
always be included with the product as proof of warranty
coverage.
What We Will Pay For.
material expenses required to repair the product, but you
must pay any labor costs for the removal and/or
installation of the product. If the product is shipped for
warranty service, you must prepay the initial shipping
This warranty from Audiovox
This warranty will be enforceable by
. Except as otherwise specified below,
Please telephone Jensen Customer
The product should be returned
We will pay for all labor and
charges, but Audiovox Electronics Corporation will pay
the return shipping charges if the product is returned to
an address inside the USA or Canada.
Limitation of Implied or Statutory Warranties and
Conditions.
Exclusions.
repair or replacement, at our option, of any defective
product and shall not include special, indirect, incidental
or consequential damages of any kind. THIS
WARRANTY IS EXCLUSIVE AND IN LIEU OF ANY AND
ALL OTHER WARRANTIES, EXPRESSED OR
IMPLIED, INCLUDING WITHOUT LIMITATION THE
IMPLIED WARRANTIES OF MERCHANTABILITY AND
FITNESS FOR A PARTICULAR PURPOSE AND ANY
OBLIGATION, LIABILITY, RIGHT, CLAIM OR REMEDY
IN CONTRACT OR TORT, WHETHER OR NOT
ARISING FROM THE COMPANY'S NEGLIGENCE,
ACTUAL OR IMPUTED. NO PERSON OR
REPRESENTATIVE IS AUTHORIZED TO ASSUME FOR
THE COMPANY ANY OTHER LIABILITY IN
CONNECTION WITH THE SALE OF THIS PRODUCT.
IN NO EVENT SHALL COMPANY BE LIABLE FOR
INDIRECT, INCIDENTAL OR CONSEQUENTIAL
DAMAGES.
Audiovox Corp's liability is limited to the
8
 Loading...