

1
PR7062" Digital
Mobile Internet Device
User’s Manual
Version-01-201301123
1. Appearance ....................................................... 2
2 Power Switch ....................................................... 2
3 Touch Screen ....................................................... 2
4 SD Using SD Card ................................................... 3
5 Getting Started ...................................................... 3
6. Desktop ........................................................... 4
7. Lock Screen ....................................................... 4
8 Reinstalled applications ............................................... 5
9 .Desktop menu function ............................................... 8
10.Managing Applications ............................................. 8
11 Clock ............................................................ 9
12 Installing Software Online ........................................... 10
13 Browser ......................................................... 11
14 Calendar ........................................................ 11
15 Camera .......................................................... 12
16 .Calculator ....................................................... 13
17. Sound Recorder ................................................... 13
18 Email and Gmail .................................................. 14
20.Music ........................................................... 17
21Video player ................................................... 18
22 Settings .......................................................... 19
FAQ ............................................................... 21
Battery management .................................................. 22
Important safety instruction ............................................ 22
FCC Statement ..................................................... 23
2
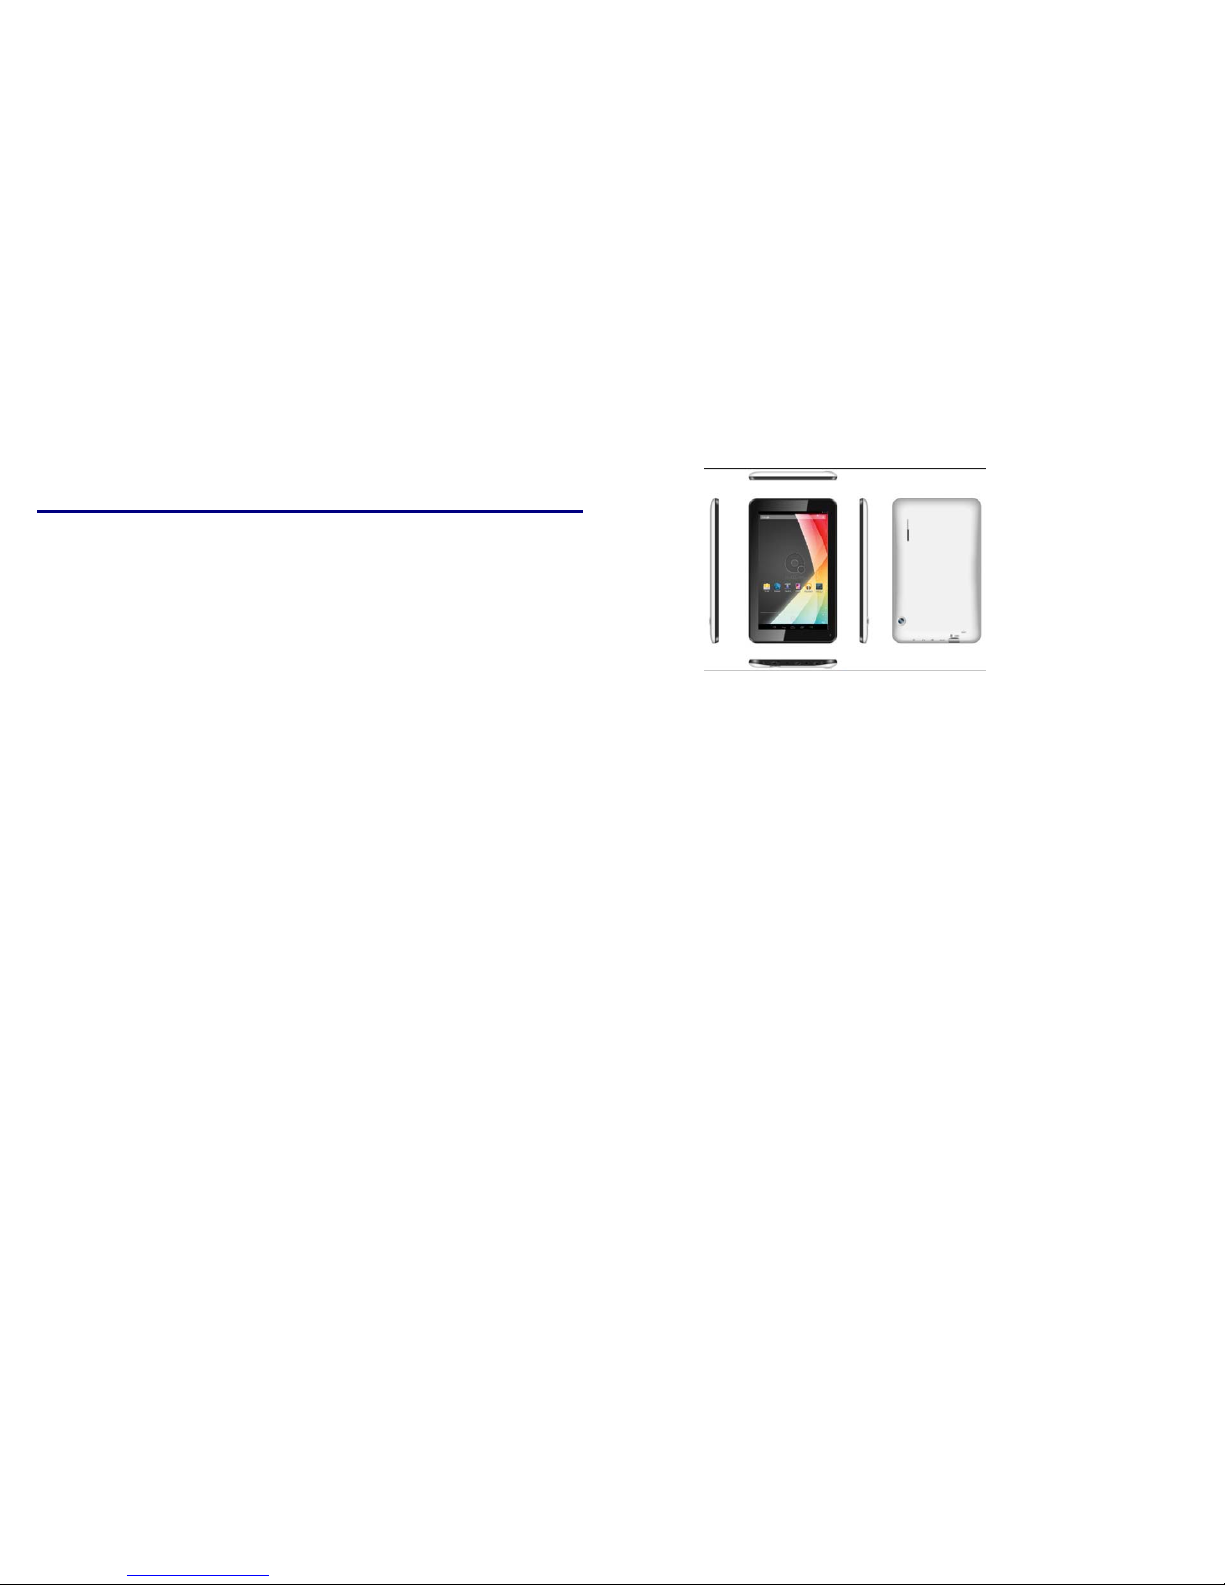
1. Appearance
2 Power Switch
Switch on: press and hold the power switch for 3 seconds and wait for startup.
Switch off: press and hold the power switch for 3 seconds → click Power off → click OK.
Lock/unlock screen: briefly press the power switch to lock/unlock the screen.
Forced shout down: if the device has no response, press and hold the power switch for 7 seconds to
switch off the devic e by force.
Warning: forced shut down may cause unexpected errors of the system!
Reset: press this key to reset the device. Reset will restart the device. The result is same as startup after
forced shutdown. Please be careful with it.
3 Touch Screen
The touch screen is easy and convenient to use.
You can use the touch screen in the following methods:
Single click: briefly touch the screen with the finger and then move away.
Click and hold: click the screen with the finger and hold for about 2 seconds.
Drag: click a certain icon in the screen and hold, then move the finger, the icon will move accordingly.
☆ To avoid damage the screen, never put anything on the it.

3
4 SD Using SD Card
☆ The device supports up to 32GB storage card.
Insert the card into the card slot, and push it in with your finger until a “click” is heard. Now the card is
ready for use.
Removing SD card
Close all programs or files on the card first. Click Settings → Storage → Remove SD card → OK.
Then press the card with your finger, and simply remove it when it is ejected.
☆ Do not insert and remove the card repeatedly in a short time, this may cause damage to the card.
☆ We suggest you use the card of famous brand to ensure compatibility.
5 Getting Started
Charging the device
☆Charge the device with USB cable is not recommended.
☆You may operate the device while charging it, but this may prolong the charging time.
Connect one end of the AC adaptor to the mains supply and the other end to the power jack on the
device to charge it (it may take about 5 hours to fully charge the device).
Starting the device
Press and hold the power switch for 3 seconds and wait for system startup.
Wi-Fi setting
We suggest you confi gure your Wi-Fi network before using, a s many functions require for it to work
normally.
1. Click Settings→ Wireless and Network
2. Switch the Wi-Fi on.
The device will search and list all available Wi-Fi network. If an icon is displayed, you need to
enter a password to connect to such Wi-Fi network.
3. Click the desired Wi-Fi net work → Enter the password (if any) → Click Connect.
4. Click or press “BACK” key to return to desktop.
☆
The Wi-Fi set as hidden will not be searched automatically. In this case you need to click
Add Wi-Fi Network and enter necessary information to add your Wi-Fi.
4
6. Desktop
○1○2○
3
○4 ○5 ○6 ○7 ○8
○
1Search
○
2 Battery status
○
3 Current time -
○
4 Volume –
○
5 Return
○
6 Return to desktop directly
○
7Task
○
8 Volume +
☆Click any icon to run it.
☆Press and hold to drag the procedure or shortcut icon to other places on the screen.
☆Press and hold to drag the procedure or shortcut icon to
for deleting it from desktop.
7. Lock Screen
You can set auto lock screen or lock screen manually by pressing the power switch. The lock screen
interface is as follow. Slide at the right to unlock the screen.
5
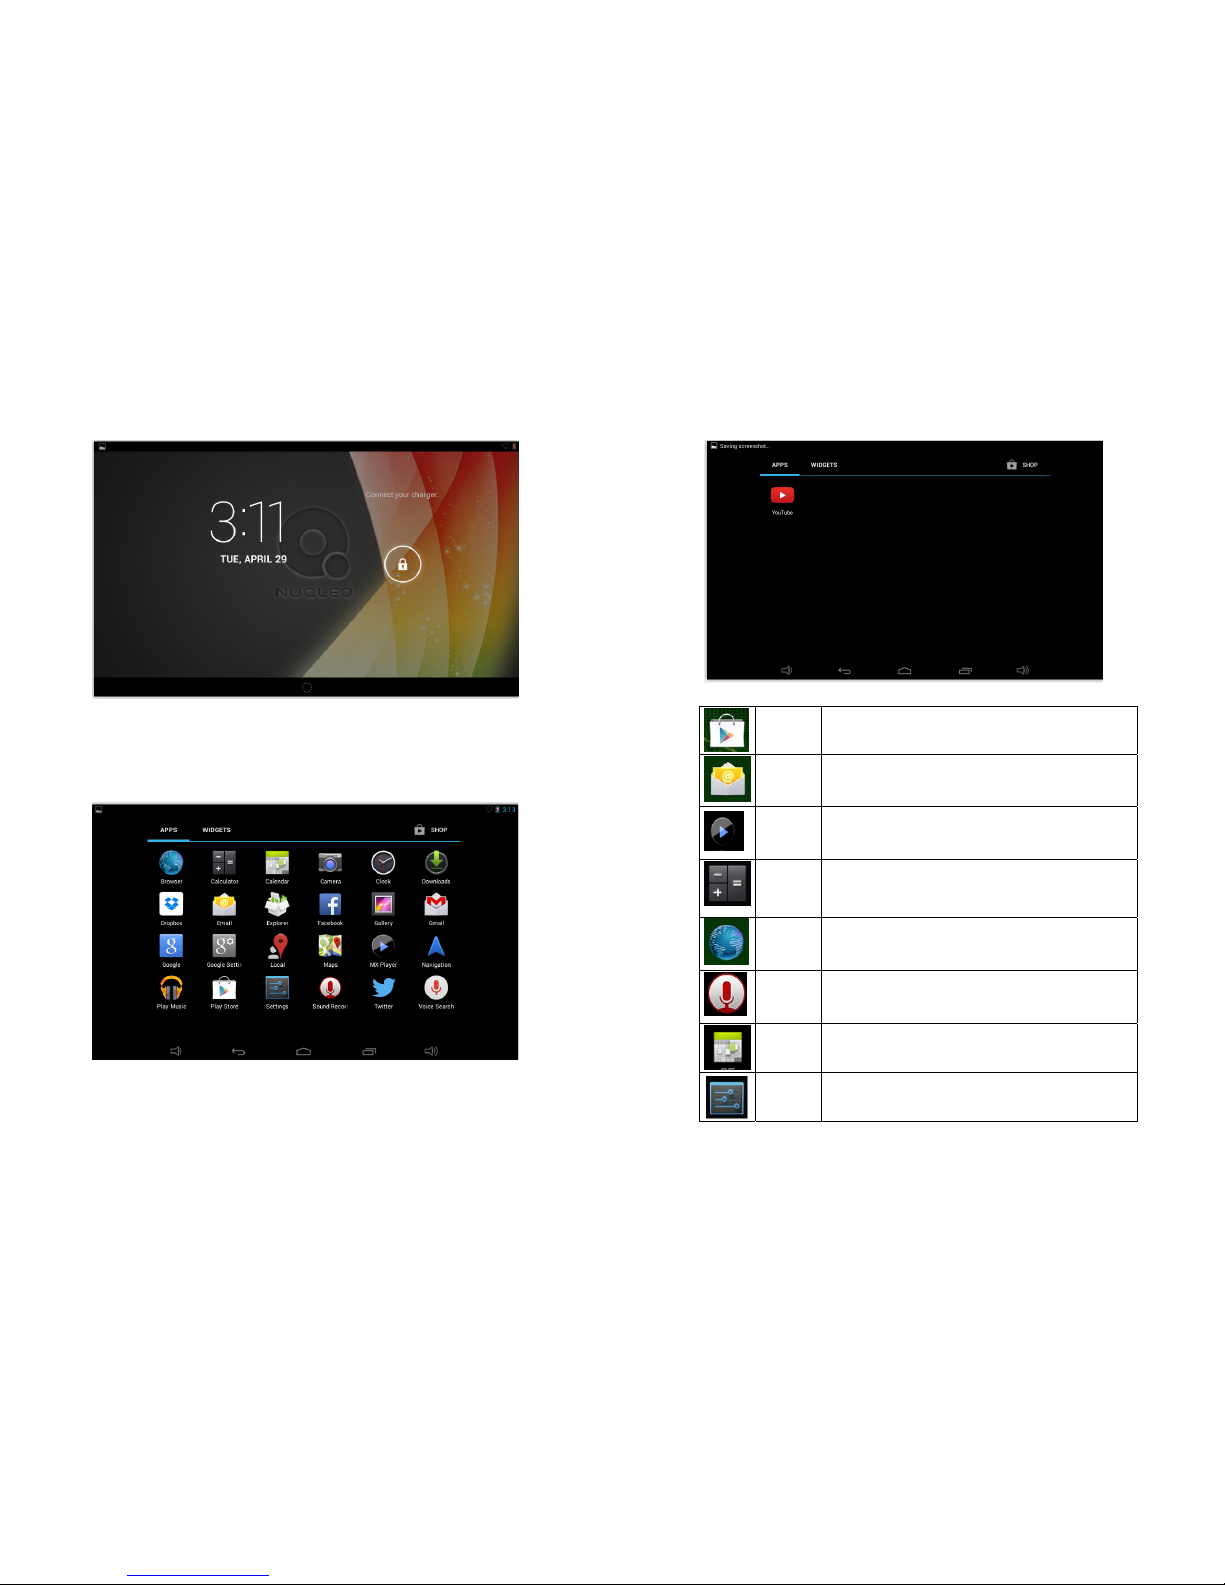
8 Reinstalled applications
6
Play Store
Download applications conveniently.
Email Send and receive e-mail with existing e-mail address.
HD Player
Play and manage videos.
Calculator
Make four arithmetic operation.
Browser
Connect to Internet.
Sound
recorder
Record and play recorded sound.
Calendar A calendar where you can set agendas.
Settings
Make personalized settings.

7
Clock Make personalized settings.
Search
Google search tools
Resource
manager
View and manage files and applications. Install Android applications and backup
files in SD card.
Downloaded
files
Records of downloaded files.
Camera Take photos.
Music
Play and manage music files.
Gmail
Send and receive e-mail with existing e-mail address.
Voice search
Internet searching through voice identification
Gallery
View the photos
Navigation
Google search tools
☆ Click and drag the icon to move it to another place on the screen.
☆ Long pr ess the icon on desktop to “X” at top of the screen to delete it from desktop. In the
application list, click and drag the icon to
to uninstall the application from the device.
8
9 .Desktop menu function
On the desktop, click and hold at the center of the screen for 2 seconds to display wallpaper menu.
10.Managing Applications
Installing
☆ You can find many interesting and free Android applications through the internet. Simply open the
browser and search for“Android Applications”.
The purchased or downloaded Android applications can be quickly and simply installed
through the File Manager
Click the Resource Manager icon to find file folder with .apk file stored.
3. Now the application is installed and the icon of such application will display in the interface that
displays all applications.
4. Click Open to run the application, or click Complete to return to File Browser interface.
Downloading applications from internet
You can directly download Android applications from the internet and install it into the device
conveniently.
Wallpaper Select wallpaper from picture or wallpaper album.
 Loading...