

Page 1
20000005495
MS 3 basic/digital_082017
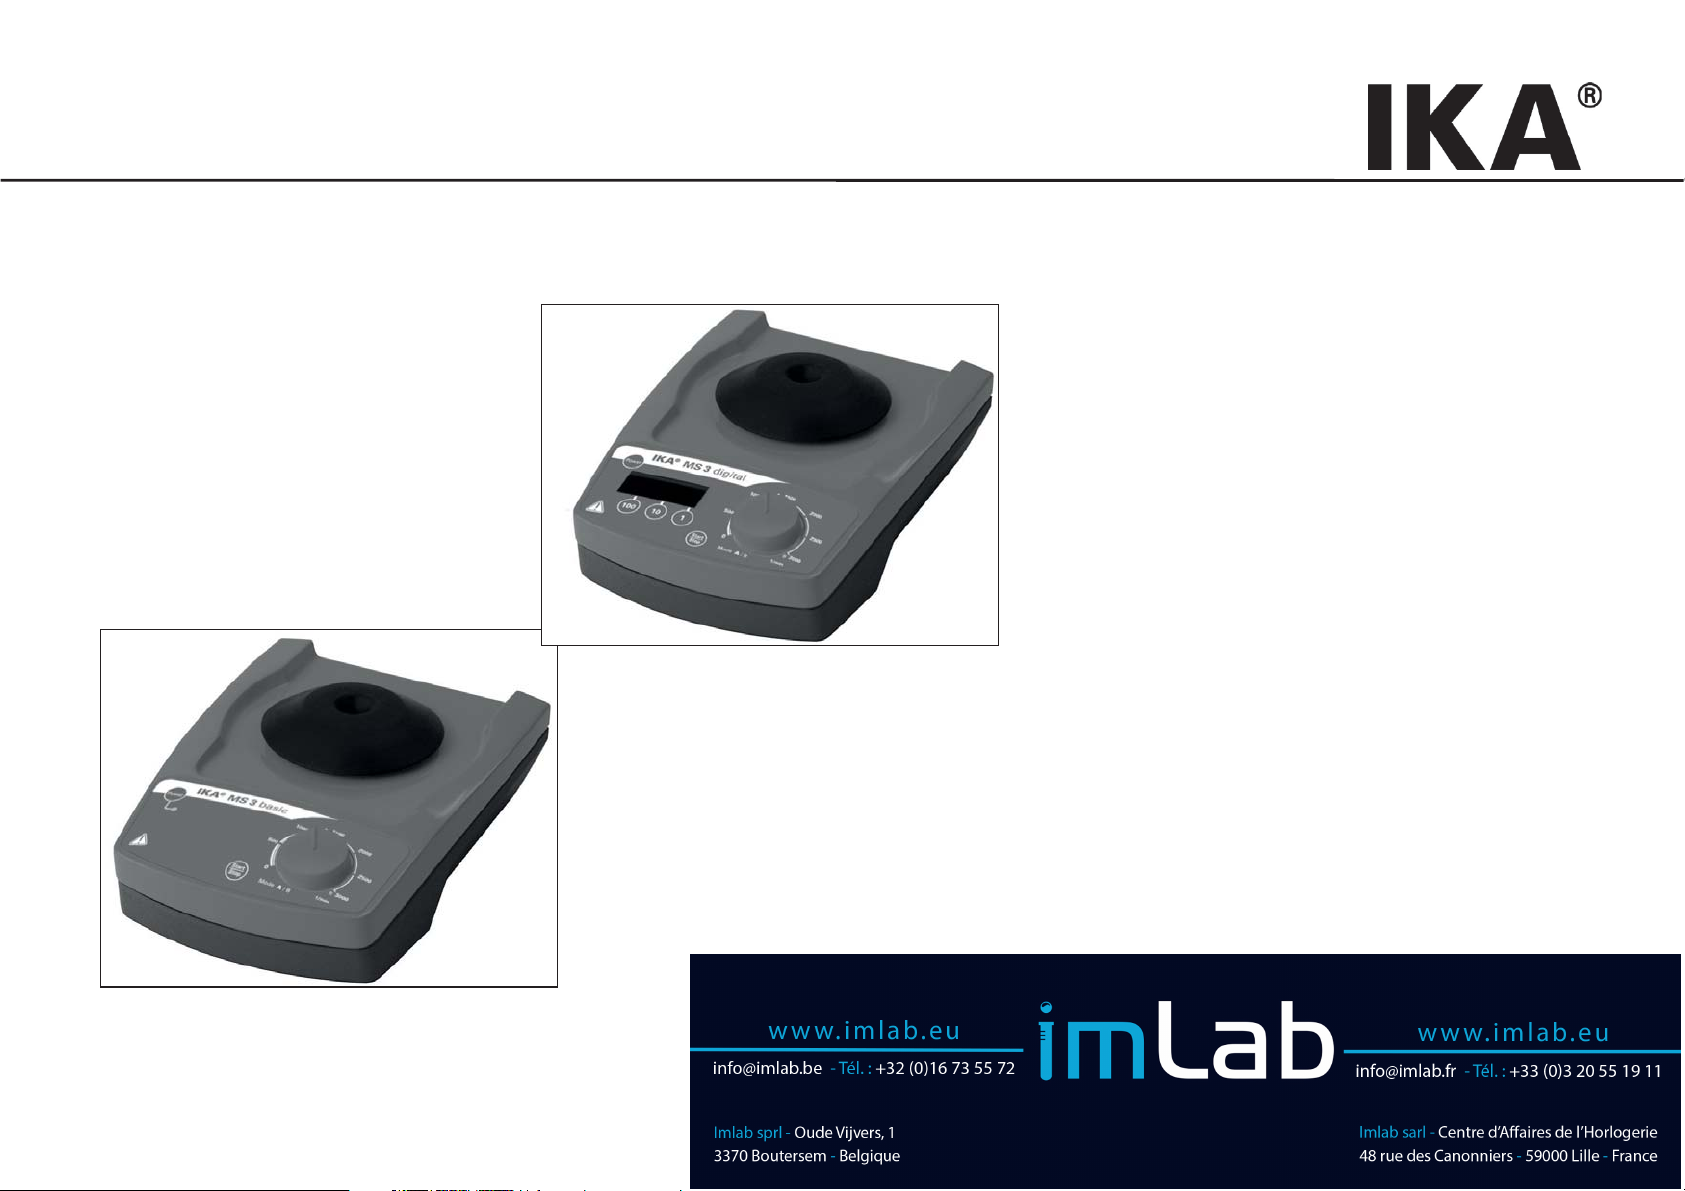
MS 3 basic
MS 3 digital
Page 2

Contents
ttttttttttttttttttttttttttttttttttttttttttttttttttttttttttttttttttttttttttttttttttttttPage
Declaration of conformity 2
Safety instructions 10
Unpack sssssssssssssssssssssssssssssssssssssssssssssssss11
Correct use 11
Commissioning 12
Accessories 14
Maintenance 15
Technical data 16
Warranty dddddddddddddddddddddddddddddddddddddddd 16
EN
Safety instructions
•
Read the operating instructions in full before starting
up and follow the safety instructions.
• Keep the operating instructions in a place where they can be
accessed by everyone.
• Ensure that only trained staff work with the appliance.
• Follow the safety instructions, guidelines, occupational health
and safety and accident prevention regulations.
• The voltage stated on the nameplate must correspond to the
mains voltage.
• The device must only be operated with the original plug-in
power supply unit.
• Wear your personal protective equipment in accordance with
the hazard category of the medium to be processed. Otherwise
there is a risk of:
- splashing liquids
- projectile parts
- body parts, hair, clothing and jewellery getting caught.
• Set up the appliance in a spacious area on an even, stable,
clean, non-slip, dry and fireproof surface.
•
The feet of the appliance must be clean and undamaged.
• Position the knob (C) at the left stop before starting up.
Gradually increase the speed.
• Keep hand/arm vibration to a minimum (Directive 2002/44/EC)
when operated manually:
- Keep the sample container as vertical as possible.
Only
exert the minimum pressure necessary for the mixing
-
- Use attachments for multiple samples when there is a large
number of samples.
• If the shaking movement of the appliance increases (resonance), reduce the speed or pass through the critical phase as
quickly as possible.
• Reduce the speed if
- the medium splashes out of the vessel because the speed is
too high
- the appliance is not running smoothly
the appliance begins to move around because of dynamic forces.
-
• Firmly secure the accessories and vessels in place, otherwise
shaking vessels could be damaged or projected out.
• Check the appliance and accessories beforehand for damage
each time you use them. Do not use damaged components.
• Position one single shaking vessel in the centre and several
shaking vessels so that they are evenly spread out.
• Sharp edged vessels cause wear debris on the attachments.
• Beware of the risk of
- flammable materials
- glass breakage as a result of mechanical shaking power
• Only process media that will not react dangerously to the
extra energy produced through processing. This also applies
to any extra energy produced in other ways, e.g. through light
irradiation.
• Do not operate the appliance in explosive atmospheres, with
hazardous substances or under water.
• Safe operation is only guaranteed with the accessories described in the ”Accessories” chapter.
• Always disconnect the plug before fitting accessories.
• The appliance does not start up again automatically following
a cut in the power supply.
• Protect the appliance and accessories from bumps and impacts.
• The appliance may heat up when in use.
• The appliance may only be opened by experts.
process
.
10
Page 3

Unpack
Correct use
• Unpack
- Please unpack the device carefully
- In the case of any damage a fact report must be set
immediately (post, rail or forwarder)
• Delivery scope
MS 3 basic
- Shaker MS 3 basic
- Power supply
- Standard attachment MS 3.1
- Universal attachment MS 3.3
- One-hand insert MS 1.21
- Operating instructions
MS 3 digital
- Shaker MS 3 digital
- Power supply
- Standard attachment MS 3.1
- Universal attachment MS 3.3
- One-hand insert MS 1.21
- Microtiter attachment MS 3.4
- Test tube insert MS 1.32
- Operating instructions
• Use
For mixing liquids
- Touch mode for single test tubes
- Continuous mode for single or several vessels
• Range of use
- Laboratories - Schools
- Pharmacies - Universities
This device is suitable for use in all areas except industrial areas.
The protection for the user is not ensured no more, if the equipment with accessories is operated, which are supplied or are not
recommended not by the manufacturer or if the equipment in
not correct use is operated against the manufacturer default.
11
Page 4

Commissioning
Setting
Switching on
1
Change to
continuous
operation
Setting timer /
2
Change
timer setting
Action
1 0 0
Power
Start
Stop
1 0 1
Position the rotating knob at the
left stop before starting up
If these conditions are met, the
unit is ready for service when the
mains plug has been plugged in
Mode A
Operating mode
"Touch operation"
Speed upto 3000 rpm
(= Factory setting)
Mode A
Operating mode
"Continuous operation"
Speed upto 1300 rpm
Seconds mode
The value previously set
will be displayed
(Factory setting=000)
Display
0 0 0
0 0 5
12
Not available on
MS 3 BASIC
Change to
minutes mode
1 0 0
Start
Stop
Power
1
1 0 1
Power
Countdown running:
An audible signal will be given
when the countdown is
complete
Switch off the device
Switching on the device:
Press and hold button "1" and
also press the "Power" button
Minutes mode
0 0 0
0 0 5
Page 5

Setting
Speed
3
adjustment
Change mode
4
A B
Action
Start
Stop
Power
Display
Countdown running:
An audible signal will be given
when the countdown is
complete
Switch off the device
B A
Operating modes
Touch mode
(with standard attachment
MS 3.1)
Continuous mode
(with all attachments)
Start
Stop
Power
Modus A
(with speed limiter)
max. 3000
rpm
max. 1300
rpm
Power
Modus B
(without speed limiter)
max. 3000 rpm
max. 3000 rpm
Switching on the device:
Press and hold button "Start/Stop"
and also press the "Power" button
Mode B
Operation modes "Touch"
and "Continuous operation"
Speed upto 3000 rpm
Switch off the device and
switch on again, see 1
0 0 0
13
Page 6

Accessories
Possible uses and permitted speed ranges of attachments:
Designation
MS 3.1
Standard attachment
MS 3.3
Universal attachment
MS 3.4
Micr otiter attachment
MS 3.5
PCR-Plate attachment
MS 3.51
PCR-Plate insert
MS 1.21
One-hand insert
MS 1.30
Test tube insert
Description
For test tubes and small vessels upto
ø 50 mm
For different rubber foam inserts
For one microtiter plate
For one 96-well PCR-plate
- F
or inserting into the PCR-Plate attachment
For inserting into the
- For inserting into the universal attachment
- For 24 tubes ø 7,8 mm
universal
attachment
IdentNr.
3426300 x
3426600 -x 0/200-1300
3426400 -x0/200-1300 A
3428000 -x0/200-1300 A
3428700 -x0/200-1300 A
L001540 -x 0/200-1300
25005776
Touch
mode
Continuous
mode
-
-
-
- x 0/200-1300 A
x
x
Speed
range (rpm)
0/200-3000
0/200-1300
0/200-3000
0/200-3000
0/200-3000
Mode
A and B
A
B
A
B
A
B
14
MS 1.31
Test tube insert
MS 1.32
Test tube insert
MS 1.33
Test tube insert
MS 1.34
Test tube insert
- For inserting into the universal attachment
- For 14 test tubes ø 10 mm
- For inserting into the universal attachment
- For 6 test tubes ø 12 mm
- For inserting into the universal attachment
- For 4 test tubes ø 16 mm
- For inserting into the universal attachment
- You can make holes as you like
L001840 -x0/200-1300 A
L001850 -x0/200-1300 A
L001860 -x0/200-1300 A
L001830 -x0/200-1300 A
Page 7

Changing attachments
MS 3.1
MS 3.3
MS 3.4
Maintenance
Cleaning
The
appliance is maintenance-free.
For cleaning, disconnect the main plug!
Only use cleansing agents which have been recommended by
IKA. Use to remove:
Dyes isopropyl alcohol
Construction materials water containing tenside/ isopropyl alcohol
Cosmetics water containing tenside/ isopropyl alcohol
Foodstuffs water containing tenside
Fuels water containing tenside
- Do not allow moisture to get into the appliance when cleaning
- Wear protective gloves during cleaning the devices.
- Before using another than the recommended method for clean ing or decontamination, the user must ascertain with IKA that
this method does not destroy the instrument.
Spare parts order
When ordering spare parts, please give:
- Machine type
- Manufacturing number, see type plate
Using inserts
- Item and designation of the spare part, see spare parts dia gram and spare parts list, see www.ika.com.
Repair
Please only send devices in for repair that have been
cleaned and are free of materials which might present
health hazards.
For this, use the “certificate of compliance” form which you
can obtain from IKA or can download a version for printing from
the IKA website at www.ika.com.
If your appliance requires repair, return it in its original packaging.
Storage packaging is not sufficient when sending the device also use appropriate transport packaging.
15
Page 8

Technical data
Power supply
Input V 100 - 240
A 0,8
Hz
50-60
Dimensions total W x D x H mm 148 x 205 x 63
without attachment
Weight without supported load kg 2,9
Max. supported load incl. attachment
Subject to technical changes!
kg 0,5
Output Vdc
Protection class
Shaker
Operating voltage Vdc 24
mA 800
Power consumption, normal operation
Power consumption, standby operation
Motor-output power W 8
Drive EC - motor
Speed range rpm 0/200 – 3000
Speed adjustment
Speed display scale 0 – 3000
Agitation stroke mm 4,5
Shaking motion horizontal, circular
Perm duration of operation % 100
Timer mode seconds 1 - 999 sec
mode minutes 1 - 999 min
Timer display digital
Perm ambient temperature °C +5 bis +40
Perm. relative humidity % 80
Protection type acc. to DIN EN 60529
Contamination level 2
Overvoltage category II
Operation at a terrestrial altitude m max. 2000
W 20
W 2
24
24W.LPS
(Limited power source)
2 (double insulated)
infinitely adjustable
rotating knob in front
of the
IP 21
appliance
Warranty
I
n accordance with IKA warranty conditions, the warranty period
is 24 months. For claims under the warranty please contact your
local dealer. You may also send the machine direct to our works,
enclosing the delivery invoice and giving reasons for the claim.
You will be liable for freight costs.
The warranty does not cover wearing parts, nor does it apply to
faults resulting from improper use or insufficient care and maintenance contrary to the instructions in this operating manual.
16
 Loading...