

Humanscale CPU200 User Manual
Track
Quick Track
Cover
Thumb Screws
CPU200 Track Installation
Step 2:
Align Mounting Rails of the CPU200 with front edge of Track
and slide unit into Track.
Step 3:
Slide Quick Track Cover into Track.
CPU200
Installation
Instructions
Step 4:
Use Thumb Screws to secure Quick Track Cover to Track. Your
Quick Track system is now installed.
Removal:
To remove CPU200 from the Track, loosen Thumb Screws,
remove Quick Track Cover, and slide unit off the Track.
HSICPU2000909
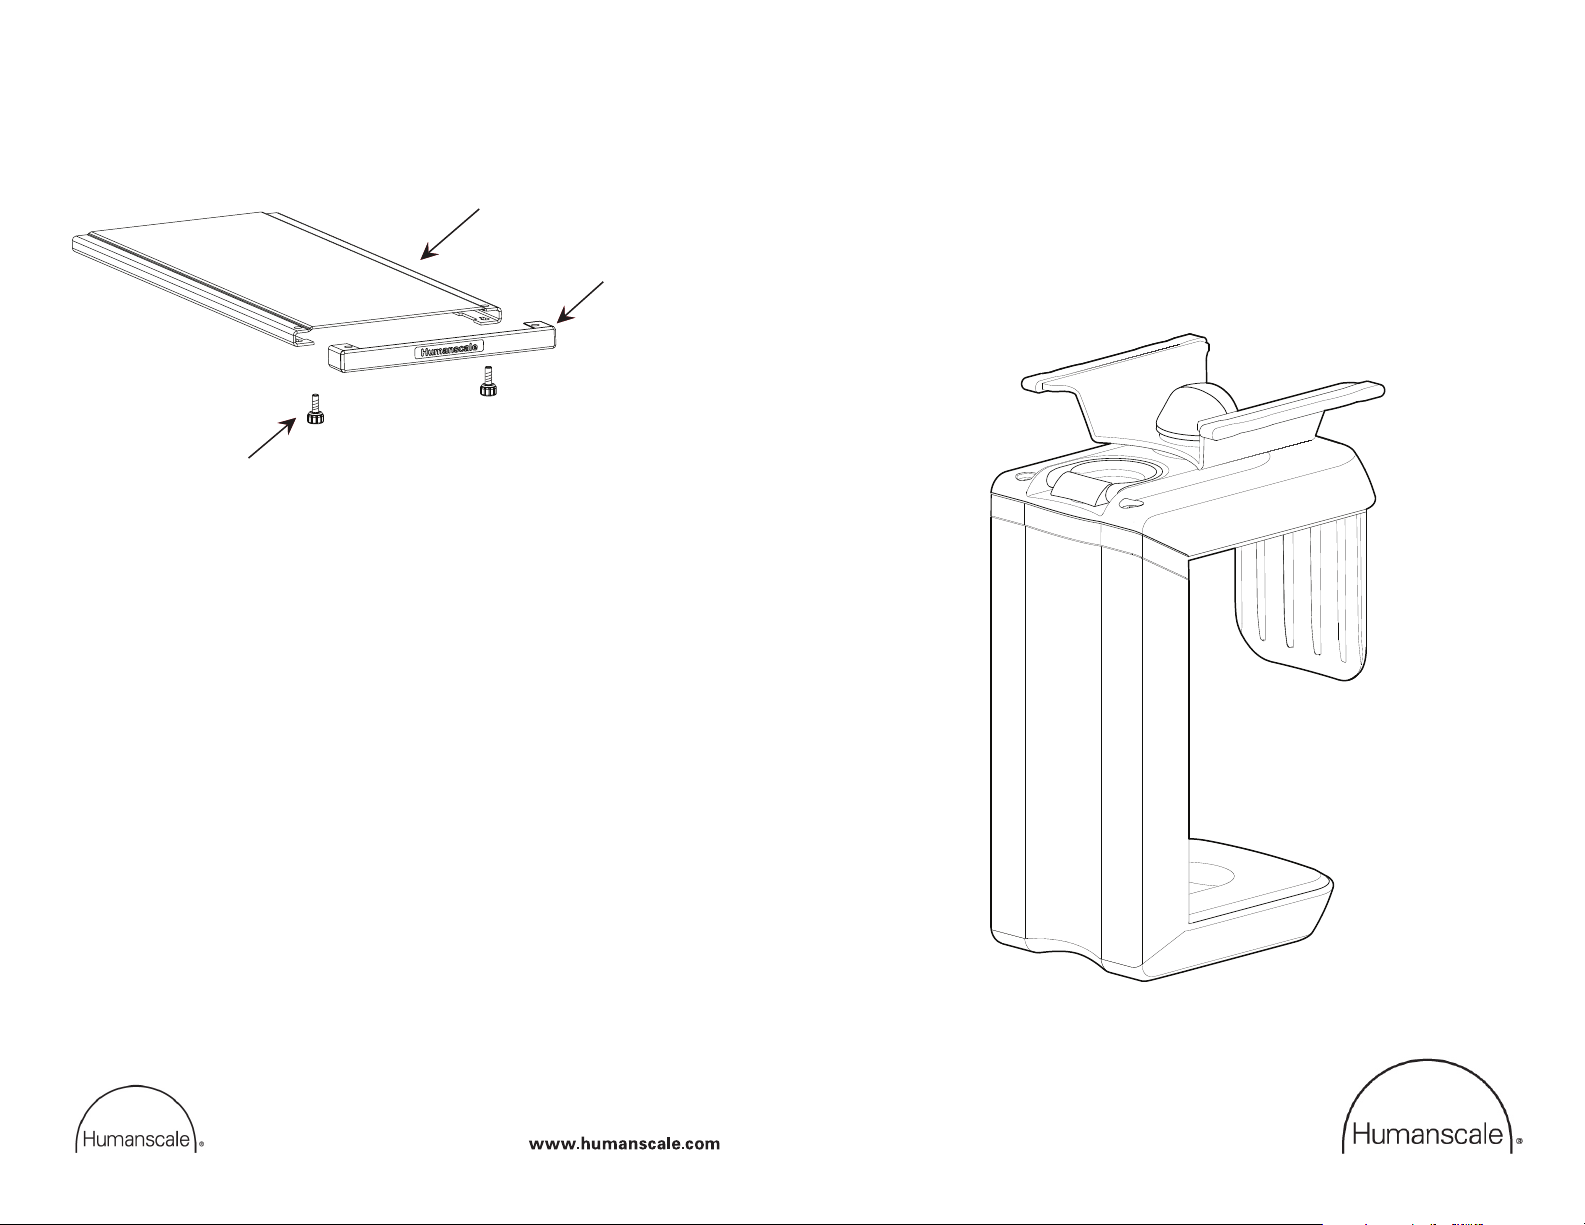
CPU200 Installation Instructions
Side Bracket
Base
Width Knob
Height Lock
Mounting Rails
Upper Assembly
Spacer (optional)
Non-Skid Pad
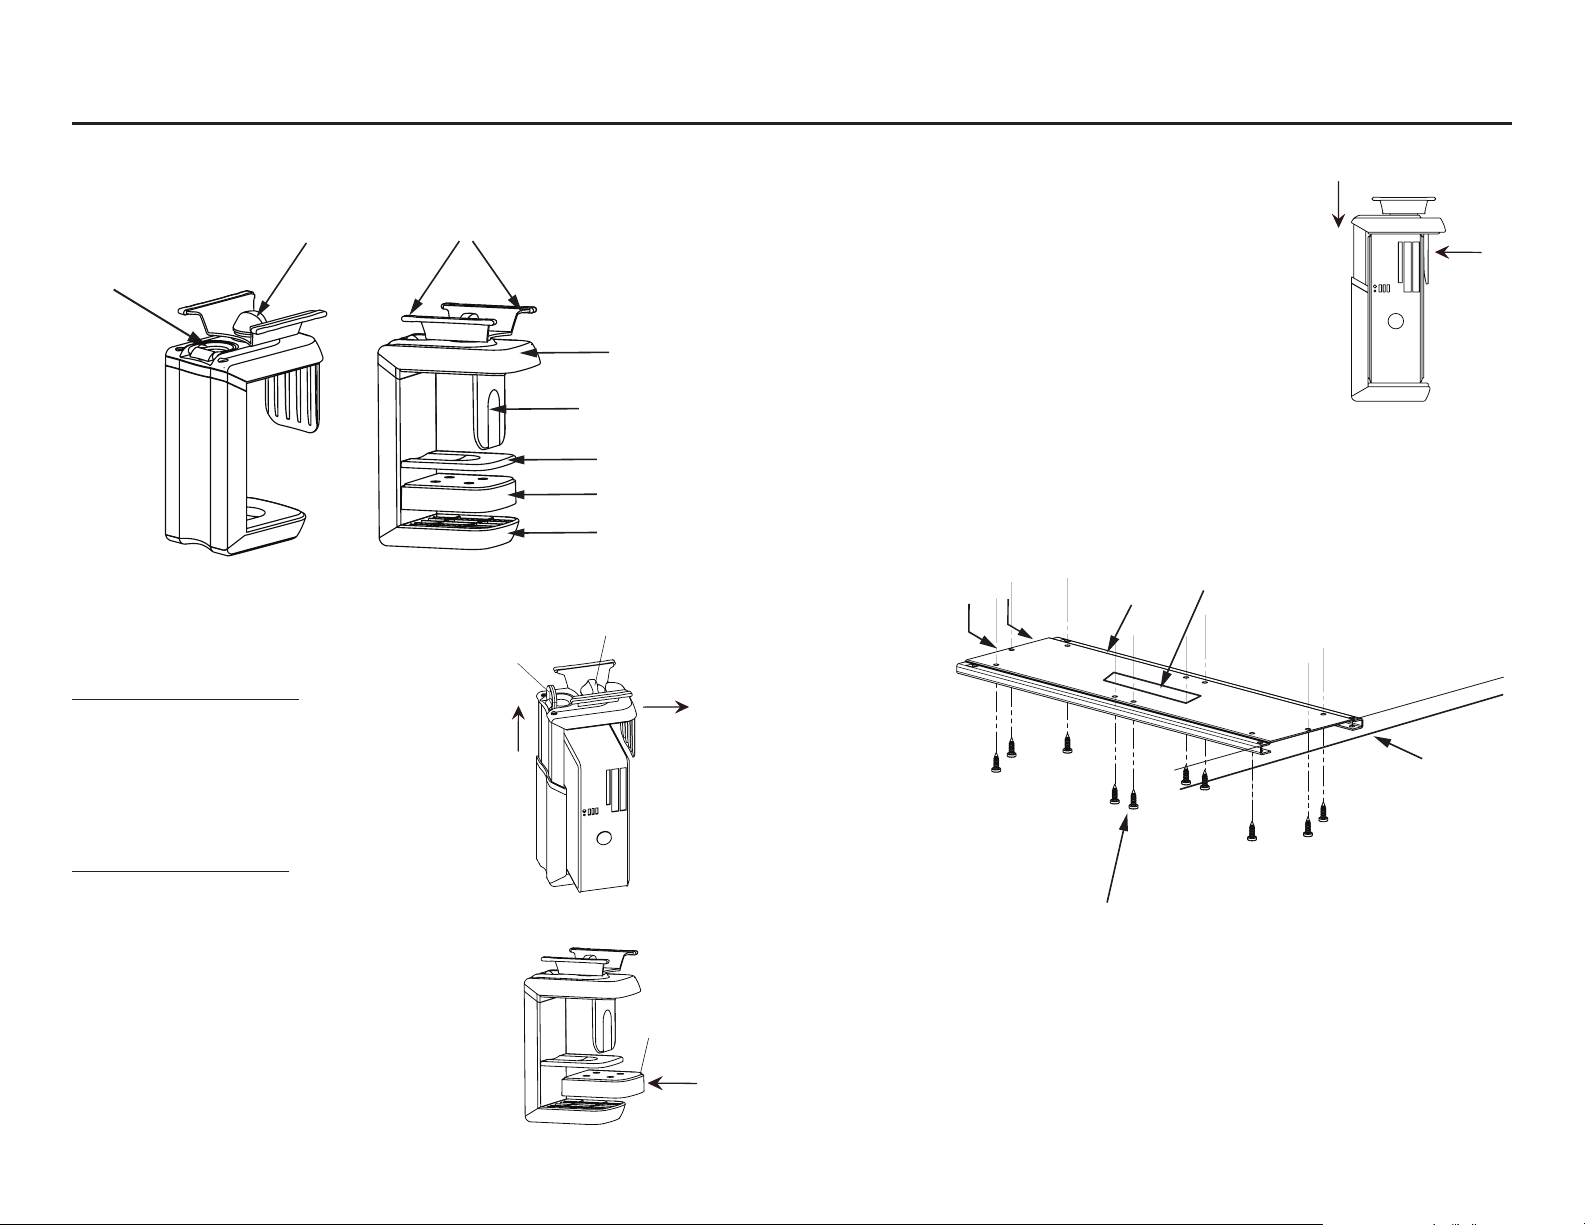
Height Lock
Width Knob
5/8" Long
Ta pping Screws
Track
Mounting Ta pe
1/4” back
from desk edge
Ta bs
Spacer
CPU Installation
Step 1:
Step 2:
Slide Upper Assembly downward until it sits
snugly on top of CPU. Tighten Height Lock.
Push Side Bracket inward until it fits tightly
against CPU. Tighten Width Knob.
Track Installation
For CPUs 7” – 12” in Height
Loosen Width Knob and slide Side Bracket
outward. Loosen Height Lock and slide Upper
Assembly to highest position. Center CPU on
Base.
For CPUs 6” – 7” in Height
If you have received the optional Spacer, your
CPU200 will accommodate a CPU as small as
6 inches in height.
Place Spacer between the Base of the CPU200
and the Non-Skid Pad, then loosen the Width
Knob and slide Side Bracket outward. Loosen
Height Lock and slide Upper Assembly to highest
position. Center CPU on Base.
Step 1:
Position track approximately 1/4” from edge of desk
with folded tabs facing away from desk edge. Using
Mounting Tape, affix Track to underside of desk.
Attach Track to desk using Tapping Screws.
 Loading...