

Page 1

Optical Drive Installation
for HP Workstations
This document describes how to install an optical drive on an HP Workstation.
Electrostatic Discharge
A discharge of static electricity from a finger or other conductor may damage system boards or other
static-sensitive devices. This type of damage may reduce the life expectancy of the device.
Preventing Electrostatic Damage
To prevent electrostatic damage, observe the following precautions:
■ Avoid hand contact by transporting and storing parts in static-safe containers.
■ Keep electrostatic-sensitive parts in their containers until they arrive at static-free workstations.
■ Place parts on a grounded surface before removing them from their container.
■ Avoid touching pins, leads, or circuitry.
■ Always be properly grounded when touching an electrostatic-sensitive component or assembly.
Grounding Methods
There are several methods for grounding. Use one or more of the following measures when handling or
installing electrostatic- sensitive parts:
■ Use a wrist strap connected by a ground cord to a grounded workstation chassis. Wrist straps are
flexible straps with a minimum of 1 meg. ohm +/- 10 percent resistance in the ground cords. To
provide a proper ground, wear the strap snug against the skin.
■ Use heelstraps, toestraps, or bootstraps at standing workstations. Wear the straps on both feet when
standing on conductive floors or dissipating floor mats.
■ Use conductive field service tools.
■ Use a portable field service kit with a folding static-dissipating work mat.
If you do not have any of the suggested equipment for proper grounding, have an authorized dealer,
reseller, or service provider install the part.
NOTE: For additional information on static electricity or for assistance with the installation of this
product, contact an authorized dealer, reseller, or service provider.
1
Page 2
Preparing for Installation
Kit Contents
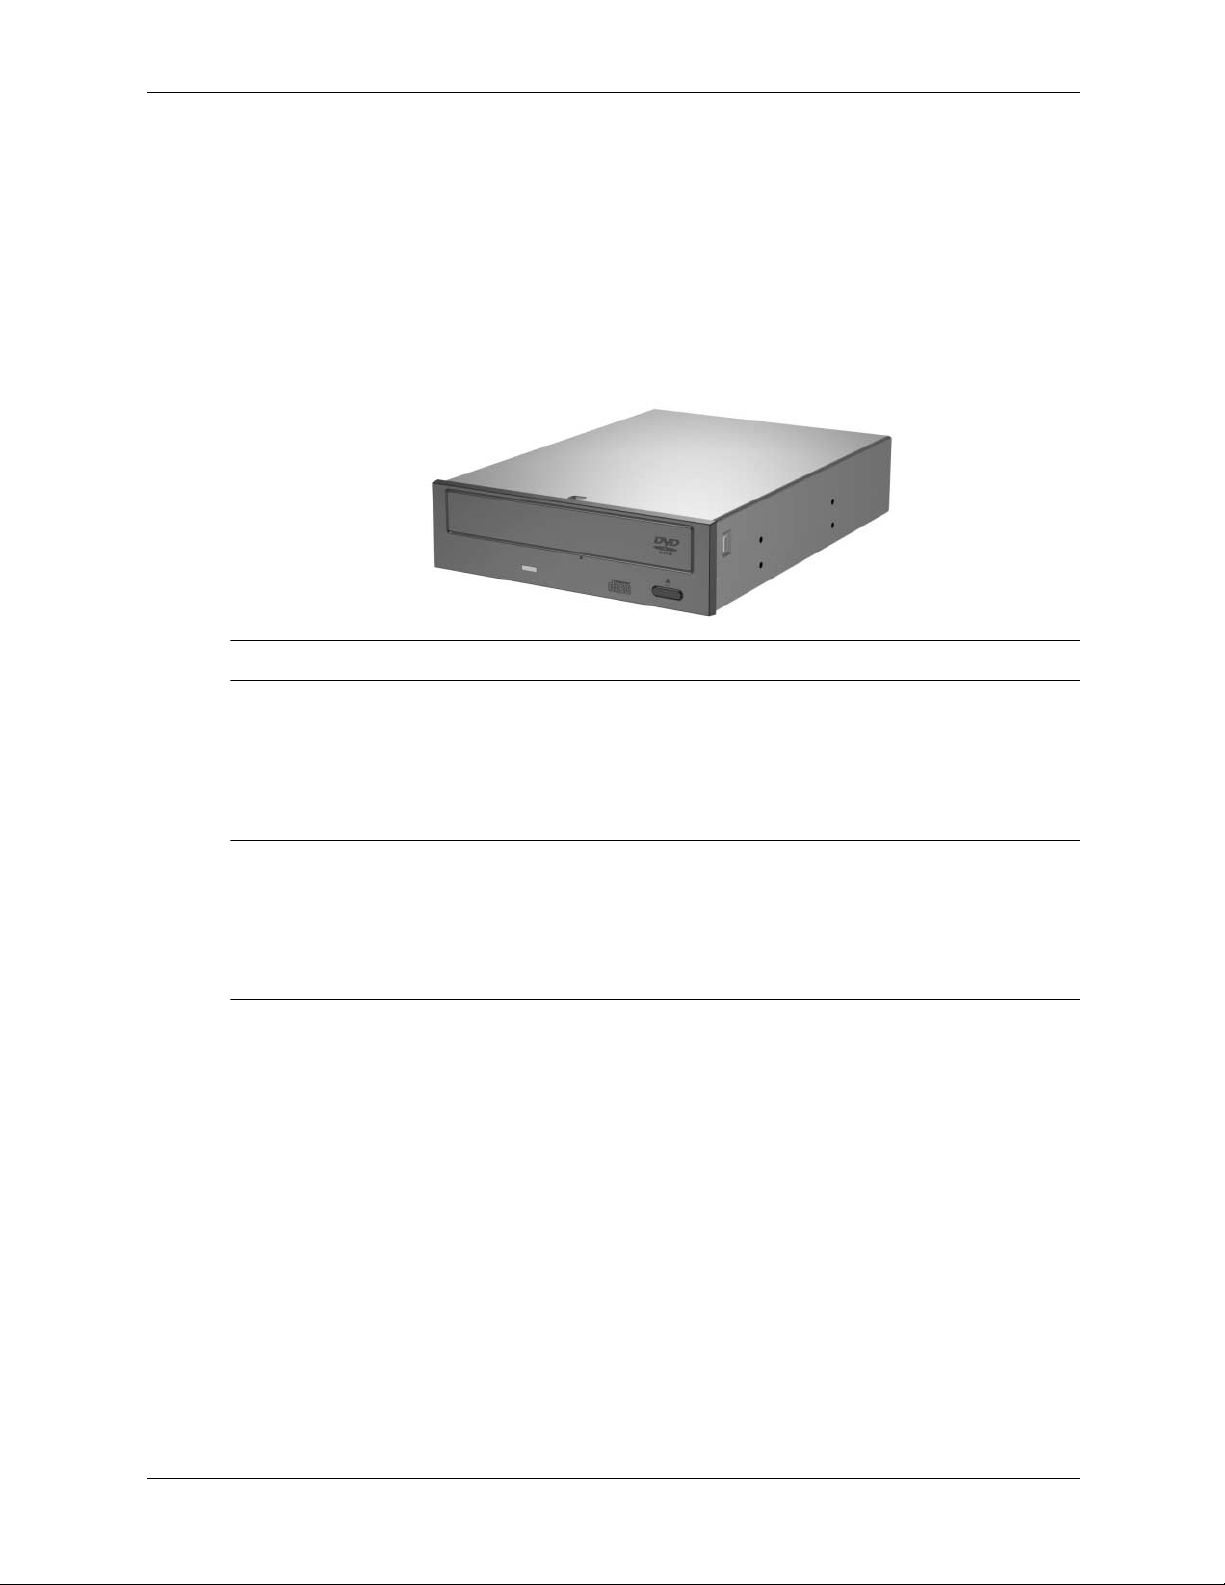
The following components are included in your optical drive kit:
■ 5.25-inch, half-height optical drive with IDE capability
■ Audio cable
■ Four M3 guide screws
■ Warra nty
NOTE: The drive may not be identical to the drive shown.
Tools Required
You may need the following to install the optical drive:
■ T-15 Torx driver or flat-bladed screwdriver
NOTE: On some workstations, optical drives are mounted using M3 metric guide screws. These
workstations come with extra metric guide screws that are located on the front of the chassis under the
front bezel or on the diskette drive bracket under the access panel. HP-supplied metric screws are black.
On other workstations, the optical drives do not require these guide screws. Instead, the drive cage is
equipped with a latching mechanism to secure the optical drive in place.
Precautions
■ Ensure that you are static-free by briefly touching a grounded metal object before beginning the
installation procedures.
■ Avoid touching any exposed metal on the option board/chip or on the workstation’s circuit boards.
■ Do not use worn, cracked, warped, or poor quality discs in the optical drive.
■ Look for cracks in the clear plastic area in the center of the disc. If cracks are present, do not use the
disc in the optical drive.
■ Do not affix any adhesive labels to the disc surface. Affixing an adhesive label on the disc can cause
damage to the disc and/or optical drive.
■ Do not drop the disc or subject it to physical shock.
■ Do not put the disc in a location subject to dust, direct sunlight, extreme temperatures, or high
humidity.
■ Do not move the drive during operation. Doing so may cause it to malfunction during reading.
2
Page 3

■ Avoid exposing the drive to sudden changes in temperature, as condensation may form inside the unit.
If the temperature suddenly changes while the drive is on, wait at least one hour before you turn off
the power. If you operate the unit immediately, it may malfunction while reading.
■ Avoid placing the drive in a location that is subject to high humidity, extreme temperatures,
mechanical vibration, or direct sunlight.
■ Keep the original packing materials for future transportation of the drive.
■ Remove the disc before moving the drive.
■ Clean the cabinet, panel, and controls with a soft, dry cloth, or a soft cloth lightly moistened with a
mild detergent solution. Never spray cleaning fluids directly on the unit.
■ Do not clean the drive with solvents such as alcohol or benzene, which can damage the finish.
■ If any object or liquid falls into the cabinet, immediately unplug the workstation and have it checked
by an authorized service provider.
■ When a disc is not in use, remove it from the drive and store it in its case.
■ Handle the disc by the edges, not the flat surface of the disc.
■ Do not clean the disc with solvents such as alcohol, benzene, or antistatic spray, which can damage the
finish.
■ Use only discs that are circular in shape. Do not use discs shaped in other forms, such as heart-shaped
or business card-shaped discs.
Preparing the Workstation
For detailed instructions on the following operations, refer to the documentation that came with the
workstation.
Å
Å
1. Remove any diskettes inserted in the diskette drive.
2. Turn off the workstation and any other peripheral devices.
3. Disconnect the AC power cord and any peripheral devices.
WARNING: To avoid the risk of serious injury or damage to the workstation, ensure that the power cord
is unplugged from the electrical outlet.
4. Remove the access panel from the workstation and remove the front bezel.
WARNING: To reduce the risk of personal injury from hot surfaces, allow the internal system to cool
before touching.
3
Page 4

Installing the Drive
NOTE: Your workstation may not be identical to the workstation in the following illustrations.If you need
more information, refer to the documentation included with the workstation for drive installation
procedures.
NOTE: In some workstations, there may be drive length limitations for some of the drive bays.
1. Select a drive bay position on the workstation to install the new drive.
NOTE: It is recommended that the next highest available bay be used when installing the new drive.
Optical
Drive Bays
Å
Ä
WARNING: To avoid the risk of serious injury or damage to the workstation, ensure that the power cord
is unplugged from the electrical outlet.
CAUTION: Static electricity can damage the electronic components of the workstation or optional
equipment. Before beginning these procedures, ensure that you are static-free by briefly touching a
grounded metal object. In addition, avoid touching any exposed metal on the option board/chip or on
the workstation's circuit boards. Refer to the “Regulatory Notices” section later in this document for
additional information.
2. Remove the bezel blank from the appropriate drive bay.
3. If one is installed, remove the EMI filler.
4. If your optical drive requires guide screws, remove four M3 guide screws from the chassis behind the
bezel (or from the diskette drive bracket under the access panel).
4
Page 5

5. Install two M3 black guide screws into each side of the drive.
NOTE: Some workstations, such as the xw6200 and xw8200, do not require these guide screws.
6. Slide the optical drive completely into a drive bay so that the drive is secured. On some workstation
models, you will need to lift the spring-loaded latch on the left side of the optical drive cage while
sliding the new drive in.
Ä
CAUTION: Ensure that the optical drive has been properly secured. Failure to do so may cause damage
to the drive when moving the workstation.
NOTE: Refer to the documentation included with your workstation for specific instructions on securing an
optional drive.
5
Page 6

7. Connect the power, drive, and audio (if required) cables to the drive and workstation.
NOTE: Linux systems require the installation of the audio cable (see the illustration below). The location
of the connector varies depending on your system. Refer to the documentation CD that shipped with your
system for the appropriate location.
For Microsoft Windows systems, this cable is optional as Digital Audio can be enabled through the
operating system (see the “Enabling Digital Audio” section that follows).
NOTE: Refer to “IDE Interface Information” later in this document for recommended IDE configuration
information.
8. Reassemble the workstation by reinstalling the front bezel and access panel and then reconnecting any
peripheral devices to the workstation.
Enabling Digital Audio
If the system is using Windows 2000 or Windows XP, enable the audio as follows:
1. From the Control Panel double-click System.
2. Click the Hardware tab, then click Device Manager.
3. Double-click DVD/CD-ROM drives.
4. Right-click the appropriate optical drive, then click Properties.
5. Click the Properties tab, then click the Enable Digital CD Audio for this CD-ROM Device checkbox.
6. Click OK.
6
Page 7

Operating the Drive
Identifying the Controls
Item Components Functions
1 Drive Activity Light Turns on when the optical drive is reading
2 Manual Eject Button Opens the disc tray manually.
3 Disc Tray Holds the disc.
4 Load/Unload Button Opens and closes the disc tray.
information from the disc.
NOTE: The drive bezel and drive controls may not be identical to those shown.
Opening the Tray Manually
If you have exited the CD application and are unable to eject the disc with the load/unload button or if
right-clicking on the drive letter and selecting the eject function does not work, you can eject the disc
manually.
1. Insert a straightened paper clip or a metal rod approximately 1/16 inch (1.6 mm) in diameter and at
least 1 3/8 inches (34.9 mm) in length into the manual eject hole and push firmly until the tray
releases.
NOTE: The drive bezel and drive controls may not be identical to those shown.
2. Slowly pull the tray out from the drive until the tray is fully extended.
3. Remove the disc.
7
Page 8

IDE Interface Information
ATA Standard
The primary and secondary IDE controllers built into the workstation conform to the ATA standards.
NOTE: The cable may not be identical to the cable in the following illustration. Device 0 and Device 1
connectors are reversed on some cables. Verify the connector functions in the documentation that came
with the workstation or device before connecting the IDE interface cable.
Item Function
1 Device 0 connector (primary drive)
2 Device 1 connector (secondary drive)
3 System board connector
Regulatory Notices
This product has been tested and found to comply with the limits for a class B digital device of the FCC
Rules. Refer to the Safety and Regulatory Information guide on the documentation CD that came with your
workstation for additional regulatory information governing this product.
© 2004 Hewlett-Packard Development Company, L.P. The HP Invent logo is a registered
trademark of Hewlett-Packard Development Company, L.P. Microsoft and Windows are U.S.
registered trademarks of Microsoft Corporation. Linux is a U.S. registered trademark of Linus
To rva ld s.
365578-001
8
Page 9

オプテ ィ カル ドライブのインストール
本書では、 HP ワーク ステーショ ンにオプティ カル ドライブをインストールする方法を説明し
ます。
静電気対策
人間の指な ど、 導電体か ら の静電気の放電に よ っ て、 シ ス テ ム ボー ド な ど静電気に弱いデバイ
スが損傷 し た り 、 耐用年数が短 く なる こ と が あ り ます。
静電気の防止
静電気に よ る損傷を防 ぐ には、 以下の こ と を守 って く だ さ い。
■ 部品を 運搬し た り 保管し た り す る 際は、 静電気防止用のケー ス に入れ、 手で直接触れ る こ
とは避けます。
■ 静電気に弱い部品は、 静電気防止措置のな さ れてい る 作業台に置 く までは、 専用の ケー ス
に入れたま ま に し てお き ます。
■ 部品を ケース か ら 取 り 出す前に、 まずケース ご と アース さ れてい る面に置き ます。
■ ピ ン、 リ ー ド 線、 回路には触れない よ う に し ま す。
■ 静電気に弱い部品に触れる と き には、 つねに自分の身体に対し て適切な アース を行い ます。
HP Workstation 用
アースの方法
アー スにはい く つかの方法があ り ます。 静電気に弱い部品 を 取 り 扱 う と き には、 以下の う ち 1
つ以上の方法で アー ス を行っ て く だ さ い。
■ すでにアース さ れてい る コ ン ピ ュータ のシ ャーシにアー ス バン ド をつなぎます。 アース バ
ンドは柔軟な帯状のもので、 アース コード内の抵抗は、 1MΩ±10% です。 アー ス を正し
く行うために、 アース バン ドは肌に密着させて く ださい。
■ 立っ て作業する 場合には、 かか と やつま先にアース バ ン ド を 付け ま す。 導電性 ま たは静電
気拡散性の床の場合には、 両足にアース バン ド を付けます。
■ 磁気を 帯びていない作業用具を使用し ます。
■ 折 り たたみ式の静電気防止マ ッ ト が付いた、 携帯式の作業用具 も あ り ます。
上記のよ う な、 適切にアース を行 う ための器具がない場合は、 HP のサポー ト 窓口の担当者に
取り付けをご依頼ください。
注記 : 静電気について、 お よ び こ の製品の取 り 付けについて詳 し く は、 HP のサポー ト 窓口にお問い合わ
せください。
9
Page 10

イ ンス ト ールの準備
キッ トの内容
以下の コ ン ポーネ ン ト が、 オプテ ィ カル ドライブ キッ トに含まれています。
■ 5.25 インチ、 1/2 ハイ ト オプテ ィ カル ドライブ (IDE 対応)
■ オーデ ィ オ ケーブル
■ M3 ガイ ド用ネジ (4 本)
■ 保証書
注記 : お使いのオプテ ィ カル ド ラ イブの概観は、 図 と 多少異な る 場合があ り ます。
必要な工具
オプテ ィ カル ド ラ イ ブの イ ン ス ト ールには、 以下の工具が必要です。
■ トルクスT- 15 ド ライバ、 または、 マイナス ドライバ
注記 : ワーク ステーシ ョ ンの 機種に よ っ ては、 オ プ テ ィ カル ドライブはM3 メ ー ト ル式ガイ ド 用ネジを
使っ て取 り 付け る 場合があ り ま す。 こ れ ら の ワ ー ク ステーシ ョ ンには、 予備の メ ー ト ル式ガ イ ド 用ネ ジ が
付属し てお り 、 フ ロ ン ト ベゼルの下のシ ャーシの前面、 も し く は、 ア ク セス パネルの下のディ ス ケ ッ ト
ドライブ ブラケッ トにあり ます。 HP が提供す る メ ー ト ル式ネ ジ の色は黒です。
上記以外の ワー ク ステーシ ョ ンで は、 オプテ ィ カル ドライブにはこれらのガイド用ネジは必要ありませ
ん。 代わ り に、 ド ラ イ ブ ケージには、 正しい位置にオプテ ィ カル ド ラ イブを固定す る ラ ッチ機構が備
わっています。
注意事項
■ イ ン ス ト ール作業を始め る 前に、 ア ー ス し た金属に触れて静電気 を 放電し て く だ さ い。
■ オプシ ョ ン ボー ド やチ ッ プ、 あ る いは ワー ク ス テーシ ョ ン基板の金属露出部分に触 ら ない
■ 傷、 ひび、 ま た は歪みがあ る CD や状態の悪い CD を、 このオプテ ィ カル ドライブで使用し
ないで く だ さ い。
■ CD の中央の透明なプ ラ ス チ ッ ク の部分にひびが入っていない こ と を確認し て く だ さ い。 ひ
びの入っ た CD をこのオプティカル ドライブで使用しないでください。
■ CD の表面に粘着性のラ ベルを貼 り 付け ないで く ださ い。 CD にラベルを貼り付けると、 CD
およびオプテ ィ カル ド ラ イブが損傷す る こ と が あ り ます。
■ CD を落としたり、物にぶつけたりしないように注意してください。
ようにしてください。
10
Page 11

■ ほ こ り の多い場所、 直射日光が当た る場所、 極端な高温 も し く は低温の場所、 ま たは湿度
の高い場所に CD を放置しないで く ださい。
■ 操作中は ド ラ イ ブを動か さ ないで く だ さ い。 デー タ 読み取 り 中に ド ラ イ ブを動かす と 誤動
作する こ と が あ り ます。
■ 急な温度変化は ド ラ イ ブ内の結露を ま ね く こ と があ る ので避けて く だ さ い。 ド ラ イ ブの電
源が入っ てい る と き に急な温度変化が あ っ た場合は、 1 時間以上待っ て か ら 電源 を 切 っ て
く だ さ い。 す ぐ に操作す る と 、 誤動作する こ と が あ り ます。
■ ド ラ イブは高温多湿、 直射日光が当た る 場所、 ま たは機械の振動が あ る 所には置かないで
ください。
■ ド ラ イブを運搬す る際に必要にな り ますので、 お買い上げ時に ド ラ イ ブが入っ ていた箱や
使用 さ れていた保護材は、 捨てずに保管 し ておいて く だ さ い。
■ ド ラ イブを運搬す る際には、 ド ラ イ ブか ら CD を取 り 出し ておいて く だ さ い。
■ キャビネッ ト、 フロン ト パ ネル、 お よび ス イ ッチ類が汚れた場合は、 乾い た柔 ら かい布、
または薄めた洗剤で軽 く 湿ら せた柔ら かい布で拭いて く だ さ い。 決し て、 ク リ ーニ ン グ液
を直接スプレーし ないでく ださい。
■ アル コ ールやベン ジ ン な ど 、 揮発性の液体を使用し ないで く だ さ い。 変色や変質の原因 と
なります。
■ キ ャ ビネ ッ ト の中に異物や液体が入って し ま っ た場合は、 直ちに ワー ク ス テーシ ョ ンの電
源を切り 、 電源コード を AC コンセントから抜いて、 HP のサポー ト 窓口に点検を依頼し て
ください。
■ CD を使用 し な い と きは、 ド ラ イ ブ か ら 取 り 出し 、 ケ ー ス に入れて保管 し て く だ さ い。
■ CD を持つ と きは端を持ち、 表面や裏面には触れないで く だ さ い。
■ アル コ ールやベン ジ ン な ど の溶剤や静電気防止ス プ レ ーを使用し てデ ィ ス ク を清掃し ない
で く ださ い。 変色や変質の原因 と な り ます。
■ 円形の CD だけを使用して く だ さ い。 ハー ト 型やカード型などの変形 CD を、 このオプテ ィ
カル ドライブで使用しないでください。
ワークステーシ ョ ンの準備
以下の手順について詳 し く は、 お使いの ワ ー ク ステーシ ョ ンに付属の ド キュ メ ン ト を参照 し て
ください。
1. ディスケッ ト ドライブに挿入されているディスケットがあれば、 取り出します。
2. ワ ー ク ステーシ ョ ンお よびすべての周辺装置の電源を切 り ます。
3. AC 電源コ ー ド およ びすべて の外部装置を取 り 外 し ます。
Å
Å
警告 : 感電の危険やワー ク ス テーシ ョ ンの破損 を 防止する ため、 必ず、 コ ン セン ト か ら電源 コ ー ド
が抜き取っ てあ る こ と を確認 し て く だ さ い。
4. ワーク ステーシ ョ ンから アクセス パネルを取 り 外し、 フ ロ ン ト ベゼルを取 り 外し ます。
警告 : 表面が熱 く な っ て い るため、 やけ ど を し ないよ う に、 シ ステムの内部が十分に冷めてか ら手
を触れて く だ さ い。
11
Page 12

ド ラ イ ブの取 り 付け
注記 : お使いの ワ ー ク ステー シ ョ ンの外観は、 以下の図 と 多少異な る場合が あ り ます。 ド ラ イブ の取 り 付
けについて詳 し く は、 お使いの ワー ク ステーシ ョ ン に付属の ド キ ュ メ ン ト を参照 し て く だ さ い。
注記 : ワーク ステーシ ョ ンの機種によ っては、 ドラ イブ ベイによ り ド ライブの長さに制限がある場合があ
ります。
1. 新しいド ラ イブを取り 付ける ワーク ステーシ ョ ンのド ラ イブ ベイの位置を決めます。
注記 : 新しい ド ラ イブを取り 付ける場合は、 空きベイの中で上から 2 番目のベ イ を使用す る こ と をおすす
めします。
オプテ ィ カル
ドライブ ベイ
Å
Ä
警告 : 感電の危険やワー ク ス テーシ ョ ンの破損 を 防止する ため、 必ず、 コ ン セン ト か ら電源 コ ー ド
が抜き取っ てあ る こ と を確認 し て く だ さ い。
注意 : 静電気の放電に よ り 、 ワー ク ス テーシ ョ ンやオ プ シ ョ ン デバ イ スの電子部品が破損す る こ と
があ り ま す。 以下の手順を始める前に、 ア ー ス さ れた金属面に触れる な ど し て、 身体に た ま っ た静
電気を 放電 し て く だ さ い。 また、 オ プ シ ョ ン ボー ド やチ ッ プ、 ま たはワー ク ス テーシ ョ ンの回路基
板の金属部分には触れないで く だ さ い。 詳 し く は、 本書の 「規定に関す る ご注意」 を参照 し て く だ
さい。
2. ドライブを取り付けるベイから、ベゼル ブランクを取り外します。
3. EMI フィルターが取り付けられている場合は、取り外します。
4. お使いのオプテ ィ カル ドライブにガイド用ネジが必要な場合は、ベゼルの後ろのシャーシ
から (または、 アクセス パネルの下のデ ィ スケ ッ ト ドライブ ブラケッ トから) M3 ガイド
用ネジ を 4 本外し ます。
12
Page 13

5. ド ラ イブの両側に黒の M3 ガイ ド用ネジを 2 本ずつ取 り 付け ま す。
注記 : xw6200 や xw8200 などのワークステーシ ョ ンには、 これらのガイド用ネジは必要あ り ません。
6. オプテ ィ カル ドライブをドライブ ベ イ に ス ラ イ ド させて完全に押し 込み、 ド ラ イ ブ を 固定
し ま す。 ワー ク ス テーシ ョ ンの機種に よ っては、 新 し い ド ラ イ ブ を ス ラ イ ド さ せる 際に、
オプテ ィ カル ドライブ ケージ の左側のばね付 き ラ ッチ を 持ち上げ る必要が あ り ます。
Ä
注意 : オプテ ィ カル ド ラ イ ブが し っか り と 固定 さ れてい る こ と を確認 し て く だ さ い。 ド ラ イ ブが正
し く 固定 さ れていない と 、 ワー ク ス テ ー シ ョ ン を 移動 し た と き な どに ド ラ イ ブが破損す るおそれが
あります。
注記 : オプシ ョ ンの ド ラ イブ を、 お使いの ワー ク ス テーシ ョ ン に固定す る 特有の方法につい て の詳細は、
お使いの ワ ー ク ステーシ ョ ンに付属の ド キュ メ ン ト を参照 し て く だ さ い。
13
Page 14

7. 電源ケーブル、 ド ラ イ ブ ケーブル、 および、 オーデ ィ オ ケ ーブル (必要な場合) を、 ド ラ
イブと ワークステーシ ョ ンに接続します。
注記 : Linux システムには、 オーディオ ケーブル (以下の図を参照) を イ ン ス ト ールする 必要が あ り ます。
コ ネ ク タ の位置は、 お使いの シ ス テ ム に よ って異な り ま す。 正し い位置は、 お使いのシ ス テ ムに付属の ド
キュメン ト CD を参照して く ださい。
Microsoft Windows システムの場合は、 オペレーティ ング システムからデジタル オーデ ィ オ を有効にす る
こ と がで き る ので、 こ のケーブルはオプシ ョ ンと な り ます。 (次の項 「デジ タ ル オーデ ィ オ を有効にす る
方法」 を参照)
注記 : 推奨 さ れ る IDE 構成情報については、 本書の 「IDE イ ン ターフ ェ イ ス について」 を参照 し て く だ さ
い。
8. フロント ベゼルお よ びア ク セ ス パネル を 元に戻 し、 すべて の周辺装置を ワ ー ク ステーシ ョ
ンに接続 し 直 し て、 ワー ク ステーシ ョ ン を組み立て直 し ます。
デジタル オーデ ィ オを有効にする方法
お使いの シ ス テ ム で Windows 2000 または Windows XP を使用している場合は、 以下の手順で
オーディ オ を有効に設定し ます。
1. [ コン トロール パネル ] から [ システム ] をダブルク リ ッ ク します。
2. [ ハー ド ウ ェ ア ] タブをク リ ッ ク し、 [ デバ イ ス マネージャ ] をク リ ックします。
3. [DVD/CD-ROM ドライブ] をダブルク リ ッ ク し ます。
14
Page 15

4. 該当する CD-ROM ドライブを右クリックして、 [ プロパティ ] をク リ ックします。
5. [ プロパティ ] タブをク リ ッ ク して、 [ この CD-ROM デバ イ ス でデジ タ ル音楽 CD を使用可
能にする ] チェ ッ クボ ッ ク スをオンにします。
6. [OK] をク リ ックします。
15
Page 16

オプテ ィ カル ドライブの使い方
各部の名称
項目 名称 機能
1
ドライブ ランプ CD か ら の情報の読み出 し 中に点灯 し ます
2
手動取 り 出 し ホール 開閉ボ タ ン を押 し て も ト レ イ が開かない場合
に、 手動で ト レ イ を 開け る こ と がで き ま す
3
CD トレイ CD をオプテ ィ カル ドライブに挿入します
4
開閉ボ タ ン CD ト レ イの開閉を行い ます
注記 : お使いのオプテ ィ カル ドライブのドライブ ベゼルや ド ラ イブの各部は、 図 と 多少異な る 場合があ
ります。
CD ト レ イ を手動で開 く
CD のアプ リ ケーシ ョ ンを終了し て し ま っ て開閉ボ タ ン でデ ィ ス ク を取 り 出せな い場合や、 ド
ラ イ ブ文字を右 ク リ ッ ク して取 り 出し メ ニ ューを 選択 し て も取 り 出せない場合は、 手動でデ ィ
スクを取り出すことができます。
1. ま っす ぐ に伸ば し た ク リ ッ プや直径約 1.6 ミリ、34.9 ミ リ 以上の長 さ の金具の棒 を、 手動
取り出しホールに差し込み、 強く押して、 トレイを開きます。
注記 : お使いのオプテ ィ カル ドライブのドライブ ベゼルや ド ラ イブの各部は、 図 と 多少異な る 場合があ
ります。
2. トレイをゆっくりとドライブから引き出します。
3. ト レ イ が完全に出てか ら デ ィ ス ク を取 り 出 し ます。
16
Page 17

IDE インターフェイスについて
ATA 標準
ワーク ステーショ ンに装備されているプラ イマ リ IDE コン ト ローラおよびセカンダリ IDE コン
トローラは、ATA 標準に準拠 し てい ま す。
注記 : お使いのケーブルの外観は、 図 と 多少異な る場合が あ り ます。 一部のケーブルでは、 デバ イ ス 0 用
コネクタ とデバイス 1 用 コ ネ ク タの位置が逆にな ってい ま す。 IDE ケーブルを接続する 前に、 お使いの
ワー ク ス テーシ ョ ン ま たは装置に付属の ド キ ュ メ ン ト で コ ネ ク タの機能 を 確認 し て く だ さ い。
項目 機能
1
デバイ ス 0 用コネク タ (プライマ リ ドライブ用)
2
デバイ ス 1 用コネク タ (セカンダリ ドライブ用)
3
システム ボー ド 用コネ ク タ
規定に関する ご注意
こ の装置は、 情報処理装置等電波障害自主規制協議会 (VCCI)の基準に基づくクラスB 情報
技術装置です。 こ の装置の規定情報につい て詳 し く は、 お使いの コ ン ピ ュ ー タ に付属の ド キ ュ
メント CD に収録 さ れてい る 『規定およ び安全に関す る ご注意』 を参照し て く だ さ い。
365578-001
© 2004 Hewlett-Packard Development Company, L.P. The HP Invent logo is a registered
trademark of Hewlett-Packard Development Company, L.P. Microsoft および Windows は、 米
国におけ る Microsoft Corporation の登録商標です。 Linux は、 米国におけ る Linus
Tor va lds の登録商標です。
17
Page 18

18
 Loading...