

Page 1

Installing HP TechPulse Device
Software into a Windows 10
Custom Image
Page 2

Installing HP TechPulse Device Software into a Windows 10 Custom Image
2
Contents
Introduction ................................................................................................................................................................. 3
Prerequisites ............................................................................................................................................................... 3
Obtaining the User Principal Name (UPN) domain suffix for your company .................................................. 3
Send Primary Contact information to HP ............................................................................................................ 3
Configure Proxies or Firewalls for Communication with HP TechPulse .......................................................... 3
Perform manual enrollment test for HP TechPulse .......................................................................................... 4
Method 1: Windows 10 Audit Mode ......................................................................................................................... 5
Creating an install.cmd batch script file .............................................................................................................. 5
Creating the Reference Image .............................................................................................................................. 6
Capturing the Reference Image ........................................................................................................................... 9
Applying the Captured Image ............................................................................................................................. 10
Method 2: System Center Configuration Manager (SCCM) Task Sequence ....................................................... 13
Creating an install.cmd batch script file ............................................................................................................ 13
Creating an application in SCCM ......................................................................................................................... 13
Adding the application to an existing Windows 10 Installation Task Sequence .......................................... 15
Page 3

Installing HP TechPulse Device Software into a Windows 10 Custom Image
3
Introduction
This document describes the recommended process to install the HP TechPulse Windows Application into
a Windows 10 Custom Image. The instructions provided below are intended for IT personnel responsible
for creating reference images and applying images to Windows 10 PCs.
If you are using HP Configuration Services, contact your HP sales representative or Business Partner to
load the HP TechPulse Windows Application into your custom image.
Prerequisites
NOTE: Do not skip the Prerequisites Section of this guide.
Obtaining the User Principal Name (UPN) domain suffix for your
company
This section describes the steps required to obtain the User Principal Name (UPN) domain suffix(es) which
you will need to provide to your HP Service Expert prior to enrolling your PCs. Please note, PCs must be
domain-joined and have a valid UPN name in order to enable silent enrollment.
Follow these steps to get UPN suffixes for each domain or subdomain using a Windows computer:
1. Open a command prompt, then type WhoAmi /UPN. Press Enter to get the UPN name.
2. For multi-level domain environments, repeat these steps on another device located in the other
domain(s) or subdomain(s).
3. Send the UPN name(s) to your HP Service Expert. For example, if the UPN name is
user@contoso.com, then contoso.com is what you would send.
Send Primary Contact information to HP
HP requires the Name and Email Address of your Primary IT contact in order to set up your HP TechPulse
company tenant. Please send the Name and Email address of your Primary IT Contact to your HP Service
Expert or Business Partner.
Configure Proxies or Firewalls for Communication with HP
TechPulse
Please review the Configuring a Proxy or Firewall document and configure the proxy or firewall to allow
communication through the required domains and ports.
If your devices connect through a proxy server for internet access, the HP TechPulse Windows Application
will automatically detect the proxy server based on the proxy auto-discovery, proxy auto-configuration or
static proxy settings on the device. If the proxy server cannot be automatically detected, you may need to
specify a static proxy server or proxy auto-configuration URL for the HP TechPulse Windows Application.
For help, please see the HP TechPulse Device Software Deployment Guide document.
Page 4

Installing HP TechPulse Device Software into a Windows 10 Custom Image
4
Perform manual enrollment test for HP TechPulse
HP recommends that you perform a manual enrollment test prior to installing the HP TechPulse Windows
Application into the custom image. This step should be completed on a PC which is running the custom
operating system image which will be deployed.
Follow these steps to perform a manual enrollment test:
1. On a Windows PC which is domain-joined and on your network, launch a web browser and
download the latest version of the HP TechPulse Windows Application from
https://www.hpdaas.com/software.
2. Download the HP TechPulse Windows Application installer file.
3. Copy the setup.exe installer file to a folder such as c:\temp
4. Launch a Windows Administrator command prompt and navigate to the folder where you copied
the setup.exe installer file.
5. Replace the Company-wide PIN with the PIN provided by your HP Service Expert and run the
following command:
setup.exe /silent CPIN=Company-wide PIN
6. The HP TechPulse Windows Application should automatically install. When the enrollment
confirmation window appears, click Agree
7. The enrollment status can be confirmed by right clicking the HP icon in the Windows System Tray
and selecting Status. The Device Enrollment Status should show as Enrolled.
8. If the HP TechPulse Windows Application does not enroll, in the command prompt navigate to
C:\Program Files (x86)\Hewlett-Packard\HP Touchpoint Manager\Tools.
9. Run the following command:
hpreport.exe /get
10. A zip file named “HPREPORT-#########-######.zip” will be created under the c:\ root
directory. Please send this file to your HP Service Expert or Business Partner.
Page 5
Installing HP TechPulse Device Software into a Windows 10 Custom Image
5
Method 1: Windows 10 Audit Mode
Follow the steps below to install HP TechPulse Windows Application into a custom image using Windows
10 Audit Mode.
Creating an install.cmd batch script file
This section describes how to download the HP TechPulse Windows Application and create an install.cmd
batch script file to pre-configure the HP TechPulse Windows Application in the image to enable automatic
device enrollment.
1. On a Windows PC, launch a web browser and download the latest version of the HP TechPulse
Windows Application from https://www.hpdaas.com/software.
2. Download the HP TechPulse Windows Application installer file.
3. Copy the setup.exe installer file onto a USB drive.
4. In a text editor such as Notepad, create a file named install.cmd.
5. Copy and paste the following text into the body of the install.cmd batch script file:
reg add "HKLM\SOFTWARE\Policies\Hewlett-Packard\HP Touchpoint
Manager\GPO\DisableOnlineCheck" /v State /t REG_SZ /d True /f
%~dp0setup.exe /silent CPIN=Company-wide PIN
6. Replace the Company-wide PIN with the PIN provided by your HP Service Expert, then save the
file. For example: %~dp0setup.exe /silent CPIN=AbcDefg
NOTE: The reg add command above can be omitted if the imaged Windows 10 PCs will
not connect to the internet via authenticated proxies.
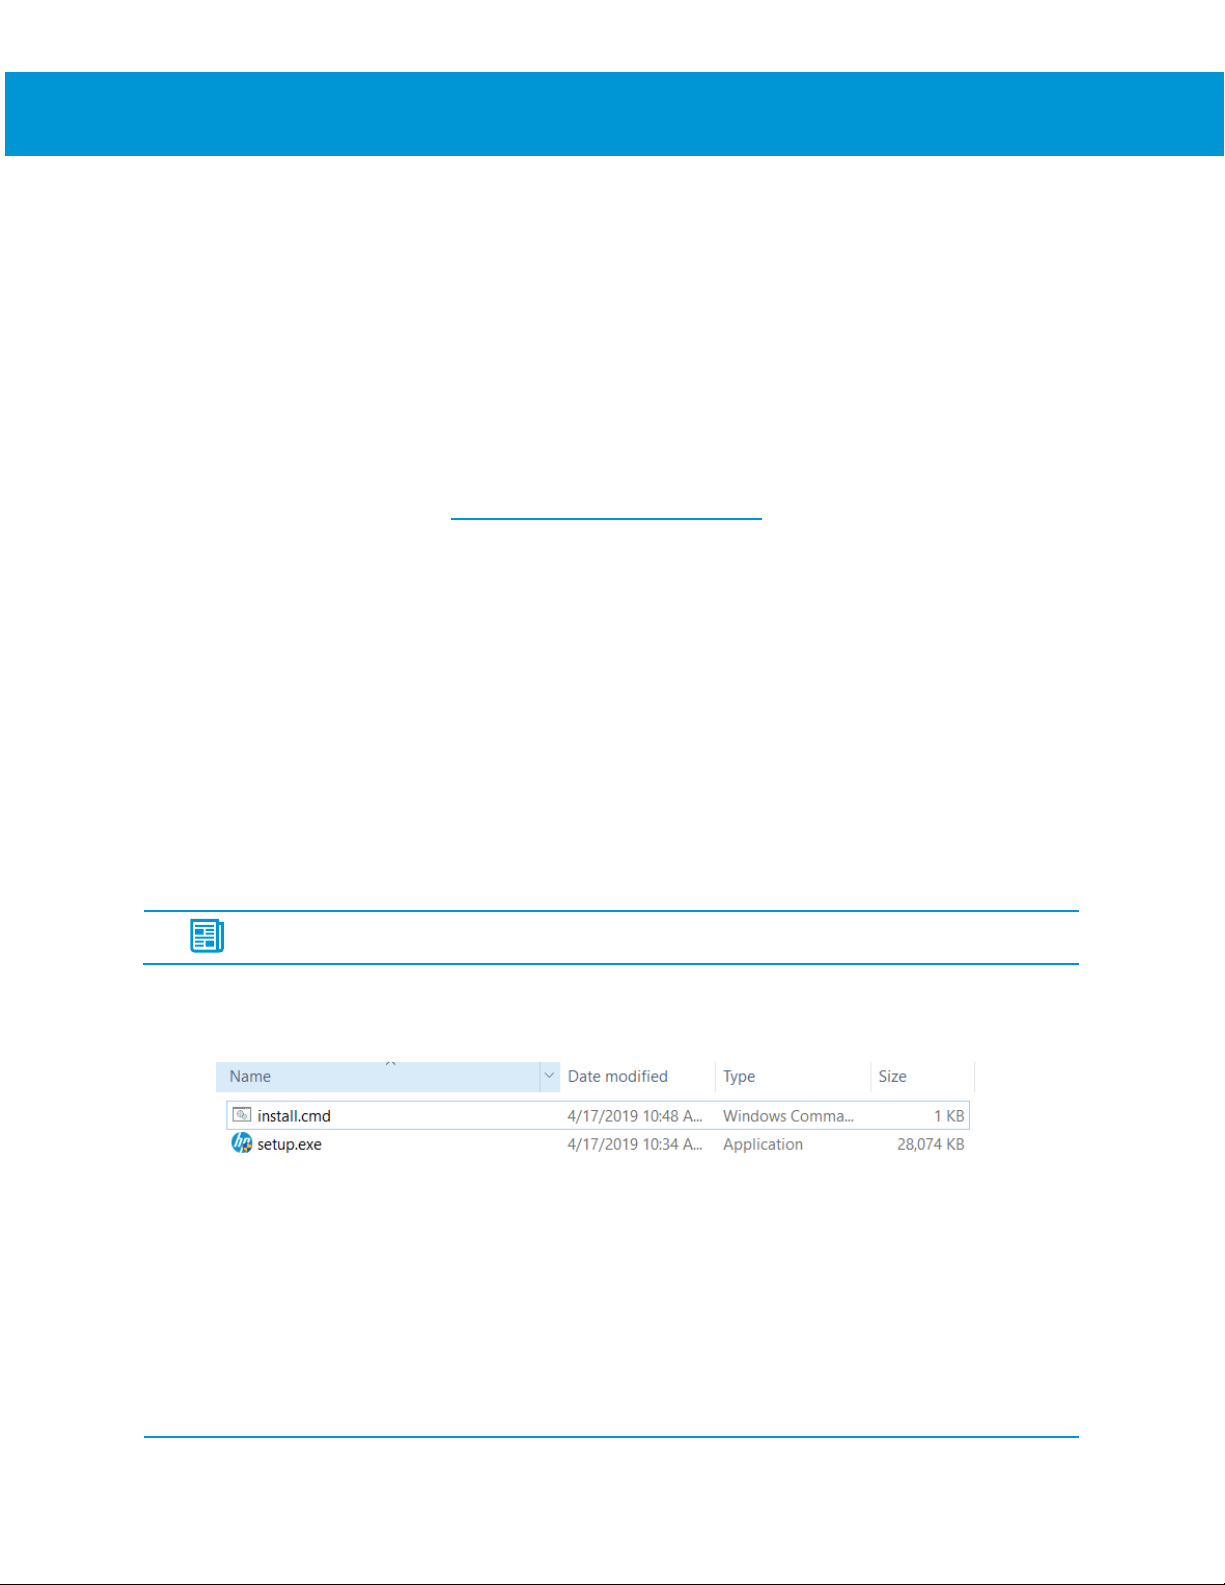
7. Ensure that you have the following files on the USB drive.
Page 6

Installing HP TechPulse Device Software into a Windows 10 Custom Image
6
Creating the Reference Image
This section describes the steps to modify a Windows 10 Reference Image to add the HP TechPulse
Windows Application. The instructions below assume that you already have a Windows 10 Reference
Image created and are adding the HP TechPulse Windows Application to the image.
WARNING: Prior to performing the steps below, ensure that the PC with the Reference
Image does not have access to the internet.
1. Boot the Windows 10 PC with the Reference Image into Audit Mode. To do this, boot the device to
the Windows Out-Of-Box-Experience (OOBE) screen. Then press CTRL + SHIFT + F3 to enter Audit
Mode.
2. Once the PC is in Audit Mode, you should see the System Preparation (Sysprep) tool appear. You
can leave this dialog open.
3. Insert the USB drive into the PC.
4. Launch Windows Explorer and navigate to the USB drive.
5. Right click on the install.cmd file and select Run as administrator.
Page 7

Installing HP TechPulse Device Software into a Windows 10 Custom Image
7
6. A command window should appear and start executing the install command. After the command
window disappears, the HP icon should appear in the system tray with a Yellow exclamation mark
showing that the HP TechPulse is Not Enrolled.
WARNING: The HP TechPulse must show as Not Enrolled after the step above. If it shows
as Enrolled, the Reference Image will not be created correctly. Ensure the device is not
able to connect to the internet to perform enrollment.
7. In Windows Explorer, navigate to the C:\ProgramData\Hewlett-Packard\HP Touchpoint Manager
local path on the PC.
8. In the folder, there should be an enroll_config.json file created.
Page 8

Installing HP TechPulse Device Software into a Windows 10 Custom Image
8
9. If the enroll_config.json file does not appear, there may be an issue with the install.cmd script file.
Follow the steps below to retry:
10. Right click the install.cmd script again and ensure Run as administrator is selected.
11. Repeat the steps in Downloading HP TechPulse Windows Application and creating an install script
to recreate the install.cmd file, then try to run the script again.
12. Remove the USB drive from the PC.
13. In the Sysprep Tool, ensure the following options are selected, then select OK:
14. System Cleanup Action: Enter System Out-of-Box Experience (OOBE)
15. Select Generalize
16. Shutdown Options: Shutdown
Alternatively, you can also run the following command in a command window:
Sysprep /generalize /shutdown
17. The Reference PC will then be generalized, and the image can be captured.
Page 9

Installing HP TechPulse Device Software into a Windows 10 Custom Image
9
Capturing the Reference Image
This section describes the steps to capture the reference image after the HP TechPulse Windows
Application is installed. These steps are provided as a reference, the steps can be modified to align with
your standard imaging procedure.
1. Prepare bootable USB Media to boot a PC to the Windows Preinstall Environment (WinPE).
2. For help, please see the Microsoft resources below:
3. Download WinPE (Windows PE)
4. Create bootable WinPE media
5. Prepare a USB drive to store the captured image or configure a file storage location that is
accessible to the PC. Ensure there is enough space on the USB drive to store the image.
6. On the PC with the Reference Image, insert the bootable WinPE media and boot the device to
WinPE.
7. In the command prompt, run the following command to capture the Windows partition:
Dism /Capture-Image /ImageFile:"D:\Images\company.wim" /CaptureDir:C:\ /Name:Company
Where D: is a USB drive or other file storage location. For example:
8. The image should be successfully captured and saved to the USB drive or file storage location.
WARNING: Prior to performing the steps below, ensure that the UPN domain suffixes for
your company have been provided to your HP service expert and has been configured in
your HP TechPulse tenant.
Page 10

Installing HP TechPulse Device Software into a Windows 10 Custom Image
10
Applying the Captured Image
This section describes the steps to apply the captured image to a PC and confirm that the HP TechPulse
Windows Application can enroll successfully. These steps are provided as a reference, the steps can be
modified to align with your standard imaging procedure.
1. Prepare a PC to apply the image to.
2. Create a script for partitioning the hard drive on the PC. The script can be customized to create
UEFI/GPT-based or BIOS/MBR-based hard drive partitions. Select the partition option based on the
hardware you are applying the image to.
3. For help, please see the Microsoft Resources below:
4. BIOS/MBR-based hard drive partitions
5. UEFI/GPT-based hard drive partitions
6. Create a script for applying the captured image to the PC.
7. For help, please see the Microsoft Resources below:
8. Capture and apply a Windows image using a single .WIM file
9. Copy the scripts for partitioning the hard drive and applying the captured image to a USB drive.
This can be the same USB drive used to capture the reference image in the Capture the Reference
Image section above.
10. Boot the PC to WinPE using the bootable WinPE Media created earlier, then insert the USB drive
containing the scripts and captured image.
11. Partition the hard drive by running the diskpart utility and applying the drive partitioning script
created above. For example:
diskpart /s CreatePartitions-UEFI.txt
If the partitioning was successful, you should see the drive partitioned like the screen below:
12. Apply the image to the Windows and Recovery partitions using the script created above. For
example, if the script and images are on the D: drive:
Page 11

Installing HP TechPulse Device Software into a Windows 10 Custom Image
11
C:\ApplyImage.bat C:\Images\Fabrikam.wim
13. If the script fails to find the Winre.wim file, you may need to copy the Winre.wim file to the USB
drive from your Windows 10 Installation Media. On Windows 10 Installation Media, the Winre.wim
file is located inside the install.wim file under the \Windows\system32\Recovery path.
14. If the images were successfully applied to the PC, you should see Operation Successful messages
like in the screen below:
15. Remove the bootable WinPE Media and USB drive from the PC. Type Exit in WinPE to reboot the
PC. The PC should boot to Windows 10 OOBE.
16. While going through Windows 10 OOBE, ensure that you connect the PC to a network that has
access to the internet.
17. After the OOBE process completes and the Windows desktop is displayed, the PC should
automatically enroll to HP TechPulse.
Page 12

Installing HP TechPulse Device Software into a Windows 10 Custom Image
12
18. If the device is domain-joined and the UPN domain suffixes have been configured in the HP
TechPulse company tenant, the PC will silently enroll when connected to the internet.
19. If the device is not domain-joined, you will see an Enrollment Confirmation dialog such as the
following, selecting Agree will complete the enrollment process:
20. The enrollment status can be confirmed by right clicking the HP system tray icon and selecting
Status. The Device Enrollment Status should show as Enrolled, like in the screen below:
Page 13

Installing HP TechPulse Device Software into a Windows 10 Custom Image
13
Method 2: System Center Configuration Manager
(SCCM) Task Sequence
Follow the steps below to install the HP TechPulse Windows Application into a custom image using a
System Center Configuration Manager (SCCM) Task Sequence.
Creating an install.cmd batch script file
This section describes how to create an install.cmd batch script file to pre-configure the HP TechPulse
Windows Application in the image to enable automatic device enrollment.
1. On a Windows PC, launch a web browser and download the latest version of the HP TechPulse
Windows Application from https://www.hpdaas.com/software.
2. Download the HP TechPulse Windows Application installer file.
3. Copy the setup.exe installer file onto a file share accessible by SCCM.
4. In a text editor such as Notepad, create a file named install.cmd.
5. Copy and paste the following text into the body of the install.cmd batch script file:
reg add "HKLM\SOFTWARE\Policies\Hewlett-Packard\HP Touchpoint
Manager\GPO\DisableOnlineCheck" /v State /t REG_SZ /d True /f
%~dp0setup.exe /silent CPIN=Company-wide PIN
6. Replace the Company-wide PIN with the company-wide PIN provided by your HP Service Expert or
Business Partner. For example: %~dp0setup.exe /silent CPIN=AbcDefg
NOTE: The reg add command above can be omitted if the imaged Windows 10 PCs will
not connect to the internet via authenticated proxies.
7. Save the script file onto the same file share where the setup.exe installer file was saved.
Creating an application in SCCM
This section describes how to create an application in SCCM to install the HP TechPulse Windows
Application.
1. Log into the SCCM Admin Console. Start the Create Package & Program Wizard. In the SCCM
Admin Console, click Software Library. In the Software Library workspace, click Application
Management > Applications. Click Create Application at the top.
2. Select Manually specify the application information, and then click Next.
3. Type the following in the respective fields:
4. Name: HP TechPulse Windows Application
Page 14

Installing HP TechPulse Device Software into a Windows 10 Custom Image
14
5. Publisher: HP Inc.
6. Version: 3.xx.xxx (replace with the version of the setup.exe file you are deploying).
7. Click Next to accept the defaults for the Application Catalog entry.
8. Click Add to create a new Deployment Type, then select Script Installer. Manually specify the
deployment type information will automatically be selected, then click Next.
9. Type “HP TechPulse Windows Application Silent Install” as the Name for the deployment, and then
click Next.
10. In Content Location, specify the Network path (UNC name) to the install.cmd file.
11. In Installation Program, specify the install.cmd file.
12. In Uninstall Program, specify the following command.
%PROGRAMFILES%\InstallShield Installation Information\{24CB35EB-F445-4061-8C3A67D5631996C5}\setup.exe -remove -silent
13. Select the checkbox for Run installation and uninstall program as 32-bit process on 64-bit clients,
then click Next.
14. To specify the detection rules, click Add Clause and enter the following rules to detect the
existence of the client binaries, then click OK. Click Next to proceed:
15. Setting Type: File System
16. Path: %ProgramFiles%\Hewlett-Packard\HP Touchpoint Manager\Agent
17. File or folder name: LHAgent.exe
18. Select the “This file or folder is associated with a 32-bit application on 64-bit systems” check box.
19. Select the “The file system setting must exist on the target system to indicate presence of this
application” check box.
20. To specify the user experience settings, select the following settings, and then click Next.
21. Installation behavior: Install for system
22. Logon requirement: Whether or not a user is logged on
23. Installation program visibility: Hidden
24. Maximum allowed run time (minutes): 20
25. Click Next to accept the defaults for installation requirements.
26. Click Next to accept the defaults for software dependencies.
27. Confirm the deployment details, and then click Next.
28. When the completion screen is displayed, click Close.
29. In the Create Application Wizard, click Next to proceed.
Page 15

Installing HP TechPulse Device Software into a Windows 10 Custom Image
15
30. Confirm the settings, and then click Next.
31. When the completion screen is displayed, click Close.
32. The new application is displayed under the Applications node. Right-click, and then select
Properties.
33. Select the Distribution Settings tab, and then select Automatically download content when
packages are assigned to distribution points.
34. Distribute the application to the distribution point by right clicking the application and selecting
Distribute Content, then walk through the content distribution wizard.
Adding the application to an existing Windows 10 Installation Task
Sequence
This section describes how to add the HP TechPulse Windows Application to an existing Task Sequence.
These steps assume you already have an existing task sequence for installing Windows 10.
1. In the SCCM Admin Console, click Software Library. In the Software Library workspace, click
Operating Systems > Task Sequences.
2. Right click your existing Windows 10 Deployment task sequence and select Edit.
3. Add a new Install Application task to your Install Application task group so that it installs with your
other applications. It should be added after the Join-Domain or Workgroup task if present.
4. To add the new Install Application task, select the Setup Operating System node, then select Add
> Software > Install Application.
5. Select the Star icon under the Install the following applications section, then select the HP
TechPulse Windows Application and select OK.
6. Select OK to update the task sequence.
7. Depending on your imaging procedures, create Task Sequence Media or capture a Reference
Image using the task sequence.
Page 16

Installing HP TechPulse Device Software into a Windows 10 Custom Image
16
© Copyright 2021 HP Development Company, L.P. The information contained herein is subject to change without notice. The only
warranties for HP products and services are set forth in the express warranty statements accompanying such products and
services. Nothing herein should be construed as constituting an additional warranty. HP shall not be liable for technical or editorial
errors or omissions contained herein.
Microsoft and Windows are either registered trademarks or trademarks of Microsoft Corporation in the United States and/or other
countries.
February 1, 2021
 Loading...