

HP DiagTools 2.2 User Manual

DiagTools Version 2.2
User’s Guide
HP Brio PCs
HP Vectra PCs
HP Kayak PC Workstations

Notice
The information contained in this document is subject to change
without notice.
Hewlett-Packard makes no warranty of any kind with regard to this
material, including, but not limited to, the implied warranties of
merchantability and fitness for a particular purpose. Hewlett-Packard
shall not be liable for errors contained herein or for incidental or
consequential damages in connection with the furnishing, performance,
or use of this material.
This document contains proprietary information that is protected by
copyright. All rights are reserved. No part of this document may be
photocopied, reproduced, or translated to another language without the
prior written consent of Hewlett-Packard Company.
3Com is a registered trademark of 3Com Corporation
AMIDIAG is a trademark of American Megatrends Inc.
Acrobat is a trademark of Adobe Systems Inc.
Celeron, Intel, MMX, OverDrive and Pentium either registered trademarks or
trademarks of Intel Corporation.
Crystal is a trademark of Cirrus Logic Inc.
Matrox is a registered trademark of Matrox Electronic Systems Ltd.
Microsoft, MS, MS-DOS, Windows and Windows NT are either registered
trademarks or trademarks of Microsoft Corporation in the United States and/or
other countries.
Sound Blaster is a trademark of Creative Technology Ltd. in the United States
and/or other countries.
Hewlett-Packard France
Commercial Computing Division
38053 Grenoble Cedex 9
France
1999 Hewlett-Packard Company
Doc ver 2.2 09/99 for DiagTools ver 2.20

User’s Guide

Who Should Read This Book
Who Should Read This Book
This manual is for anyone who wants to:
Diagnose hardware problems on a Brio PC, Vectra PC or Kayak PC
•
Workstation
Understand the purpose of DiagTools
•
Learn how to use DiagTools
•
Know what to do when a test fails
•
Provide HP-dedicated Support Agents with more information for
•
solving problems quickly and effectively
Find out where to get more information and support.
•
What is DiagTools?
The first step in solving a problem with a PC is diagnosis.
HP’s DiagTools helps you diagnose hardware-related problems on a
Brio PC, Vectra PC or Kayak PC Workstation. It is a series of tools
designed to help you to:
Verify the correct functioning of a Brio PC, Vectra PC or a Kayak PC
•
Workstation
Diagnose hardware-related problems
•
Provide precise information to HP-dedicated Support Agents so that
•
they can solve any problem quickly and effectively.
DiagTools is not a repair tool.
iv English

Overview of DiagTools
Overview of DiagTools
The hardware diagnostics utility has four parts:
❒ Hardware Detection, which automatically detects the complete
hardware configuration of a Brio PC, Vectra PC or Kayak PC
Workstation. Hardware detection is described in chapter 2.
❒ The Basic Tests, which determine the correct functioning of the PC
as a whole. The basic test phase is described in chapter 3.
❒ The Advanced Tests. These provide complete, in-depth testing and
diagnosis of the PC’s individual components. The advanced test
phase is described in chapter 4.
❒ The Support Ticket, which is a complete record of the test results
and the PC’s configuration. The support ticket can be used to
communicate the test results to your local or HP-dedicated Support
Agent. This is described in chapter 5.
Compatibility
DiagTools version 2.2 can run on the following HP platforms:
❒ Brio BA400
Brio BA600
Additional models will be supported by this version of DiagTools. For
more information refer to the HP Web site:
HP Vectra Support http://www.hp.com/go/vectrasupport
HP Kayak Support http://www.hp.com/go/kayaksupport
Other versions of DiagTools are available for older Brio, Vectra and
Kayak models.
Specific DiagTools versions are also available for HP Omnibook, HP
NetServer and HP Thin Client computers.
English v

More Information
More Information
For more information about DiagTools, visit the HP Web site:
http://www.hp.com/desktops/diagtools
For more information about the HP Web site and HP Customer Care
Service and Support, refer to page 34.
vi English

Contents
Who Should Read This Book . . . . . . . . . . . . . . . . . . . . . . . . . . . . . . . . iv
What is DiagTools? . . . . . . . . . . . . . . . . . . . . . . . . . . . . . . . . . . . . . . . . iv
Overview of DiagTools . . . . . . . . . . . . . . . . . . . . . . . . . . . . . . . . . . . . . . v
Compatibility . . . . . . . . . . . . . . . . . . . . . . . . . . . . . . . . . . . . . . . . . . . . . . v
More Information. . . . . . . . . . . . . . . . . . . . . . . . . . . . . . . . . . . . . . . . . . vi
1 Running DiagTools
Overview. . . . . . . . . . . . . . . . . . . . . . . . . . . . . . . . . . . . . . . . . . . . . . . . . . 2
Before Running DiagTools . . . . . . . . . . . . . . . . . . . . . . . . . . . . . . . . . . . 3
More Information About The PC’s Setup Program . . . . . . . . . . . . . . . . . . 3
Running DiagTools from the Special Partition on your Hard Disk. . 4
Running DiagTools from the HP “Recovery” CD-ROM. . . . . . . . . . . . 5
Running DiagTools from the HP DiagTools CD-ROM . . . . . . . . . . . . 5
The Welcome Screen. . . . . . . . . . . . . . . . . . . . . . . . . . . . . . . . . . . . . . . . 6
2 Hardware Detection
Overview of Hardware Detection . . . . . . . . . . . . . . . . . . . . . . . . . . . . . 8
During Hardware Detection . . . . . . . . . . . . . . . . . . . . . . . . . . . . . . . . . . . . 8
Hardware Detection Results . . . . . . . . . . . . . . . . . . . . . . . . . . . . . . . . . . . . 9
English vii

What is Detected . . . . . . . . . . . . . . . . . . . . . . . . . . . . . . . . . . . . . . . . . 10
If a PC Component is Not Detected. . . . . . . . . . . . . . . . . . . . . . . . . . 11
3Basic System Test
Overview of the Basic System Test . . . . . . . . . . . . . . . . . . . . . . . . . . 14
How to Run the Basic System Test . . . . . . . . . . . . . . . . . . . . . . . . . . 14
Test Result: PASSED . . . . . . . . . . . . . . . . . . . . . . . . . . . . . . . . . . . . . . 15
Test Result: FAILED . . . . . . . . . . . . . . . . . . . . . . . . . . . . . . . . . . . . . . 16
What to do if the Basic System Test Fails . . . . . . . . . . . . . . . . . . . . . . . . 17
What is Tested . . . . . . . . . . . . . . . . . . . . . . . . . . . . . . . . . . . . . . . . . . . 18
4 Advanced System Tests
Overview of the Advanced System Tests . . . . . . . . . . . . . . . . . . . . . 22
How to Enter the Advanced System Tests . . . . . . . . . . . . . . . . . . . . 22
Help on Advanced Tests . . . . . . . . . . . . . . . . . . . . . . . . . . . . . . . . . . . 23
How to Run an Advanced System Test . . . . . . . . . . . . . . . . . . . . . . . 23
Batch Tests . . . . . . . . . . . . . . . . . . . . . . . . . . . . . . . . . . . . . . . . . . . . . . 25
What to Do if a Test Fails . . . . . . . . . . . . . . . . . . . . . . . . . . . . . . . . . . 27
What to Do if You Get an Error Code . . . . . . . . . . . . . . . . . . . . . . . . 28
viii English

5 The Support Ticket
What is the Support Ticket? . . . . . . . . . . . . . . . . . . . . . . . . . . . . . . . . . 30
Creating a Support Ticket. . . . . . . . . . . . . . . . . . . . . . . . . . . . . . . . . . . 30
Viewing the Support Ticket. . . . . . . . . . . . . . . . . . . . . . . . . . . . . . . . . . . . 31
Adding Comments to the Support Ticket. . . . . . . . . . . . . . . . . . . . . . 32
6 HP Customer Care Service and Support
Your HP Authorized Reseller . . . . . . . . . . . . . . . . . . . . . . . . . . . . . . . . 34
Hewlett-Packard Support and Information Services . . . . . . . . . . . . 34
English ix

Appendix A The Error Codes
Error Code Overview. . . . . . . . . . . . . . . . . . . . . . . . . . . . . . . . . . . . . . 36
0000h – 00FFh: System Error Codes . . . . . . . . . . . . . . . . . . . . . . . . 37
0100h – 01FFh: Memory Error Codes . . . . . . . . . . . . . . . . . . . . . . . 45
0300h – 03FFh: Floppy Disk Error Codes . . . . . . . . . . . . . . . . . . . 48
0400h – 04FFh: Keyboard Error Codes. . . . . . . . . . . . . . . . . . . . . . 52
0500h – 05FFh: SCSI Error Codes . . . . . . . . . . . . . . . . . . . . . . . . . . 53
0600h – 06FFh: Serial Port Error Codes . . . . . . . . . . . . . . . . . . . . . 56
0700h – 07FFh: Parallel Port Error Codes . . . . . . . . . . . . . . . . . . . 58
0800h – 080Fh: Sound Blaster Compatible Error Codes . . . . . . . 59
0810h: Speaker Error Code . . . . . . . . . . . . . . . . . . . . . . . . . . . . . . . 60
0811h – 081Fh: Windows Sound System Compatible Error
Codes . . . . . . . . . . . . . . . . . . . . . . . . . . . . . . . . . . . . . . . . . . . . . . . . . . . 60
0900h – 09FFh: Video Error Codes . . . . . . . . . . . . . . . . . . . . . . . . . 61
0A00h – 0AFFh: CD-ROM Error Codes. . . . . . . . . . . . . . . . . . . . . . 64
0C00h – 0CFFh: IDE Tape Error Codes . . . . . . . . . . . . . . . . . . . . . 65
0E00h – 0EFFh: SMBus (System Management Bus) Error Codes 66
0F00h – 0FFFh: ATAPI Removable Devices Error Codes . . . . . . 68
x English

1000h – 10FFh: Multiple Processor Error Codes . . . . . . . . . . . . . . 69
1200h – 12FFh: TI Card Bus Test Error Codes . . . . . . . . . . . . . . . . 72
1300h – 13FFh: USB Error Codes . . . . . . . . . . . . . . . . . . . . . . . . . . . 73
1700h – 170Fh: ACPI Error Codes . . . . . . . . . . . . . . . . . . . . . . . . . . 73
1900h – 1902h: DVD Error Codes . . . . . . . . . . . . . . . . . . . . . . . . . . . 74
8000h: DiagTools Error Codes . . . . . . . . . . . . . . . . . . . . . . . . . . . . . 74
9610h: Matrox Video Error Codes . . . . . . . . . . . . . . . . . . . . . . . . . . 74
9621h: Crystal Sound Error Codes . . . . . . . . . . . . . . . . . . . . . . . . . . 75
9630h: 3Com LAN Error Codes . . . . . . . . . . . . . . . . . . . . . . . . . . . . . 75
9640h – 966Ch: Hard Disk Error Codes . . . . . . . . . . . . . . . . . . . . . . 75
English xi

xii English

1
Running DiagTools
This chapter describes how to run the Brio, Vectra and Kayak
Hardware Diagnostics.

1 Running DiagTools
Overview
Overview
This version of HP DiagTools is supplied on the following media:
❒ The special partition pre-installed on your hard disk.
❒ The HP PC Image Engineer - Image Creation and Recovery CD-ROM
(for Vectra and Kayak), or Brio Assist CD-ROM (for Brio) supplied
with your new HP PC.
❒ The HP DiagTools CD-ROM.
2 English

1 Running DiagTools
Before Running DiagTools
Before Running DiagTools
Before you run DiagTools, ensure that the following are correctly
configured in the computer’s BIOS Setup program:
❒ No operating system is specified, which means that:
if the Main menu has an item Running Windows 95 or Plug and
•
Play OS
if the Main menu has an item to select the operating system, set
•
it to
, set it to No
Other
.
❒ All
Hardware Protection items in the Security menu are set to
Enabled or Unlocked.
❒ If you are running DiagTools from a CD-ROM, the option to start
from the CD-ROM is enabled and the CD-ROM is configured to be the
first device to boot from.
Alternatively, on Vectra and Kayak PCs, you can set the boot device
priority by pressing the F8 key when the logo screen is displayed
after restarting your computer.
After running DiagTools, restore the original Setup values.
More Information About The PC’s Setup Program
Setup is an integrated (ROM-based) program that displays the PC’s
configuration and allows you to change the configuration parameters.
Setup changes system behavior by modifying the power-on
initialization parameters. Setting incorrect values may cause the PC to
fail at start-up. If this occurs, press F9 in the Setup program. This will
load the Setup default values and allow the PC to recover.
To enter the PC’s Setup program, restart the PC and press F2 when the
logo screen (or the Summary screen) appears.
English 3

1 Running DiagTools
Running DiagTools from the Special Partition on your Hard Disk
Running DiagTools from the Special Partition on your
Hard Disk
To run DiagTools from the special partition on your computer’s hard
disk drive, follow this procedure:
Quit all applications, shut down the operating system, and restart
1
your computer.
After the initial splash screen with the logo, a message is displayed:
2
Press <F10> to start Hardware Diagnostics ...
or any other key to proceed
Press the F10 key. DiagTools will start automatically, displaying the
3
Welcome screen (refer to page 6).
NOTE If this does not work, it probably means that the special partition has
been disabled. Try running DiagTools from a CD-ROM instead.
Alternatively, if you have not stored any programs or data on your hard
disk drive, you can use the Recovery CD-ROM supplied by HP to restore
the disk image as it came originally from factory.
4 English

1 Running DiagTools
Running DiagTools from the HP “Recovery” CD-ROM
Running DiagTools from the HP “Recovery” CD-ROM
To run DiagTools from the HP PC Image Engineer - Image Creation and
Recovery CD-ROM (for Vectra and Kayak), or Brio Assist CD-ROM (for
Brio) that came with your computer, follow this procedure:
Insert the HP CD-ROM in your CD-ROM drive. Shut down the
1
operating system and restart your computer.
Ensure that the option to start from the CD-ROM drive is enabled,
2
and that the CD-ROM is configured to be the first device to boot
from.
The main menu of the HP CD-ROM appears. Select the option to run
3
the hardware diagnostics.
DiagTools will start, displaying the Welcome screen (refer to page 6).
Running DiagTools from the HP DiagTools CD-ROM
To run DiagTools from the HP DiagTools CD-ROM, follow this
procedure:
Insert the HP DiagTools CD-ROM in your CD-ROM drive. Shut down
1
the operating system and restart your computer.
Ensure that the option to start from the CD-ROM drive is enabled
2
and that the CD-ROM is configured to be the first device to boot
from.
The programs on the CD-ROM will automatically determine the
3
appropriate version of DiagTools to run. DiagTools will start,
displaying the Welcome screen (refer to page 6).
English 5
1 Running DiagTools
The Welcome Screen
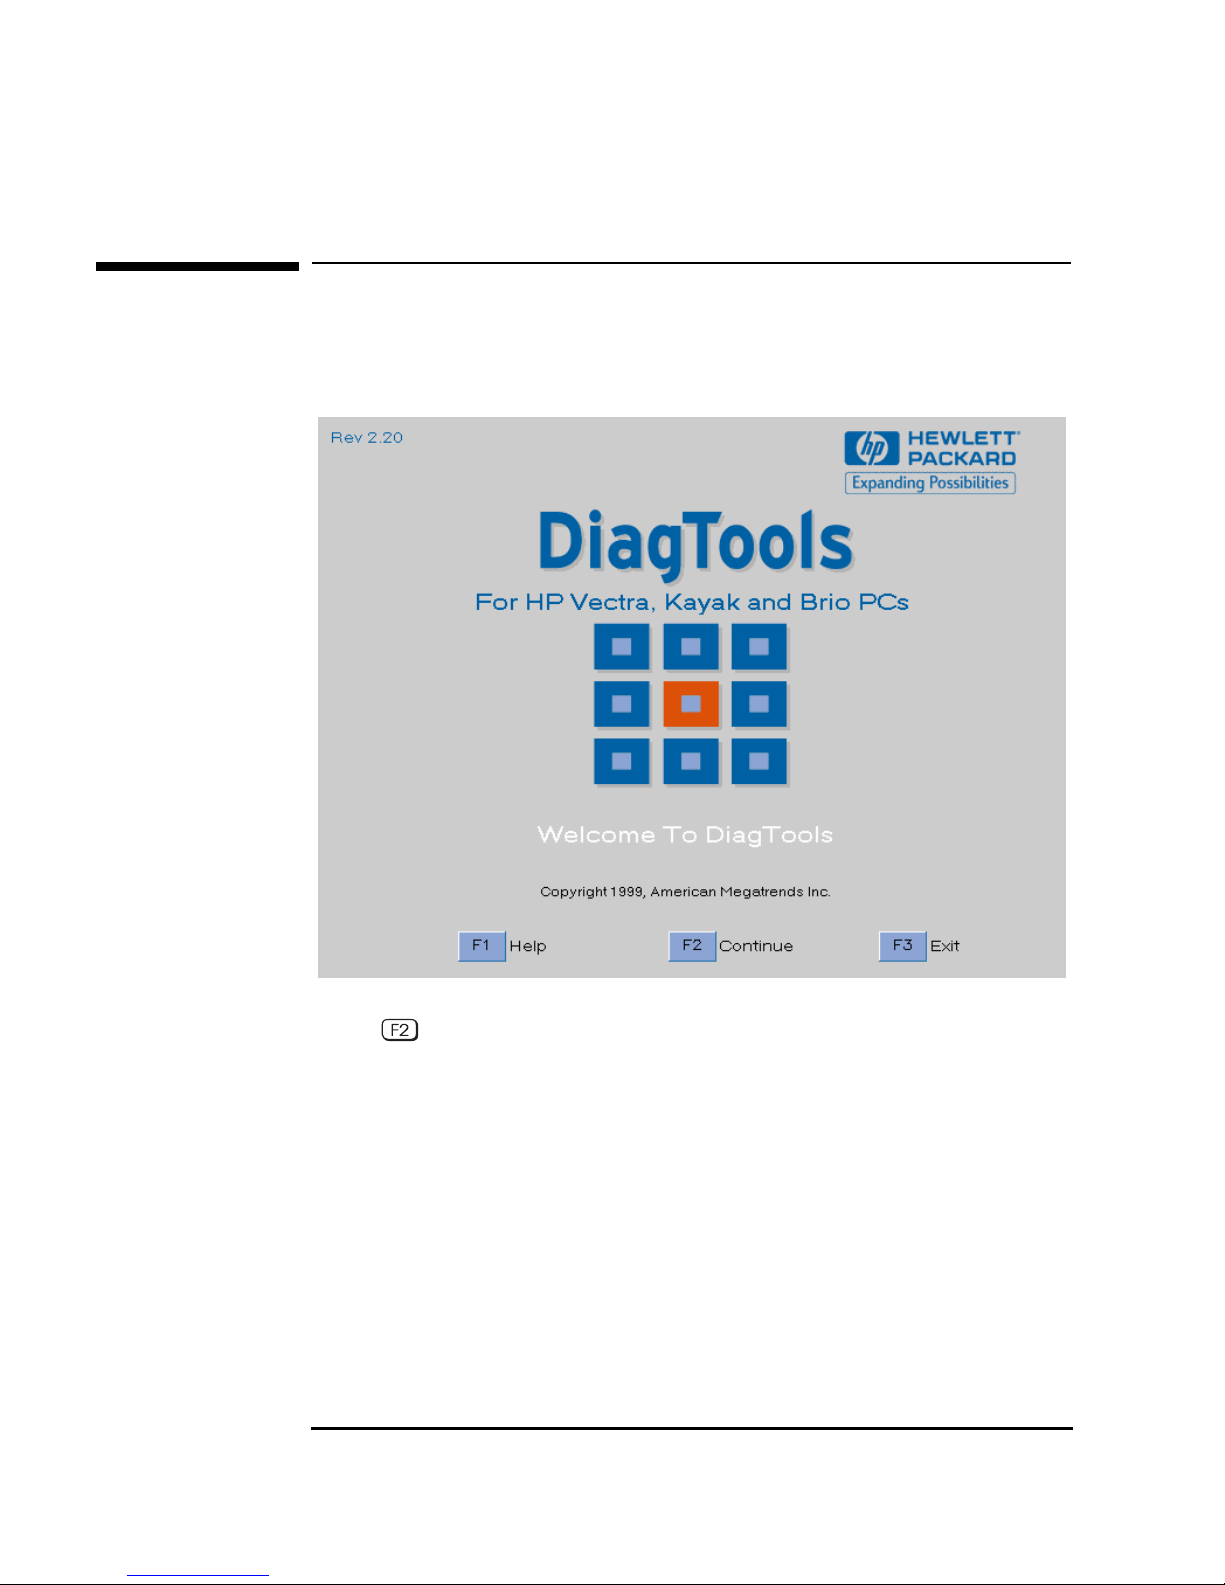
The Welcome Screen
When you start DiagTools, you will see the following screen:
Press to continue and follow the instructions on the screen to run
the diagnostic tests. You can quit the diagnostic utility at any time,
except during the execution of the basic system test which takes
several minutes. In general, the progression of each test is displayed on
the screen.
6 English

2
Hardware Detection
This chapter describes the hardware detection phase of the Brio,
Vectra and Kayak version of DiagTools.
2 Hardware Detection
Overview of Hardware Detection
Overview of Hardware Detection
Hardware detection finds and lists the main PC’s hardware
components. It also determines which tests are appropriate for your
PC. For example, if your PC has an IDE or SCSI hard disk drive, the
boot sector of the hard disk drive will be checked as part of the basic
system test.
In the advanced tests, some functions will be disabled if they are not
detected. For example, if you do not have a SCSI controller, the
menu in the advanced tests will be disabled.
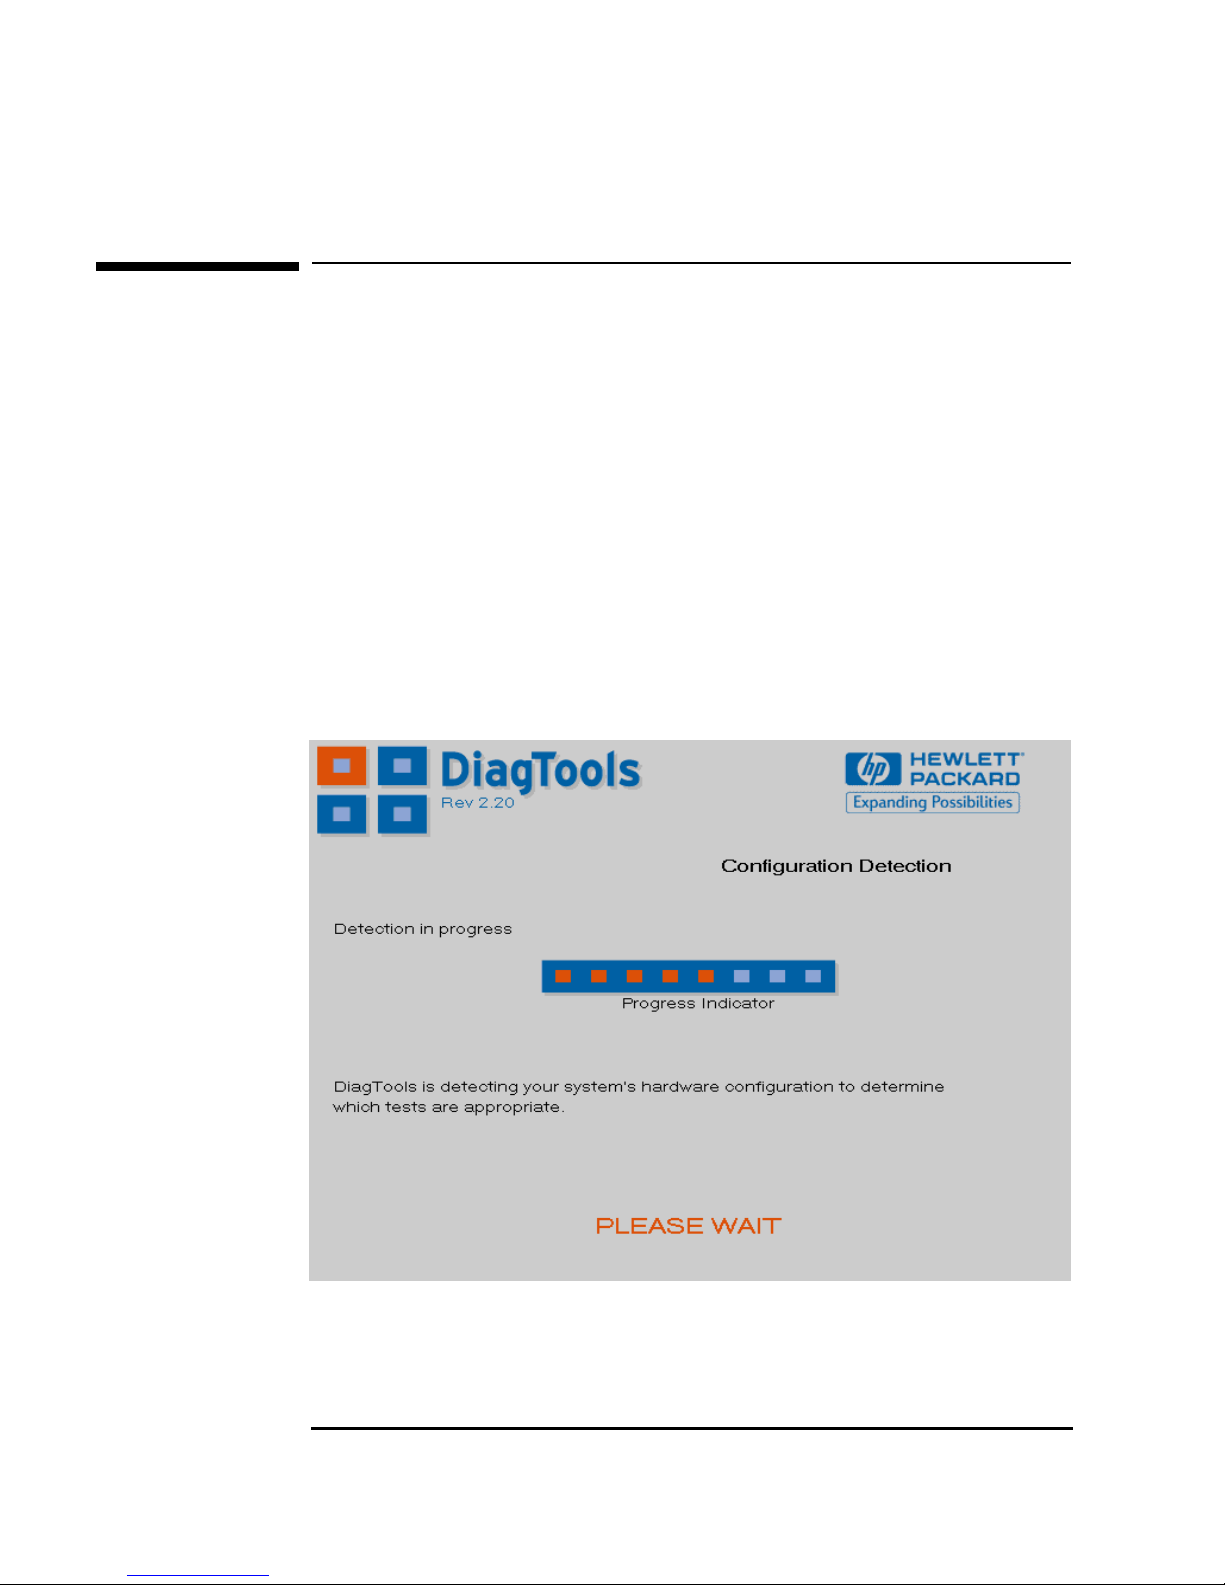
During Hardware Detection
The following screen appears during hardware detection:
SCSI
8 English
2 Hardware Detection
Overview of Hardware Detection
NOTE Hardware detection may be so fast that this screen simply flickers on
and off, without giving you time to read it. This is normal. The time
required for hardware detection varies greatly between the different
systems and different configurations.
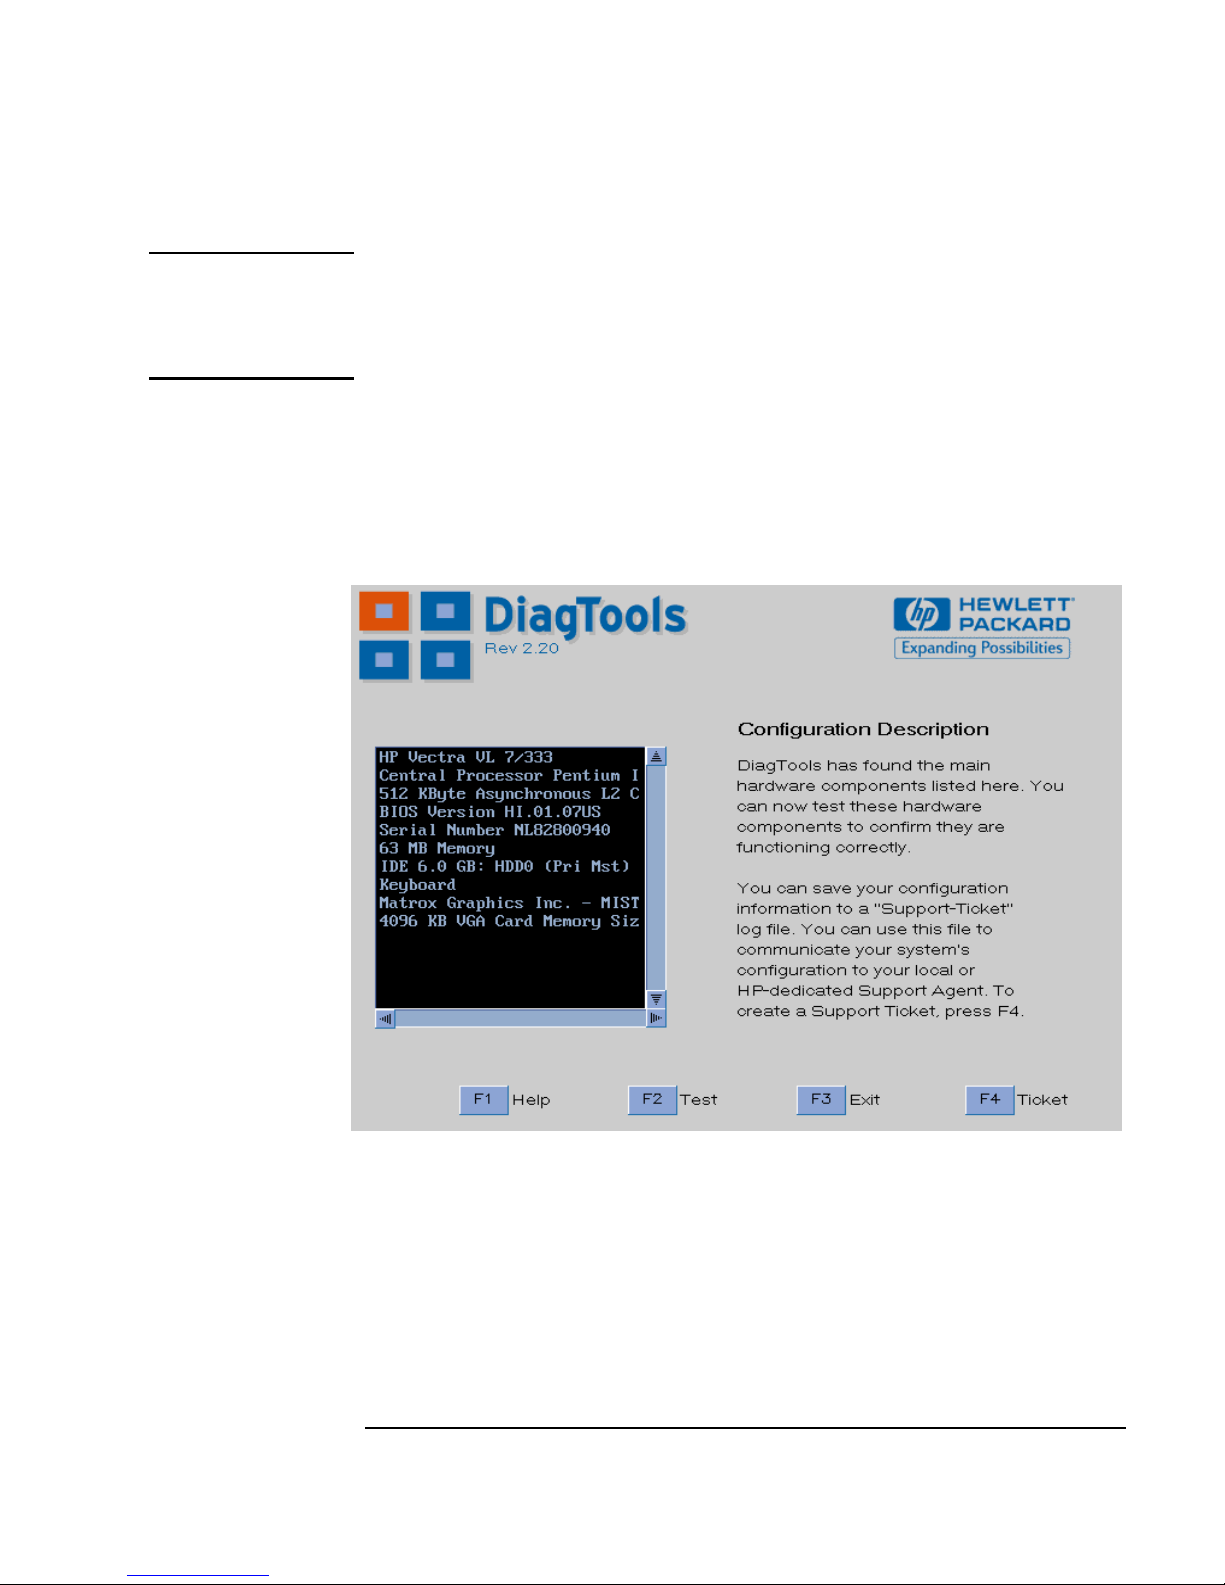
Hardware Detection Results
The following is an example of a screen that will appear after the
hardware detection phase:
You can use the mouse or the arrow keys to scroll through the list of
detected components.
English 9

2 Hardware Detection
What is Detected
What is Detected
The following can be detected in the hardware detection phase:
❒ Product name and version (such as
❒ Processor type, version and speed (such as
Pentium II @500 MHz
)
HP Vectra VL600)
Central Processor
❒ Cache memory type and size
❒ BIOS version
❒ Serial number
❒ Total main memory (such as
64 MB Memory
)
❒ IDE hard disk list, device type, and capacity
❒ SCSI hard disk list, device type, and capacity
❒ Active graphics adapter: vendor, product name, memory size
❒ Keyboard
❒ Sound Blaster compatible audio controller
❒ USB Controller.
If your PC has one or more of the above components and it is not
detected by DiagTools, then refer to “If a PC Component is Not
Detected” on page 11.
10 English

2 Hardware Detection
If a PC Component is Not Detected
If a PC Component is Not Detected
If a component or device in your PC (such as a hard disk drive) is not
detected, do the following:
Check the list of components that DiagTools should detect (this is on
1
page 10).
If the non-detected component is not in this list, then there is no
error and the situation is normal.
If the non-detected component is in this list, continue to the next
step.
Check that the PC is correctly configured in the PC’s Setup program.
2
(Refer to page 3 for more information about the PC’s Setup
program.)
Refer to the User’s Guide that came with the PC for information
3
about troubleshooting the PC.
Run the DiagTools and proceed to the basic system test.
4
NOTE DiagTools does not test components that have not been detected.
However, we recommend that you continue with the basic system test
to verify that the underlying components are functioning correctly.
For example: a PC has a PCI SCSI controller card installed and a
SCSI hard disk connected to this controller. Even if the SCSI hard
disk drive is not detected, running the basic system test will ensure
the correct functioning of the PCI system that supports the SCSI
controller.
If the problem persists, contact your local or HP-dedicated Support
5
Agent for assistance.
English 11

2 Hardware Detection
If a PC Component is Not Detected
12 English

3
Basic System Test
This chapter describes the basic system test performed by DiagTools.

3 Basic System Test
Overview of the Basic System Test
Overview of the Basic System Test
The basic system test is performed after hardware detection. The
purpose of the basic system test is to verify the correct operation of the
main PC’s hardware components. For each detected hardware
component, the test will confirm that:
The component is powered-on
•
The component has been initialized for use
•
The component is operating correctly under MS-DOS.
•
Unlike the advanced system tests, the basic system test is done
automatically and no user input or guidance is needed. This test phase
is suitable for all types of users, including novice and non-technical
users.
Most of the PC’s components are tested during the basic system test.
To test each PC’s component, use the advanced systems tests.
How to Run the Basic System Test
The basic system test is performed after the hardware detection phase.
To do the basic system test, follow these steps:
Start DiagTools. To learn how to do this, refer to chapter 1.
1
Follow the instructions on the screen to proceed with hardware
2
detection. Hardware detection is described in chapter 2.
You will then be invited to proceed with the basic system test. Press
3
and follow the instructions on your screen.
NOTE The screen image may become corrupted during the basic system test.
This is normal. Do not restart your system. The image will be restored
after the test is complete.
14 English

3 Basic System Test
Test Result: PASSED
Test Result: PASSED
If the basic system test is successful, a screen similar to the following
will appear:
The following action is recommended:
If you are running the Hardware Diagnostics for verification
•
purposes only, there is no need to continue with the Advanced Tests
or to create a support ticket. Press to exit DiagTools.
If you are investigating a known hardware problem, press to
•
create a Support Ticket. Although no failure was detected, the
Support Ticket will be effective for communicating the test results
and PC configuration to your local or HP-dedicated support agent.
(To learn more about the Support Ticket, refer to chapter 5.)
Intermediate and experienced users should proceed to the
Advanced System Tests, since the error was not traced using the
basic system test.
English 15
3 Basic System Test
Test Result: FAILED
If you are a less experienced user, contact your local or HPdedicated support agent for assistance. You may be asked by your
support agent to conduct an advanced system test.
You can repeat the basic system test if desired. To do this, press .
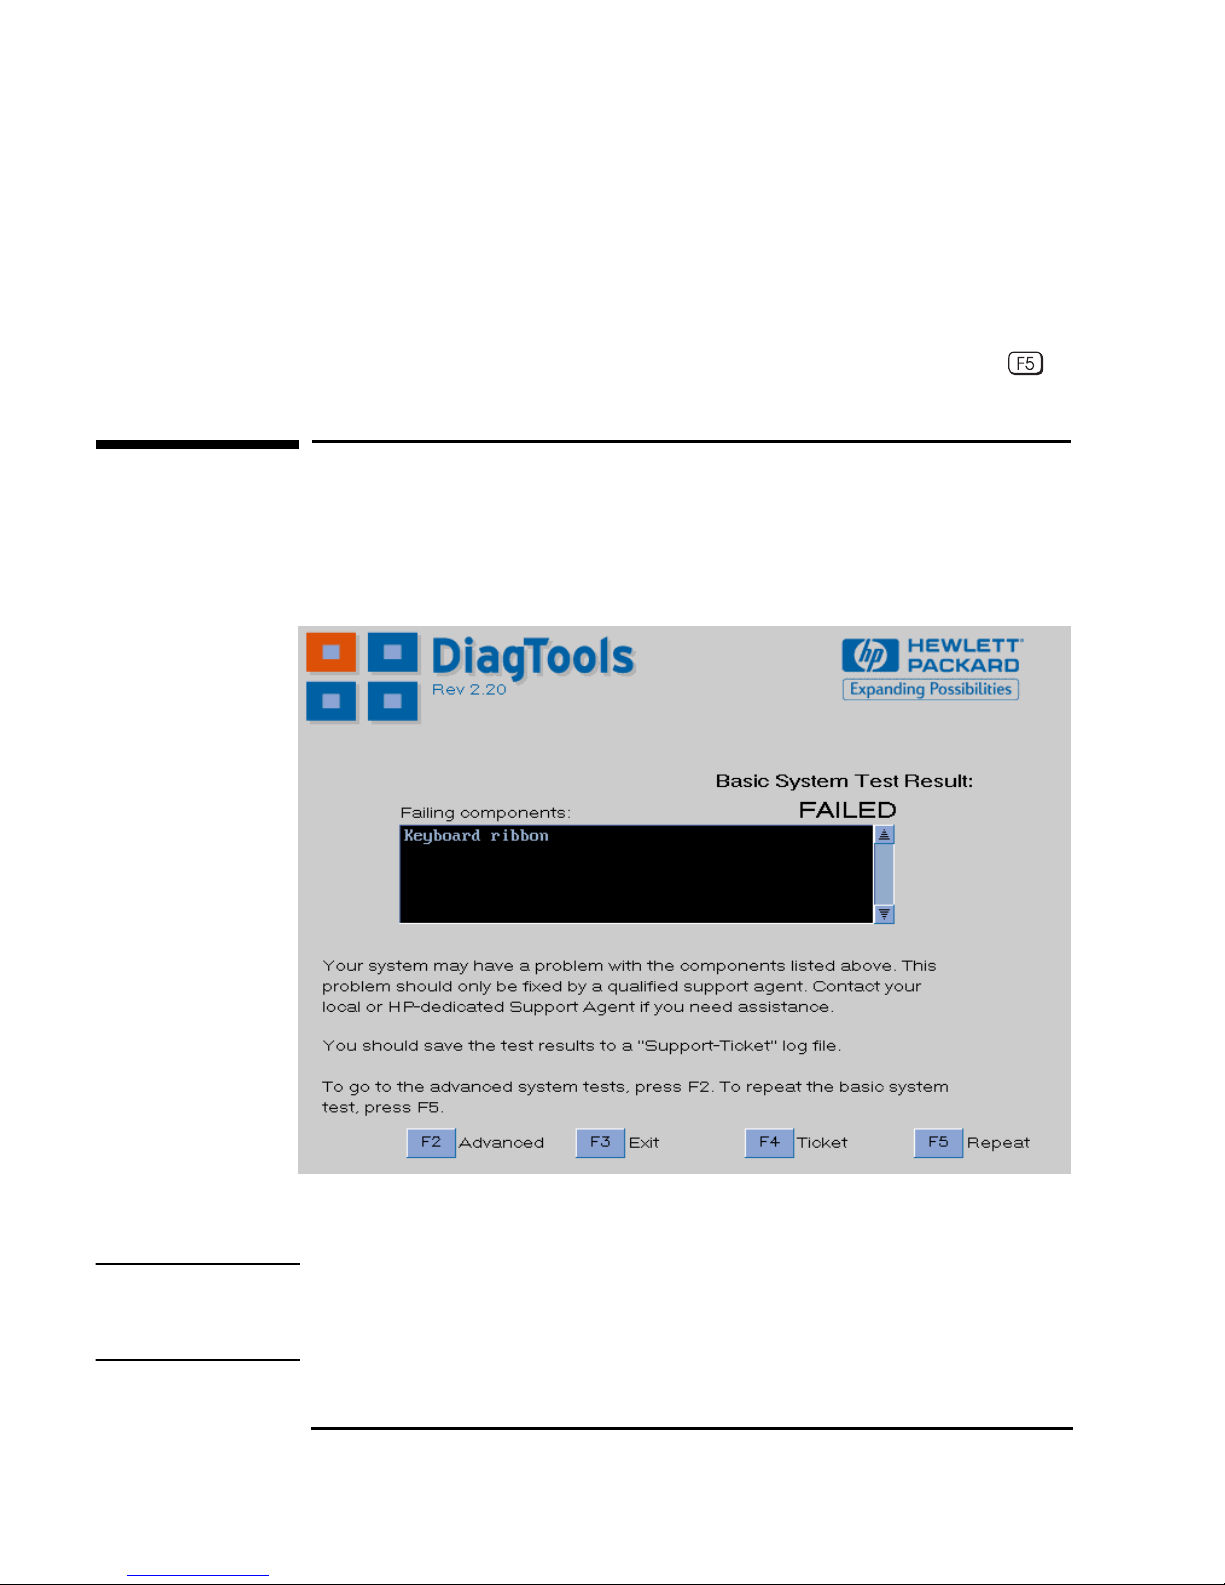
Test Result: FAILED
If one or more of the basic tests failed, a screen similar to the following
will appear:
NOTE Test failure does not necessarily mean that a component needs
replacement. For example, it may simply mean that there is a
configuration error or that there is a loose cable.
16 English
 Loading...