

Page 1
HP Deskjet D4360, D4363, and D4368 Printers - Replacing
Ink Cartridges
Introduction
To prevent print quality issues, replace the ink cartridges when they are low or out of ink.
Replacing ink cartridges
Use the following steps to replace an ink cartridge.
Step one: Replace the old ink cartridge
Remove the old ink cartridge and install the new ink cartridge.
1. Make sure the printer is turned on. If necessary, press the Power button ( ) to turn the
printer on.
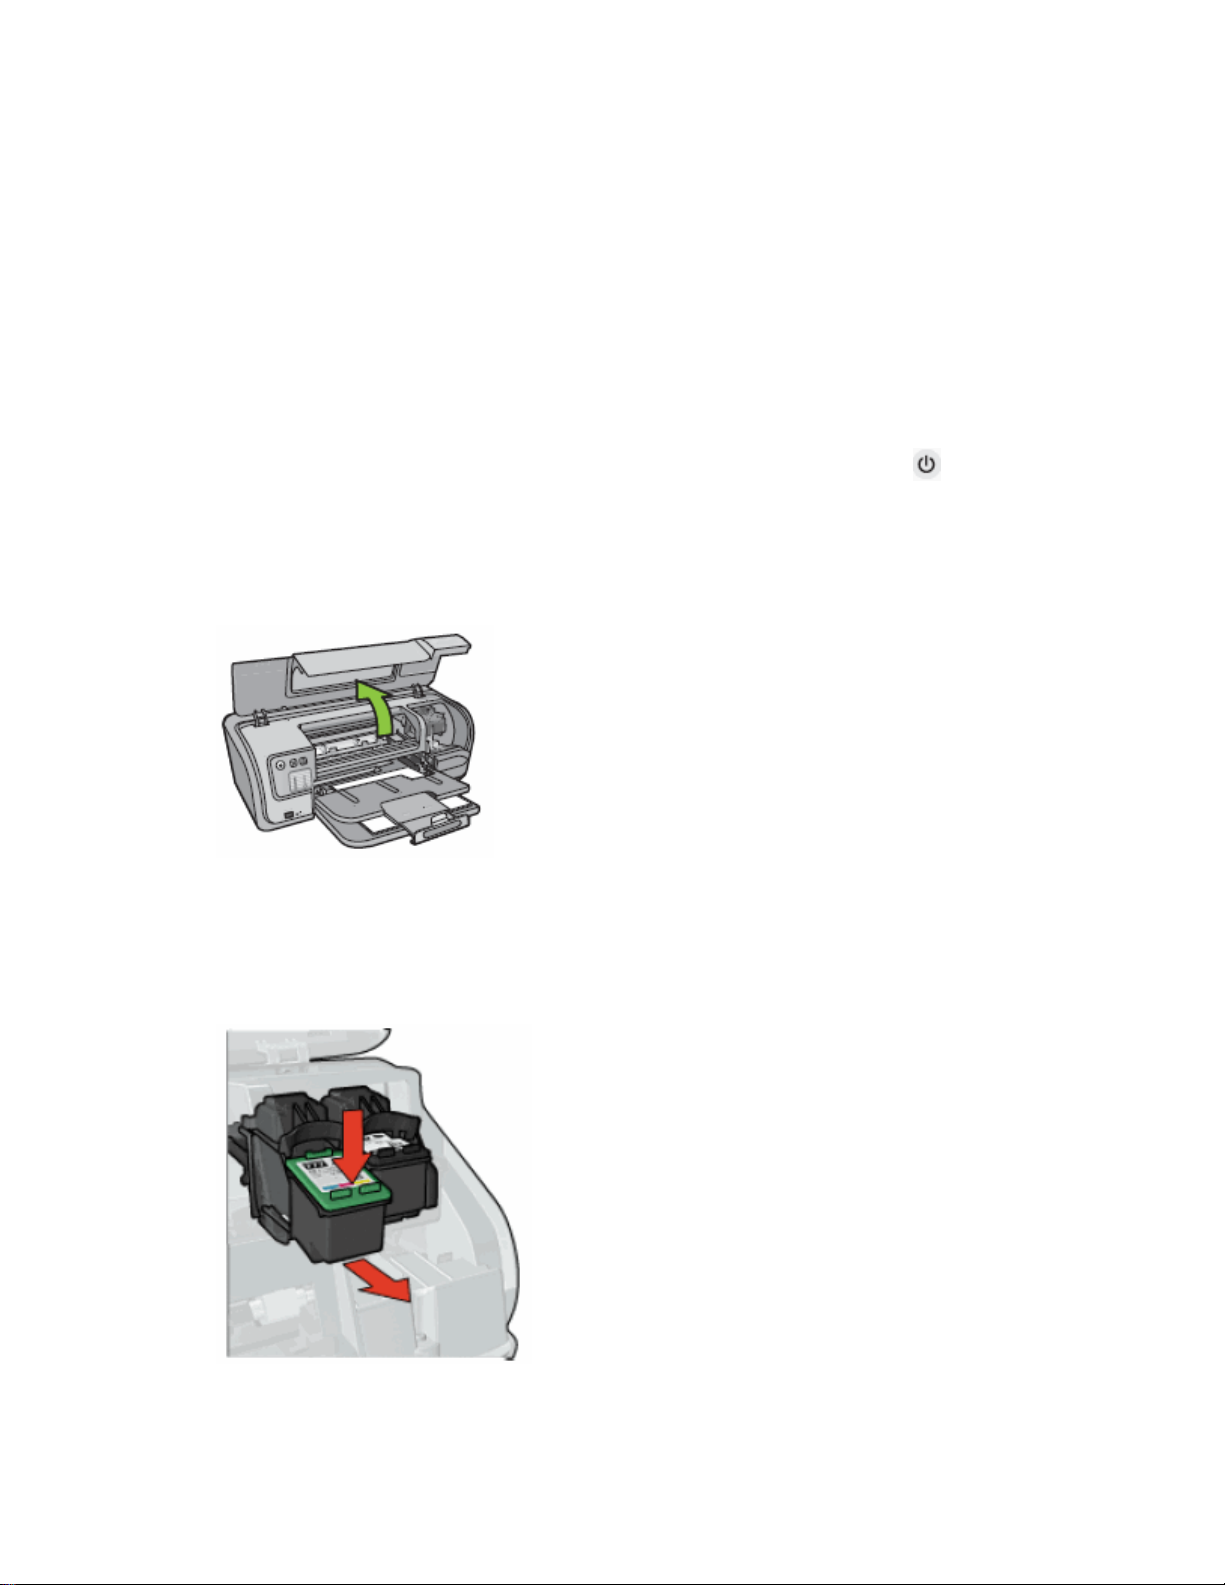
2. Open the top cover of the printer.
Figure : Opening the top cover
3. Wait until the carriage moves to the right side of the printer and is idle and quiet.
4. Press down on the old ink cartridge, and then slide it out of the carriage.
Figure : Removing the ink cartridge
o To replace the tri-color ink cartridge, remove the ink cartridge from the left slot.
Page 2
o To replace the black ink cartridge, remove the ink cartridge from the right slot.
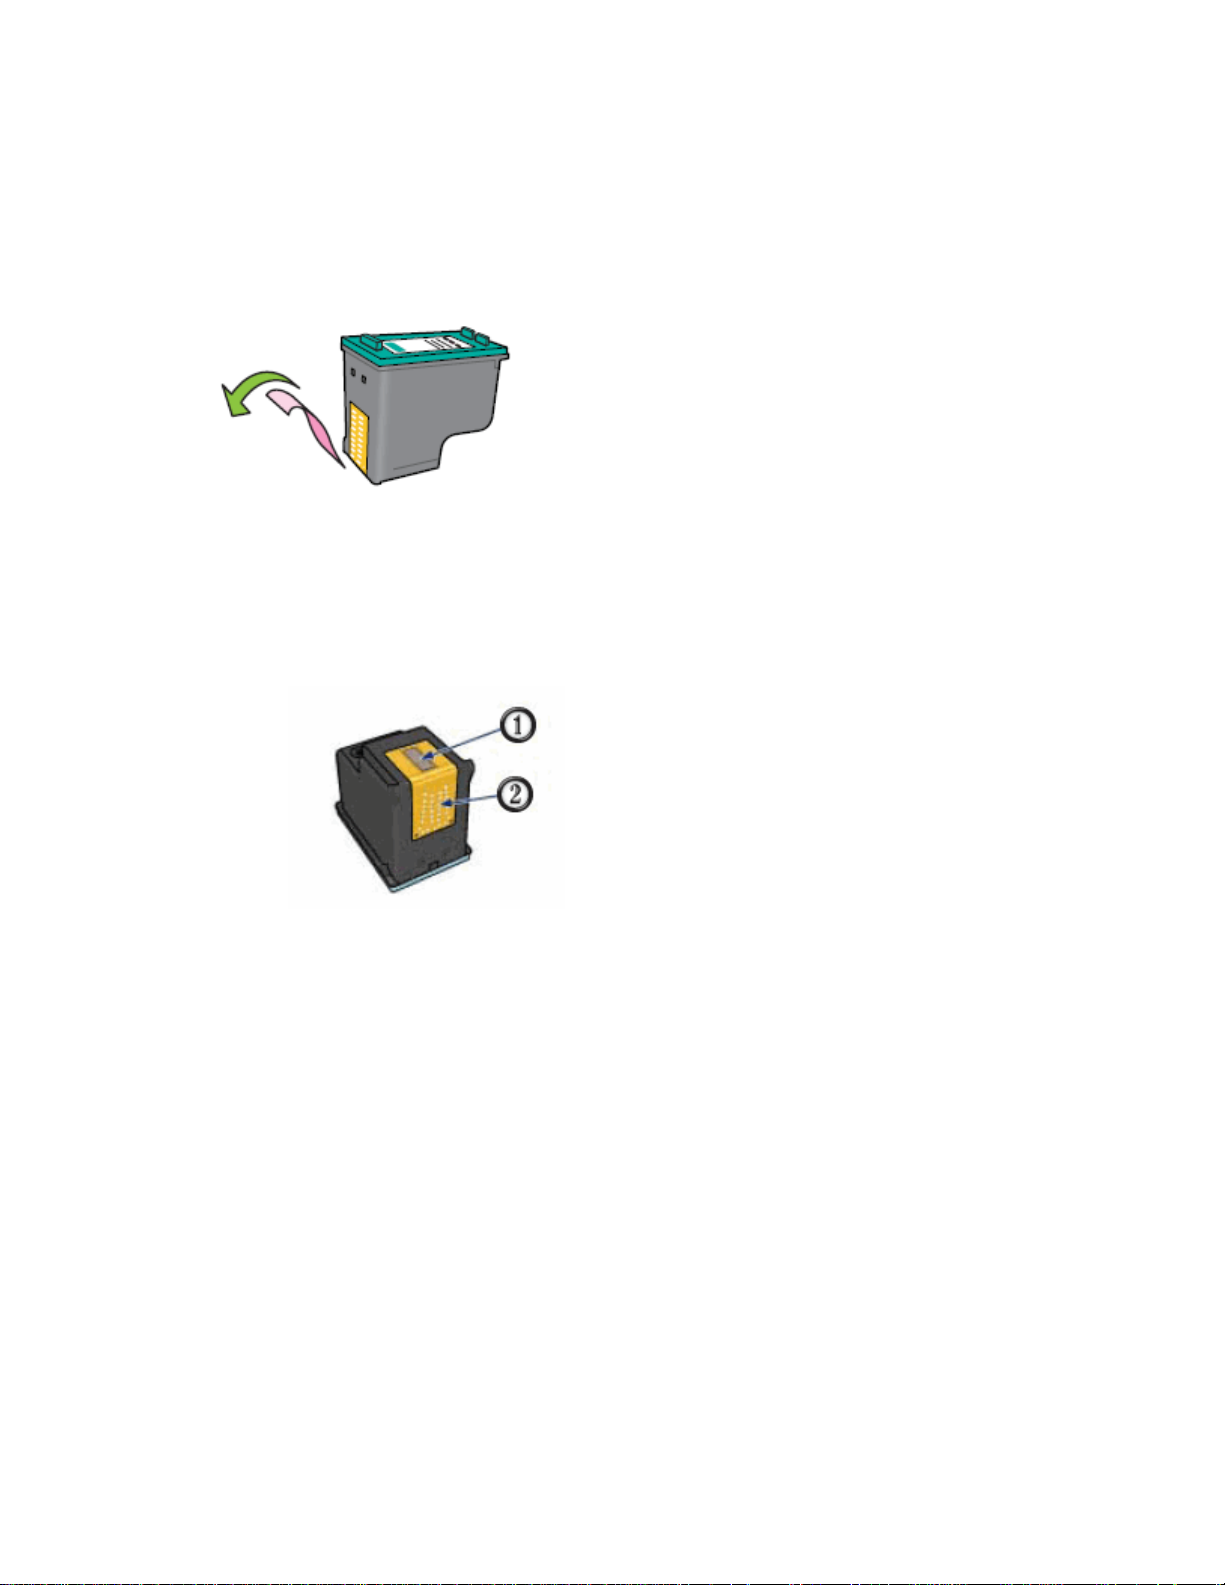
5. Remove the new ink cartridge from its packaging and pull the pink tab to remove the
protective tape from the ink cartridge.
Figure : Removing the protective tape
caution:
Do not touch the ink nozzles or copper contacts on the ink cartridge. Touching
these parts will result in clogs, ink failure, and bad electrical connections. Do not
remove the copper strips. They are required electrical contacts.
1. Ink nozzles (do not touch)
2. Copper contacts (do not touch)
6. Hold the ink cartridge so that the copper strips are on the bottom and facing toward the
printer.
7. Slide the ink cartridge at a slight upward angle into the carriage until the ink cartridge
snaps into place.
Figure : Inserting the ink cartridge
Page 3

o The tri-color ink cartridge is installed on the left side of the carriage.
o The black ink cartridge is installed on the right side of the carriage.
8. Close the top cover.
Figure : Closing the top cover
Step two: Align the new ink cartridge
The ink cartridges should be aligned in order to maintain the best print quality possible. Make
sure Letter or A4, plain white paper, is loaded in the input tray.
1. Open HP Solution Center using one of the following methods.
o Windows Vista: On the Windows taskbar, click the Windows icon ( ), click All
Programs, point to HP, and then click HP Solution Center.
o Windows XP: On the Windows taskbar, click Start, click All Programs, point to
HP, and then click HP Solution Center.
2. Click Settings, and then click Printer Toolbox. The Printer Toolbox dialog box opens.
3. Click Align the Print Cartridges.
4. Click Align, and then follow the on-screen instructions.
The product prints a test page, aligns the ink cartridges, and calibrates the product.
 Loading...