

HP 517 Installation Manual

HP 517 Unified Walljack Installation Guide
Abstract
This document describes the procedure to install and initially configure the HP 517 Unified Walljack (HP 517). It is intended
for professional installers who are trained in RF installation and knowledgeable in local regulations including building and
wiring codes, safety, channel, power, indoor/outdoor restrictions, and license requirements for the country of use.
HP Part Number: 5998-4524
Published: May 2014
Edition: 1

© Copyright 2014 Hewlett-Packard Development Company, L.P.
The information contained herein is subject to change without notice. The only warranties for HP products and services are set forth in the express
warranty statements accompanying such products and services. Nothing herein should be construed as constituting an additional warranty. HP shall
not be liable for technical or editorial errors or omissions contained herein.
Acknowledgments
Microsoft® is a U.S. registered trademark of Microsoft Corporation.
Warranty
WARRANTY STATEMENT: To obtain a copy of the warranty for this product, see the warranty information website:
http://www.hp.com/support/Networking-warranties

Contents
1 Getting started...........................................................................................4
Overview................................................................................................................................4
Ports.......................................................................................................................................4
Radio and antennas..................................................................................................................5
Reset button.............................................................................................................................5
2 Installing the HP 517...................................................................................6
Planning the installation site.......................................................................................................6
Remove product from packaging.................................................................................................7
Installing on an electrical box.....................................................................................................7
Installing on a wall...................................................................................................................8
Installing on a desktop..............................................................................................................9
Initial configuration.................................................................................................................10
3 LEDs.......................................................................................................12
4 Support and other resources......................................................................14
Contacting HP........................................................................................................................14
Related information.................................................................................................................14
Websites..........................................................................................................................14
Typographic conventions.........................................................................................................14
5 Documentation feedback...........................................................................16
A Regulatory information..............................................................................17
Turkey RoHS material content declaration...................................................................................17
Ukraine RoHS material content declaration................................................................................17
Warranty information..............................................................................................................17
Contents 3
1 Getting started
The HP 517 Unified Walljack is a single-radio dual-band 3x3:3 802.11ac walljack that can
support up to 50 wireless clients.
In its factory default state, the HP 517 can be provisioned through its web-based management tool
using Microsoft Internet Explorer 8 or later, or Mozilla Firefox 17 or later.
NOTE: When operating, the HP 517 is warm to the touch. When operating at room temperature,
the face of the unit can be as high as 40°C (104°F). This is expected.
Overview
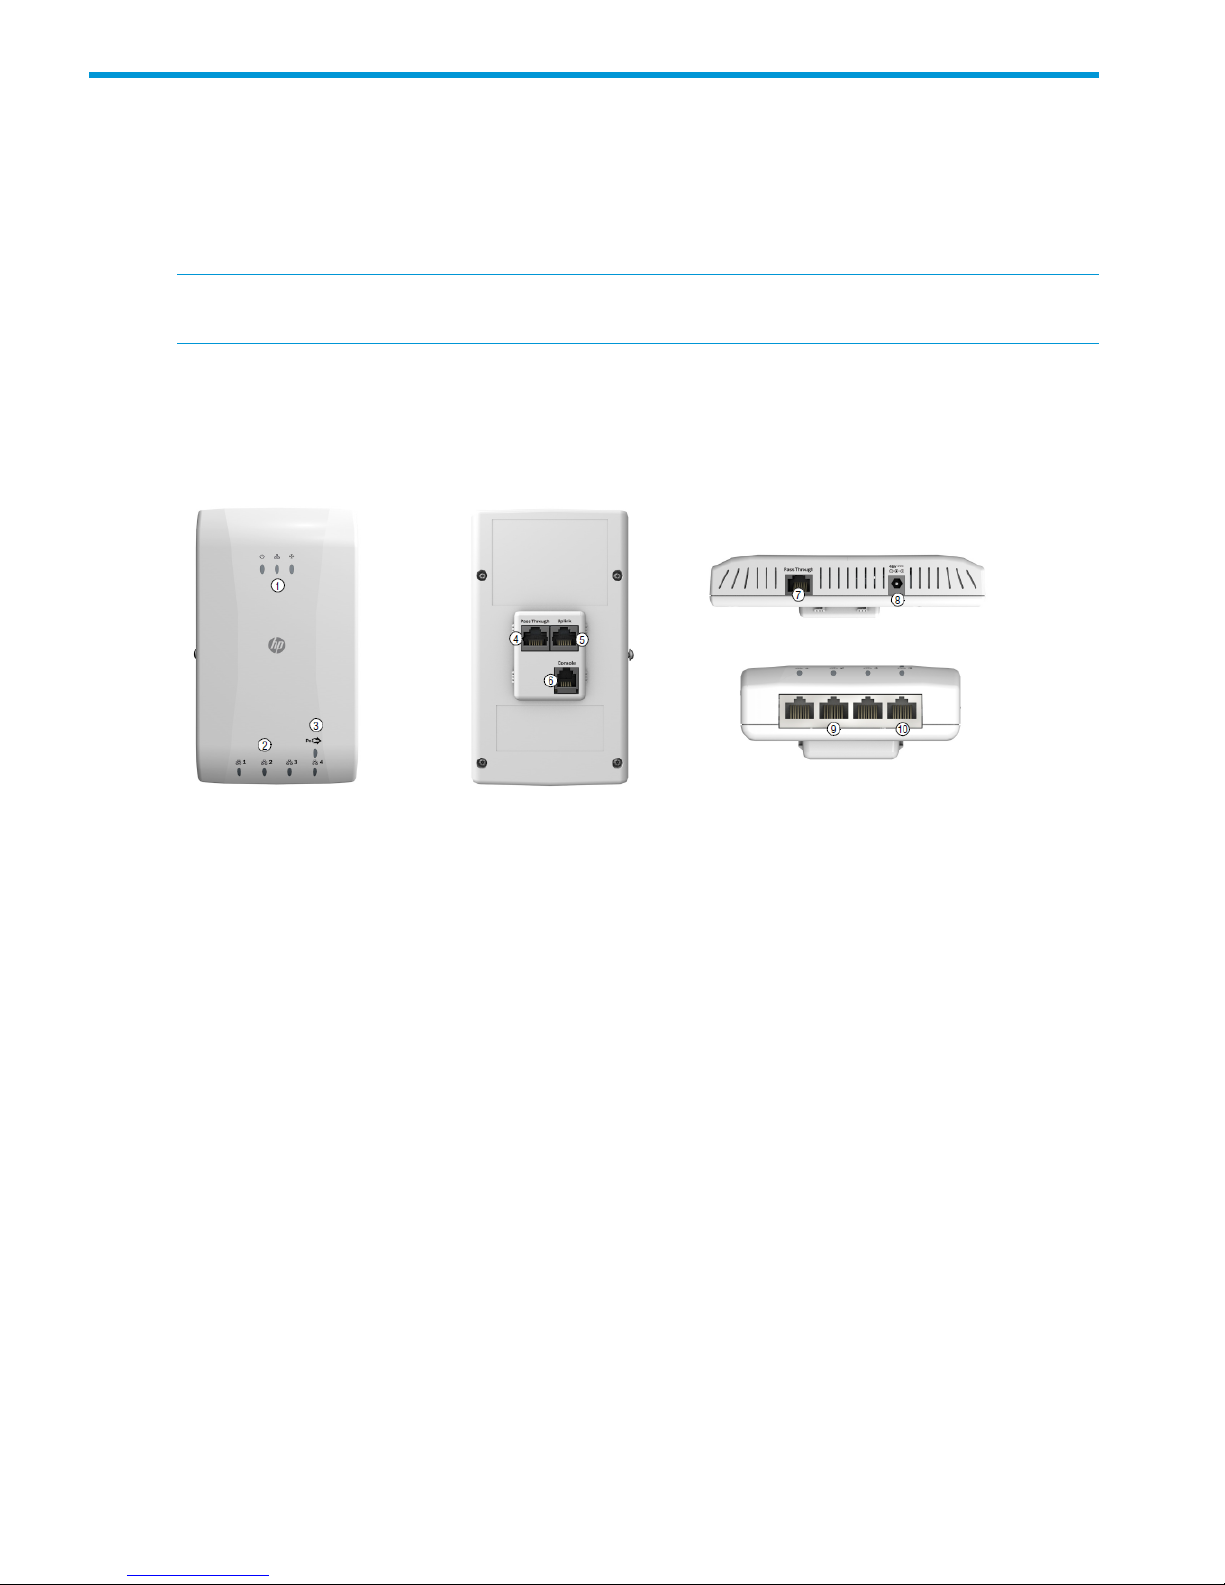
Figure 1 (page 4) shows multiple views of an HP 517.
Figure 1 HP 517
Side and bottom viewsBack viewFront view
7. Pass Through port4. Pass Through port1. Status LEDs
nl
Power, Uplink, Radio
8. Power adapter socket5. PoE Uplink port
9. Ethernet LAN ports 1–36. Console port2. LAN port status LEDs
10. PoE PSE Ethernet LAN port 43. PoE PSE/port 4 LED
Ports
The following ports are located on the HP 517:
• Four Gigabit Ethernet ports: Auto-sensing 1000 BASE-T Ethernet ports with RJ-45 connectors.
Port 4 supports IEEE 802.3af Power over Ethernet (PoE) to supply power to one device. Located
at the bottom of the unit.
• A Gigabit Ethernet uplink port: Auto-sensing 1000 BASE-T Ethernet port with RJ-45 connector.
Located at the back of the unit.
• Two (in and out) pass-through ports: Cat5e-compatible ports with RJ-45 connectors. Located
on the back and side of the unit.
• Console port: Reserved for HP-directed debugging. Located at the back of the unit.
4 Getting started
PoE PSE port power
No power out PSE port 4802.3af powered
Class 2 power via PSE port 4
1
802.3at powered
Class 2 or 3 power via PSE port 4Local DC powered
1
Because up to 11 watts can be supplied, the software supports a class 3 override option.
Radio and antennas
The HP 517 provides a single IEEE 802.11a/b/g/n/ac radio for 802.11ac very-high throughput
(VHT) applications and IEEE 802.11a/b/g/n for legacy support applications.
There are three antennas supporting 3x3 MIMO spatial streams for up to 1.3 Gbps PHY rates.
The HP 517 supports 802.11b/g/n operation modes at 2.4 GHz or 802.11a/n/ac operation
modes at 5 GHz.
NOTE: The HP 517 does not support concurrent operation at 2.4 GHz and 5 GHz.
Reset button
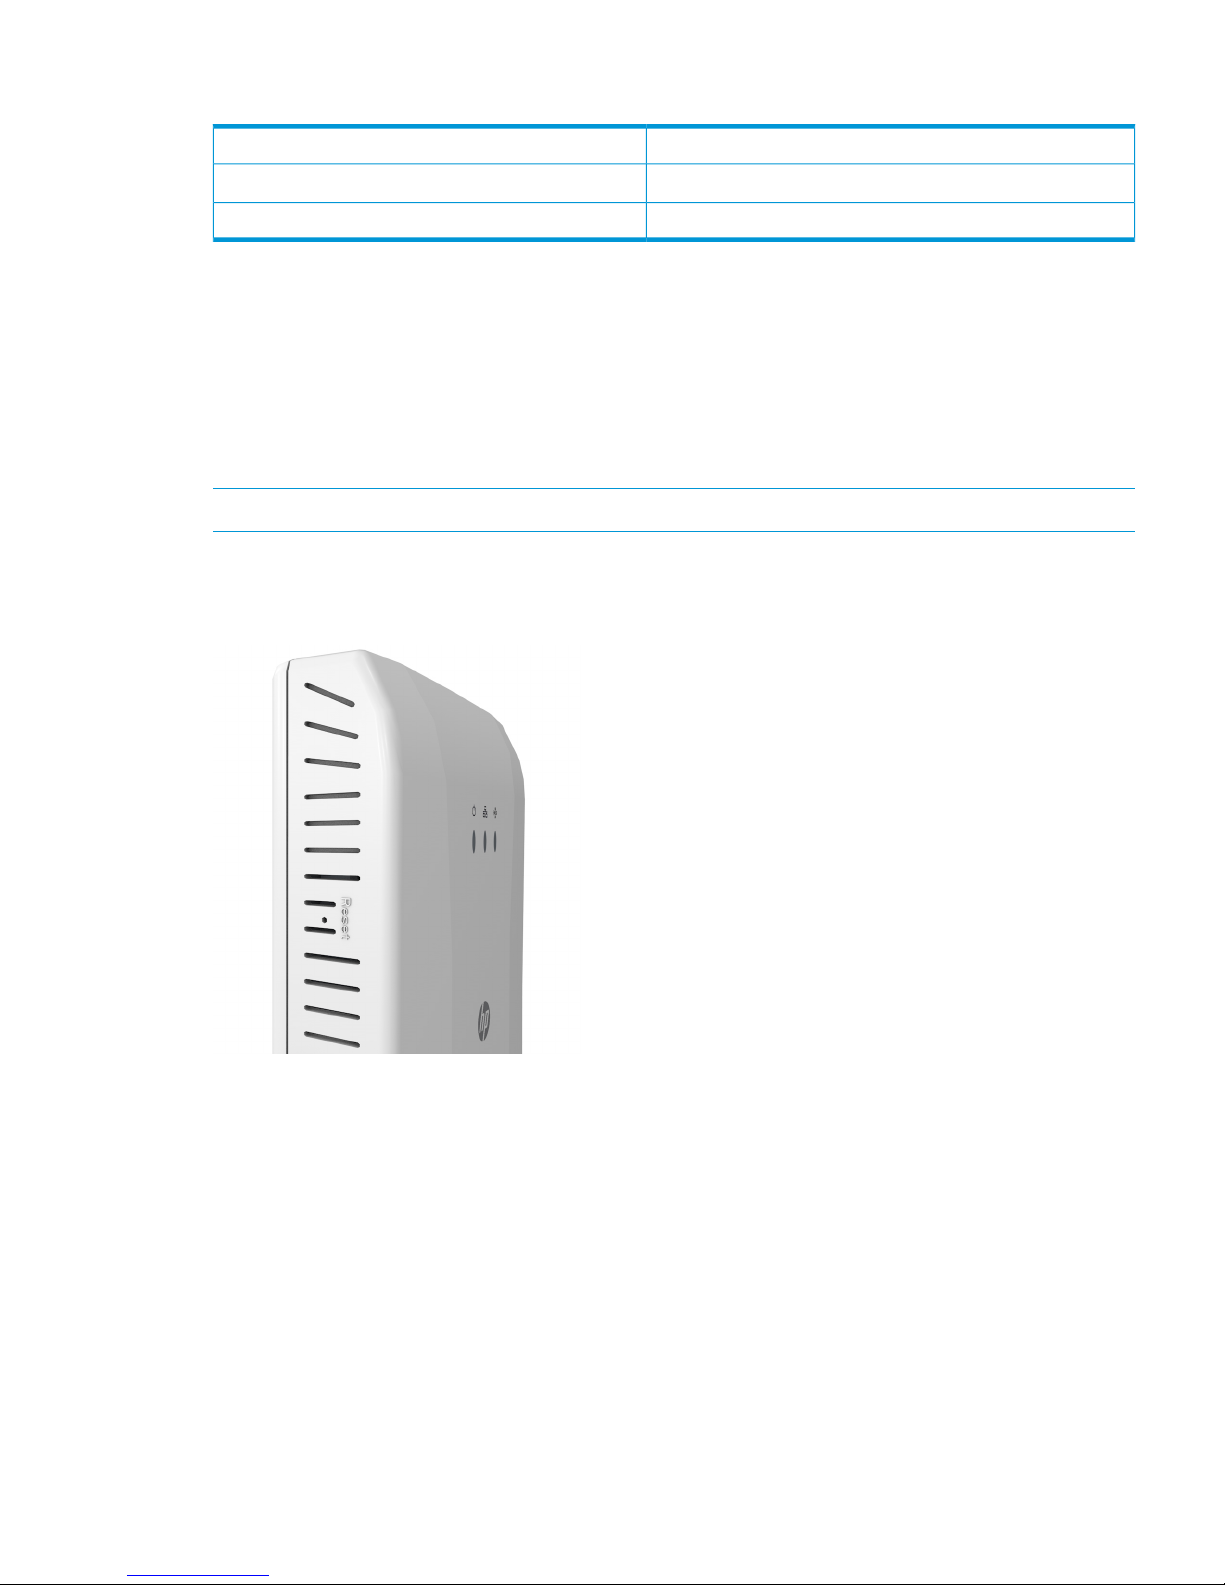
The reset button is accessible through a hole on the side panel of the HP 517.
Radio and antennas 5

2 Installing the HP 517
The HP 517 is designed to be mounted on a standard NEMA-WD6 (US) or BS 4662 (International)
electrical outlet box.
If you use the optional HP Unified Wired-WLAN Walljack Table/Flush Wall Mount Kit (JL022A),
the HP 517 can be mounted on a desktop or wall.
The end user is responsible for ensuring that installation and use comply with local safety and radio
regulations.
IMPORTANT: This device requires professional installation. Consult a professional installer trained
in RF installation and knowledgeable in local regulations including:
• Building and wiring codes
• Safety regulations
• Channel, power, and indoor/outdoor restrictions
• License requirements for the intended country
Planning the installation site
Determine an appropriate location to mount the unit. Use the following guidelines to select the
installation site.
CAUTION: To ensure adequate ventilation when installed on an electrical box or wall, the
ventilation slots must not be blocked in any way. Ensure that there is at least 15.25 cm (6 inches)
of clearance from all vents.
Be sure to install the unit in an area that is well ventilated and maintains an ambient temperature
of less than 40°C (104°F). If the installation area has any obstructions to air flow, you must take
steps to ensure adequate airflow is maintained. Do not install in enclosed spaces, at ground level,
or close to or directly above any heat sources or heat-emitting devices, such as:
• Radiators
• Portable room heaters
• The back of refrigerators or compressors
• Direct sunlight
• Transformers
• Power pack units of halogen or similar lighting fixtures or appliances
CAUTION: To avoid signal interference, do not install the HP 517 near or behind known RF
absorbers, reflectors, and interference sources. Examples of sources that degrade RF performance
include:
• Cement and brick
• Objects that contain water
• Metal
• Microwave ovens
• Wireless phones and headsets
• Mirrors
6 Installing the HP 517
 Loading...