

Page 1

Honeywell Smokr detector
Overview
Honeywell Smoke Detector is a stand-alone re alarm, that detects the presence
of a high concentration of smoke, then emits a light and sound alarm, so you
can take the necessary security measures, protect yourself, your family and your
property.
Accessories
Alarm box x1
Mounting plate x1
Battery x1
The instruction x1
Plug dowel x2
Screw x2
Double-sided adhesive tape x2
Sound output holes
Switch button
«Sound stop / Self-monitoring»
Smoke input hole
Page 2
Installation
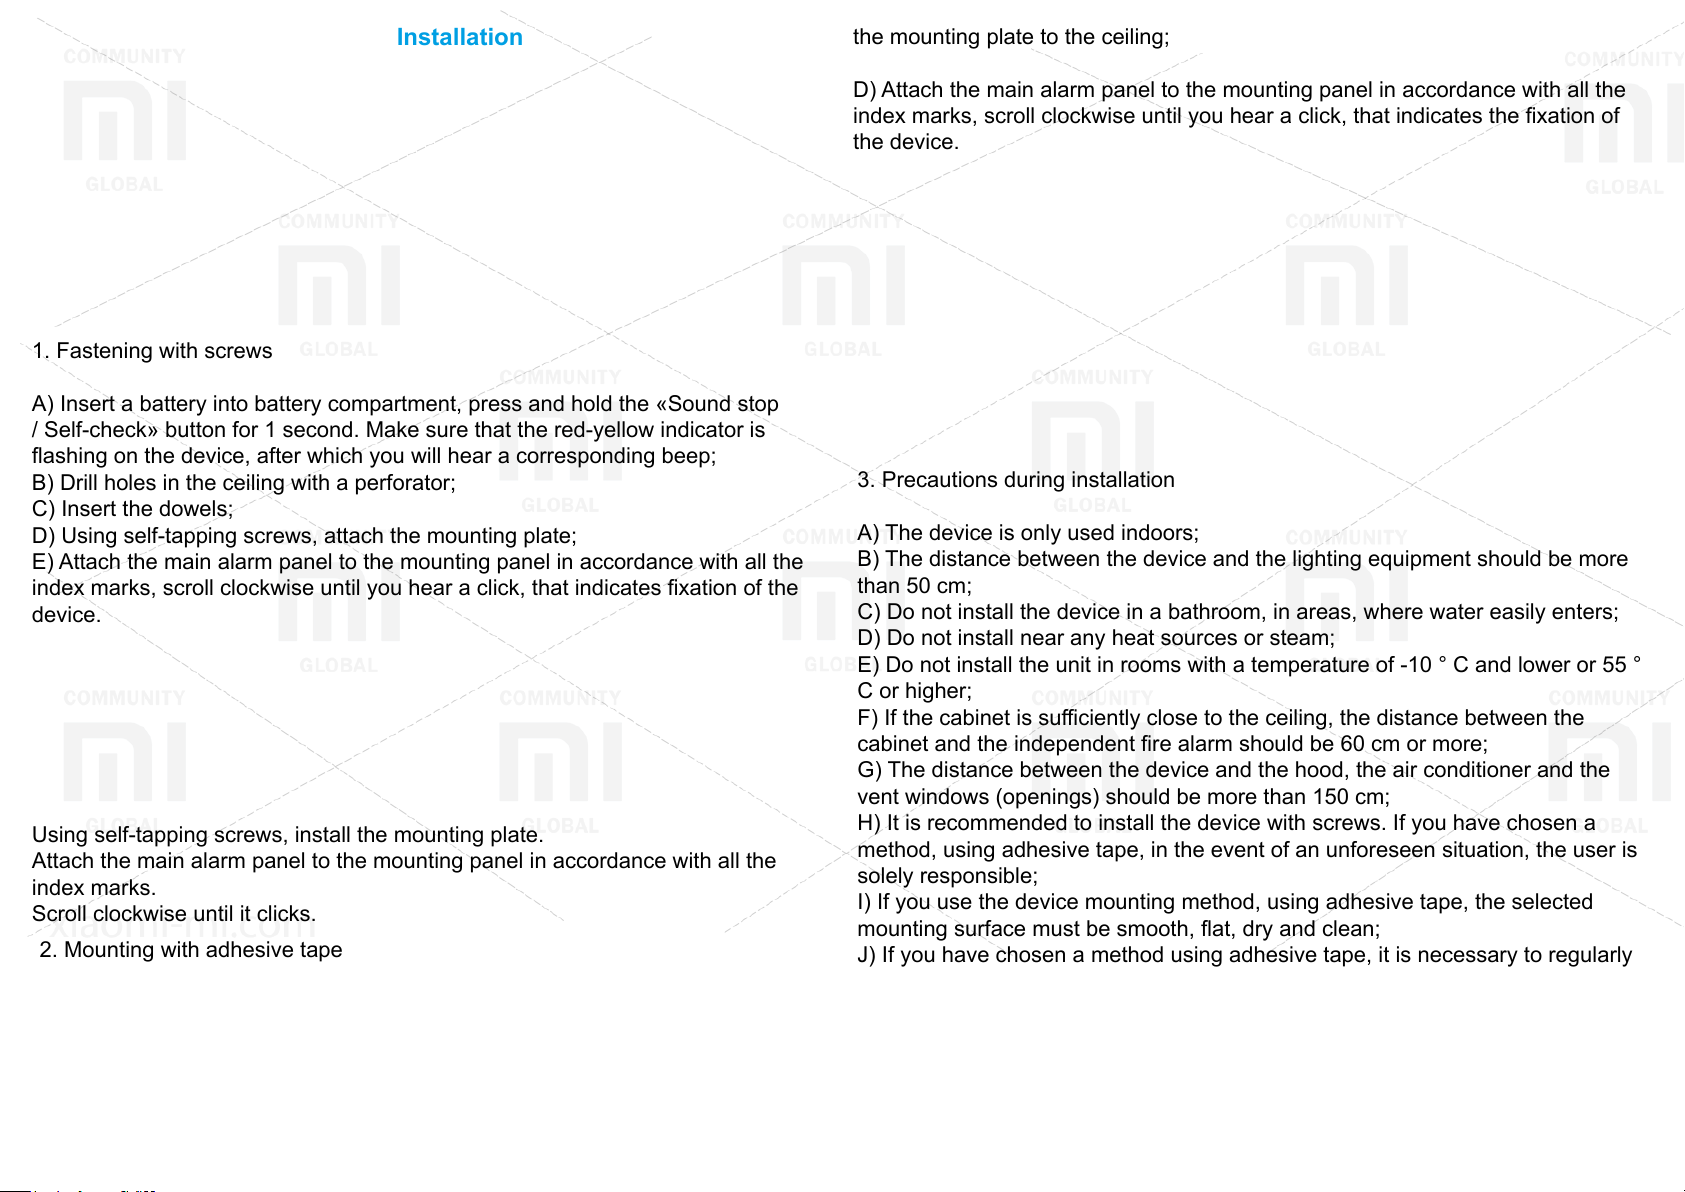
1. Fastening with screws
A) Insert a battery into battery compartment, press and hold the «Sound stop
/ Self-check» button for 1 second. Make sure that the red-yellow indicator is
ashing on the device, after which you will hear a corresponding beep;
B) Drill holes in the ceiling with a perforator;
C) Insert the dowels;
D) Using self-tapping screws, attach the mounting plate;
E) Attach the main alarm panel to the mounting panel in accordance with all the
index marks, scroll clockwise until you hear a click, that indicates xation of the
device.
Using self-tapping screws, install the mounting plate.
Attach the main alarm panel to the mounting panel in accordance with all the
index marks.
Scroll clockwise until it clicks.
2. Mounting with adhesive tape
A) Insert a battery into the battery compartment, press and hold the «Sound
stop / Self-check» button for 1 second. Make sure that the red-yellow indicator is
ashing on the device, after which you will hear a corresponding beep;
B) Remove the protective lm from one side of the adhesive tape and attach it to
the back of the mounting panel;
C) Remove the protective lm from the other side of the adhesive tape and attach
the mounting plate to the ceiling;
D) Attach the main alarm panel to the mounting panel in accordance with all the
index marks, scroll clockwise until you hear a click, that indicates the xation of
the device.
3. Precautions during installation
A) The device is only used indoors;
B) The distance between the device and the lighting equipment should be more
than 50 cm;
C) Do not install the device in a bathroom, in areas, where water easily enters;
D) Do not install near any heat sources or steam;
E) Do not install the unit in rooms with a temperature of -10 ° C and lower or 55 °
C or higher;
F) If the cabinet is suciently close to the ceiling, the distance between the
cabinet and the independent re alarm should be 60 cm or more;
G) The distance between the device and the hood, the air conditioner and the
vent windows (openings) should be more than 150 cm;
H) It is recommended to install the device with screws. If you have chosen a
method, using adhesive tape, in the event of an unforeseen situation, the user is
solely responsible;
I) If you use the device mounting method, using adhesive tape, the selected
mounting surface must be smooth, at, dry and clean;
J) If you have chosen a method using adhesive tape, it is necessary to regularly
check the reliability of fastening the device to avoid its falling;
K) If the battery leaks, you will not be able to install the device into the mounting
panel.
Page 3
Fire alarm Function
Self-check function
1. Detection of smoke
In the case of smoke detection, a light and sound alarm immediately triggers.
2. Ignition
Immediately take appropriate measures, for example, call 119, use re ghting
equipment, etc.
3. In case of elimination of ignition, click on the «Sound stop / Self-check» button
to turn o the alarm.
* The indicator will not light up on the device for 70 seconds and there will be no
beep. After 70 seconds, the device will resume its normal operation.
4. Note: the circumstances, under which a re alarm can trigger
A) Direct contact of the device with spray from insects, cosmetic and other means;
(B) Cigarette smoke, aromatic resin and other incendiary substances may cause
an alarm;
C) Use of evaporating insecticides;
D) Smoke or steam when cooking;
E) Condensation on the device.
Press and hold the «Sound stop / Self-check» button for 1 second.
* It is recommended to perform a self-test of the device once a month. If there is
a problem, repair the device.
Honeywell Smoke Detector Faults
Installation (modeling) of a sound signal
1. Press and hold the «Sound stop / Self-check» button for 3 seconds, after which
the red indicator will begin to ash and beeps will turn on, the alarm goes into the
simulation mode of the alarm sound;
2. When you release the «Sound stop / Self-check» button, the indicator stops
ashing and the alarm stops sounding, the alarm goes o from the simulation
mode of the alarm sound;
* If the battery level is low, the alarm sound simulation mode is not available;
When testing the sound simulation mode, please keep a close distance to the
alarm.
1. Problems with ability to perform automatic measurements.
If the alarm does not detect the presence of smoke (there is a malfunction),
contact the supplier, or the customer service department, to nd out the cause
of the problem as quickly as possible and x it. If the device does not detect
the presence of smoke in the room, the alarm will not work in the event of an
emergency.
2. Problems with soundproong
a. When the Honeywell Smoke Detector detects a malfunction, the status light
ashes three times in yellow (at intervals of 48 seconds) simultaneously with the
corresponding three-time beep. Contact your service representative as soon as
possible to determine the cause of the problem and perform maintenance;
B. If the fault signal has tripped, press the «Sound Stop / Self-Check» button to
turn o the alarm sound for about 12 hours;
C. After disabling the fault alarm, press and hold the «Sound Stop / Self-Check»
button for 3 seconds to restore the normal operation of the fault signal.
Page 4
Low battery warning function
1. When the charge level is insucient, the yellow status indicator will ash once
and the audio signal will turn on at the same time. Please change the battery as
soon as possible;
2. If there is insucient charge, press the «Sound stop / Self-check» button to turn
o the sound signal for about 12 hours;
Connection function
Honeywell Smoke Detector can not only be used alone, but it can also interface
with ZigBee wireless technology and an updated version of the multifunction
gateway. By connecting the re alarm to the multifunction gateway, in case of
an unforeseen situation and smoke accumulation in the room, both devices
simultaneously sound an alarm and send you a notication to the mobile phone
via the APP. Also, with the help of the application, the device can perform a self-
test so that you are sure of the normal operation of all re alarm functions.
3. If there is insucient charge, press and hold the «Sound Stop / Self-Check»
button for 3 seconds to restore the normal operation of the fault signal.
Battery Change
1. Remove the alarm (see section «Installation»);
2. Remove the battery, press and hold the «Sound Stop / Self-check» button for 5
seconds (use the residual charge to avoid false alarms on low battery level);
3. Insert a new battery;
4. Press and hold the «Sound Stop / Self-check» button for 1 second, after which
the device can perform a self-test, and you will hear a light and sound signaling
indicating its normal operation.
Denial of responsibility
1. The company reserves the right to change a description of this product, the
method of its use, and technical characteristics, etc. without prior notice;
2. The appearance of the device may slightly dier from the image in the
instruction, due to the peculiarities of the printing house and other reasons;
* First, connect the Honeywell Smoke Detector to the multifunction gateway, then
install it in the appropriate location.
* Before pairing devices, make sure that the multifunction gateway is functioning
properly.
Connect to the net
1. Installing the APP
In the Store, nd and install «Mi Home».
* If the APP is already installed, you can skip this step.
To nd even more Smart devices, sign up for Mi Home APP.
2. Adding a new device
Make sure the battery is securely attached to the device. Open Mi Home APP,
select the multifunction gateway to which you want to connect the device, and
then click on the «add device» icon on the main page and select «re alarm». In
accordance with the APP manual, make the settings and select the multifunction
gateway notication language. Connection of devices is completed.
3. The information provided is for information only and is not a form of obligation;
4. All rights reserved, the company reserves all rights. Without the written
permission of the company, no other company or individual is entitled to create a
full or partial copy of the instruction, nor is it entitled to distribute this product.
* If you can not connect the devices, place the Honeywell Smoke Detector closer
to the multifunction gateway and try again
* After successfully adding a device, you do not need to perform additional
settings. The devices will simultaneously signal a dangerous situation, and send
an alert.
Page 5
Precautions for installation
List of Faults
Before installation, make sure that the distance between the devices is within the
permissible limits:
At the location of the re alarm system, press the «Sound Stop / Self-Monitoring»
button. A multifunctional gateway will emit a corresponding beep, indicating the
allowable distance between the devices.
Warranty
Warranty service is carried out in accordance with the law on «Consumer Rights»
and «Product Quality Law». Warranty service includes:
1. Within 7 days from the date of purchase, in case of a problem from the «Fault
List», the Xiaomi Service Center determines the cause of the problem, after which
you can choose a free replacement of the goods, return or repair.
2. Within 8-15 days from the date of purchase, in case of a problem from the
«Fault List», the Xiaomi Service Center identies the problem, after which you
choose a free replacement or repair.
3. Within 12 months from the date of purchase, in case of a problem from the
«Fault List», the Xiaomi Service Center determines the problem, after which you
are provided with free repair.
1. The occurrence of cracks / breakages, due to the structure or material of the
device;
2. Problems with the status indicator;
3. Problems with the function button;
4. Problems with ZigBee;
5. Problems with the smoke detection function;
6. Problems with light and sound alarm;
Specications
Name: Honeywell Smoke Detector;
Model: JTYJ-GD-01LM / BW;
Device type: Device with battery, built-in automatic check function;
Battery: CR123A, rated voltage 3V;
Alarm: Light-sound alarm;
Battery life: 5 years (according to the actual mode of use of the device, the battery
life may slightly decrease);
Alarm: In case of re, malfunction, low level of charge;
Alarm volume: 3m 80 dB or more;
Size: Diam. 90mm x 36mm (including mounting plate);
Weight: 100g;
Operating temperature: -10 ° С - + 55 ° С;
Fitting Position: Upper;
Standard: GB20517-2006.
Conditions, that are not covered by warranty service
1. Maintenance of the device in unauthorized service centers, improper use, fall,
negligent attitude, abuse, liquid ingress, accident if the label and labeling of the
device are torn or smeared;
2. The warranty has expired;
3. Damage, caused by force majeure;
4. Breakdowns, that do not correspond to the «List of faults» of the Xiaomi Service
Center;
5. Breakdown of the device from the «Fault List», which arose in connection with
the human factor and which prevent its normal operation.
XIAOMI-MI.COM
The content of hazardous and noxious substances in the
product
adhesive
tape
hard plastic
screws
circuit board
 Loading...