

Hitachi HUSSL4040BSS600, HUSSL4020BSS600, HUSSL4010BSS600, HUSSL4040BSS601, HUSSL4020BSS601 Quick Installation Guide
...
Quick Installation Guide
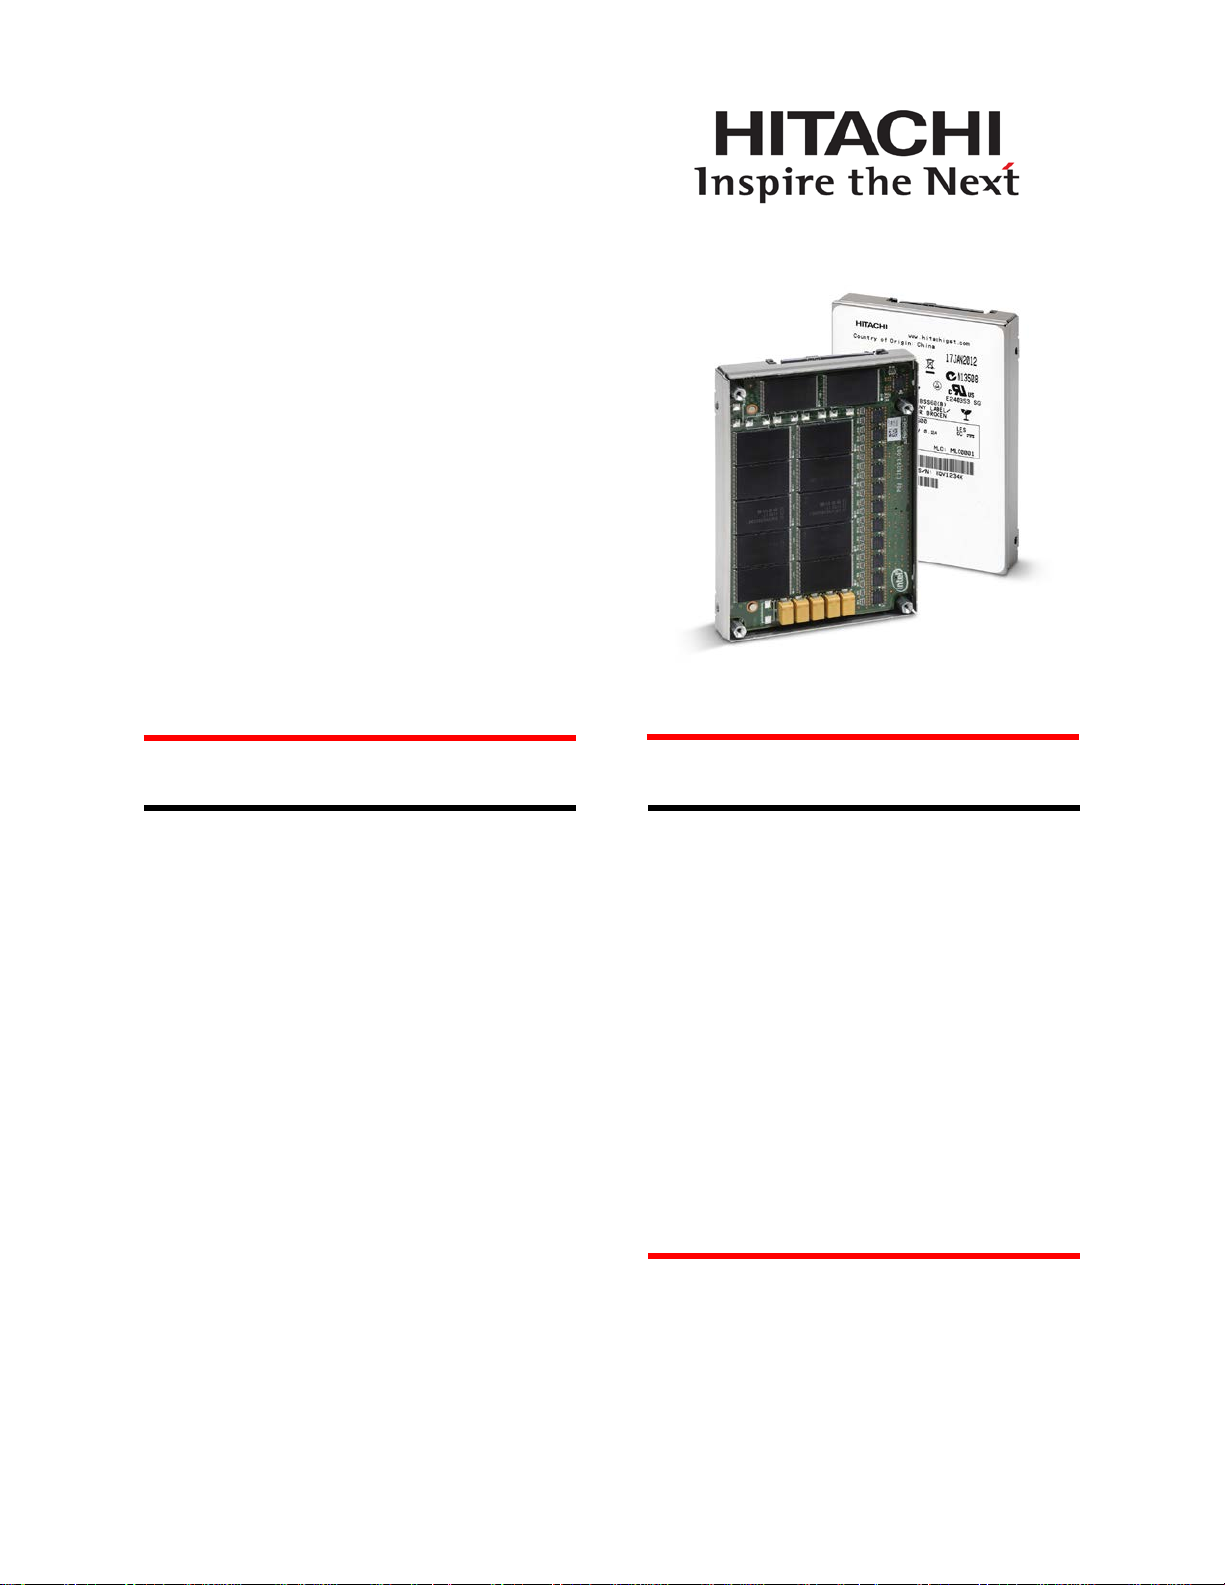
Hitachi Ultrastar SSD400S.B
SAS 6Gb/s Solid State Drive
Models: HUSSL4040BSS600
HUSSL4020BSS600
HUSSL4010BSS600
HUSSL4040BSS601
HUSSL4020BSS601
HUSSL4010BSS601
Handling precautions
• CAUTION: This drive can be damaged by
ESD (Electric Static Discharge). Any
damages incurred to the drive after its
removal from the shipping package and the
ESD protective bag are the responsibility of
the user.
• Do not open the ESD bag containing the
drive until you are ready to install the drive.
• Do not apply pressure on the drive during
handling and installation.
• To prevent damage from impact or vibration
always set the drive down gently.
• Handle the drive carefully by the edges.
• Save the packaging materials including the
ESD bag in the event that the hard drive
must be returned.
Installing the hard drive
1. Record the serial number and part number
of your hard drive for future reference.
2. Turn off the computer and remove the
computer system cover.
3. Unplug the computer.
4. Before handling the hard drive, discharge
any static electrici t y from yoursel f and
your clothing. With one hand touch an
unpainted metal surface on the computer
chassis, and then touch the ESD bag with
the other hand for a minimum of two
seconds.
5. Remove the hard drive from the ESD bag.
Page 1 of 2 version 1.0
Ultrastar SSD400S Quick Installation Guide Hitachi Global Storage Technologies
Drive Mounting
The drive will operate in all axes (6
directions). Performance and error rate will
stay within specification limits if the drive is
operated in the other orientations from which
it was formatted.
The recommended mounting screw torque is
0.45 Nm (4.5 Kgf-cm). The recommended
mounting screw depth is 2.5 mm maximum
for bottom and 3.0 mm maximum for
horizontal mounting.
Drive level vibration tests and shock tests are
to be conducted with the drive mounted to a
table using the bottom four screws.
Turn on your computer.
• If the system boots, be sure the drive is
recognized. If it is, turn off the computer
and replace the cover. Continue to install
your operating system.
• If your system does not boot up, turn off
your computer and check all connections
and settings. Turn on and boot the system.
• If the system fails to boot, turn off your
system. Contact the Hitachi GST Support
Center for assistance.
© 2012 Hitachi Global Storage Technologies
Produced in the United States 2/12
All rights reserved
Ultrastar is a trademark of Hitachi Global Storage
Technologies. Hitachi and the H ita c hi Inspire the
Next logo are trademarks of Hitachi, Ltd. in the U.S.,
Japan and/or other countries. Other trademarks are
the property of their respective company.
Hitachi Global Storage Technologies’ trademarks are
authorized for use in countries and jurisdictions in
which Hitachi has the right to use, market and
advertise the brands. Hitachi shall not be liable to
third parties for unauthorized use of H ita c hi
trademarks.
References in this publication to Hitachi Global
Storage Technologies’ products, programs, or
services do not imply that Hitachi intends to make
these available in all countries in which it operates.
Some countries have laws that may affect encryptionenabled devices. Hitachi assumes no responsibility
for compliance with laws that apply to our products
after they are sold or outside of our control.
Accordingly, we suggest that you review all laws of
the countries where you conduct business.
Product specifications provided are sample
specifications and do not constitute a warr a nty.
Information is true as of the date of publication and is
subject to change. Actual specifications for unique
part numbers may vary. Please visit the Support
section of our website, www.hitachigst.com/support,
for additional information on product specifications.
Photographs may show design models.
8 February 2012
Page 2 of 2 version 1.0
 Loading...