

Grandstream Networks GXP1620, GXP1625 Quick Installation Manual

Grandstream Networks, Inc.
126 Brookline Ave, 3rd Floor
Boston, MA 02215 USA
Tel : +1 (617) 566 – 9300
Fax: +1 (617) 249 – 1987
www.grandstream.com
For Warranty and RMA information, please visit
www.grandstream.com
GXP1620/1625
Small Business HD IP Phone
Quick Installation Guide

Content
English......................................................... 1
简体中文..................................................... 6
Español....................................................... 11
Français...................................................... 16
Deutsch....................................................... 21
Italiano........................................................ 26
Polski...........................................................31
Português.................................................... 36
Русскйй................................................. ......41
GXP1620/1625 is a Small Business HD IP phone that features 2 lines with 2 SIP accounts, 132x48 backlit graphical
LCD, 3 XML programmable context-sensitive soft keys, dual
network ports with PoE (GXP1625 only) and 3-way conference. The GXP1620/1625 delivers HD wideband audio,
superb full-duplex hands-free speakerphone with advanced
acoustic echo cancellation, advanced security protection for
privacy, and compatible with Grandstream UCM Features.
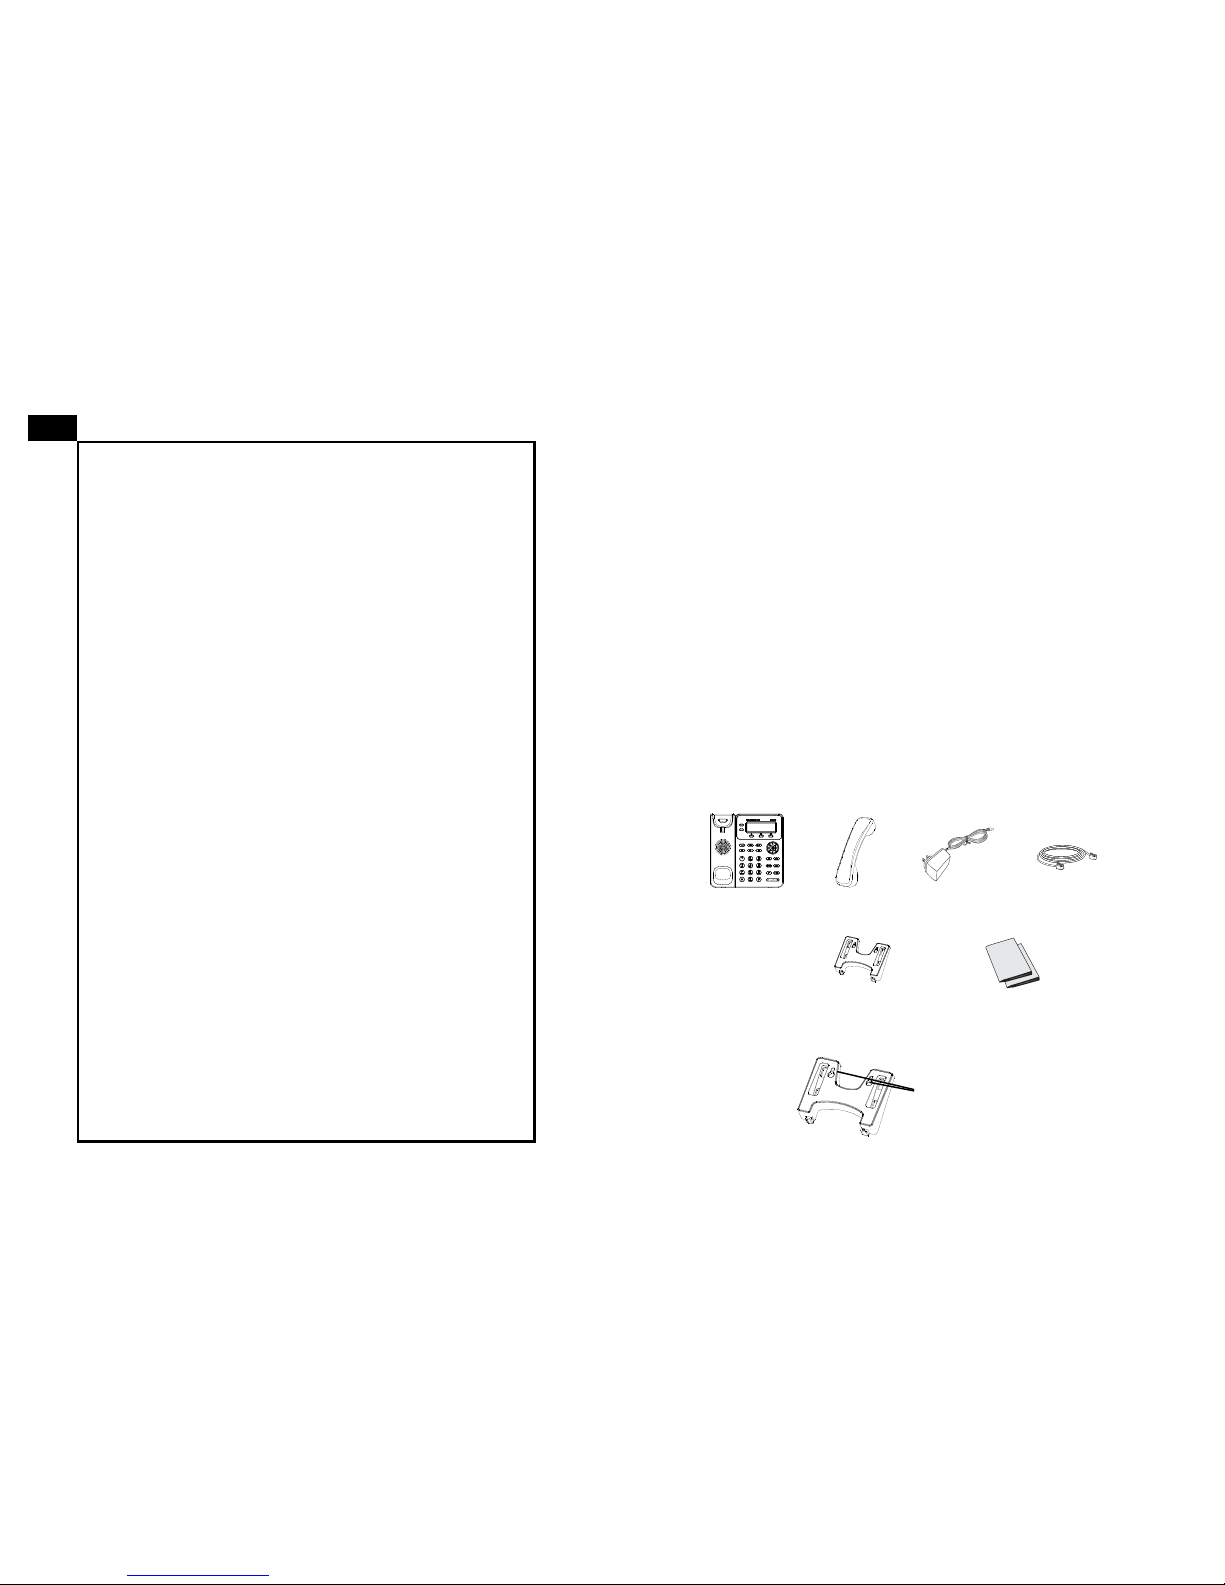
PACKAGE CONTENTS:
OVERVIEW:
WARNING:
Please DO NOT power cycle the GXP1620/1625
when the LED lights are ashing during system boot up or
rmware upgrade. You may corrupt rmware images and
cause the unit to malfunction.
PRECAUTIONS:
WARNING:
Use only the power adapter included in the
GXP1620/1625 package. Using an alternative non-qualied
power adapter may possibly damage the unit.
The GXP1620/1625 is not pre-congured to support or carry emergency calls to any type of hospital,
law enforcement agency, medical care unit (“Emergency Service(s)”) or any other kind of Emergency
Service. You must make additional arrangements to
access Emergency Services. It is Your responsibility
to purchase SIP-compliant Internet telephone ser-
vice, properly congure the GXP1620/1625 to use
that service, and periodically test your conguration
to conrm that it works as You expect. If You do not
do so, it is Your responsibility to purchase traditional
wireless or landline telephone services to access
Emergency Services.
GRANDSTREAM DOES NOT PROVIDE CON-
NECTIONS TO EMERGENCY SERVICES VIA THE
GXP1620/1625. NEITHER GRANDSTREAM NOR
ITS OFFICERS, EMPLOYEES OR AFFILIATES MAY
BE HELD LIABLE FOR ANY CLAIM, DAMAGE, OR
LOSS, AND YOU HEREBY WAIVE ANY AND ALL
SUCH CLAIMS OR CAUSES OF ACTION ARISING
FROM OR RELATING TO YOUR INABILITY TO USE
THE GXP1620/1625 TO CONTACT EMERGENCY
SERVICES, AND YOUR FAILURE TO MAKE AD-
DITIONAL ARRANGEMENTS TO ACCESS EMER-
GENCY SERVICES IN ACCORDANCE WITH THE
IMMEDIATELY PRECEDING PARAGRAPH.
EN
1 2
1 x Phone Main
Case
1 x Handset
1 x Phone Cord
1 x Ethernet
Cable
1 x Phone Stand
1 x 5V Power
Adapter
1 x Quick Installation Guide /
1 x GPL License
5 V
PHONE SETUP:
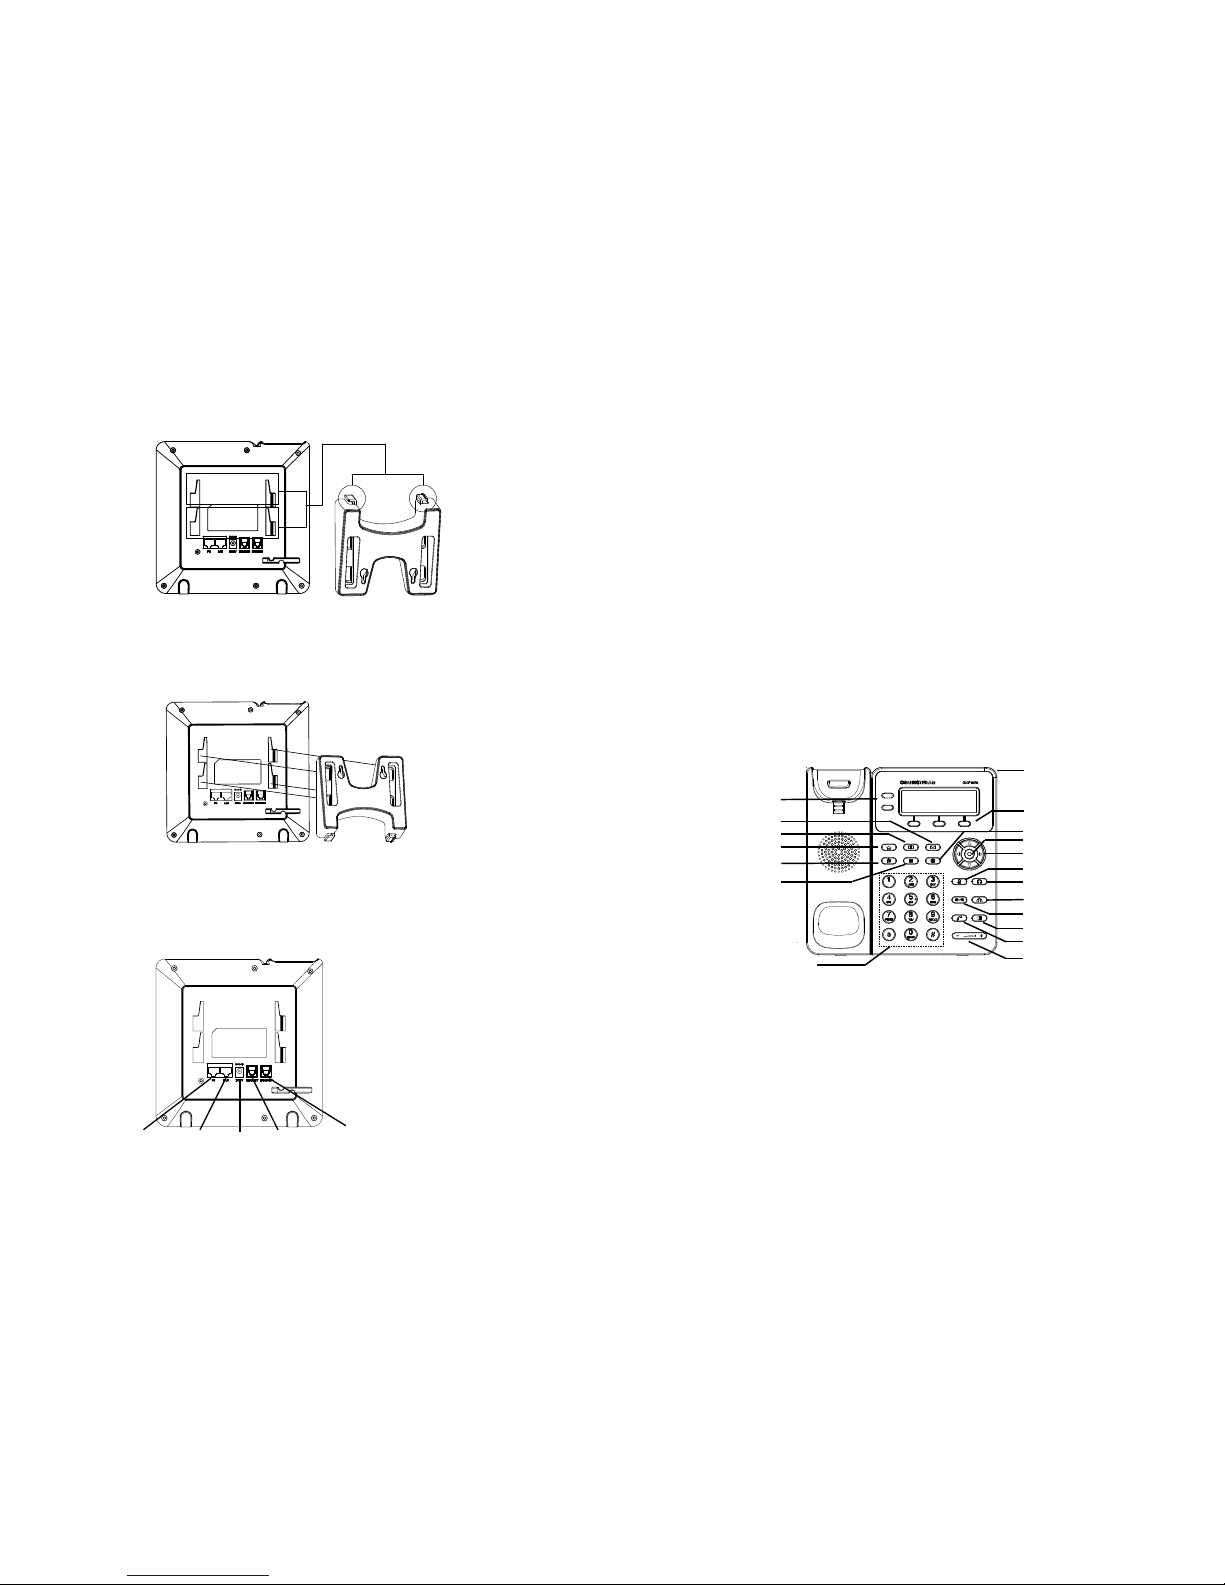
Wall mount holes
are available on
stand
To setup the GXP1620/1625, follow the steps below:
1. Connect the handset and main phone case with the
phone cord.
2. Connect the LAN port of the phone to the RJ-45 socket
of a hub/switch or a router (LAN side of the router) using the
Ethernet cable.
3. Connect the 5V DC output plug to the power jack on the
phone; plug the power adapter into an electrical outlet.
4. The LCD will display provisioning or rmware upgrade information. Before continuing, please wait for the date/time
display to show up.
5. Using the phone embedded web server or keypad con-
guration menu, you can further congure the phone using
either a static IP or DHCP.
4
CONNECTING THE PHONE:
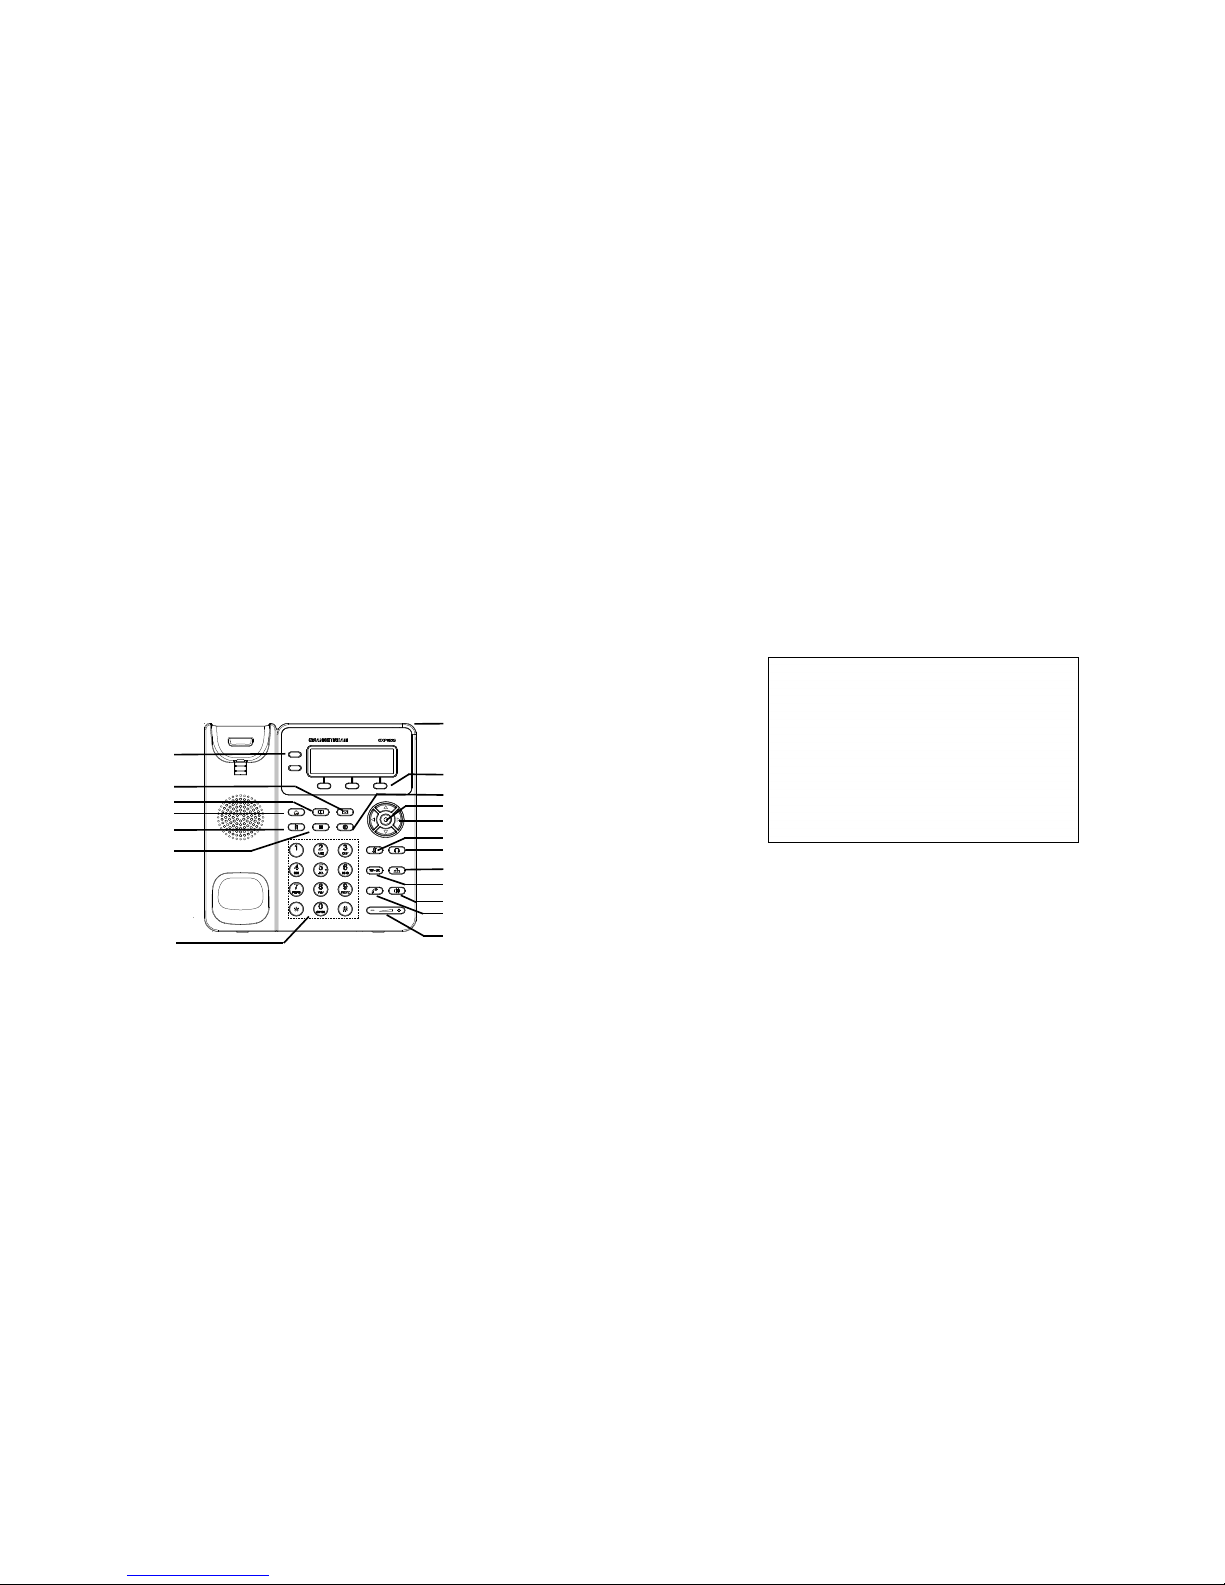
Tips For Using the Keypad:
Line Key
Message Waiting
Indicator
Message
Standard Keypad
Phonebook
Page/Intercom
Home Button
Hold
Softkey
Menu/OK key
Navigation keys
Record
Headset
Speaker
Volume
Send
Transfer
Mute
Conference
1. To access the MENU, press the round MENU button.
2. Navigate the menu by using the UP/DOWN and LEFT/
RIGHT buttons.
3. Press the round MENU button to conrm a menu selection.
4. The phone automatically exits MENU mode when there
is an incoming call, the phone goes off-hook, or when the
MENU mode is left idle for 60 seconds.
3
Installing the Phone (Phone Stand):
1. Insert the hooks on top of the stand into a slots, you have options
to use either upper OR lower slots.
2. Firmly slide the stand upward to lock it in place.
Installing the Phone (Wall Mount):
UPPER
LOWER
OR
1. Insert all 4 hooks located in the front of wall mount into the slots.
2. Firmly slide the wall mount upward to lock it in place.
3. Pull out and rotate the tab from handset rest to hold the handset
while the phone is mounted on the wall.
LAN Port
Power
Handset Port
PC Port Headset Port

Note: For the detailed user manual, please download from:
http://www.grandstream.com/support
1. Make sure the phone is idle.
2. Press the MENU button to access the keypad MENU to
congure the phone.
3. Select MENU->Cong, to congure settings for SIP Proxy,
Outbound Proxy, SIP User ID, SIP Auth ID and SIP Password.
4. Follow MENU options to congure the basic features of
the phone. For example: the IP address if using a static IP.
For details, please check GXP1620/1625 User Manual.
5. Please contact your ITSP (Internet Telephony Service
Provider) for additional settings that may be necessary to
congure the phone.
5. The default administrator username and password are
“admin”; the default end-user username is “user“ and the
password is “123”.
Congure the GXP1620/1625 using the Keypad:
5
6
GXP1620/1625不预设对医院,执法机构,医
疗中心(急救服务)以及各种紧急服务的紧急通话
服务。用户必须自行设定紧急通话功能。用户必
须自行购买SIP兼容的网络电话服务,正确地设
定GXP1620/1625使用该服务,并定期测试您
的配置以确保GXP1620/1625如预期工作,否
则请购买传统无线或有线电话服务来拨打紧急通
话。
Grandstream Networks 公司的GXP1620/1625
不支持紧急通话服务。Grandstream Networks
公司、其管理者和员工以及其相关机构对此所造
成的任何索赔、损失或者损害都不负有任何法律
追究责任。在此,您将无权对任何以及所有由于
无法通过GXP1620/1625拨打紧急电话以及没
有遵照前段文字描述而造成紧急通话失败的事件
提出诉讼。
ZH
1. Ensure your phone is powered up and connected to the
Internet.
2. Press MENU button to go into menu of the phone.
3. Press the “down” arrow button to “Status” and press
MENU button to check the IP address.
4. Type the phone’s IP address in your PC browser. (See
gure below).
PHONE CONFIGURATION:
Congure the GXP1620/1625 Using Web Browser:
GXP1625 is covered by one or more of the U.S. patents
(and any foreign patent counterparts thereto) identied at
www.cmspatents.com.
警告: 请不要在设备启动未完成LED灯闪烁的时候或设备的升级软件
的过程中断开电源,因为如刚才所述的操作会导致话机本身的程序损
坏,进而导致设备无法启动。
GXP1620/1625是一款功能丰富的小型商务IP电话。支持2条线
路,2个独立SIP账号,132x48图形化LCD显示屏,3个XML可编程
软按键,2个10/100Mbps自适应交换式以太网接口(GXP1625支
持PoE供电),三方会议。GXP1620/1625具有优异的高清晰语音
质量和丰富完备的电话功能。它支持自动配置、先进的安全隐私保护
设置,并全面兼容Grandstream UCM功能。对于追求性价比的企业
用户来说, GXP1620/1625将是理想的选择。
注意事项:
产品概览:
设备包装清单:
GXP1620/1625话机(1台)
电话手柄(1个)
电源适配器
网线 (1根)
手柄连线(1根)
支架 (1个)
快速安装手册(1本)
/ GPL许可证(1本)
5 V
警告: 请使用设备包装中的电源,因为使用其他没有经过认证的替代
电源适配器有可能对设备造成损害。
7
8
安装电话:
位于支架上的墙孔
安装电话 (桌面):
安装电话 (墙体):
电话的连接:
PC端口
网络连接端口 5V电源
耳机 手柄
1. 话机背面有高矮两组插槽。用户可根据实际需要,将支架顶端的
塑料插脚插入合适的槽插。
2. 然后向上缓缓推动支架到底。
1. 将支架正面的四个插脚对准话机背面的插槽。
2. 然后向上缓缓推动支架到底。
3. 将话机手柄槽下方的扣机零件拔出,倒置插入原处。此时零件凸
出处在外,当电话使用墙体支架固定在墙上时,手柄可以垂直地稳
定扣入手柄槽中,不会滑落。
高插槽
矮插槽
或
连线步骤:
1. 用手柄连线连接电话手柄和电话主机;
2. 用网线连接电话的网络接口和外部网络接口(如:集线器或交换
机上的RJ-45网络接口);
3. 用电源适配器连接电话电源接口和交流电源插座;
10
9
4. 电话屏幕将会显示设备启动或固件升级信息。请耐心等待至时间/
日期显示;
5. 话机启动后,用户可以在主菜单或WEB浏览器进一步设置静态IP或
者DHCP,从而获得网络连接。
使用GXP1620/1625键盘:
信息
线路键
标准键盘
通讯录
对讲
HOME 键
保持
软按键
菜单/确认键
导航键
录音
耳机
免提
音量
发送
转接
静音
会议
信息指示灯
1. 当电话处于空闲状态,按下菜单/确定按键进入菜单选项;
2. 使用方向选择按键 “上”“下”“左”“右”选择菜单选项;
3. 按下菜单/确定按键确定选项;
4. 当有来电进入,提起电话手柄、使用免提键或者电话处于菜单状态
中60秒之后,电话将自动退出菜单选项。
电话的配置:
通过WEB浏览器配置GXP1620/1625 :
1. 请确保电话的电源及网络连接;
2. 按下菜单/确定按键进入菜单选项;
3. 使用“向下”方向键选择“状态”,按下菜单/确定按键,此时电
话屏幕显示话机IP地址;
4. 在您电脑浏览器中输入话机IP地址(电话和您的电脑必须在同一个
网段);
5.如下图所示,请输入用户名和密码登陆。默认管理员用户名和密码
是“admin”;默认终端用户名和密码分别是“user“和“123”。
通过键盘配置GXP1620/1625 :
1. 确保电话处于空闲状态;
2. 按下菜单/确定按键进入菜单选项;.
3. 选择菜单->设置->账号,输入SIP服务器、SIP用户名、密码等账号
信息,注册新的SIP账号;
4. 在菜单选项中进行电话其他设置。如,设置电话的静态IP地址。请
参考GXP1620/1625产品用户手册获得更多详细配置信息;
5. 如有其他需要的设置,请联系您的服务提供商。
备注:欲获取详细的话机使用信息,请在以下链接中下载用户手册:
http://www.grandstream.com/support

12
11
El GXP1620/1625 no esta pre-congurado para soportar o
realizar llamadas de emergencia a ningún tipo de hospital,
agencia policial, unidad de cuidado medico o cualquier otro
servicio de emergencia. Es su responsabilidad contratar un
servicio de telefonía de Internet compatible con el protocolo
SIP, congurar el GXP1620/1625 para utilizar dicho servicio
y periódicamente probar esta conguración para conrmar
que este trabajando como usted espera. Si este requisito no
es completado, es su responsabilidad contratar un servicio
de telefonía ja o celular para tener acceso a servicios de
emergencia.
GRANDSTREAM NO PROVEE CONEXIONES A SERVICIOS DE EMERGENCIA A TRAVÉS DEL GXP1620/1625.
NI GRANDSTREAM NI NINGUNO DE SUS ACCIONISTAS, EMPLEADOS O AFILIADOS SON RESPONSABLES
DE NINGUNA DEMANDA, DAÑO O PERDIDA QUE ESTO
PUEDA OCASIONAR Y MEDIANTE ESTE COMUNICADO
USTED RENUNCIA A CUALQUIER RECLAMO O CONSECUENCIA PROVENIENTE O RELACIONADO DE LA INHABILIDAD DE CONTACTAR SERVICIOS DE EMERGEN-
CIAS CON EL GXP1620/1625 Y SU FALTA DE NO HABER
HECHO LOS ARREGLOS DE LUGAR PARA ACCESAR
ESTOS SERVICIOS DE EMERGENCIA DE ACUERDO
CON EL PÁRRAFO ANTERIOR.
ES
PRECAUCIONES:
CUIDADO:
Por favor NO apague el GXP1620/1625 cuando la luz
este parpadeando durante el reinicio o actualizando del rmware. Se
puede corromper los archivos causando que el equipo no se comporte correctamente.
CUIDADO: Use solamente el adaptador de corriente incluido con
el GXP1620/1625. Usar uno alternativo puede dañar el equipo.
INFORMACIÓN GENERAL:
El GXP1620/1625 es un teléfono IP con audio HD para pequeña
empresas que cuenta con 2 lineas/cuentas SIP, pantalla LCD gráca
de 132x48 pixeles retroiluminada, 3 teclas programables via XML,
puerto de red dual con PoE (solamente GXP1625) y conferencia
3-vias. El GXP1620/1625 proporciona audio de alta delidad, con
espléndido audio full duplex en modo altavoz manos-libres con cancelación de eco avanzado, mecanismos de protección de seguridad
y privacidad avanzados, y compatible con funcionalidades del UCM
de Grandstream.
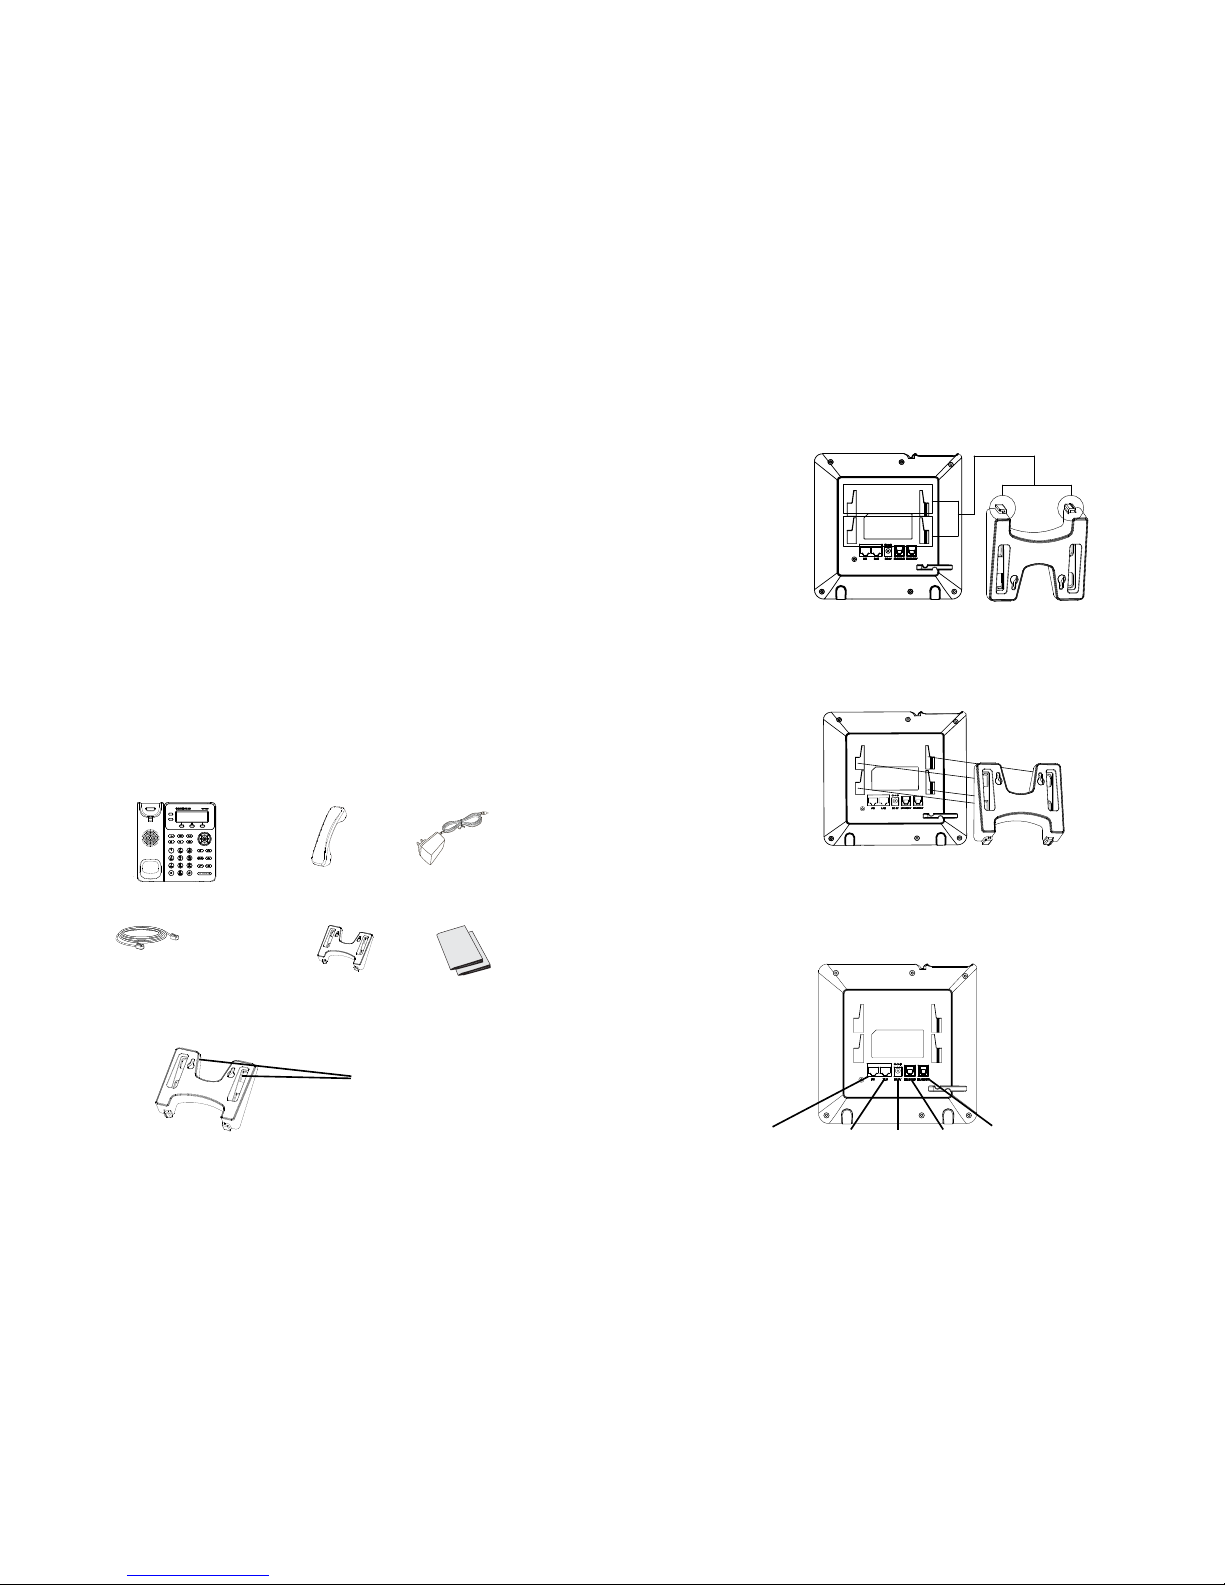
CONTENIdO:
1 x Cable Telefónico
1 x Cable de Red
1 x Soporte de Teléfono
1 x Guia de Insta-
lación Rapida / 1 x
La licencia GPL
1 x Base Principal
1 x Auricular
1 x Adaptador de
Alimentación de 5V
5 V
INSTALACIÓN dEL TELEFONO:
Instalando El Teléfono (Soporte de Teléfono) :
Cuando requiera utilizar el pedestal, ajuste el mismo en la parte infe-
rior del teléfono donde se encuentra una ranura para el pedestal
(parte superior, parte inferior).
Los agujeros para
el montaje de pared
están disponibles en
la base
 Loading...