


GRT21R6AW5
Gibson GRT21R6AW5, GRT21R6AW4, GRT21R6AW3, GRT21R6AW2, GRT21R6AQ5 Owner’s Manual
...
Espa6ol ........... 21
Frangais ........... 41
g
.... 4-5
at a Glance ......... 8
Temperature Controls ........ 9
Looking Inside .......... 10 - 11
Ice Service .................... 12
Food Storage
& Energy Saving Tips ....... 13
Normal Operating Sounds..14
Care & Cleaning ......... 15 - 16
Warranty .................. 17 - 18
Before You Call ............... 19
READ AND SAVE THESE INSTRUCTIONS pIN240435502(0107)
Congratulations on your purchase of a new refrigerator! We
here at Electrolux Home Products are very proud of our
product and we are completly committed to providing you
with the best service possible. Your satisfaction is our #1
priority.
Please read this Use & Care Manual very carefully. Itcontains
valuable information on how to properly maintain your new
refrigerator.
We know you'll enjoy your new refrigerator and Thank You
for choosing our product. We hope you consider us for future
purchases.
PLEASE READ AND SAVETHESEINSTRUCTIONS
This Use & Care Manual provides specific operating
instructions for your model. Use your refrigerator only as
instructed in this manual. These instructions are not meant
to cover every possible condition and situation that may
occur. Common sense and caution must be practiced when
installing, operating and maintaining any appliance.
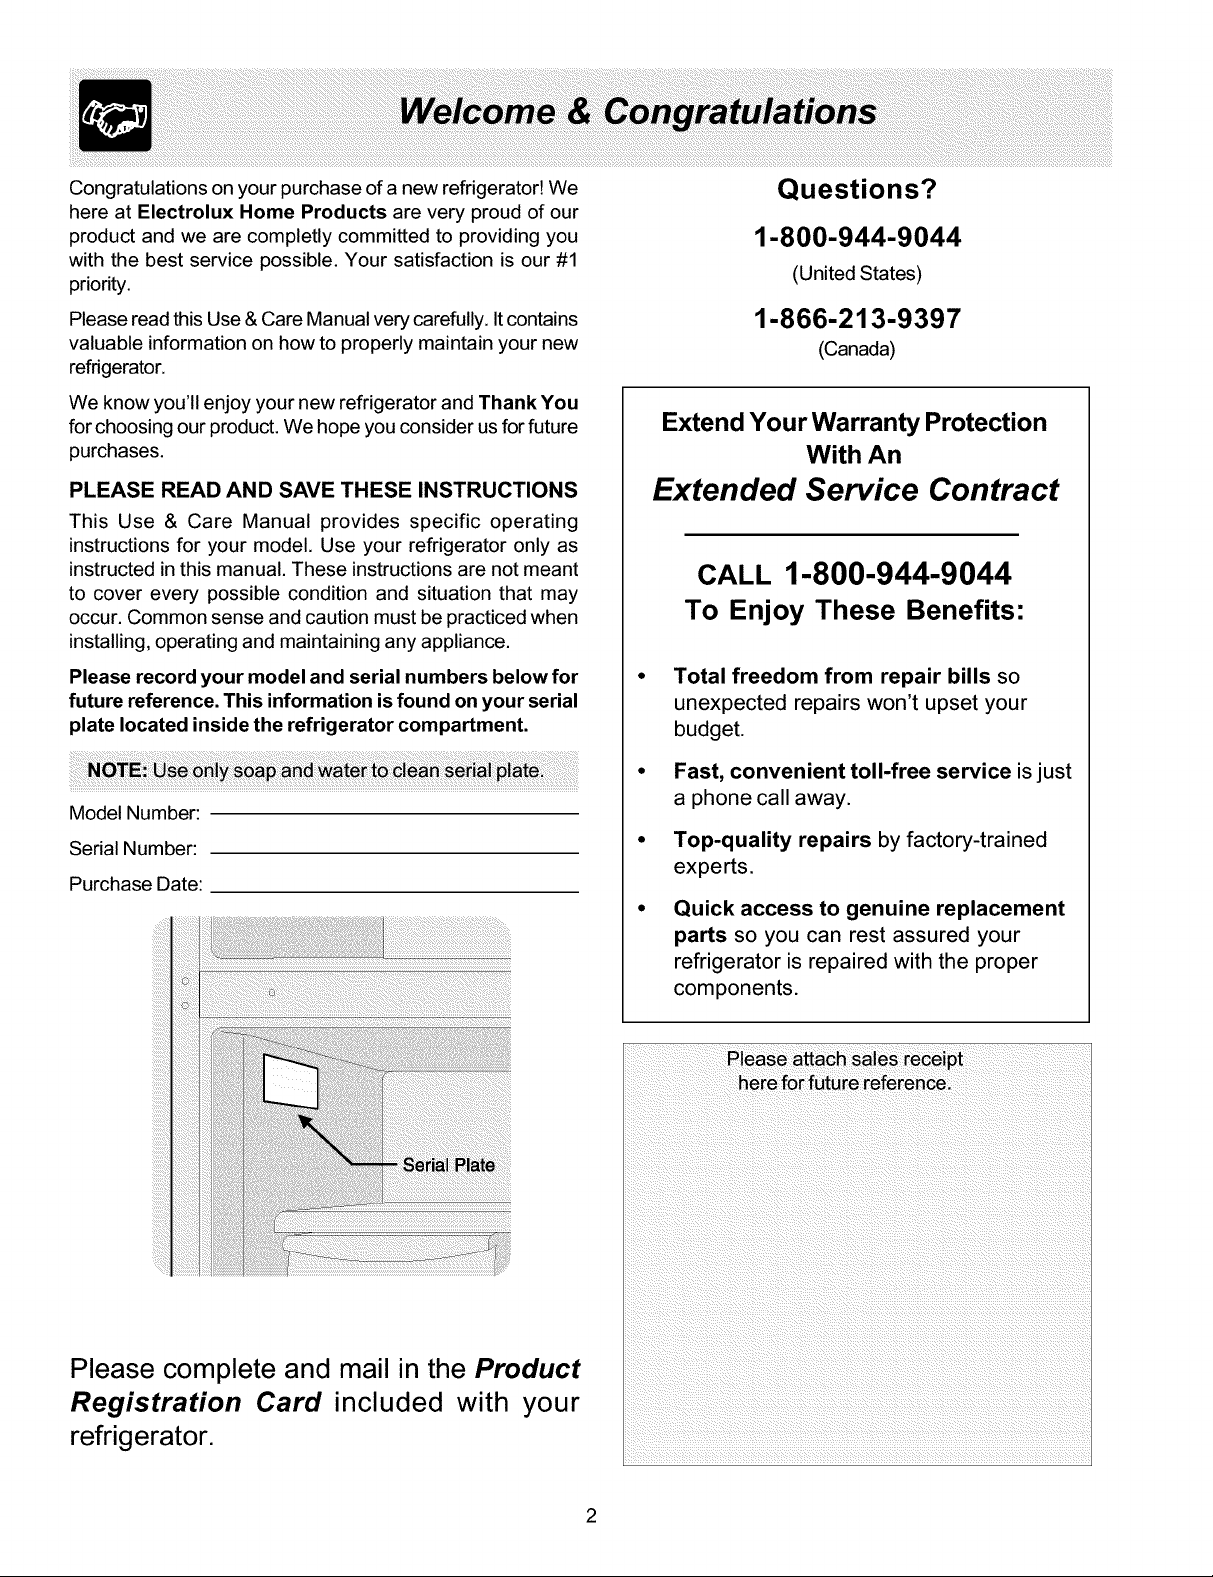
Please record your model and serial numbers below for
future reference. This information is found on your serial
plate located inside the refrigerator compartment.
Model Number:
Serial Number:
Purchase Date:
Questions?
1-800-944-9044
(United States)
1-866-213-9397
(Canada)
Extend Your Warranty Protection
With An
Extended Service Contract
CALL 1-800-944-9044
To Enjoy These Benefits:
Total freedom from repair bills so
unexpected repairs won't upset your
budget.
Fast, convenient toll-free service is just
a phone call away.
Top-quality repairs by factory-trained
experts.
Quick access to genuine replacement
parts so you can rest assured your
refrigerator is repaired with the proper
components.
Please complete and mail in the Product
Registration Card included with your
refrigerator.
Please attach sales receipt
here for future reference.
2
FORYOURSAFETY
• Donotstoreorusegasoline,orotherflammableliquids
inthevicinityofthisoranyotherappliance.Readpro-
ductlabelsforwarningsregardingflammabilityandother
hazards.
• Donotoperatetherefrigeratorinthepresenseof
explosivefumes.
• Avoidcontactwithanymovingpartsofautomaticice
maker.
• Removeallstablesfromthecarton.Staplescancause
severecuts,andalsodestroyfinishesif theycomein
contactwithotherappliancesorfurniture.
CHILD SAFETY
Destroyorrecyclethecarton,plasticbags,andanyexterior
wrappingmaterialimmediatelyaftertherefrigeratoris
unpacked.ChildrenshouldNEVERusetheseitemstoplay.
Cartonscoveredwithrugs,bedspreads,plasticsheetsor
stretchwrapmaybecomeairtightchambers,andcanquickly
causesuffocation.
PROPER DISPOSAL OF YOUR REFRIGERATOR
OR FREEZER
Risk of child entrapment
Child entrapment and
suffocation are not problems of
the past. Junked or abondoned
refrigerators or freezers are still
dangerous - even if they will sit
for "just a few days." If you are
getting rid of your old refrigerator
or freezer, please follow the
instructions below to help
prevent accidents.
Before you throw away your old refrigerator/freezer:
• Remove doors.
• Leave shelves in place so children may not easily climb
inside.
• Have refrigerant removed by a qualified service
technician.
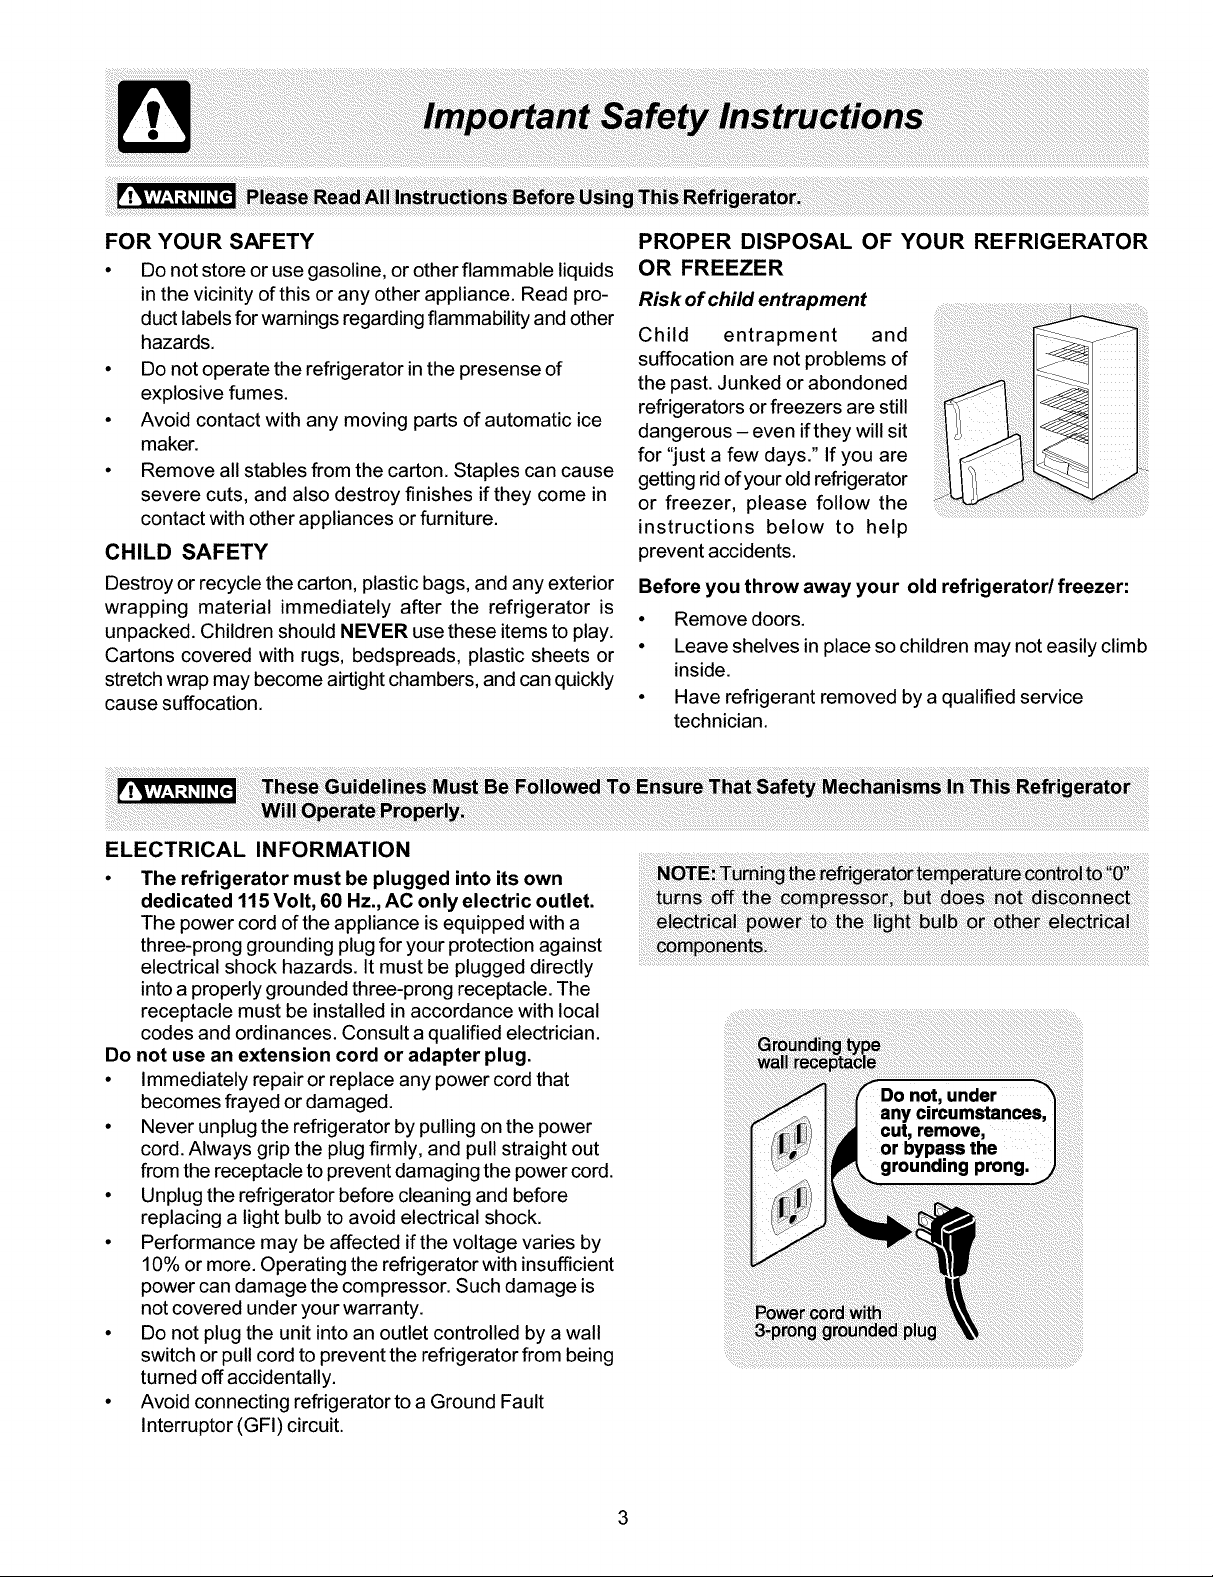
ELECTRICAL INFORMATION
• The refrigerator must be plugged into its own
dedicated 115 Volt, 60 Hz., AC only electric outlet.
The power cord of the appliance is equipped with a
three-prong grounding plug for yourprotectionagainst
electrical shock hazards. It must be plugged directly
intoa properlygrounded three-prong receptacle. The
receptacle must be installed in accordance with local
codes and ordinances. Consult a qualified electrician.
Do not use an extension cord or adapter plug.
• Immediately repair or replace any power cord that
becomes frayed or damaged.
• Never unplugthe refrigerator by pullingon the power
cord. Always grip the plug firmly, and pull straight out
from the receptacle topreventdamagingthe power cord.
• Unplugthe refrigerator before cleaning and before
replacing a light bulb to avoid electrical shock.
• Performance may be affected if the voltage varies by
10% or more. Operating the refrigerator with insufficient
power can damage the compressor. Such damage is
not covered under your warranty.
• Do not plug the unit into an outlet controlled by a wall
switch or pullcordto prevent the refrigerator from being
turned offaccidentally.
• Avoid connecting refrigerator toa Ground Fault
Interruptor (G FI) circuit.
This Use & Care Manual provides specific operating
instructions for your model. Use the refrigerator only as
instructed in this Use & Care Manual. Before starting the
refrigerator, follow these important first steps.
LOCATION
• Choose a place that is near a grounded electrical outlet.
Do Not use an extension cord or an adapter plug.
• If possible, place the refrigerator out of direct sunlight
and away from the range, dishwasher or other heat
sources.
• The refrigerator must be installed on a floor that is level
and strong enough to support a fully loaded refrigerator.
• Consider water supply availability for models equipped
with an automatic ice maker.
INSTALLATION
• Do Not install the refrigerator where the temperature
will drop below 55°F (13°C) or rise above 110°F (43°C).
The compressor will not be able to maintain proper
temperatures inside the refrigerator.
_i_U lati_n i e_sential t_pro_e _pbrmti_ of
Installation Clearances
• Allow the following clearances for ease of installation,
proper air circulation, and plumbing and electrical
connections:
Sides & Top 3/8"
Back 1"
DOOR OPENING
LEVELING
All four corners of your refrigerator must rest firmly on a
solid floor. Your refrigerator is equipped with adjustable front
rollers to help level your unit.
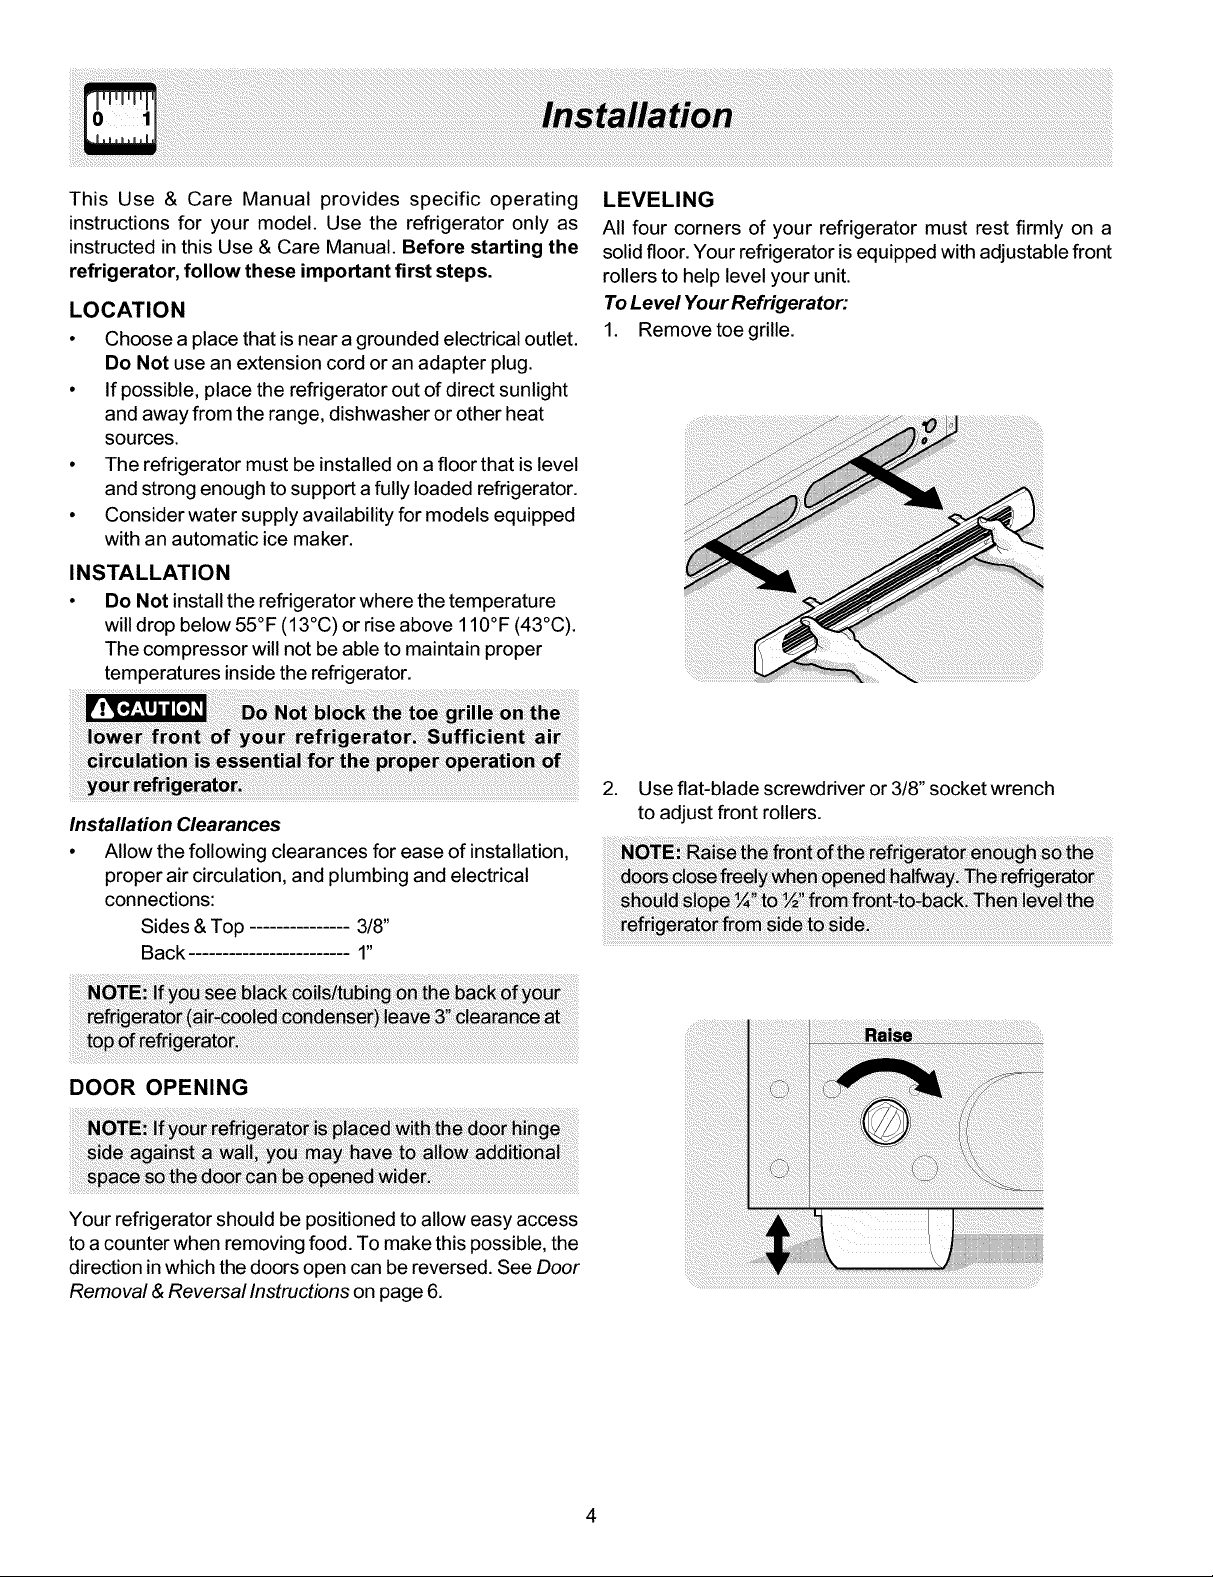
To Level Your Refrigerator:
1. Remove toe grille.
2. Use flat-blade screwdriver or 3/8" socket wrench
to adjust front rollers.
Your refrigerator should be positioned to allow easy access
to a counter when removing food. To make this possible, the
direction in which the doors open can be reversed. See Door
Removal & Reversal Instructions on page 6.
4
Before Installing The Water Supply Line, You Will Need
• Basic Tools: adjustable wrench, flat-blade screwdriver, and Phillips TM screwdriver
• Access to a household cold water line with water pressure between 20 and 120 psi.
• A water supply line made of ¼ inch (6.4 mm) OD, copper tubing. To determine the length of copper tubing needed,
you will need to measure the distance from the ice maker inlet valve at the back of the refrigerator to your cold water
pipe. Then add approximately 7 feet (2.1 meters), so the refrigerator can be moved out for cleaning (as shown).
• A shutoff valve to connect the water supply line to your household water system. DO NOT use a self-piercing type
shutoff valve.
• A compression nut and ferrule (sleeve) for connecting the water supply line to the ice maker inlet valve.
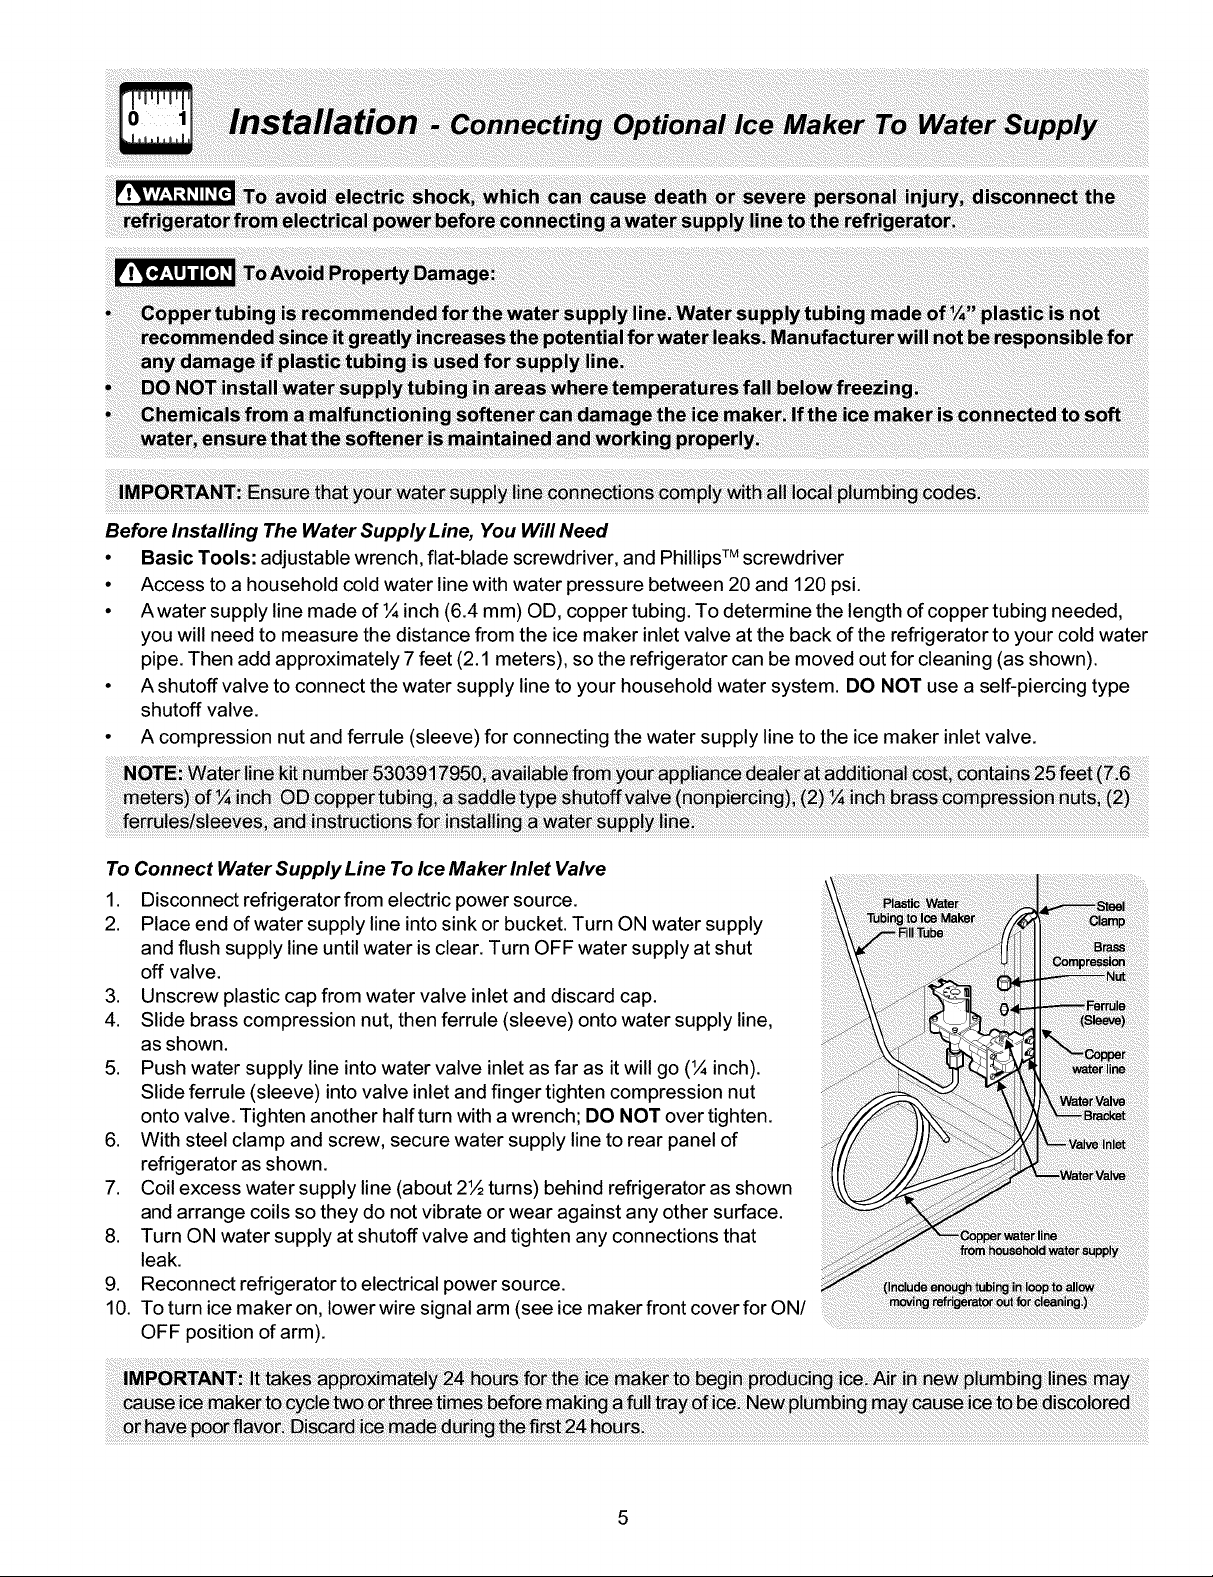
To Connect Water Supply Line To Ice Maker Inlet Valve
1. Disconnect refrigerator from electric power source.
2. Place end of water supply line into sink or bucket. Turn ON water supply
and flush supply line until water is clear. Turn OFF water supply at shut
off valve.
3. Unscrew plastic cap from water valve inlet and discard cap.
4. Slide brass compression nut, then ferrule (sleeve) onto water supply line,
as shown.
5. Push water supply line into water valve inlet as far as it will go (¼ inch).
Slide ferrule (sleeve) into valve inlet and finger tighten compression nut
onto valve. Tighten another half turn with a wrench; DO NOT over tighten.
6. With steel clamp and screw, secure water supply line to rear panel of
refrigerator as shown.
7. Coil excess water supply line (about 2½ turns) behind refrigerator as shown
and arrange coils so they do not vibrate or wear against any other surface.
8. Turn ON water supply at shutoff valve and tighten any connections that
leak.
9. Reconnect refrigerator to electrical power source.
10. To turn ice maker on, lower wire signal arm (see ice maker front cover for ON/
OFF position of arm).

Tools Necessary:
QPuha'ldrexhea_
_,wdriver
Adlusi_ble
Wrench
Cabinet Hole
Plugs
,,ngeHo,e
iiiiiiiii i ii'ii'ii i' i
DOOR REMOVAL AND REVERSAL INSTRUCTIONS:
1. Remove toe grille and top hinge cover.
2. Remove top hinge with 3/8" hex driver and lift freezer door off of
center hinge pin. Set door aside.
3. Unscrew center hinge pin using adjustable wrench and save for
reassembly. Ensure plastic washer stays on hinge pin.
4. Lift refrigerator door off of bottom hinge and set aside.
5. Remove center hinge and shim by removing inside screw and
loosening two outside screws enough to allow hinge and shim to
slide out. Tighten screws.
6. Loosen two outside screws on opposite side of refrigerator, remove
inside screw and install center hinge.
7. Remove bottom hinge with 3/8" hex driver. Reinsert two outside screws
in holes and tighten. Inside screw will go to opposite side in step 8.
8. Remove two outside screws on opposite side of refrigerator and install
bottom hinge. Insert and tighten screw saved from step 7.
9. Unscrew bottom hinge pin using adjustable wrench. Move hinge pin
to other hole in hinge and tighten with adjustable wrench.
10. Reverse door handles (see instructions on next page).
11. Move freezer and refrigerator door stops to opposite side.
12. Position refrigerator door onto lower hinge pin and screw center hinge
pin through center hinge into top of door. Close refrigerator door to
help align hinge hole.
13. Tighten center hinge pin with adjustable wrench.
14. Remove cabinet and hinge hole plugs and move to opposite side.
15. Lower freezer door onto center hinge pin.
16. Close freezer door. Have an assistant lift up on opposite side of door
while tightening screws to install top hinge.
17. Replace toe grille and top hinge cover.
18. Plug in electrical power cord and turn refrigerator temperature control
to center position. Adjust setting as necessary.
ii
6
 Loading...