

Garmin NUVI 885 with MSN Direct quick start manual
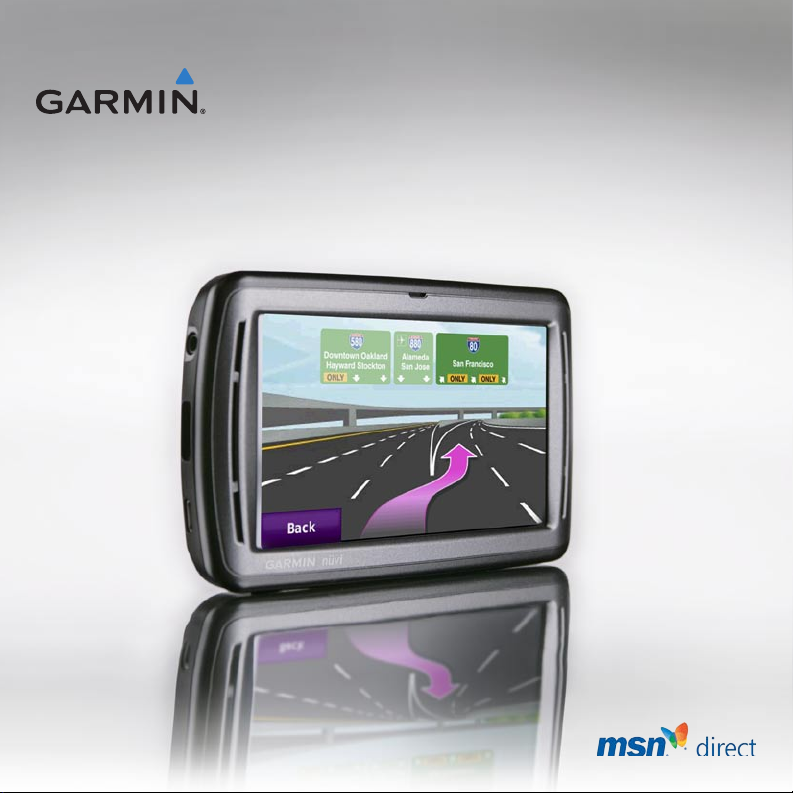
nüvi® 885 with MSN®
Direct
quick start manual

© 2008 Garmin Ltd. or its subsidiaries
Garmin International, Inc.
1200 East 151st Street,
Olathe, Kansas 66062, USA
Tel. (913) 397.8200 or (800)
800.1020
Fax (913) 397.8282
Garmin (Europe) Ltd.
Liberty House
Hounsdown Business Park,
Southampton, Hampshire, SO40
9RB UK
Garmin Corporation
No. 68, Jangshu 2nd Road,
Shijr, Taipei County, Taiwan
Tel. 886/2.2642.9199
Fax 886/2.2642.9099
Tel. +44 (0) 870.8501241 (outside
the UK)
0808 2380000 (within the UK)
Fax +44 (0) 870.8501251
All rights reserved. Except as expressly provided herein, no part of this manual may be reproduced, copied, transmitted,
disseminated, downloaded or stored in any storage medium, for any purpose without the express prior written consent of
Garmin. Garmin hereby grants permission to download a single copy of this manual onto a hard drive or other electronic
storage medium to be viewed and to print one copy of this manual or of any revision hereto, provided that such electronic or
printed copy of this manual must contain the complete text of this copyright notice and provided further that any unauthorized
commercial distribution of this manual or any revision hereto is strictly prohibited.
Information in this document is subject to change without notice. Garmin reserves the right to change or improve its products
and to make changes in the content without obligation to notify any person or organization of such changes or improvements.
Visit the Garmin Web site (www.garmin.com) for current updates and supplemental information concerning the use and
operation of this and other Garmin products.
Garmin®, the Garmin logo, and nüvi® are trademarks of Garmin Ltd. or its subsidiaries, registered in the USA and other
countries. Garmin Lock™ and nüMaps Guarantee™ are trademarks of Garmin Ltd. or its subsidiaries. These trademarks may
not be used without the express permission of Garmin. The Bluetooth® word mark and logos are owned by the Bluetooth SIG,
Inc., and any use of such name by Garmin is under license. MSN and the MSN logo are trademarks of the Microsoft group of
companies. microSD is a trademark of the SD Card Association. Panoramio™ is a trademarks of Google Inc.
November 2008 Part Number 190-01047-02 Rev. A Printed in Taiwan

Your nüvi Unit
See the Important Safety and Product Information guide in the product box for product warnings and other important
information.
Power key:
Battery cover
GPS antenna
slide to the left to turn the unit on/off;
slide to the right to lock the screen
Headphone/
audio out
jack
Microphone
new
microSD™
card slot
3
Mini-USB
connector
Speakers
Microphone
WARNING: This product contains a lithium-ion battery. To prevent damage, remove the unit from the vehicle
or store it out of direct sunlight.
Before mounting the nüvi, see the Important Safety and Product Information guide for information about laws
pertaining to windshield mounting.
Serial number
under battery
External
antenna
connector
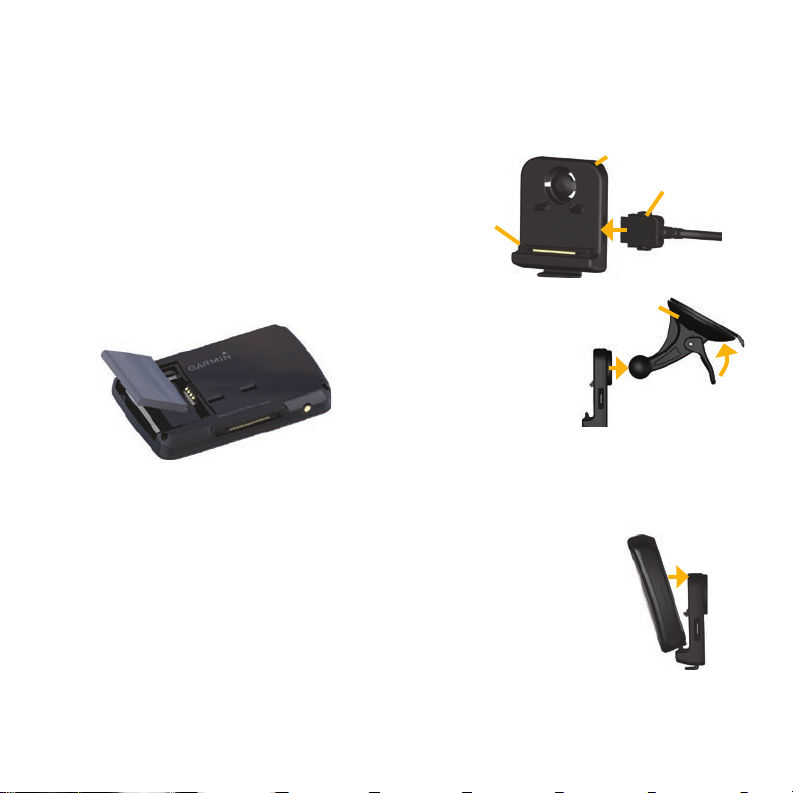
Step 1: Install the Battery
Suction cup
mount
Suction cup
mount
1. Locate the rectangular lithium-ion battery
that came in the product box.
2. Slide the battery cover off the back of the
nüvi.
3. Locate the metal contacts on the end of
the lithium-ion battery.
4. Insert the battery so the metal contacts
on the battery match up with the metal
contacts inside the battery compartment.
5. Press the battery down into place.
6. Slide the battery cover back on until it
clicks into place.
Ways to Charge Your nüvi
Use the vehicle power cable.
•
Use the USB cable.
•
Use an AC adapter cable (optional
•
accessory).
Step 2: Mount the nüvi
1. Plug the vehicle power cable into the
power connector on the right side of the
cradle.
Cradle
Microphone
jack
2. Snap the cradle
onto the suction
cup arm.
3. Clean and dry
your windshield
and the suction
cup with a lint-free cloth. Remove the
clear plastic from the suction cup. Place
the suction cup on the windshield.
4. Flip the lever back,
toward the windshield.
5. Fit the bottom of your
nüvi into the cradle.
6. Tilt the nüvi back until it
snaps into place.
Power
cable
4

7. Plug the other end of the vehicle power
cable into a power outlet in your vehicle.
Your unit should turn on automatically if it
is plugged in and the vehicle is running.
Step 4: Congure the nüvi
To turn on your nüvi, slide the Power
key to the left and let go after one second.
Follow the on-screen instructions.
Step 3: Activate and Mount
the Speech Recognition
Remote Control
Pull the clear tab out of the remote control to
activate it.
Mount the remote control in a convenient
location in your vehicle, such as on your
steering wheel. Use the strap to secure the
remote control in place.
Step 5: Acquire Satellites
Go outdoors to an open area, out of garages,
and away from tall buildings. Stop your
vehicle, and turn on the nüvi. Acquiring
satellite signals may take a few minutes.
The bars indicate GPS satellite
strength. When one bar is green, the nüvi
has acquired satellite signals. Now you can
select a destination and navigate to it. For
more information about GPS, visit
www.garmin.com/aboutGPS.
5
 Loading...