

Page 1
echo™ 100 Series
Owner’s Manual
November 2013 190-01708-00_0A Printed in Taiwan
Page 2

All rights reserved. Under the copyright laws, this manual may not be copied, in whole or in part, without the written consent of Garmin. Garmin reserves the
right to change or improve its products and to make changes in the content of this manual without obligation to notify any person or organization of such
changes or improvements. Go to www.garmin.com for current updates and supplemental information concerning the use of this product.
Garmin® and the Garmin logo are trademarks of Garmin Ltd. or its subsidiaries, registered in the USA and other countries. echo™ is a trademark of Garmin
Ltd. or its subsidiaries. These trademarks may not be used without the express permission of Garmin.
Page 3

Table of Contents
Introduction.................................................................... 1
Registering Your Device............................................................ 1
Contacting Garmin Product Support.......................................... 1
Manual Conventions.................................................................. 1
Getting Started............................................................... 1
Keys........................................................................................... 1
Turning on the Device Automatically......................................... 1
Selecting the Transducer Type.................................................. 1
Adjusting the Contrast................................................................ 1
Setting the Beeper..................................................................... 1
Menu Timeout............................................................................ 1
Using Quick Adjust..................................................................... 1
Sonar Display................................................................. 1
Sonar............................................................................... 1
DownVü Sonar View.................................................................. 1
Sonar Frequencies..................................................................... 2
Adjusting the Range of the Depth Scale.................................... 2
Adjusting the Zoom.................................................................... 2
Pausing the Sonar Screen......................................................... 2
Setting the Sonar Scroll Speed.................................................. 2
Configuring the Appearance of Suspended Targets.................. 2
Sonar Gain and Noise Settings.................................................. 2
Alarms........................................................................................ 2
System Settings......................................................................... 3
System Unit Settings.................................................................. 3
Appendix.........................................................................3
Specifications............................................................................. 3
Cleaning the Outer Casing......................................................... 3
Cleaning the Screen.................................................................. 3
Software License Agreement..................................................... 3
Index................................................................................4
Table of Contents i
Page 4

Page 5

Introduction
WARNING
See the Important Safety and Product Information guide in the
product box for product warnings and other important
information.
Registering Your Device
Help us better support you by completing our online registration
today.
• Go to http://my.garmin.com.
• Keep the original sales receipt, or a photocopy, in a safe
place.
Contacting Garmin Product Support
• Go to www.garmin.com/support and click Contact Support
for in-country support information.
• In the USA, call (913) 397.8200 or (800) 800.1020.
• In the UK, call 0808 2380000.
• In Europe, call +44 (0) 870.8501241.
Manual Conventions
In this manual, the term “select” is used to describe these
actions.
• Highlighting a menu item and pressing ENTER.
• Pressing a key, such as ENTER or MENU.
When you are instructed to select menu items, small arrows
may appear in the text. They indicate that you should highlight a
series of items using and , and select ENTER after each
item. For example, for "select MENU > Pause/Rewind Sonar,"
select MENU, and then select or until Pause/Rewind
Sonar is highlighted, and then select ENTER.
Getting Started
Keys
Select an option:
2
• If you have a 200/77 kHz, dual-beam transducer, select
Dual Beam.
• If you have a 200/50 kHz dual-frequency transducer,
select Dual Frequency.
• If you have a DownVü transducer, select DownVü.
• If you have another type of transducer, select it from the
list.
NOTE: The echo 101 device supports 200 kHz only.
Adjusting the Contrast
NOTE: This feature is not available on all models.
Select MENU > Setup > System > Contrast.
1
Select or .
2
TIP: Hold or to make large adjustments quickly.
Select ENTER.
3
Setting the Beeper
You can set when the device makes sounds.
Select MENU > Setup > Alarms > Beeper.
1
Select an option:
2
• To have the device beep when you select an item and
when an alarm is triggered, select On.
• To have the device beep only when alarms are triggered,
select Alarms Only.
Menu Timeout
When a menu is open for 20 seconds and no selections are
made, the menu closes and the previous screen is displayed.
Using Quick Adjust
After adjusting a setting and returning to a page, you can
quickly return to the setting options.
Select or .
Sonar Display
MENU Displays or hides a list of options.
ENTER Selects a menu item.
Scrolls through options or changes settings.
Turns the device on or off and adjusts the backlight.
Turning on the Device Automatically
You can set the device to turn on automatically when the power
is applied. Otherwise, you must select .
Select MENU > Setup > System > Auto Power > On.
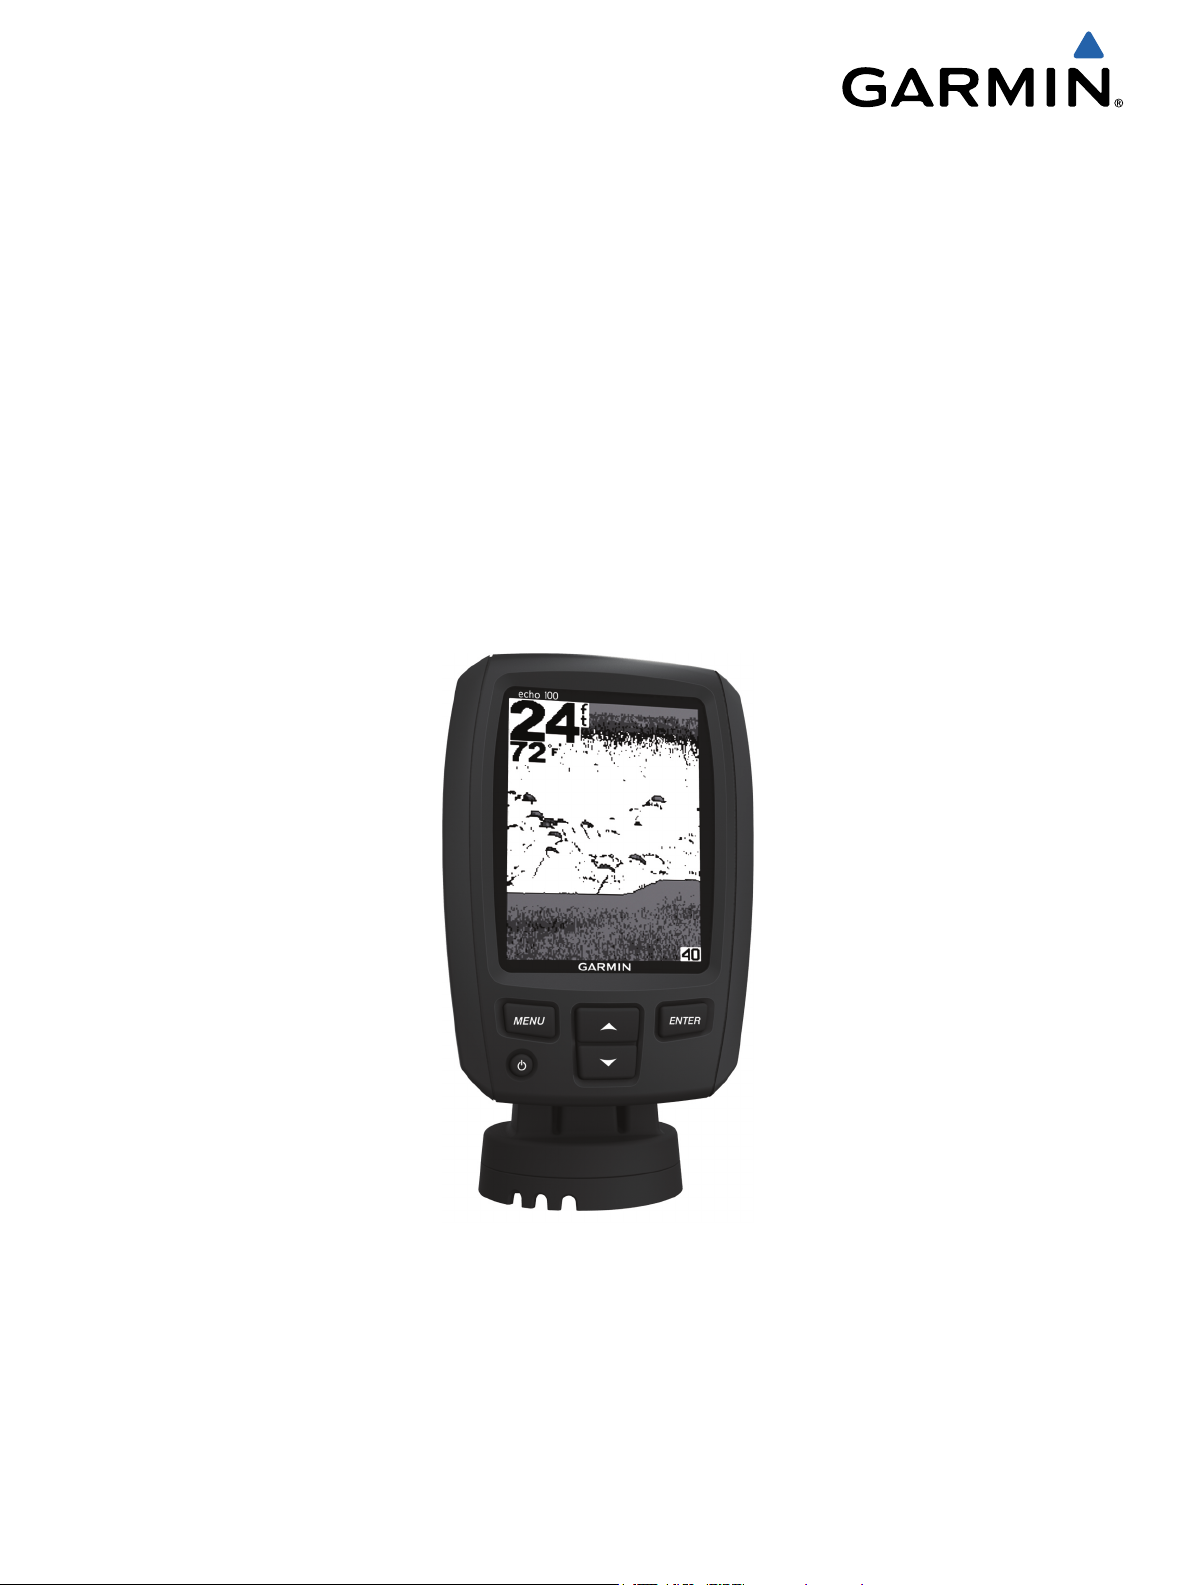
Bottom depth
À
Water temperature (if a temperature-capable transducer is
Á
connected)
Screen depth as screen scrolls from right to left
Â
Selecting the Transducer Type
Before you can select the transducer type, you must know what
kind of transducer you have.
You may need to set the transducer type to make the sonar
function properly.
From a sonar view, select MENU > Setup > Sonar Setup >
1
Transducer Type.
Introduction 1
DownVü Sonar View
NOTE: Not all models support DownVü sonar technology and
transducers.
Sonar
Page 6

NOTE: To receive DownVü scanning sonar, you need a
compatible chartplotter or fishfinder and a compatible
transducer.
DownVü high-frequency sonar provides a clearer picture below
the boat, providing a more detailed representation of structures
the boat is passing over.
Traditional transducers emit a conical beam. The DownVü
scanning sonar technology emits a narrow beam, similar to the
shape of the beam in a copying machine. This beam provides a
clearer, picture-like image of what is beneath the boat.
Sonar Frequencies
NOTE: The frequencies available depend on the transducer
being used.
Adjusting the frequency helps adapt the sonar for your particular
goals and the present depth of the water.
Higher frequencies use narrow beam widths, and are better for
high-speed operation and rough sea conditions. Bottom
definition and thermocline definition can be better when using a
higher frequency.
Lower frequencies use wider beam widths, which cover a larger
area and can let the fisherman see more targets, but could also
generate more surface noise and reduce bottom signal
continuity during rough sea conditions. Wider beam widths
generate larger arches for fish target returns, making them ideal
for locating fish. Wider beam widths also perform better in deep
water, because the lower frequency has better deep water
penetration. They can be used to search for structures such as
brush piles.
Selecting a Frequency
Select MENU.
1
Select Frequency or FREQ.
2
Select a frequency.
3
Adjusting the Range of the Depth Scale
You can adjust the range of the depth scale that appears on the
right side of the screen. Automatic ranging keeps the bottom
within the lower third of the sonar screen, and can be useful for
tracking the bottom where there are slow or moderate terrain
changes.
When the depth changes dramatically, like a drop off or cliff,
manually adjusting the range allows a view of a specified depth
range. The bottom is shown on the screen as long as the
bottom is anywhere within the manual range established.
Select MENU > Range.
1
Select an option.
2
• To allow the device to adjust the range automatically
based on the depth, select Auto.
• To increase or decrease the range manually, select
Manual, and select or .
NOTE: Setting the range on one page applies that setting to
all pages.
Adjusting the Zoom
You can adjust the zoom manually by specifying the span and a
fixed starting depth. For example, when the depth is 15 meters
and a starting depth of 5 meters, the device displays a
magnified area from 5 meters deep to 20 meters deep.
You also can allow the device to adjust the zoom automatically
by specifying a span. The device calculates the zoom area from
the bottom of the water. For example, if you select a span of 10
meters, the device displays an magnified area from the bottom
of the water to 10 meters above the bottom.
Select MENU > Zoom.
1
Select Manual or Auto.
2
Select Span and select or to increase or decrease the
3
magnification of the magnified area.
If necessary, select Depth to adjust the zoomed window up
4
or down.
NOTE: The zoomed window tracks the bottom in auto mode
only.
Pausing the Sonar Screen
Select MENU > Pause.
Setting the Sonar Scroll Speed
You can set the rate at which the sonar scrolls from right to left.
A higher scroll speed shows more detail, especially while
moving or trolling. A lower scroll speed displays sonar
information on the screen longer.
Select MENU > Setup > Sonar > Scroll.
1
Select a scroll speed.
2
NOTE: Setting the scroll speed on one page applies that
setting to all the pages.
Configuring the Appearance of Suspended Targets
NOTE: Configuring the appearance of suspended targets on
one page applies that setting to all pages.
NOTE: This feature is not available on all transducers.
Shows suspended targets as symbols.
Shows suspended targets as symbols with target depth
information.
Shows suspended targets as symbols with background sonar
information.
Shows suspended targets as symbols with background sonar
information and target depth information.
Select MENU > Setup > Sonar > Fish ID.
1
Select an option.
2
Sonar Gain and Noise Settings
You can adjust the amount of gain and noise on a sonar screen.
The gain setting controls the sensitivity of the sonar receiver to
compensate for water depth and water clarity. Increasing the
gain shows more detail, and decreasing the gain reduces
screen clutter.
NOTE: Setting the gain on one page applies the setting to all
the pages.
Setting the Gain Manually
Select MENU > Gain > Manual.
1
Select until you begin to see noise in the water portion of
2
the screen.
Select to decrease the gain slightly.
3
Setting the Gain Automatically
Select MENU > Gain.
1
Select an option:
2
• To display higher-sensitivity, weaker sonar returns with
more noise automatically, select Auto-High.
• To display medium-sensitivity sonar returns with
moderate noise automatically, select Auto-Med.
• To display lower-sensitivity sonar returns with less noise
automatically, select Auto-Low.
Alarms
Select MENU > Setup > Alarms.
2 Sonar
Page 7

Battery: Sounds when the battery reaches a specified low
voltage.
Deep Water: Sounds when the water depth is deeper than the
specified depth.
Drift: Sounds when depth variations at your present location
exceed the specified depth.
Fish: Sounds when the device detects a suspended target.
• sets the alarm to sound when fish of all sizes are
detected.
• sets the alarm to sound only when medium or large
fish are detected.
• sets the alarm to sound only when large fish are
detected.
Shallow Water: Sounds when the water depth is shallower than
the specified depth.
Water Temperature: Sounds when the water temperature
varies more than ± 2 °F (± 1.1 °C). Alarm settings are saved
when the device is turned off.
NOTE: You must connect the device to a temperaturecapable transducer to use this alarm.
System Settings
Select MENU > Setup > System.
Language: Sets the on-screen language.
System Information: Allows you to view software information.
System Unit Settings
Select MENU > Setup > Units.
Depth: Sets the depth units to feet (ft), meters (m), or fathoms
(ftm).
Temperature: Sets the temperature units to Fahrenheit (°F) or
Celsius (°C).
NOTE: You must have a temperature-reading transducer
connected to display the temperature.
Appendix
Specifications
Specification Model Measurement
Temperature Range echo 101 and 151 From 5° to 131°F (from
echo 201, 301, and
500 series
Compass Safe
Distance
Power Source
Voltage Range
Rated Current All models 1 A
Fuse All models AGC/3AG - 3.0 A
Freshwater Depth* echo 151 1600 ft (488 m) @ 77 kHz
echo 101 and 151 10 in. (250 mm)
echo 201 and 301 10 in. (250 mm)
echo 500 series 15.75 in. (400 mm)
echo 101 From 10 to 20 V
echo 201, 301, and
500 series
echo 201, 201dv,
301, and 301dv
echo 500 and
500dv series
*Depth capacity is dependent on water salinity, bottom type,
and other water conditions.
-15° to 55°C)
From 5° to 131°F (from
-15° to 55°C)
From 10 to 28 V
1750 ft. (533 m) @ 77 kHz
2300 ft. (701 m) @ 77 kHz
Cleaning the Outer Casing
NOTICE
Avoid chemical cleaners and solvents that can damage plastic
components.
Clean the outer casing of the device (not the screen) using a
1
cloth dampened with a mild detergent solution.
Wipe the device dry.
2
Cleaning the Screen
NOTICE
Cleaners containing ammonia will harm the anti-reflective
coating.
The device is coated with a special anti-reflective coating which
is very sensitive to skin oils, waxes, and abrasive cleaners.
Apply an eyeglass lens cleaner specified as safe for anti-
1
reflective coatings to the cloth.
Gently wipe the screen with a soft, clean, lint-free cloth.
2
Software License Agreement
BY USING THE DEVICE, YOU AGREE TO BE BOUND BY
THE TERMS AND CONDITIONS OF THE FOLLOWING
SOFTWARE LICENSE AGREEMENT. PLEASE READ THIS
AGREEMENT CAREFULLY.
Garmin Ltd. and its subsidiaries (“Garmin”) grant you a limited
license to use the software embedded in this device (the
“Software”) in binary executable form in the normal operation of
the product. Title, ownership rights, and intellectual property
rights in and to the Software remain in Garmin and/or its thirdparty providers.
You acknowledge that the Software is the property of Garmin
and/or its third-party providers and is protected under the United
States of America copyright laws and international copyright
treaties. You further acknowledge that the structure,
organization, and code of the Software, for which source code is
not provided, are valuable trade secrets of Garmin and/or its
third-party providers and that the Software in source code form
remains a valuable trade secret of Garmin and/or its third-party
providers. You agree not to decompile, disassemble, modify,
reverse assemble, reverse engineer, or reduce to human
readable form the Software or any part thereof or create any
derivative works based on the Software. You agree not to
export or re-export the Software to any country in violation of
the export control laws of the United States of America or the
export control laws of any other applicable country.
Appendix 3
Page 8

Index
A
alarms, sonar 2
B
beeper 1
C
contrast 1
D
device
cleaning 3
registration 1
display settings 1
DownVü 1
H
help 1
K
keys 1
power 1
L
language 3
P
pausing 2
power key 1
product registration 1
Q
quick adjust 1
R
registering the device 1
S
settings 1
system information 3
software license agreement 3
sonar 1, 2
alarms 2
depth scale 2
DownVü 1
frequencies 1, 2
gain 2
noise 2
scroll speed 2
suspended targets 2
zoom 2
specifications 3
system information 3
T
timeout 1
transducer 1
U
units of measure 3
Z
zoom, sonar 2
4 Index
Page 9

Page 10

www.garmin.com/support
913-397-8200
1-800-800-1020
1-866-429-9296 +43 (0) 820 220230
+ 32 2 672 52 54
+420 221 985466
+420 221 985465
+ 358 9 6937 9758 + 331 55 69 33 99
+ 39 02 36 699699 (+52) 001-855-792-7671
0800 0233937 +47 815 69 555
00800 4412 454
+44 2380 662 915
0808 238 0000
+44 (0) 870 8501242
+385 1 5508 272
+385 1 5508 271
+ 45 4810 5050
(+35) 1214 447 460
+386 4 27 92 500
+34 93 275 44 97
Mobilfunk max. 60 ct./Anruf
+ 46 7744 52020
Garmin International, Inc.
1200 East 151st Street
Olathe, Kansas 66062, USA
Garmin (Europe) Ltd.
Liberty House, Hounsdown Business Park
Southampton, Hampshire, SO40 9LR UK
Garmin Corporation
No. 68, Zhangshu 2nd Road, Xizhi Dist.
New Taipei City, 221, Taiwan (R.O.C.)
0861 GARMIN (427 646)
+27 (0)11 251 9999
+49 (0)180 6 427646
20 ct./Anruf. a. d.
deutschen Festnetz,
© 2013 Garmin Ltd. or its subsidiaries
 Loading...