

Page 1

How to Get the Best Performance from Your Futaba® 2.4GHz
FASST™ Aircraft Receivers
Every R/C pilot learns by experience what methods work well for installing and
maintaining radio equipment. At the same time, we also want our aircraft to have the
advantage of up-to-the-minute technology...which means that every now and then, we
must master some new techniques.
Spread spectrum radio technology offers the perfect example. When Futaba
introduced 2.4GHz FASST radio equipment, R/C hobbyists quickly jumped to the front
of electronic technology’s cutting edge. Not surprisingly, those new, state-of-the-art
2.4GHz receivers have significant differences compared to old 72MHz units. So it’s time
to change a few old habits.
Below are some recommendations for updating the way you install and maintain radio
gear. Make them a part of your routine, and you’ll enjoy the best performance from your
2.4GHz FASST radio gear.
1. Don’t wrap your FASST receiver in foam.
Protecting your receiver from vibration by wrapping it in foam used to be a “must”.
Not so with 2.4GHz FASST receivers. Unlike 72MHz equipment, they’re not as
vulnerable to vibration. Using less foam lets them operate cooler — which is a plus for
all electronics.
Tip: To keep the receiver cooler use small foam blocks (like standoffs) so that there is
an air channel around the receiver.
2. Shade your model from sunlight when not flying.
Clear canopies expose the radio compartment to direct sunlight which results in
additional heat in the model interior. This causes no problems during flight, but makes
shading your model on the ground very important. Cover the canopy with a white towel;
or better yet, park your airplanes in the shade. This will help keep the electronic
components cool.
Tip: It is important to note that lighter covering colors will absorb less heat whereas
darker colors will absorb more heat.
3. Mount your FASST receiver away from heat sources.
We had to avoid mounting 72MHz receivers near anything that might produce RF
noise. That’s not as much of a concern with 2.4GHz FASST receivers — you should
instead make sure that you’re mounting the unit in the coolest part of the radio
compartment.
Stay away from the muffler exhaust, battery packs, regulators or any other heat
source. We also recommend that you use the receiver’s long, narrow side as its base
Page 2

(rather than mounting it with the bottom flat against the radio compartment floor). Secure
the receiver using a Velcro® strap or gel tape.
We hope that these tips help you with your 2.4GHz FASST receiver installation and
maintenance. If you have any questions, please let us know. Just contact us at the Futaba
Service Center, by e-mail at: service@futaba-rc.com.
Page 3
Impo rtant: The 2.4G Hz ban d offe rs diff erent characte ristics than
that of the conventional 50MHz and 72MHz. As such, we strongly
encourage you to read this manual carefully prior to utilizing the TM-7
and R607FS FASST system.
1M23N19802
Contents and Technical Specications
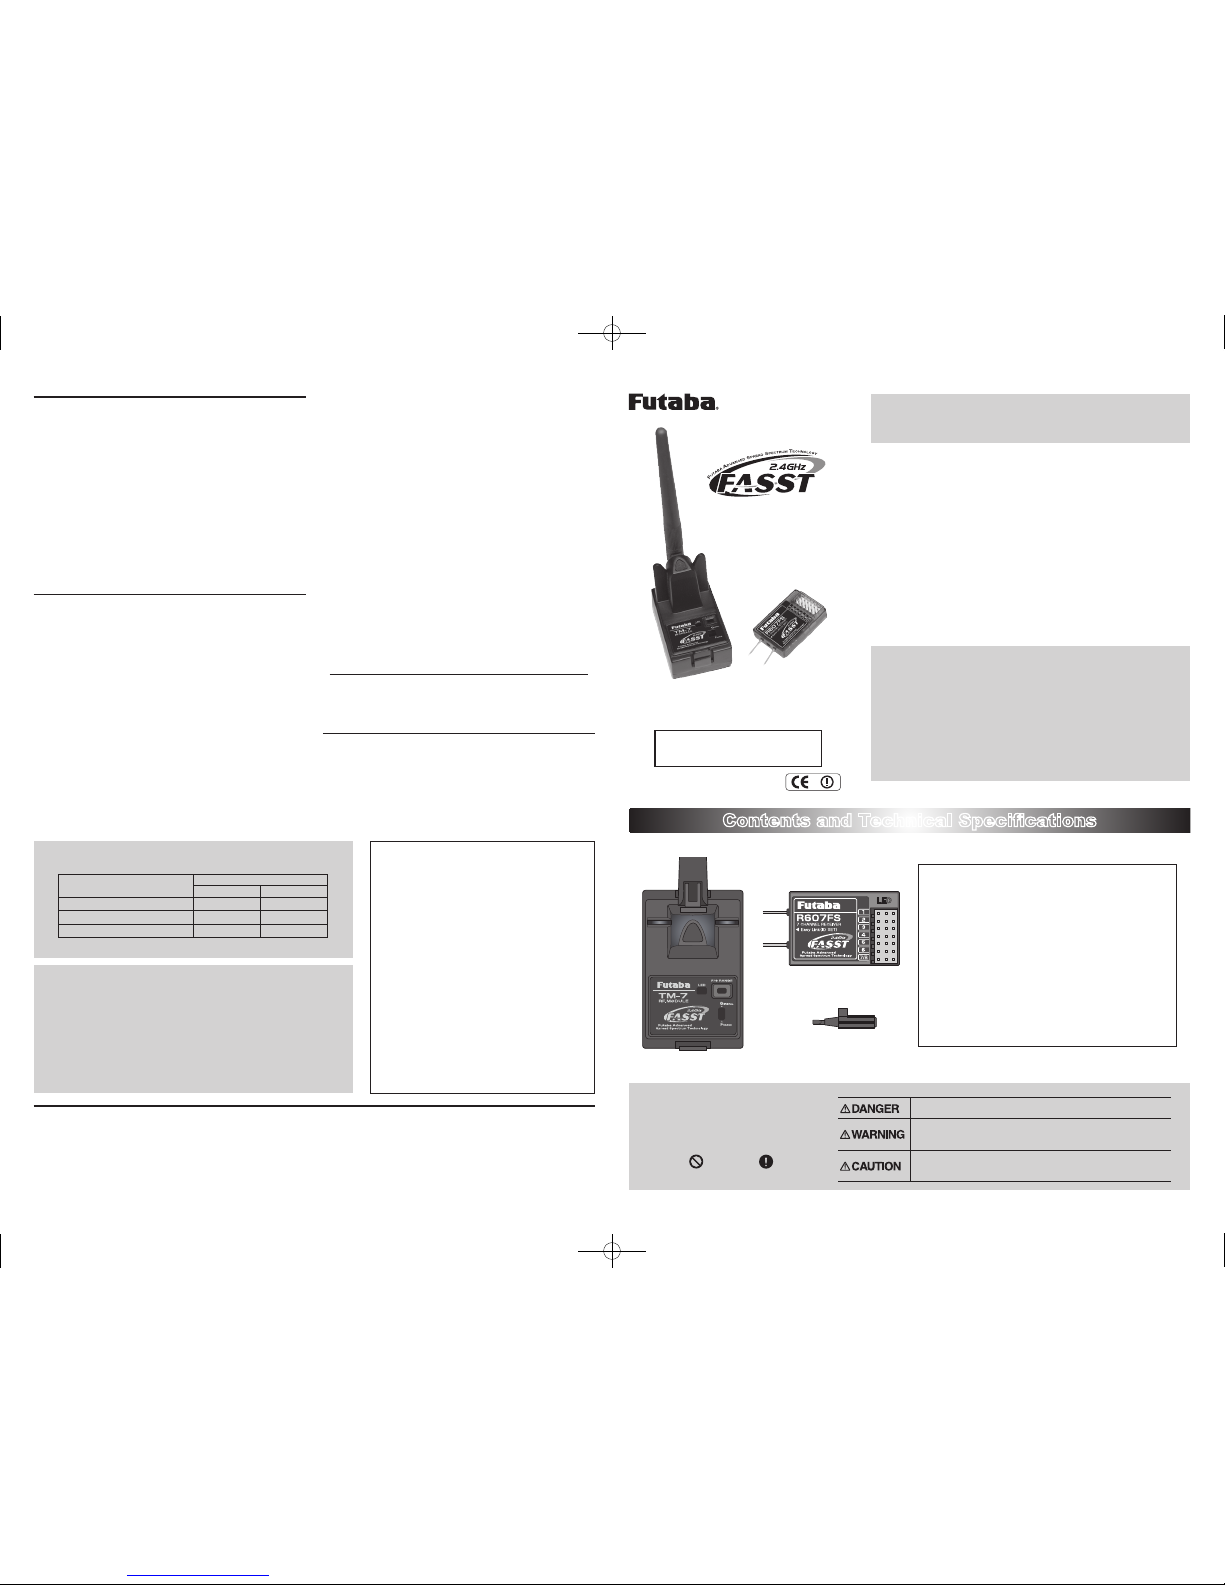
Your 2.4GHz system includes the following components:
Specications:
TM-7 RF Module-
• Communication system: one-way communication
• Antenna: 1/2 wavelength di-pole
• Current consumption: 150mA maximum
• Setting switch for Fail Safe (F/S) setting and range check
• LED (light emitting diodes) indicate the operational status
R607FS Receiver-
• Dual antenna diversity
• Power requirement: 4.8V or 6.0V battery or regulated output from ESC, etc.
• F/S and Battery F/S function for throttle channel (channel
three)
• Size: 1.64 x 1.08 x 0.36 in. (41.6 x 27.5 x 9.2 mm)
• Weight: 0.34 oz. (9.8g)
TM-7 RF Module
FASST Air System
TM-7 RF Module
and
R607FS Receiver
Thank you for purchasing the TM-7 2.4GHz FASST transmitter module
and R607FS receiver. This system is designed for use only with the
Futaba transmitters indicated elsewhere in this manual. In order to use the
TM-7 transmitter module, you will need to carefully remove the existing
transmitter module and replace it with the TM-7 transmitter module. The
receiver R607FS, as the model number indicates, is capable of controlling
models up to seven channels. Please note: The installation of the R607FS
differs slightly from that of a typical receiver. Please pay special attention
to the information contained within this manual in order to have a pleasant
ying experience.
Features:
2.4GHz Spread Spectrum radio communication system.
Exclusive ID code to avoid interference from other FASST systems.
Fail Safe (F/S) function (for throttle channel)-F/S, Battery F/S
Dual antenna diversity (R607FS)
•
•
•
•
Applicable systems:
T7U, T8U, T9C and T9Z
R607FS Receiver
Mini screwdriver
Instruction Manual
Repair Service (in U.S.A.)
If any difculties are encountered while setting up or operating
your TM-7 transmitte r mo dule and R607FS receive r, pl ease
consult this instruction manual first . For fur ther assistance
you may also refer to your hobby dealer, or contact the Futaba
Service Center at the web site, fax or telephone number below:
www.futaba-rc.com, www.2.4gigahertz.com
Fax (217) 398-7721, Tel (217) 398-8970 (option 2)
If you are unable to resolve the issue, pack the system in its
original container with a note enclosed and a thorough, accurate
description of the difculty. Include the following in your note:
Symptoms (Including when the problem occurred)
System (transmitter, Receiver, Servos and model
numbers)
Model (Model name)
Model numbers and quantity
Your Name, Address and Telephone number
Send the respect ive item s to th e author ized Futaba Service
Center address below:
Futaba Service Center
3002 N Apollo Drive Suite 1
Champaign, IL 61822
•
•
•
•
•
Special Markings;
Pay special attention to the safety at
the parts of this manu al that are
indicated by the following marks.
[Symbol] ; Prohibited ; Mandatory
Mark Meaning
Procedures which may lead to a dangerous condition and cause
death or serious injury to the user if not carried out properly.
Procedures which may lead to a dangerous condition or cause death
or serious injury to the user if not carried out properly, or procedures
where the probability of superficial injury or physical damage is high.
Procedures where the possibility of serious injury to the user is
small, but there is a danger of injury, or physical damage, if not
carried out properly.
Battery F/S function
The TM-7 transmitter module and R607FS receiver also
provides you with a second safety system, the Battery F/S
(failsafe). When the airborne voltage drops below 3.8V, the
battery failsafe function moves the throttle to a pre-determined
position. If this happens, you should land immediately! If
you need to increase the throttle for your landing approach,
you may temporarily reset the failsafe function by moving the
throttle stick to the predetermined position, after which you'll
have about 30 seconds of throttle control before the battery
function reactivates.
* Please note: It is suggested that you utilize a 4-cell NiCD or NiMH
receiver battery pack as it allows the effective use of the battery F/S
function. Additionally, we do not suggest using dry cell batteries for
the receiver pack as they may cause difculties.
Range Check the Radio
It is extremely important to range check your models prior to
each ying session. This enables you to ensure that everything
is functioning as it should and to obtain maximum enjoyment
from your time flying . The T M-7 t ra nsmitter modul e
incorporates a system that reduces its power output and allows
you to perform such a range check.
1
Turn on the transmitter.
2
After the radio frequency link has been established
(as ind icat ed by e ithe r a so li d gre en L ED o r a
blinkin g green LED), press and hold t he "F/S, R ange"
switch located on the rear of the TM-7 transmitter module.
As indicated by the blinking red LED, the radio frequency
power has been reduced to allow for the range check.
* Note: Do not press and hold the "F/S, Range" switch prior to turning
on the transmitter. This will alter the status of the F/S settings as
noted previously. In order to avoid this situation, please wait for a
short time after turning on the transmitter to activate the low power
setting on for range checking.
3
Walk away fro m the model whil e simu lta neou sly
oper atin g the contr ols. Have an assista nt st and
by th e m odel to confirm that all controls are completely
and correctly operatio nal. You should be able to walk
approximately 30-50 paces from the model without losing
control.
4
If everything operates correctly, return to the model.
Set the transmitter in a safe, yet accessible, location
so it will be within reach after starting the engine or motor.
Be cer tain the throttle stick is in the low throttle position,
then start t he engine or motor. Perform another range
check with your a ssist ant holding the aircraft with the
engine r unning at various speeds. If the servos jitter or
move inadvertently, there may be a problem. We would
strong ly suggest you do not f ly until t he source of the
diff icul ty has b een deter mine d. Look for loos e ser vo
connections or bi nding pushrods. Also, be certain that
the battery has been fully charged.
WARNING
Please make sure that you do not push and hold the F/S,
Range switch w hen flying as t his reduce s the power
output of the transmitter and reduces the overall range of your
transmitter.
Other precautions
When utilizing the trainer function of the transmitter as an
instructor, please do not switch to th e student's control
unit until the R F is active after turn ing the t ransm itter
on. Failure to adhere to this procedure may result in a
malfunction.
Usage Precautions:
1) Prior to utilizing any radio control system, it is strongly recommended
that you read and abide by the Safety Code created by the Academy of
Model Aeronautics as well as any site specific rules and regulations that
might exist. Doing so will greatly increase your enjoyment of the hobby.
2) In order to maintain complete control of your aircraft it is important that
it remains visible at all times. Flying behind large objects such as buildings, grain bins, etc. is not suggested. Doing so may result in the reduction of the quality of the radio frequency link to the model.
3) Please do not grasp the transmitter module's antenna during flight. Do
-
ing so may degrade the quality of the radio frequency transmission.
- 4 - - 1 -
FASST transmitter module, system and receiver
compatibility
Transmitter
Receiver
R606FS R607FS
TM-7 Module — Okay
T6EX 2.4G System Okay Okay
T7C 2.4G System Okay Okay
* Please note: The TM-7 module is NOT compatible with the R606FS receiver!
©Copyright 2007. No part of this manual may be reproduced in any form without prior permission. The contents of this manual are subject to
change without prior notice. While this manual has been carefully written, there may be inadvertent errors or omissions. Please contact our service
center if you feel that any corrections or clarications should be made.
FUTABA CORPORATION Phone: (043) 296-5118 Facsimile: (043) 296-5124
Makuhari Techno Garden Bldg., B6F 1-3 Nakase, Mihama-ku, Chiba 261-8555, Japan
©FUTABA CORPORATION 2007, 07 (1)
FCC Information
To assure continued FCC compliance:
(1) Any changes or modications not expressly approved by the grantee
of this device could void the user's authority to operate the equipment.
FCC Label Compliance Statement:
This device complies with Part 15 of the FCC Rules. Operation is subject
to the following two conditions: (1) this device may not cause harmful
interference, and (2) this device must accept any interference received,
including interference that may cause undesired operation.
Page 4
Attachment of the Module
CAUTION
Be sure to turn off the power of the transmitter before
you install or replace the module.
1
Ensure that the transmitter is set to the PPM (pulse
pos ition modu latio n) mode. Pl ease consu lt t he
respective owner's manual for your particular transmitter
for information on how to do so.
2
While it is unlikely t hat the existing transmitter will
inter fere with t he radio f reque ncy transmiss ion of
the TM-7, we suggest removing it from the transmitter if
possible as a precaution.
3
Next, with t he transmitter' s power off, re move the
exis tin g tran smitte r mod ule and instal l the TM-7
mo dul e w ith ca re so that the con nect or pin s of t he
transmitter won't be damaged.
Antenna of TM-7
1
As wit h a ll rad io fre quen cy tr an sm is si on s, the
stro ngest area of s igna l trans miss ion is f rom the
sides of the TM-7 transmitter module's antenna. As such,
the antenna should not be pointed directly at the model.
If your flying style creates this situation, easily move the
antenna to correct this situation.
2
Please do not grasp the transmitter's antenna during
flight. Doing so may degrade the quality of the RF
transmission to the model
Easy Link
Each TM-7 transmitter module has an individually assigned
unique ID code. In order to start operation, the receiver must
be linked to the respective TM-7's ID code. Once the linking is
done, the ID code is stored in the receiver and the re-linking is
not necessary unless the receiver is to be used with a different
TM-7 module.
Additionally, it is important to note that this TM-7 and R607FS
receiver set has already been linked by the factory. Should
you wish to re-link them, or if you have purchased a separate
receiver and would like to link it to this TM-7, please adhere to
the following procedure.
1
After the TM-7 module h as been installed into the
transmitter, using the aforementioned steps, turn on
the transmitter. The green LED, located on the rear of the
TM-7 transmitter module, should b egin to blink. If not,
power down the transmitter and turn it on once again.
2
With the transmitter on, and the green LED blinking,
turn on the receiver.
3
With the receiver on, press and hold the Easy Link
butt on, loca ted on t he re cei ver betwe en the t wo
antenna exits, for approximately one second. When the
link ing p roce ss has been compl eted, the L ED on t he
receiver will change to a solid green.
Receiver Installation
You will note that the R607FS differs in appearance from
the standard Futaba receiver. The R607FS incorporates two
separate antennas into its design which enables it to receive
the radio frequency transmission at two different locations.
Futaba's dual antenna diversity, or DAD, then seamlessly
selects the best signal reception between these antennas to
ensure that there is no loss of signal.
Antenna
*Must be kept as straight as possible.
Coaxial cable
R607FS Receiver
To obtain the best results from the R607FS receiver, please
refer to the following instructions and precautions:
1
Insta ll the re ceive r in the aircraft using the same
methodology as you would a standard receiver. That
is, make sure that you wrap the receiver in foam rubber
or other such mate ria l to make it le ss su scepti ble t o
vibration, etc.
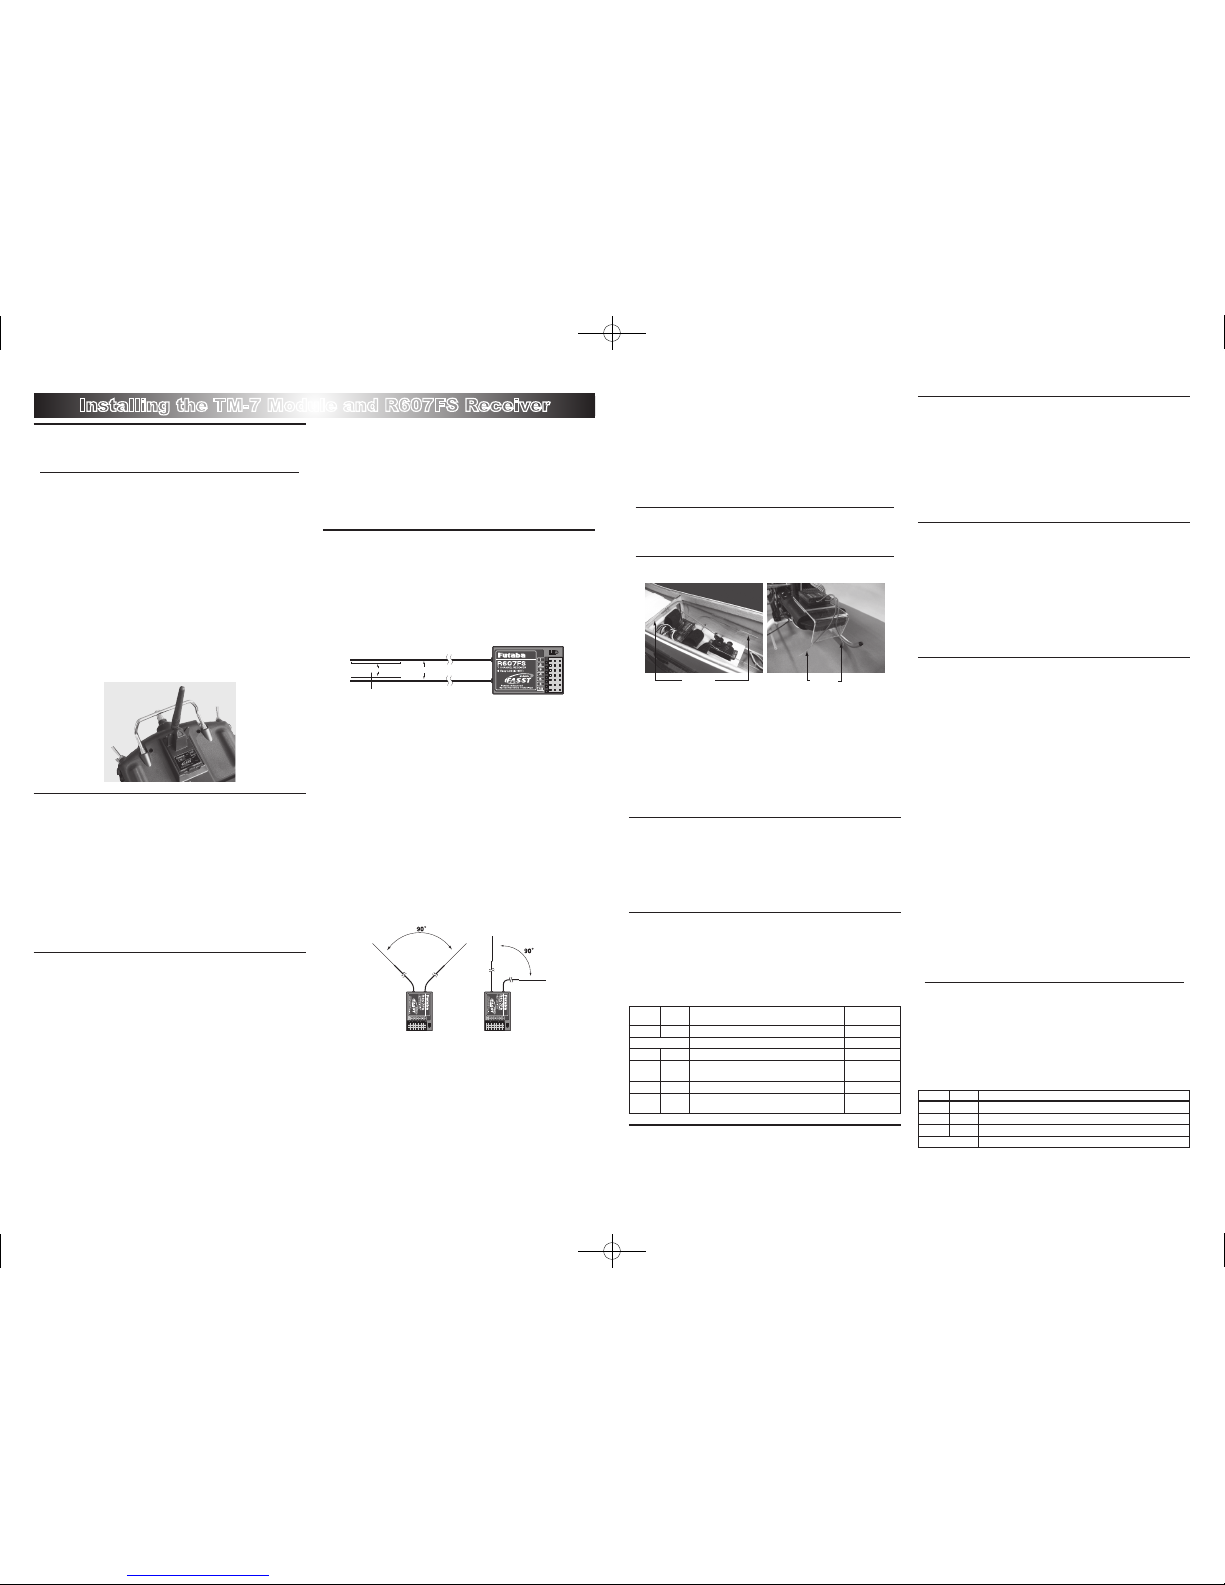
2
Ensure that the two receiver antennas a re kept as
straight as possible. This will allow you to obtain the
maximum effective range from your model.
3
If possible, please make sure that the two antennas
are placed at 90 degrees to each other. Please note:
This is not a critical figure, however, the most important
thing is to keep the antennas away from each other as
much as possible.
4
If your model includes metal conductive items which
may impact the rece iver's ability t o clearly receive
the radio frequ enc y sign al, we s uggest mount ing the
receiver so that the receiver antennas exit both sides of
the model. This will allow the best radio frequency signal
condition at any flying attitude.
5
Ensure that the antennas are at least 1/2" away from
any conductive materials such as metal and carbon.
Please note: this is not applicable to the coaxial portion
of the antenna. It is important, however, to not bend the
coax, or antenna in a tight radius.
6
If the fuselage is made of conductive materials such
as metal and carbon, the antennas part M UST be
positioned so that they exit the fuselage. Additionally, do
not attach the antenna itself to this fuselage.
* For example, there are many types of gliders which use carbon fu-
selage. When install the receiver into such models, it is imperative
that the antenna precautions are adhered to strictly.
WARNING
Be ver y careful when handling the receiver antennas.
Repeated bending and flexing o f the an tennas or excessive force could weaken or compromis e the inte rnal antenna connections.
Keep the a ntennas away f rom th e motor, ESC, and
other noise sources as much as possible.
Antenna Antenna
* The main purpose of the photo demonstrates how the antenna
should be placed. For actual installation the receiver must be
wrapped with a sponge or placed with oating material to protect it
from vibration.
* The receiver contains delicate electronic parts and should be pro
-
tected from vibration, shock and temperature extremes.
* The receiver is not impervious to damage from moisture. If moisture
should enter the receiver, intermittent operation or failure may result.
To prevent this from occurring, we suggest wrapping the receiver in
a plastic bag or similar protective covering. This will also protect the
receiver from any fuel or exhaust residue which can work its way
into the fuselage.
Area select
The TM-7 transmitter module has been designed to function
in many countries. If you will be utilizing this module in a
country other than France, please make sure that the switch is
set to the "General" position. If, however, this module will be
utilized in France, the switch must be set to "France".
Operation of the TM-7
When the transmitter is powered up, the LEDs on the rear of
the module will begin to glow or blink accordingly. The chart
below provides you with an easy reference as to the meaning of
the LEDs.
LED indication
Green Red Status Fail safe (F/S)
Solid Solid Initializing (When Power Up) ---
Alternate blink Check RF condition nearby ---
Solid Off RF power on Off
Solid Blink
RF power on (Power reduced to perform the
range check function)
Off
Blink Off RF power on On
Blink Blink
RF power on (Power reduced to perform the
range check function)
On
F/S (Fail Safe) mode setting
The F/S is suggested for use as it offers a safety factor when
controlling your models. It is also possible to cancel the F/S
operation if you do not wish to use it.
De-activating the F/S (Failsafe)
As noted above, it is also possible to de-activate the failsafe
setting of the receiver.
Depr ess the F /S but ton on th e rear of the transmi tter
whi le t urn ing the tran smitt er's power on. T he LE Ds
should begin to glow. Continue hold ing the button until
the green LED begins to glow solidly and the red LED
blinks.
Re-Arming the F/S (Failsafe)
To ac tivat e the fail safe onc e aga in, dep res s the F/S
butto n o n the rear of the transm itter while turnin g the
transmitter's power on. The LEDs should begin to glow.
Con tinu e hol ding the b utt on until the green and Red
LED's begin blinking.
* Please note: re-arming the F/S does not alter the pre-determined
throttle servo position. To modify this setting, please follow the F/S
position setting procedure.
F/S position setting procedure
The F/S position is stored, or modied, by the position of the
throttle stick during the linking procedure. As such, although
the TM-7 and R607FS have been linked at the factory, we
suggest re-linking them once again to adjust the throttle
position to your desired location. Prior to doing so, ensure that
the F/S is active. If not, please follow the Re-Arming of the
F/S procedure as noted previously.
1
With the t ransmitt er's throttle stick in the desired
F/S position, and t he receive r located within one
(1) meter of the transmitter, turn on the transmitter. The
green LED, located on the rear of the TM-7 transmitter
module, should begin to blink. If not, pow er down the
transmitter and turn it on once again.
2
With the transmitter on, and the green LED blinking,
turn on the receiver. Press and hold the Easy Link
button, located on the receiver between the two antenna
exits, for approxi mately one s econd. W hen the linki ng
process has been completed, the LED on the receiver will
change to a solid green.
3
Turn off the transmitte r. T he throttle servo should
move to the pre-determined F/S position.
WARNING
When setting the F/S function it is important to make
sure that there is no other FASST Air System in the ON
position nearby.
* Failure to adhere to this caution could cause your R607FS receiver
to link to the incorrect transmitter. If this were to happen your
R607FS would be under the control of the other transmitter.
Please refer to the table below for the LED status of the
receiver's condition.
Green Red Status
Off Solid No signal reception
Solid Off Receiving signals
Blink Off Receiving signals but ID is unmatched
Alternate blink Unrecoverable failure (EEPROM, etc.)
Installing the TM-7 Module and R607FS Receiver
- 2 - - 3 -
 Loading...