

Page 1

Monitor
English
Operating Manual
SCENICVIEW
P17-2 / P19-2 / P20-2
Page 2

SCENICVIEW P17-2 / P19-2 / P20-2
i
Operation of the monitor
The monitor offers the following possibilities t hat enable it to be optimally adjusted for the respectiv e
user and the respective situation.
Adjusting height, rake and rotation
The monitor height can be adjusted within a range of approx . 2.5 inch/70 mm.
►
The rake of the monitor can be adjusted b
►
The monitor can be rotated b
Ê
desired position.
2
Grasp the monitor with both hands on the right and lef t e dge o f the casing and move it upward
or downward.
Grasp the monitor with both hands on the right and lef t e dge o f the casing and adjust it to the
desired rake.
Grasp the monitor with both hands on the right and left edge of the casing and rotate it into the
y -2° (forward) and +35° (back) from its vertical position.
y ± 60° from its centre position.
Page 3

SCENICVIEW P17-2 / P19-2 / P20-2
Adjusting portrait format
The monitor can be turned from the "wide format" (landscape mode) into the "high for mat " position
(portr
Ê
highest position and turn it clockwise until it is in th e portrait position.
i
You must use corresponding software (pivot software) so that the screen disp la y is also
sho
be installed on your computer.
Ê
In the OSD menu you have the option of switching the OSD manually from landscape mode into
To reset the monitor to the landscape mode, t he monitor must be turned counter
OSD display can be reset again in the OSD menu.
Switching the monitor on/off
The main switch at the rear and the ON/OFF switch at the front are used for switching the monitor on
and off.
►
Switch the monitor on with the main switch (4) at the rear.
1 =
Buttons for the OSD menu
2 =
3 =
4 =
Main switch
The power indicator (3) lights up blue when the monitor and compute r are switched on. The power
indicator lights up orange
mode. The power indicator goes off when the monitor is switched off.
3
ait mode).
Grasp the monitor with both hands on the right and lef t e dge o f the casing, move it into the
portrait mode (see section "Monitor settings using the OSD menu").
wn in the portrait mode. This software is included in the delivery (CD-ROM) and must
-clockwise. The
(On-Screen-display)
ON/OFF switch
Power indicator
when the monitor does not receive a video signal or is in th e ene r g y saving
Page 4

SCENICVIEW P17-2 / P19-2 / P20-2
Changing the monitor settings
When putting the monitor into operati on for the first time, the screen display should be optimally
adapted to the screen controller us ed an d adjusted in accordance with your needs.
Choosing basic monitor settings using the supplied software
If one of the operating s
Windo
set
►
►
Y
used or minor corrections are t o
with the OSD menu.
Changing the monitor settings with the buttons of the control panel
SELECT / MENU
INPUT
EXIT / AUTO
21
3
1 =
Buttons for the OSD menu
(On-Screen-display)
2 =
ON/OFF switch
3 =
Power indicator
Use the buttons of the control panel to make the following monitor settings directly while the OSD
menu is switched off.
Performing auto-adjustment of the monitor
►
Th
Picture quality and position are set to optimum values for your system.
Selecting input signal (D-SUB/DVI-D)
►
►
This setting window can also be called, when the OSD menu is locked.
Activating/deactivating muting
►
itch the sound off and on again.
A message is displayed that the action has been perf or med.
4
ws XP or OS/2 (with Windows emulation installed) is used, the basic monitor settings can be
ystems Windows 95/98, Windows NT, Windows Me, Windows 2000,
with the CD supplied.
Insert the supplied CD into the CD-ROM drive.
Open the Readme
file on the CD and follow the instructions in the fil e.
our monitor should now already be properly a djusted. If none of the above operatin g systems is
be made to the screen displa y, then change the monitor sett ings
Press the AUTO button for approx. 1 sec o nd while the OSD menu is switched off.
e Auto Processing
message is displayed.
Press the INPUT button for calling the Input select setting window.
Press the
Press the button to sw
or
button to select the desired input (analogue D-SUB or digital DVI-D).
Page 5
SCENICVIEW P17-2 / P19-2 / P20-2
Locking the OSD menu
The OSD menu can be locked to prevent accidental or unauthorised change
►
A message is displa
Please proceed in the same manner to releas e the locked OSD menu again.
Locking the ON/OFF button
The ON/OFF s
settings.
►
A message is displa
Please proceed in the same manner to releas e the locked ON/OFF switch again.
Monitor settings using the OSD menu
With the buttons on the control panel, call up and use the integrated OSD (On-Screen displa y) menu.
i
The OSD menu is available in different languages. The English menu names are used in
the follo
you can select another language.
To set the OSD menu, perform the following steps:
►
The main menu appears on the screen (on the left
5
s to the monitor settings.
Press and hold the SELECT/MENU button f or a few seconds while you switch on the monitor
with the ON/OFF switch.
yed that the action has been performed.
witch can be locked to prevent accidental or unauthorised changes to the monitor
Press and hold both buttons
yed that the action has been performed.
wing description (default setting). With the OSD function Language in the OSD Setup
Press the SELECT/MENU button to act iv ate the OSD menu.
and
simultaneously for a few seconds.
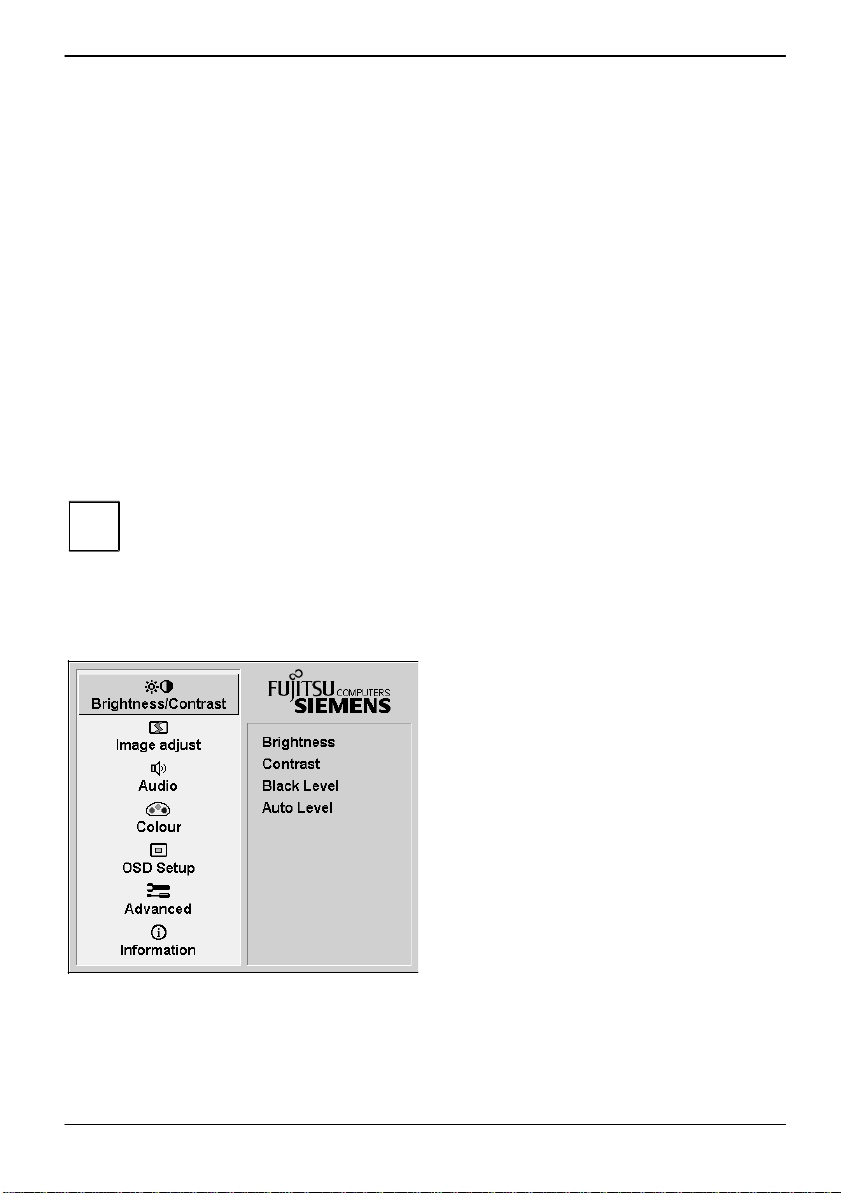
-hand side) with icons for the setting functions.
The first symbol (
highlighted. In the right-hand part of the display
the associated functions are shown.
►
If necessary, press the
mark another icon (e.g.
►
Press the SELECT/MENU button to select
Brightness/Contrast
) is
or
button to
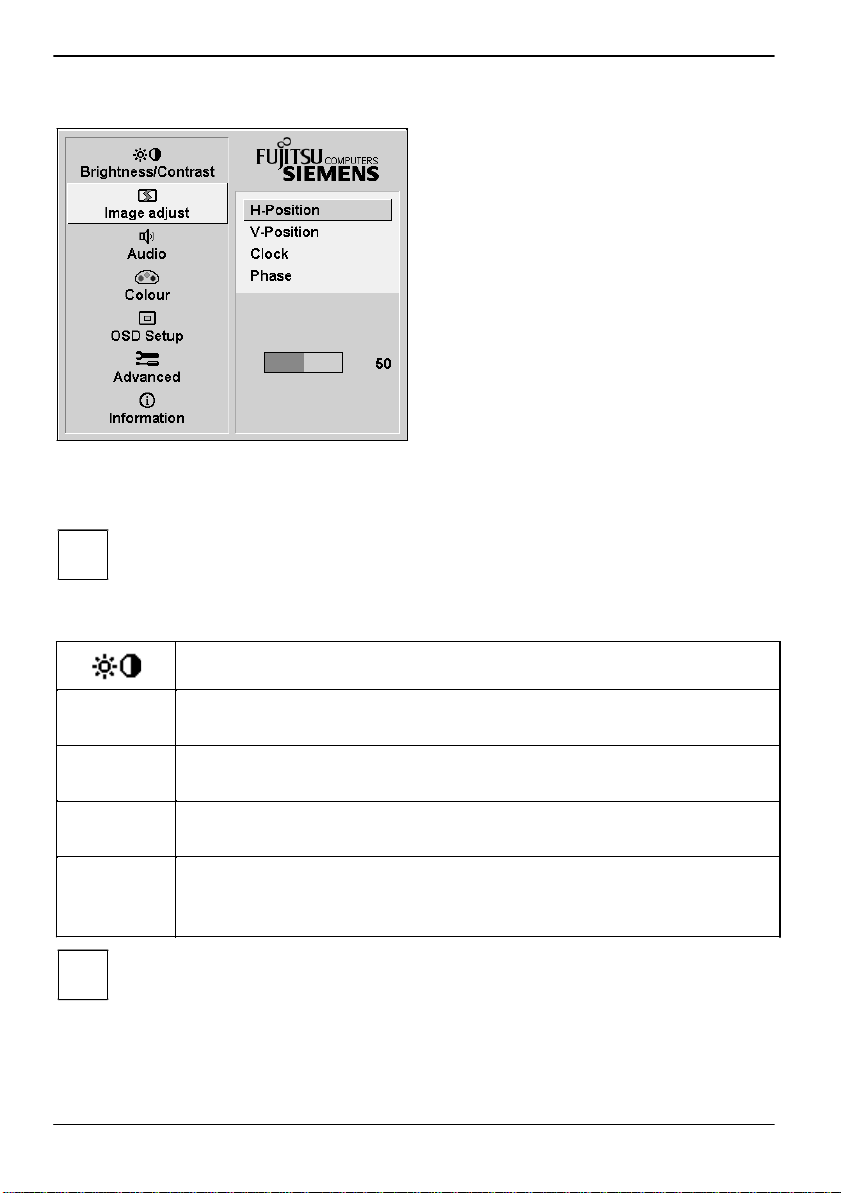
Image adjust).
Page 6
SCENICVIEW P17-2 / P19-2 / P20-2
The corresponding setting window (here: Image Adjust
) is displayed (on the right-hand side).
All changes are stored automatically.
If
possible adjustments of the main menu are des c r ibed in the following.
i
The OSD menu for analogue monitor operation is described in the following. During digital
operation some functions are not availa bl e,
transmission technology used.
Adjusting the brightness and contrast
Calling the Brightness / Contrast
setting window
Brightness Setting the brightness of the display
Black Level
Press the SELECT/MENU button to act iv ate the function.
i
If the contrast is set too high, bright surfaces can no longer be distinguished from ver y
bright surfaces. If the contrast is set too low, the maximum brightness will not be achieved.
6
The first function (
►
If necessary, press the
mark another function.
►
Press the SELECT/MENU button to select
the highlighted function.
►
Press the
value for the selected function.
►
Press the EXIT/AUTO button to exit the
function.
►
If necessary, press the button
mark another function or press the
EXIT/AUTO button to return to the main
you want to change other settings, select the corresponding funct ion from the OSD main menu. All
as they are not required due to the digital
H-Position
or
) is highlighted.
or
button to adjust the
button to
or
to
With this function you change the brightness of the background lighting.
Contrast Setting the contrast of the display
With this function you modify the contrast of bright colour tones.
Setting the brightness of the display
With this function you modify the contrast of dark colour tones.
Auto Level Setting the brightness of the display
With this function you can automatically set the contrast .
Page 7
SCENICVIEW P17-2 / P19-2 / P20-2
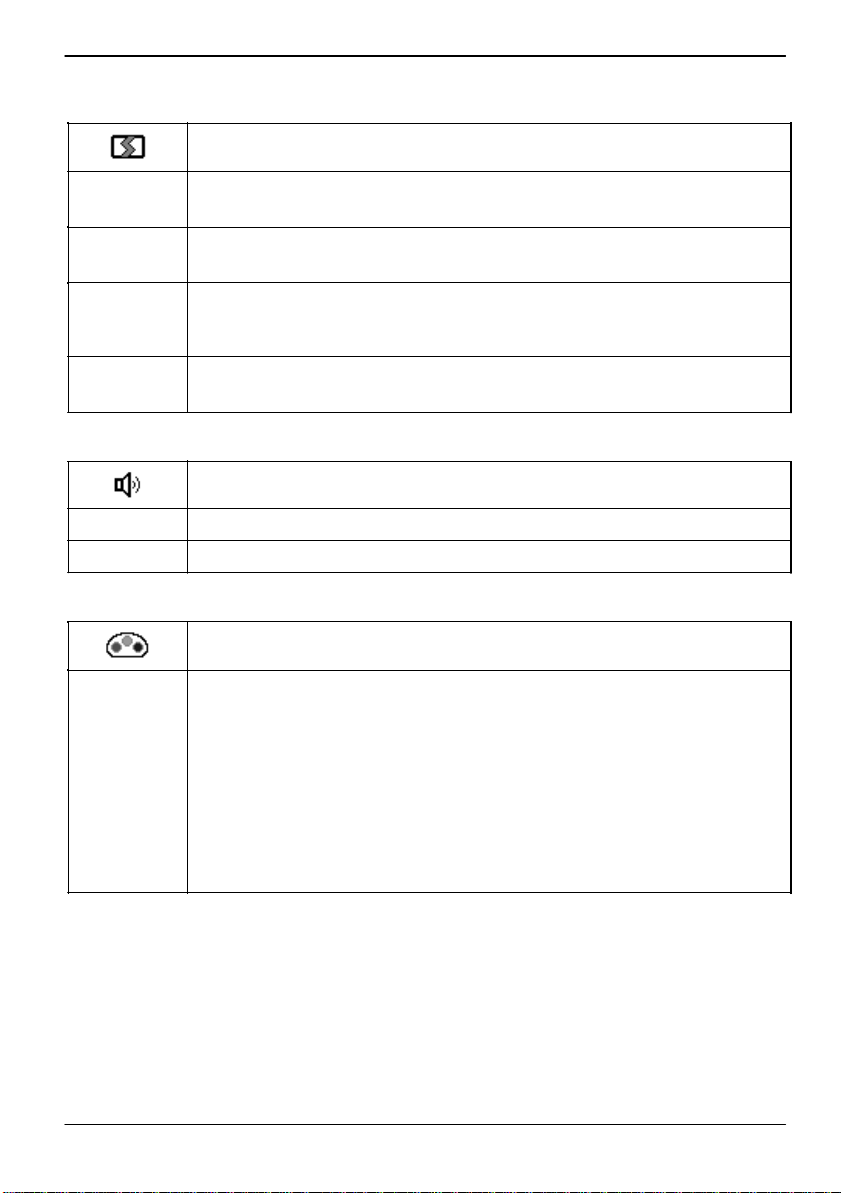
Adjusting size and position
Calling the Image adjust
setting window
H-Position Adjusting the horizontal position
V
With this function you fine-tune your monitor to eliminate pict ur e i nterference.
Adjusting the volume
Calling the Audio setting window
Volume Setting the volume for playback with the integrated loudspe ak ers
Mute
Switching the loudspeakers off or on
Setting colour temperature and colours
Calling the Colour
setting window
Selecting the colour temperature
The "
temperature is measured in K (= Kelvin).
9300 K,
Native and Custom Colour.
sRGB
Native
Custom
= setting colour display according to the sRGB standard
= Original colour of the LCD display
= User-defined colours
In the user-defined setting you can change the colour r atios of the basic colours
(red, green, blue) as required.
7
With this function you move the picture to the left or t o the right.
-Position Adjusting the vertical position
With this function you move the picture up or down.
Clock
Phase
Setting synchronisation
With this function you adjust the picture width to eliminate vert ic al picture
disturbances.
Eliminating picture interference
warmth" of the screen colours is set using the colour temperature. The colour
You can select from sRGB,
6500 K,
7500 K,
Colour
Page 8

SCENICVIEW P17-2 / P19-2 / P20-2
Setting display of the OSD menu
Calling the OSD Setup setting window
Language Setting language for the OSD menu
Italian and Spanish as the language for the OSD menu.
OSD
H-Position
V
Rotation
Setting the horizontal position of the OS D m e nu
With this function
Setting the vertical position of the OSD me nu
With this function
Setting the displa
With this function
If the set time expires
faded out.
Setting the displa
With this function
and vice versa.
Off
On
= The OSD menu is displayed in portrait mode.
= The OSD menu is displayed in landscape mode.
Setting functions in the "Advanced" menu
Calling the Advanced
setting window
Input select Selecting input signal
can be optimised for pictures or texts.
Resolution
Notifier
Displaying monitor data
The optimum resolution for th is monitor is 1280 x 1 024 pixels. With the func tion
activated
), a message appears on the screen after approx. 30 seconds if a
different resolution is set.
Change the resolution to 1280 x 1024 to achieve optimum picture qualit
With the function deactivated (
Off
), no message appears.
Factory Recall
Activating the factory settings
message is displayed.
8
With this function you choose between English (default setting), French, German,
you move the OSD menu to the left or to the right.
OSD
-Position
OSD
Timeout
OSD
With this function you switch the monitor from the analogue to t h e digital mode and
vice versa, when two signal sources are connected.
The condition is that the graphic card used supports this function.
Sharpness Adjusting the picture quality in case of interpolat i on
With this function you set the sharpness of the interpolation filter. Thus t h e dis p lay
you move the OSD menu up or down.
y duration of the OSD menu
you select a value from 10 to 120 seconds.
without a setting being made, the OSD menu is automatically
y format of the OSD menu
you switch the OSD menu from portrait mode to landscape mode
(
On
With this function all settings are reset to the factory settings without prompting for
confirmation.
Press the SELECT/MENU button to act iv ate the function. The Auto Processing
y.
Page 9

SCENICVIEW P17-2 / P19-2 / P20-2
Displaying information
Calling the Information setting window
With this function the model designation, s erial number, resolution, H/V frequ enc
input signal and polarity of the synchronisation signal are displayed.
Notes on ergonomic colour adjustment
If you select colours for the display in your application programmes, ta k e note of the information
belo
The primar
contr
When using several colours for characters
modulation, you can obtain very suitable colour combinations (see the following table):
Background
Characters
black white purple
blue
cyan
green yellow
red
black
+
+
-
+
+
+
+
purp
y
red
-
+
-
-
-
-
+
+ Colour combination very suitable
are not identifiable or rigorous focus i ng is demanded of the human eye.
9
w.
y colours blue and red on a dark background do not produce the minimum required
ast of 3:1 and are therefore not suitable f or c on tinuous text and data entry.
and background and giving the primary colours full
white
blue
cyan
green
ellow
le
+
+
+
+
+
-
+
+
-
-
-
-
+
-
-
+
+
-
-
-
+
+
+
+
-
-
-
y,
-
-
-
-
-
+
-
-
-
-
-
+
- Colour combination not suitable becaus e c olour locations are too close together, thin characters
Page 10

SCENICVIEW P17-2 / P19-2 / P20-2
Troubleshooting
Should an error occur, first check the following points. If the distortion is still not eliminat ed , the
monitor should, if possible,
If
Having this problem?
Check the following points:
No screen display
(po
No screen display
(po
Message:
No Signal
Message:
Frequency out of range:
Please change the display mode
to 1280 x 1024 with 60 Hz.
Please change the display mode
to 1600 x 1200 with 60 Hz.
►
Check whether the main switch at the rear of the
►
►
►
►
►
►
ou get a
►
►
The input signal (horizontal frequenc
at the displa
technical monitor
►
►
1280 x 1024
1600 x 1200
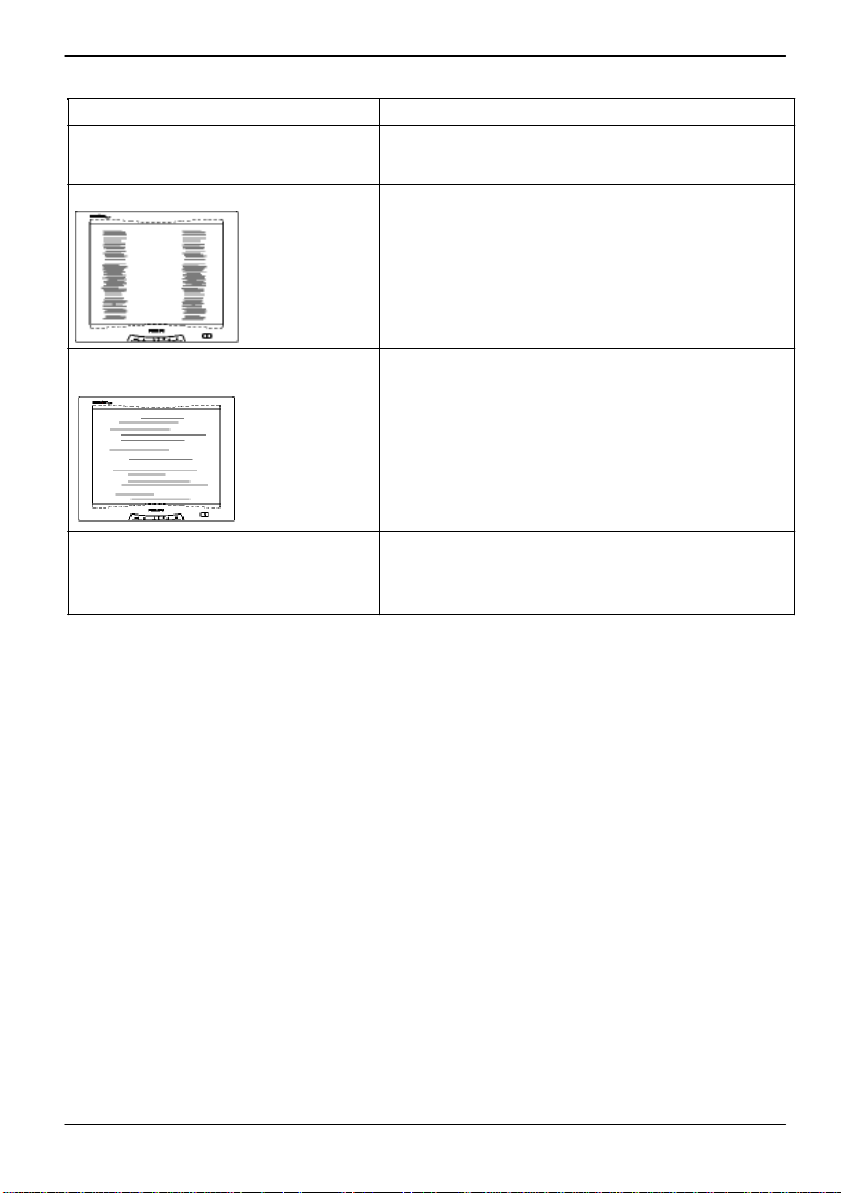
Picture position not correct
The monitor recognises an undefined mode (see the
Picture is shaking
adjustment of the screen.
10
be checked on another computer.
you are unable to solve the problem, please inform our help d es k .
wer indicator does not light)
wer indicator lights)
## kHz / ## Hz
monitor is switched on.
Check whether the power cable on the monitor is
connected correctly.
Check whether the computer is switched on.
Check whether the computer is switched on.
Check whether the data cable for the monitor is
correctly attached to the monitor port on the
computer.
Press any key on the computer keyboard - the
computer may be in energy saving mode.
Alter the brightness and/or contrast un til y
picture.
Check whether the data cable for the monitor is
correctly attached to the monitor port on the
computer.
Check whether the computer is switched on.
Adjust the video frequency range using the
computer software (see documentation for your
computer or your graphics card).
Adjust a different screen resolution using the
computer software (see documentation for your
computer or your screen controller).
P17-2/P19-2
"Technical data" chapter).
►
Press the EXIT/AUTO button to perform the auto-
adjustment of the screen.
►
Check whether the data cable for the monitor is
correctly attached to the monitor port on the
computer.
►
Press the EXIT/AUTO button to perform the auto-
yed input does not correspond to the
data.
y and refresh rate)
P20-2
Page 11
SCENICVIEW P17-2 / P19-2 / P20-2
Having this problem?
Check the following points:
Picture is
Picture disturbances (vertical lines)
adjustment of the screen.
Picture disturbances (horizontal lines,
picture noise)
►
Press the EXIT/AUTO button to perform the auto-
adjustment of the screen.
The screen becomes darker
The background lighting has a limited lifetime. If your
11
wrongly adjusted
►
Press the SELECT/MENU button to act iv ate the
function
Factory Recall
message is displayed.
►
Press the EXIT/AUTO button to perform the auto-
monitor display should become too dark, the
background lighting will have to be exchanged.
. The Auto Processing
 Loading...