

Page 1
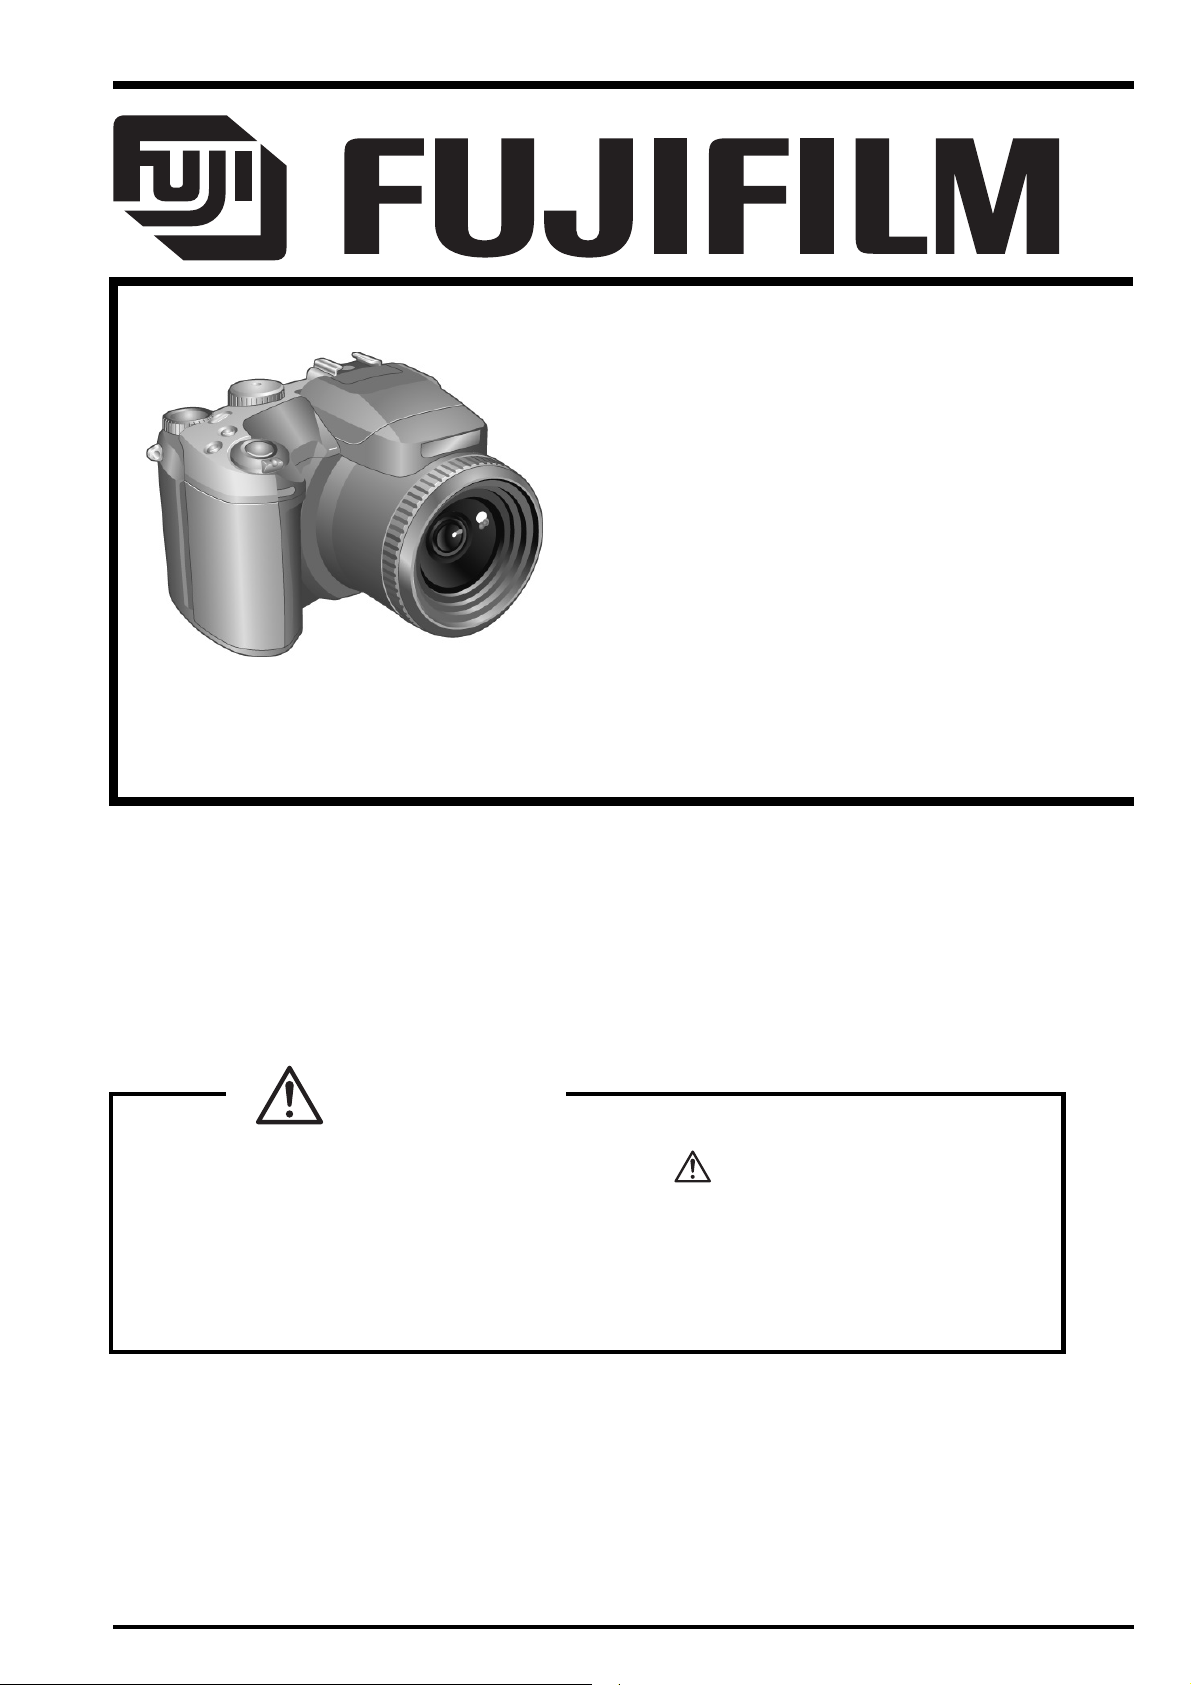
DIGITAL CAMERA
FinePix S7000
TROUBLESHOOTING GUIDE
US/CA/EU/EG/GE/AS-Model
z THE COMPONENTS IDENTIFIED BY THE MARK “
DIAGRAM AND IN THE PARTS LIST ARE CRITICAL FOR SAFETY.
PLEASE REPLACE ONLY BY THE COMPONENTS SPECIFIED ON THE SCHEMATIC
DIAGRAM AND IN THE PARTS LIST.
z IF YOU USE PARTS NOT SPECIFIED, IT MAY RESULT IN A FIRE AND AN
ELECTRICAL SHOCK.
WARNING
” ON THE SCHEMATIC
FUJI PHOTO FILM CO., LTD.
Ref.No.: ZM00521-400
Printed in Japan 2005. 01
Page 2
FinePix S7000 TROUBLESHOOTING GUIDE
SAFETY CHECK-OUT
After correcting the original problem, perform the following
safety check before return the product to the customer.
1. Check the area of your repair for unsoldered or
poorly soldered connections. Check the entire
board surface for solder splasher and bridges.
2. Check the interboard wiring to ensure that no
wires are “pinched” or contact high-wattage
resistors.
3. Look for unauthorized replacement parts,
particularly transistors, that were installed during
a previous repair. Point them out to the customer
and recommend their replacement.
4. Look for parts which, though functioning, show
obvious signs of deterioration. Point them out to
the customer and recommend their replacement.
5. Check the B + voltage to see it is at the values
specified.
6. Make leakage - current measurements to
determine that exposed parts are acceptably
insulated from the supply circuit before returning
the product to the customer.
7.
2.5A 125V
2.5A 125V
8.
RISK OF FIREREPLACE FUSE
AS MARKED
WARNING!
HIGH VOLTAGE
CAUTION: FOR CONTINUED
PROTECTION AGAINST FIRE
HAZARD, REPLACE ONLY
WITH SAME TYPE 2.5
AMPERES 125V FUSE.
ATTENTION: AFIN
D'ASSURER UNE
PROTECTION PERMANENTE
CONTRE LES RISQUES
D'INCENDIE, REMPLACER
UNIQUEMENT PAR UN
FUSIBLE DE MEME, TYPE 2.5
AMPERES, 125 VOLTS.
WARNING:
TO REDUCE THE ELECTRIC
SHOCK, BE CAREFUL TO
TOUCH THE PARTS.
2
Page 3

FinePix S7000 TROUBLESHOOTING GUIDE
TABLE CONTENTS
1. Lens............................................................................................................................4
1-1. Dust inside the lens.................................................................................................................... 4
1-2. Lens soiling ................................................................................................................................4
1-3. Cosmetic ring on the lens displaced ..........................................................................................5
1-4. Zoom error ................................................................................................................................. 5
1-5. Noise when the camera is shaken (with the camera switched on and the lens extended) ........ 5
1-6. Lens fails to retract (focusing error) ...........................................................................................6
1-7. Lens fails to extend .................................................................................................................... 6
2. Image..........................................................................................................................7
2-1. Incorrect color tones................................................................................................................... 7
2-2. Horizontal lines across the top of recorded images ................................................................... 7
3. Power .........................................................................................................................8
3-1. The camera freezes after being turned on and cannot be turned off ......................................... 8
3-2. The camera will not turn on (using either the AC adapter or batteries)...................................... 8
3-3. The camera will not turn on (using either the AC adapter or batteries)...................................... 8
4. Ohter ..........................................................................................................................9
4-1. Card recognition failure.............................................................................................................. 9
4-2. Displaced power switch.............................................................................................................. 9
3
Page 4

1. Lens
1-1. Dust inside the lens
FinePix S7000 TROUBLESHOOTING GUIDE
Fault details:
Analysis results:
Repair details:
Replace the LENS CONST (M209, BU02933-100).
There are several white dust flecks inside the lens.
Dust inside the lens barrel has worked its way out.
1-2. Lens soiling
Fault details:
Analysis results:
Lens soiling (on the surface).
In the lens manufacturing process, the solvent used for locking the screws following G1
lens adjustment and to prevent removal of the cosmetic panel has adhered to the lens.
Repair details:
Replace the LENS CONST (M209, BU02933-100).
4
Page 5

FinePix S7000 TROUBLESHOOTING GUIDE
1-3. Cosmetic ring on the lens displaced
Fault details:
Analysis results:
Repair details:
Replace the LENS CONST (M209, BU02933-100).
The cosmetic ring on the lens has fallen off.
Traces of the adhesive remain on the frame on the lens (red, in 2 locations)
The cosmetic ring is a push-fit type (clicks into place) and is constructed to be difficult to
remove even if the adhesive fails.
The ring must have been pulled off by an external force of some sort.
1-4. Zoom error
Fault details:
Analysis results:
Repair details:
Replace the LENS CONST (M209, BU02933-100).
Zoom operation is slow and uneven and a zooming error is frequently displayed.
The rated current is outside the specified range and checking of the disassembled lens
showed that friction between lens components due to excessively frequent use has
caused wear on adjoining parts that affects lens movement.
1-5. Noise when the camera is shaken (with the camera switched on and the lens extended)
Fault details:
Analysis results:
Repair details:
Replace the LENS CONST (M209, BU02933-100).
The camera makes a noise when it is shaken (with the camera switched on and the lens
extended).
Missing retaining component in the intermediate lens barrel (assembly error).
5
Page 6

1-6. Lens fails to retract (focusing error)
FinePix S7000 TROUBLESHOOTING GUIDE
Fault details:
Analysis results:
Repair details:
Replace the LENS CONST (M209, BU02933-100).
Lens fails to retract (focusing error).
The screw mound in the focusing frame is split, indicating that the focusing motor has run
out of control for some reason, causing the focusing frame to repeatedly butt up against
the end of the mechanism and then be driven excessively in that position, causing the
screw mound in the focusing frame to split so that the focusing frame can no longer
retract.
1-7. Lens fails to extend
Fault details:
Analysis results:
Repair details:
Replace the LENS CONST (M209, BU02933-100).
Lens fails to extend (zooming error).
There was an impact mark in the cam groove for the cam barrel inside the lens barrel.
The camera has been dropped with the lens extended, damaging the first extension frame
component so that the lens could then be retracted once, but caught on the damaged part
so that it can no longer be extended.
6
Page 7

FinePix S7000 TROUBLESHOOTING GUIDE
2. Image
2-1. Incorrect color tones
Fault details:
Analysis results:
Repair details:
Re-attach the EMI SHEET CAM.
Incorrect color tones.
The EMI SHEET CAM is stuck down in a position where it is touching CN101 (CAM PWB
ASSY).
Adjust the position of the EMI SHEET CAM so that it is stuck down in the correct location
(0.5 - 1.5 mm from CN101).
2-2. Horizontal lines across the top of recorded images
Fault details:
Analysis results:
Horizontal lines appear across the top of recorded images.
Soldering defect in CN502 (DCST PWB ASSY).
Repair details:
Replace the DCST PWB ASSY (M308, CB1132-A100).
7
Page 8

FinePix S7000 TROUBLESHOOTING GUIDE
3. Power
3-1. The camera freezes after being turned on and cannot be turned off
Fault details:
Analysis results:
Repair details:
Relock CN100 (CAM PWB ASSY).
After the camera is turned on in CAM mode and the lens extends, the camera freezes and
cannot be turned off.
CN100 (CAM PWB ASSY) is not locked.
3-2. The camera will not turn on (using either the AC adapter or batteries)
Fault details:
Analysis results:
The camera will not turn on (using either the AC adapter or batteries).
C524 on the DCS PWB ASSY is fire damaged (short-circuited), causing F503 (FUSE) to
blow.
Replacing C524 and F503 remedies the problem. Single-component fault in C524.
Repair details:
Replace the DCST PWB ASSY (M308, CB1132-A100).
3-3. The camera will not turn on (using either the AC adapter or batteries)
Fault details:
Analysis results:
Repair details:
Replace the MODE DIAL UNIT (M319, FZ04694-500).
The camera will not turn on (using either the AC adapter or batteries).
Holding down the Mode switch while turning the camera on successfully starts up the
camera.
Connection defect in the MODE DIAL UNIT.
8
Page 9

FinePix S7000 TROUBLESHOOTING GUIDE
4. Ohter
4-1. Card recognition failure
Fault details:
Analysis results:
The card is not recognized (in the CF slot).
Bent pin in the CN205 connector (MAIN PWB ASSY).
Repair details:
Replace the connector (CN205, FGY073-0501).
4-2. Displaced power switch
Fault details:
Analysis results:
LCD split.
The 3 claws on the power switch are snapped off.
The snapped-off claws are correctly engaged in the top cabinet assembly, suggesting that
the damage is due to external force.
Repair details:
Replace the TOP CABI ASSY (M314, BU02855-100).
9
Page 10

FUJI PHOTO FILM CO., LTD.
26-30, Nishiazabu 2-chome, Minato-ku, Tokyo 106-8620, Japan.
 Loading...