

Page 1
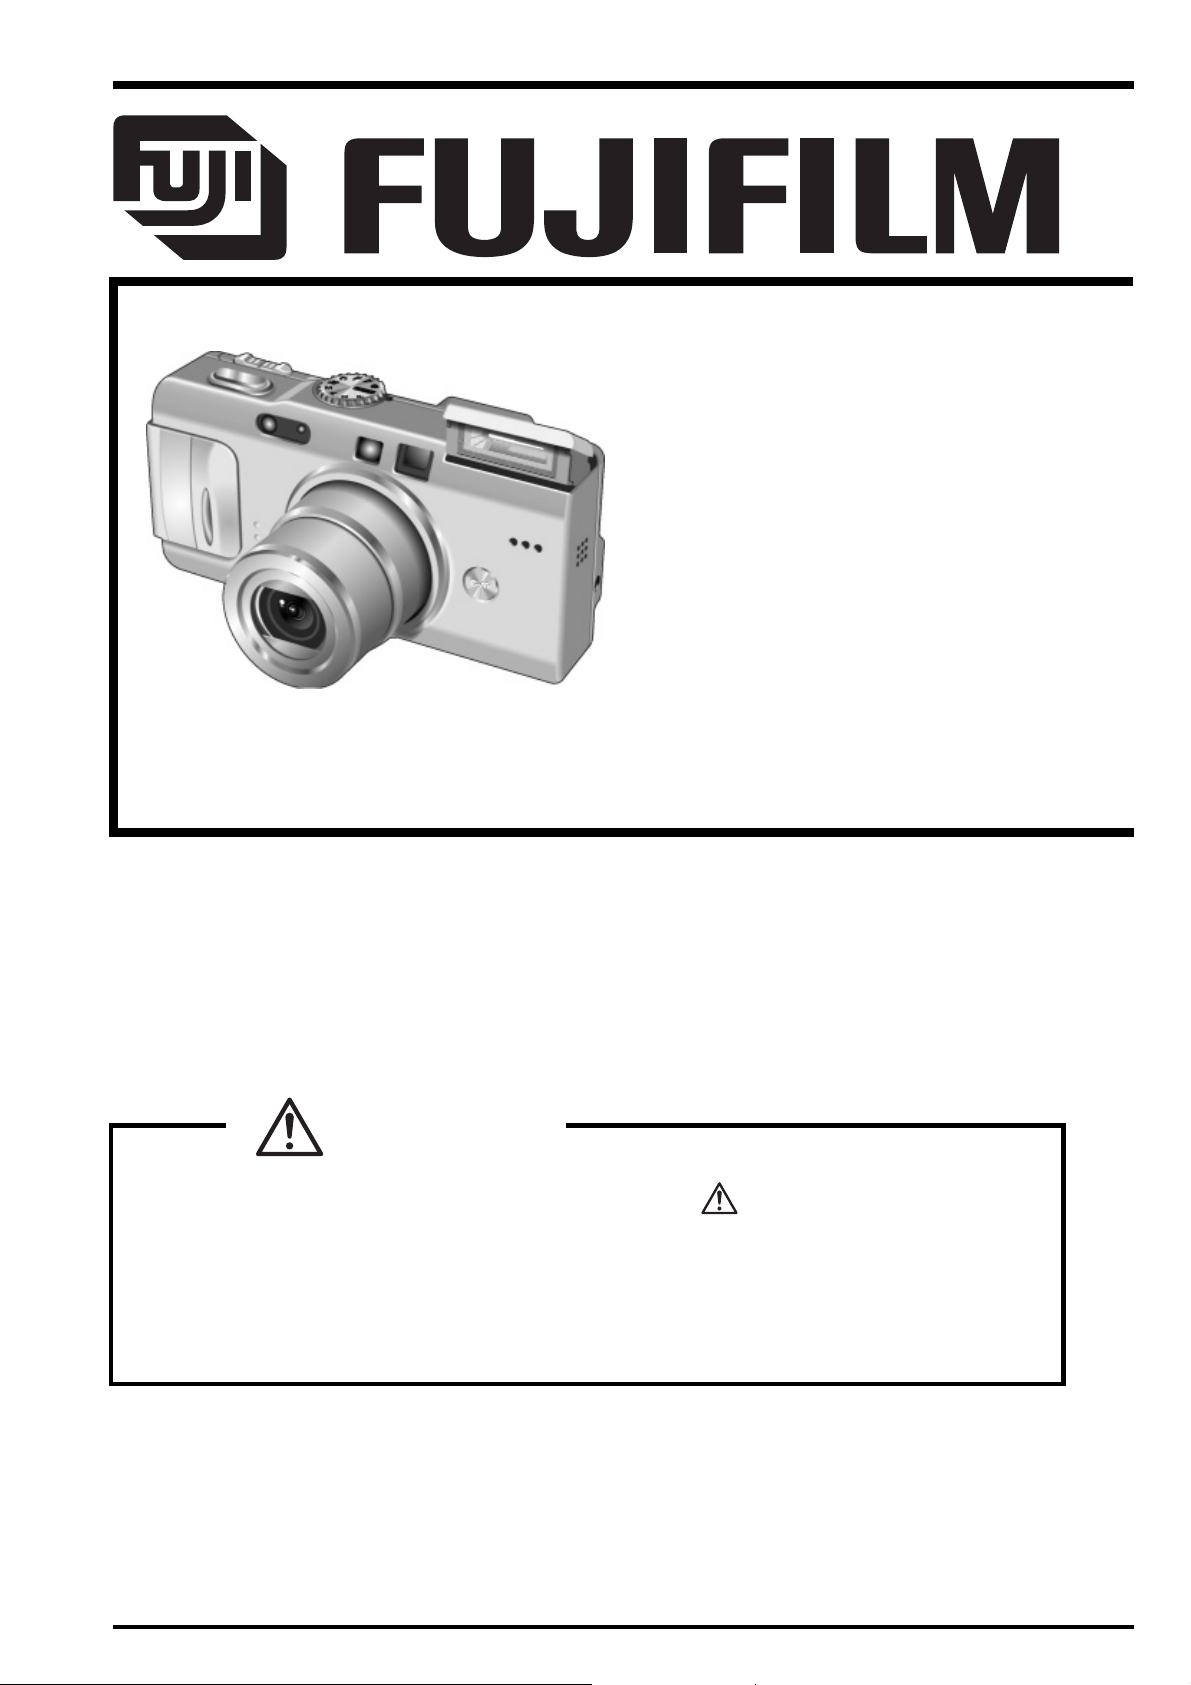
DIGITAL CAMERA
FinePix F810
TROUBLESHOOTING GUIDE
US/CA/EU/EG/GE/AS/JP-Model
z THE COMPONENTS IDENTIFIED WITH THE MARK “
DIAGRAM AND IN THE PARTS LIST ARE CRITICAL FOR SAFETY.
PLEASE REPLACE ONLY WITH THE COMPONENTS SPECIFIED ON THE SCHEMATIC
DIAGRAM AND IN THE PARTS LIST.
z IF YOU USE PARTS NOT SPECIFIED, IT MAY RESULT IN A FIRE AND AN
ELECTRICAL SHOCK.
WARNING
” ON THE SCHEMATIC
FUJI PHOTO FILM CO., LTD.
Ref.No.: ZM00558-400
Printed in Japan 2005. 06
Page 2
FinePix F810 TROUBLESHOOTING GUIDE
SAFETY CHECK-OUT
After correcting the original problem, perform the following
safety check before return the product to the customer.
1. Check the area of your repair for unsoldered or
poorly soldered connections. Check the entire
board surface for solder splasher and bridges.
2. Check the interboard wiring to ensure that no
wires are “pinched” or contact high-wattage
resistors.
3. Look for unauthorized replacement parts,
particularly transistors, that were installed during
a previous repair. Point them out to the customer
and recommend their replacement.
4. Look for parts which, though functioning, show
obvious signs of deterioration. Point them out to
the customer and recommend their replacement.
5. Check the B + voltage to see it is at the values
specified.
6. Make leakage - current measurements to
determine that exposed parts are acceptably
insulated from the supply circuit before returning
the product to the customer.
7.
2.5A 125V
2.5A 125V
8.
RISK OF FIREREPLACE FUSE
AS MARKED
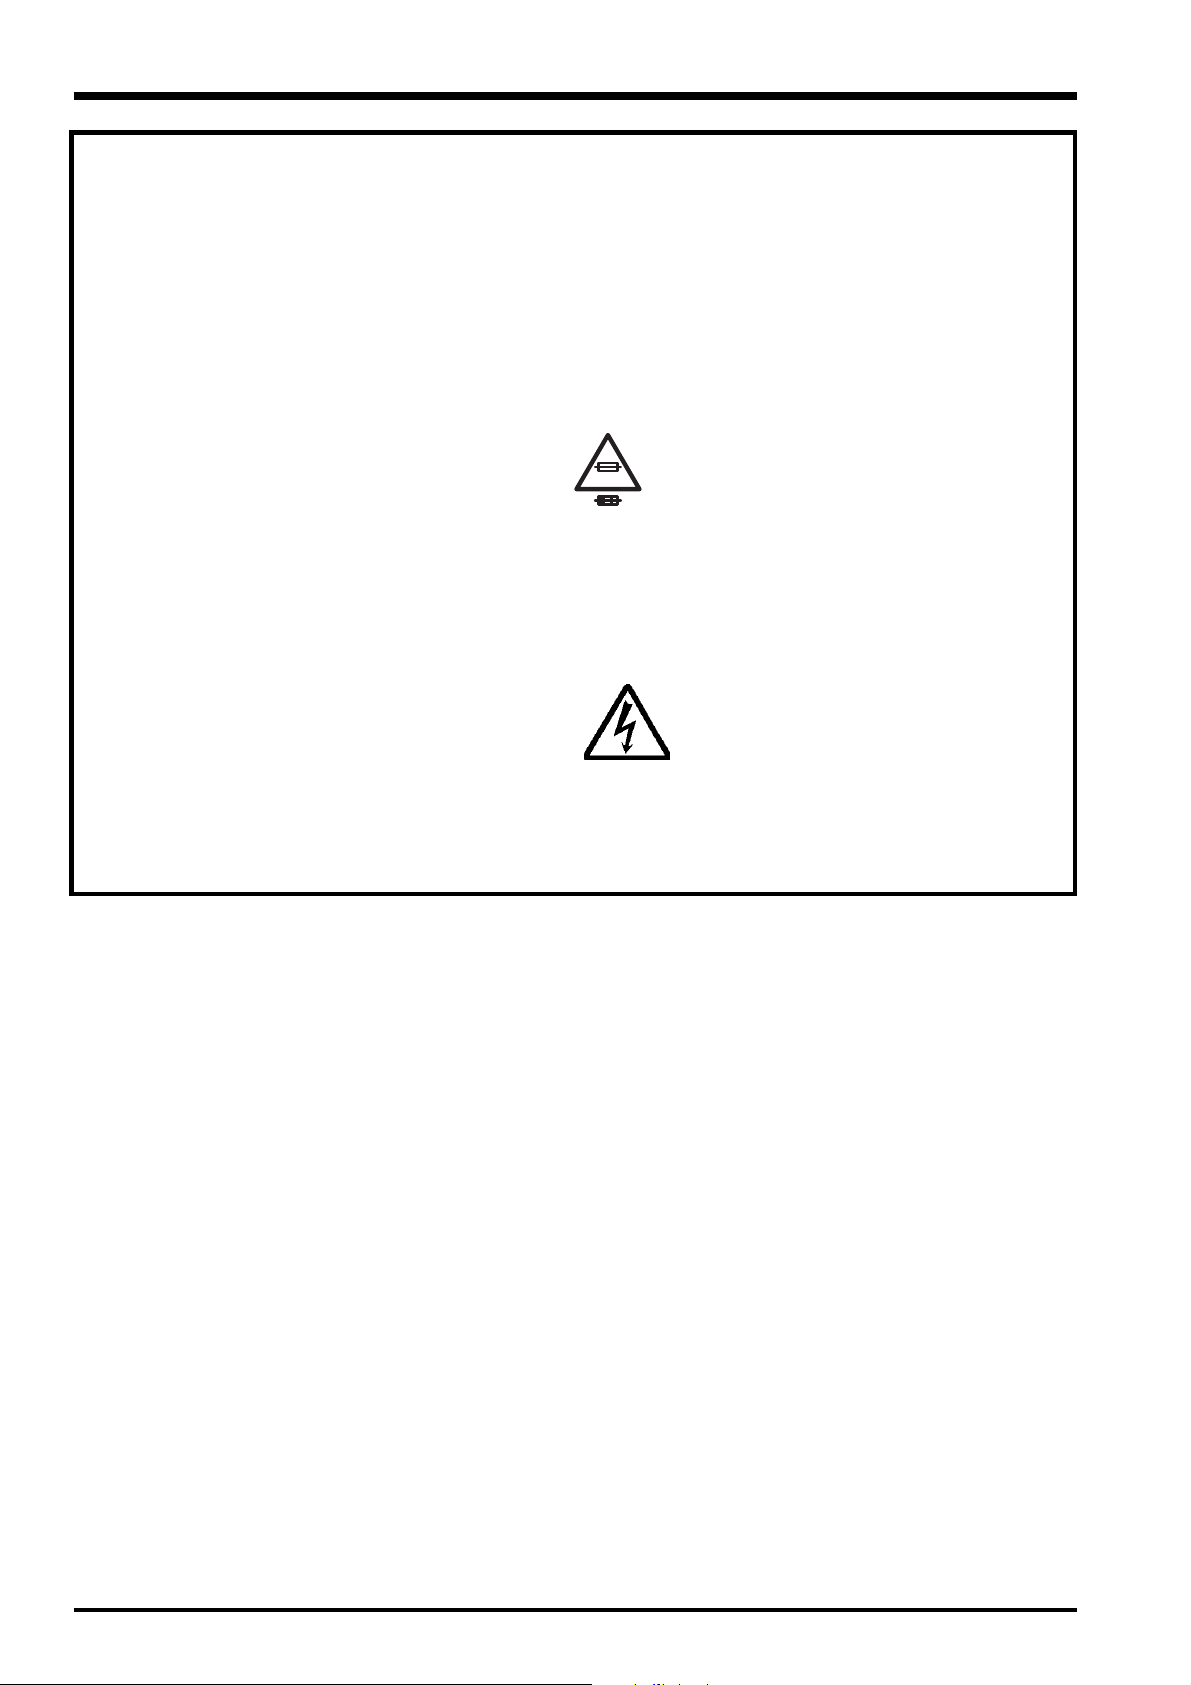
WARNING!
HIGH VOLTAGE
CAUTION: FOR CONTINUED
PROTECTION AGAINST FIRE
HAZARD, REPLACE ONLY
WITH SAME TYPE 2.5
AMPERES 125V FUSE.
ATTENTION: AFIN
D'ASSURER UNE
PROTECTION PERMANENTE
CONTRE LES RISQUES
D'INCENDIE, REMPLACER
UNIQUEMENT PAR UN
FUSIBLE DE MEME, TYPE 2.5
AMPERES, 125 VOLTS.
WARNING:
TO REDUCE THE ELECTRIC
SHOCK, BE CAREFUL TO
TOUCH THE PARTS.
2
Page 3

FinePix F810 TROUBLESHOOTING GUIDE
TABLE CONTENTS
1. Power .........................................................................................................................4
1-1. The camera freezes ................................................................................................................... 4
1-2. The camera does not turn on.....................................................................................................4
1-3. The camera does not turn on.....................................................................................................4
2. Lens............................................................................................................................5
2-1. Lens fails to retract and a focusing error is displayed................................................................ 5
2-2. Horizontal lines appear on backlit shots..................................................................................... 5
2-3. Lens fails to retract..................................................................................................................... 5
2-4. The camera does not function (lens does not extend and the LCD is completely white)........... 6
2-5. A shadow appears in images (from the top-right corner of the image) ...................................... 6
3. Image and trace.........................................................................................................7
3-1. Dust appears in images ............................................................................................................. 7
3-2. Image turns completely dark...................................................................................................... 7
4. Other ..........................................................................................................................8
4-1. Flash will not pop up .................................................................................................................. 8
4-2. Gaps in the external casing........................................................................................................ 8
4-3. Control buttons do not work (4-way button) ............................................................................... 9
3
Page 4

FinePix F810 TROUBLESHOOTING GUIDE
1. Power
1-1. The camera freezes
Fault details: 1. When the camera is turned on under battery power, the lens extends and camera
operation then freezes with an image shown on the LCD. The same thing occurs in
playback mode.
2. The camera did not operate at all when the AC adapter was used. (A current of 20 mA
flowed.)
Analysis results: Caused by dry solder joints between pins 1 and 11 on IC401 (power supply IC).
Repair details:
Replace the DC PWB ASSY.
1-2. The camera does not turn on
Fault details: The camera does not turn on.
Analysis results: Problem occurs because the line to pin 39 on IC601 (PWR SW) was loose.
Repair details:
Replace the REAR PWB ASSY.
1-3. The camera does not turn on
Fault details: The camera does not turn on.
Analysis results: After the camera was turned on, a current of 200 mA continued to flow but the camera was
not activated. Resolved by reheating IC206 (UCS2). This suggests that the problem must
have been caused by mounting defects involving loose connections or dry solder joints.
Repair details:
Replace the MAIN PWB ASSY.
4
Page 5

FinePix F810 TROUBLESHOOTING GUIDE
2. Lens
2-1. Lens fails to retract and a focusing error is displayed
Fault details: Lens fails to retract and a focusing error is displayed.
Analysis results: The lens could not retract because the ST linkage plate was not in the correct position.
The probable reasons for the plate being dislodged are the application of external force or
the zoom motor gear being out of phase.
Repair details:
Replace the LENS ASSY.
2-2. Horizontal lines appear on backlit shots
Fault details: Horizontal lines appear on backlit shots.
Analysis results: Caused by light leakage inside the lens.
Repair details:
Replace the LENS ASSY (See Bulletin 2005-015).
2-3. Lens fails to retract
Fault details: Lens fails to retract.
Analysis results: The lens barrel was bent and scratched. This appears to be lens damage caused by an
impact while the lens was extended.
Repair details:
Replace the LENS ASSY.
5
Page 6

FinePix F810 TROUBLESHOOTING GUIDE
2-4. The camera does not function (lens does not extend and the LCD is completely white)
Fault details: The camera does not function (lens does not extend and the LCD is completely white).
Analysis results: 1. When the LCD flexible cable was disconnected from CN803 on the R panel REAR
PWB, the lens extended but did not retract when the camera was turned off. When the
lens was fitted on a comparison camera, a zoom error occurred when the camera was
turned on and the lens still failed to retract when the camera was turned off, indicating
that the LENS ASSY was faulty.
2. The LCD very occasionally functioned normally, but a microscopic examination of the
flexible cable contacts revealed short-circuiting, missing connections and bent contacts
at the ends of the connectors in pins 1 (CS), 3 (SCL) and 5 (VSYNC), leading to LCD
display problems. The cause of the damage to the flexible cable contacts was presumed
to be impact with the CN803 contacts when the LCD flexible cable was attached.
Repair details:
Replace the LENS ASSY and LCD CONST.
2-5. A shadow appears in images (from the top-right corner of the image)
Fault details: A shadow appears in images (from the top-right corner of the image).
Analysis results: Because the masking sheet was skewed during assembly, the edge of the masking sheet
overlapped the upper part of the CCD and was captured in images.
Repair details:
Reinstalled the masking sheet in the correct position.
6
Page 7

FinePix F810 TROUBLESHOOTING GUIDE
3. Image and trace
3-1. Dust appears in images
Fault details: Dust appears in images.
Analysis results: Dust was lodged between the optical lens and CCD.
Repair details:
Cleaned the LPF.
3-2. Image turns completely dark
Fault details: The image turned completely dark. (One shot could be taken immediately after the camera
was turned on, but the live image subsequently turned completely dark and photographed
images were completely black. Applies to both battery and AC adapter power. The live
image reappeared if the camera was turned off or switched to playback mode, but again
went dark once the shutter was released.)
Analysis results: Probably caused by static electricity damage or overvoltage damage in the shutter drive.
Resolved by replacing IC151 (motor driver) on the MAIN PWB ASSY.
Repair details:
Replace the MAIN PWB ASSY.
7
Page 8

FinePix F810 TROUBLESHOOTING GUIDE
4. Other
4-1. Flash will not pop up
Fault details: Flash will not pop up.
Analysis results: Caused by external pressure on the corner of the ST PANEL having pushed the corner
inside the FRONT ASSY.
Repair details:
Replace the ST PANEL (See Bulletin 2005-030).
4-2. Gaps in the external casing
Fault details: Gaps in the external casing.
Analysis results: An impact had caused scratching and gaps between the F and R panels (bottom section).
Repair details:
Replace the FRONT ASSY/REAR ASSY.
8
Page 9

FinePix F810 TROUBLESHOOTING GUIDE
4-3. Control buttons do not work (4-way button)
Fault details: Control buttons do not work (4-way button).
Analysis results: The up and down keys on the 4-way button stopped working, and this was rectified by
removing the REAR PWB. No problems could be observed with the REAR PWB soldering
or flexible cable connections, but the boss pressed by SW662 (up key) on the rear panel
4-way button was crushed and was interfering with SW662, causing the key to fail. The
damage appears to have been caused by the application of an unforeseen amount of force
to the button.
Repair details:
Replace the REAR ASSY.
9
Page 10

FUJI PHOTO FILM CO., LTD.
26-30, Nishiazabu 2-chome, Minato-ku, Tokyo 106-8620, Japan.
 Loading...