

Page 1

FD 320
Document Folder
8/05
OPERATOR MANUAL
THIRD EDITION
Page 2

TABLE OF CONTENTS
TOPIC PAGE
DESCRIPTION, SPECIFICATIONS 1
UNPACKING, SETUP
OPERATION 3
UPPER & LOWER FOLD PLATE REMOVAL 4
TROUBLE-SHOOTING 5
2
Page 3
DESCRIPTION
FUNCTION
The FD 320 Folder is designed to perform a wide variety of folds using a variety of paper weights. The fold
plates are manually adjusted for standard folds and custom folds.
SPECIFICATIONS
SPEED: Up to 11,000 sheets per hour
MAXIMUM PAPER SIZE: 11.75” x 18” (298 x 457 mm)
MINIMUM PAPE SIZE:
FOLD TYPES: Letter, Accordion, Half, and Custom Folds
HOPPER CAPACITY:
WEIGHT:
POWER: FD Model: 120V, 60Hz, 3Amps
3.125” x 4” (79.4 x 101.6 mm)
Up to 250 sheets 20#
55 lbs. (25 kg)
FE Model: 220V, 50Hz, 2Amps
1
Page 4

UNPACKING
Check package for shipping damage. If there is shipping damage, do not discard the box.
CAUTION: Two people must lift machine out of the box.
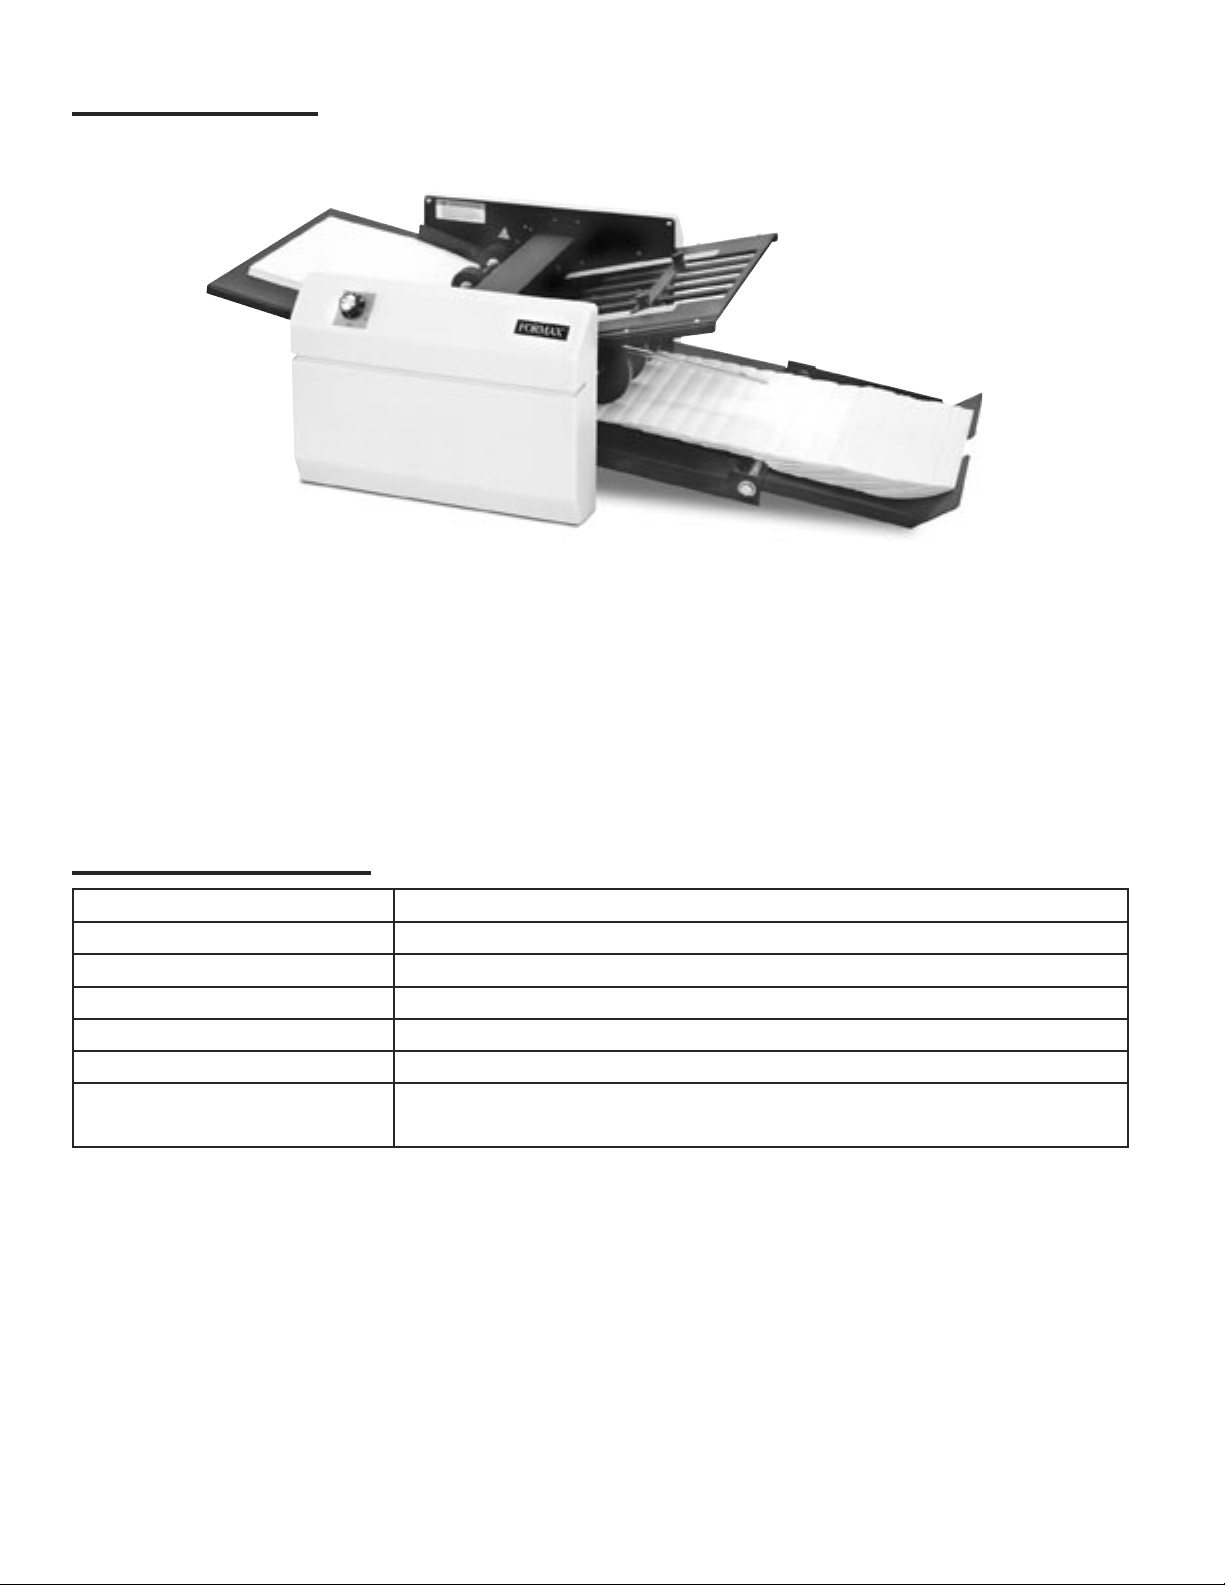
1. Unfold the infeed paper tray (part 1, figure 1 below) and insert the paper ramp (part 2) into place.
2. Remove packing material from lower fold plate (part 3) and ensure proper installation.
3. Plug cord into wall outlet.
4. Turn machine on by turning the speed control knob (part 4) to the right.
SETUP AND DESCRIPTION
Paper Guides:
Adjust the paper guides so the center of the sheet is aligned with the feed roller and paper can slide
freely between the guides without excessive play. To adjust, grip the guides at the top and bottom
where they are held in place on the cross shaft and slide into position. NOTE: Improper setting of the
paper guides may cause inconsistent folding or skewed folds.
Speed Control (Part #4):
The speed control is a combination on/off switch and speed control and is variable to control sheets
per hour. In general, faster speeds are more suitable for heavier stock and slower speeds for lighter
stock. NOTE: Always make final fold adjustments at the speed you intend to fold.
Stacking Wheels (Part #5):
The function of the stacking wheels, which are located on the conveyor table, is to arrange the folded
sheets into an overlapping stack. Position the stacking wheel assembly so that the leading edge of
the folded sheet touches the wheels when the trailing edge just falls onto the conveyor table.
2
1
3
4
5
2
Page 5

OPERATION
Adjusting the fold plates:
To adjust fold plates to desired fold and length of paper, first loosen the two thumbscrews on each of
the two fold plates. Second, align the center bar so the marks on each side of the fold plates match
up.
Letter, accordion and half folds are clearly marked on each fold plate with blue lines. An adjustment
can be made by loosening the thumbscrew and slightly moving the center bar up or down. Tighten the
thumbscrews before operation.
For a “half” fold you must remove the lower fold plate and rotate it 180 degrees and reinsert the fold
plate.
NOTE: Remember to tighten the thumbscrews and replace the fold plates before operating.
3
Page 6

UPPER & LOWER FOLD PLATE REMOVAL
Removing upper fold plate:
Using both hands (putting one hand on the front of the fold plate and one on the end of the fold plate)
holding firmly lift end of plate ½” and pull the fold plate back in the same angle. (Fig. 1)
Installing upper fold plate:
Slide fold plate on the top of the upper guide pins and ensure that the lower guide pins are in the slots
of the front of the fold plate pushing in and then down until plate locks into place. (Fig. 2)
Lower guide pins
Fig. 1
Removing lower fold plate:
(fig 3)Holding end of lower fold plate lift then pull back.
Installing lower fold plate:
(fig 4)Place lower fold plate on top of lower support rod, slide fold plate up between the upper support
rod and the bottom of the paper ramp insure that fold plate locks into place.
Fig. 2
Upper guide pins
Paper ramp
Fig. 3
Upper support rod
Fig. 4
Lower support rod
4
Page 7

TROUBLESHOOTING
PROBLEM: POSSIBLE CAUSE: SOLUTION:
Folder will not start Machine not plugged into an
active wall outlet
Speed control not turned on Turn speed control on
Fuse blown Replace blown fuse
Fold plate not inserted Insert fold plate
Paper will not feed Paper guides too tight Adjust the paper guides so a single
Improper stacking Stacking wheels improperly set Realign the stacker wheels
Skewed folds Excessive side play between
paper guides and paper edges
Paper not square Readjust the paper in the infeed tray
Infeed table not square Adjust table by turning the skew ad-
Plug machine into an active outlet
sheet of paper slides freely between
the guides without excessive play
Adjust paper guides and skew adjust
just knob back and fourth until skew
is eliminated
5
 Loading...