

Fiilex P100 Series, FLXP100 User Manual
P100
FLXP100
User Manual
General Notes
• The P100 Series has been designed for professional studio and location applications and may only
be operated by qualified persons.
• Please read the following operating instructions very carefully before using this fixture.
• For your own safety, please follow all safety instructions and warnings.
• Keep these operating instructions for future reference.
• For further information, contact Fiilex (fiilex@fiilex.com) or your retailer.
Basic Operation (refer to Parts Diagram on following page)
• Mounting the P100
The P100 can be mounted onto a cold/hot shoe through its Cold Shoe w/ Mini Ball Head (10).
• Charging
There are two options for charging the P100. The first option uses AC power to charge the
battery while simultaneously running the light. The second option charges the battery
separately.
Option1 : Insert the Power Charger Connector (15) into the Power Charger Input Jack (13). on
the P100 Brick Light. Plug the Power Charger into a standard AC wall outlet to
charge.
Option2 : Remove Battery (11) from the P100 Brick Light. Insert the Power Charger
Connector (15) into the DC Plug Converter (17) into the Power Charger Input
Jack (13) on the Battery (11). Plug the Power Charger into a standard AC wall outlet.
When charging the Charge State Light (16) on the Power Charger turns red. The
Charge State Light (P) turns green when the battery is fully charged.
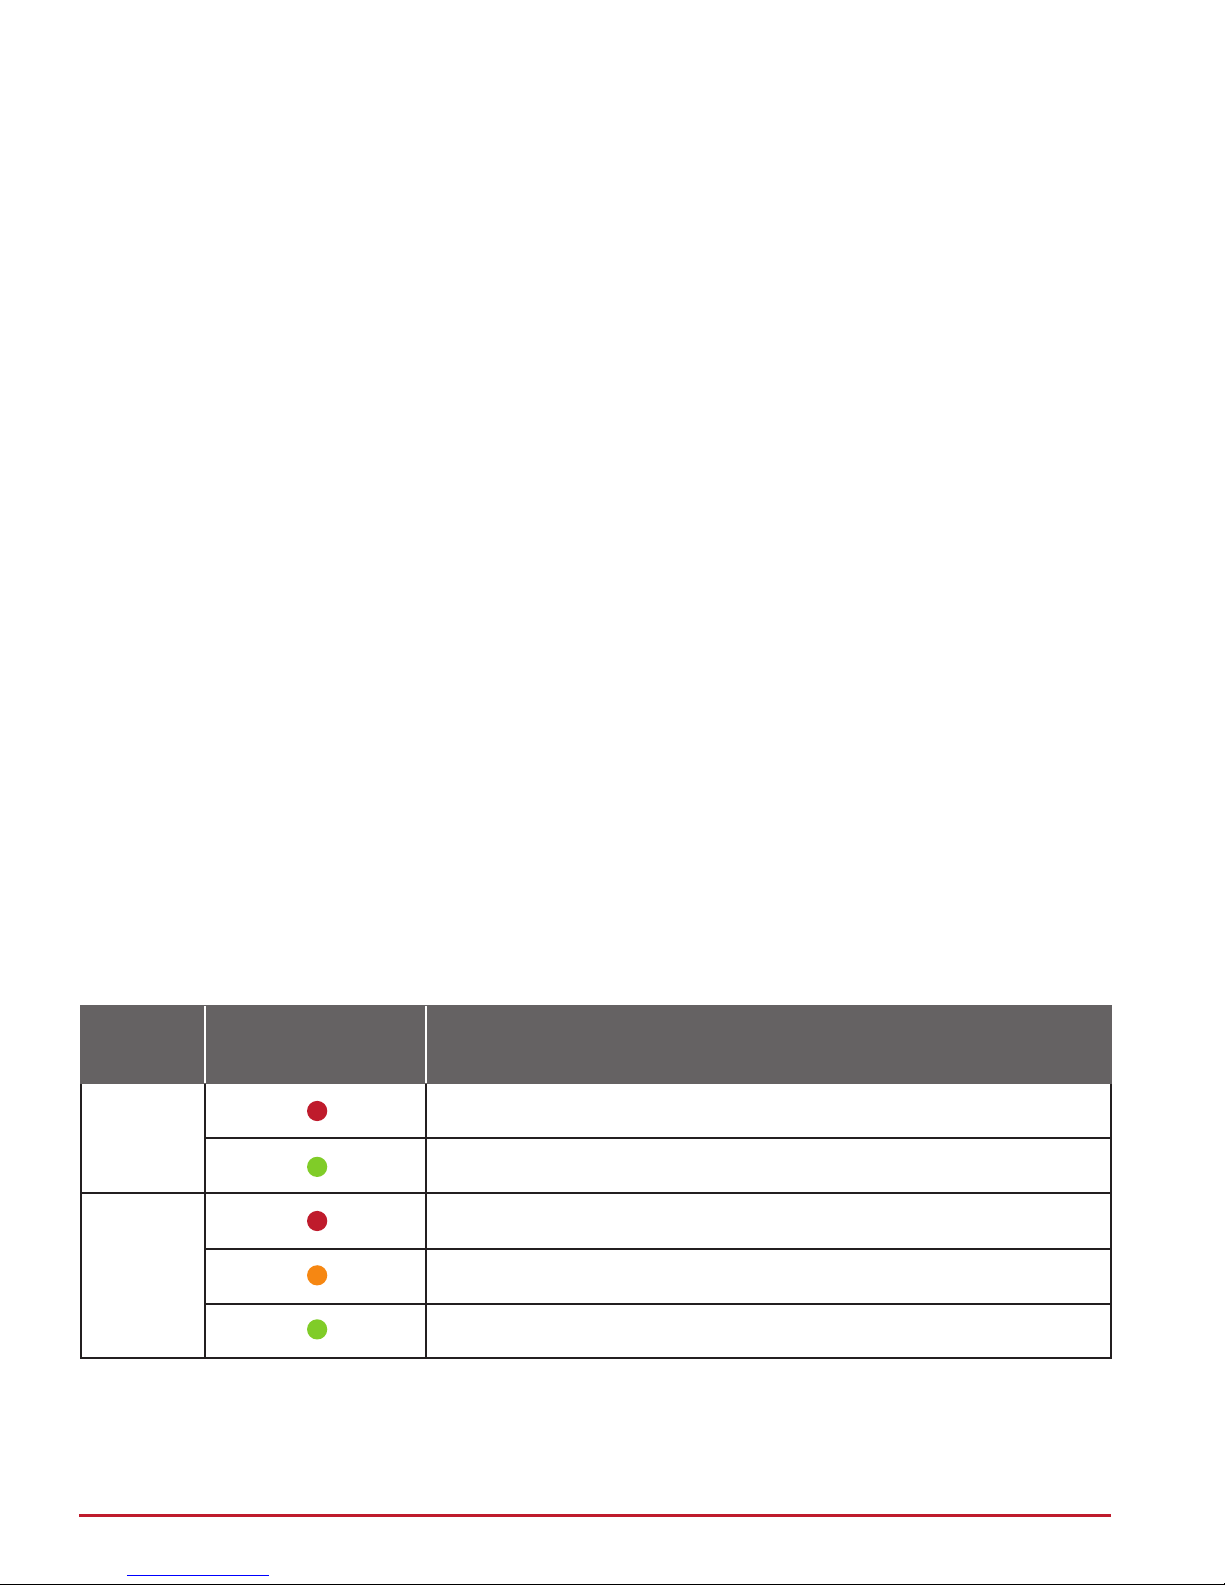
Parts Indicator Light
Power
Charger
Battery
Description
Battery is charging
Battery is fully charged
Battery < 20%
Battery 20% - 50%
*Battery Indicator Light (14) is an estimated measure, the color status may fluctuate from time to time to time
depending on the intensity settling of the P100.
Battery 50% - 100%
1
 Loading...