

Page 1

www.festoolusa.com
Tips on Setting Up an ATF 55 or AT 65 circular saw
The amazing Festool pendulum saw will live up to its repu tation right out of the box—that it
will ride on a guide rail that sticks magically to the workpiece, that it can crosscut plywood
without chipping, that it can give a cabinetsaw grade cut, and so on and so forth. It will do
all this, however, if it is first set up properly. There’s not much to do, but it’s essential to get
the most out of your saw.
So what should you do when you first get your saw? Read the manual, of course! (Hey—
there’s important information there). This photo essay complements the manual, offering
more detail of some aspects of set up and tuning, as well as a few tips not found in the
manual.
1
Page 2
www.festoolusa.com
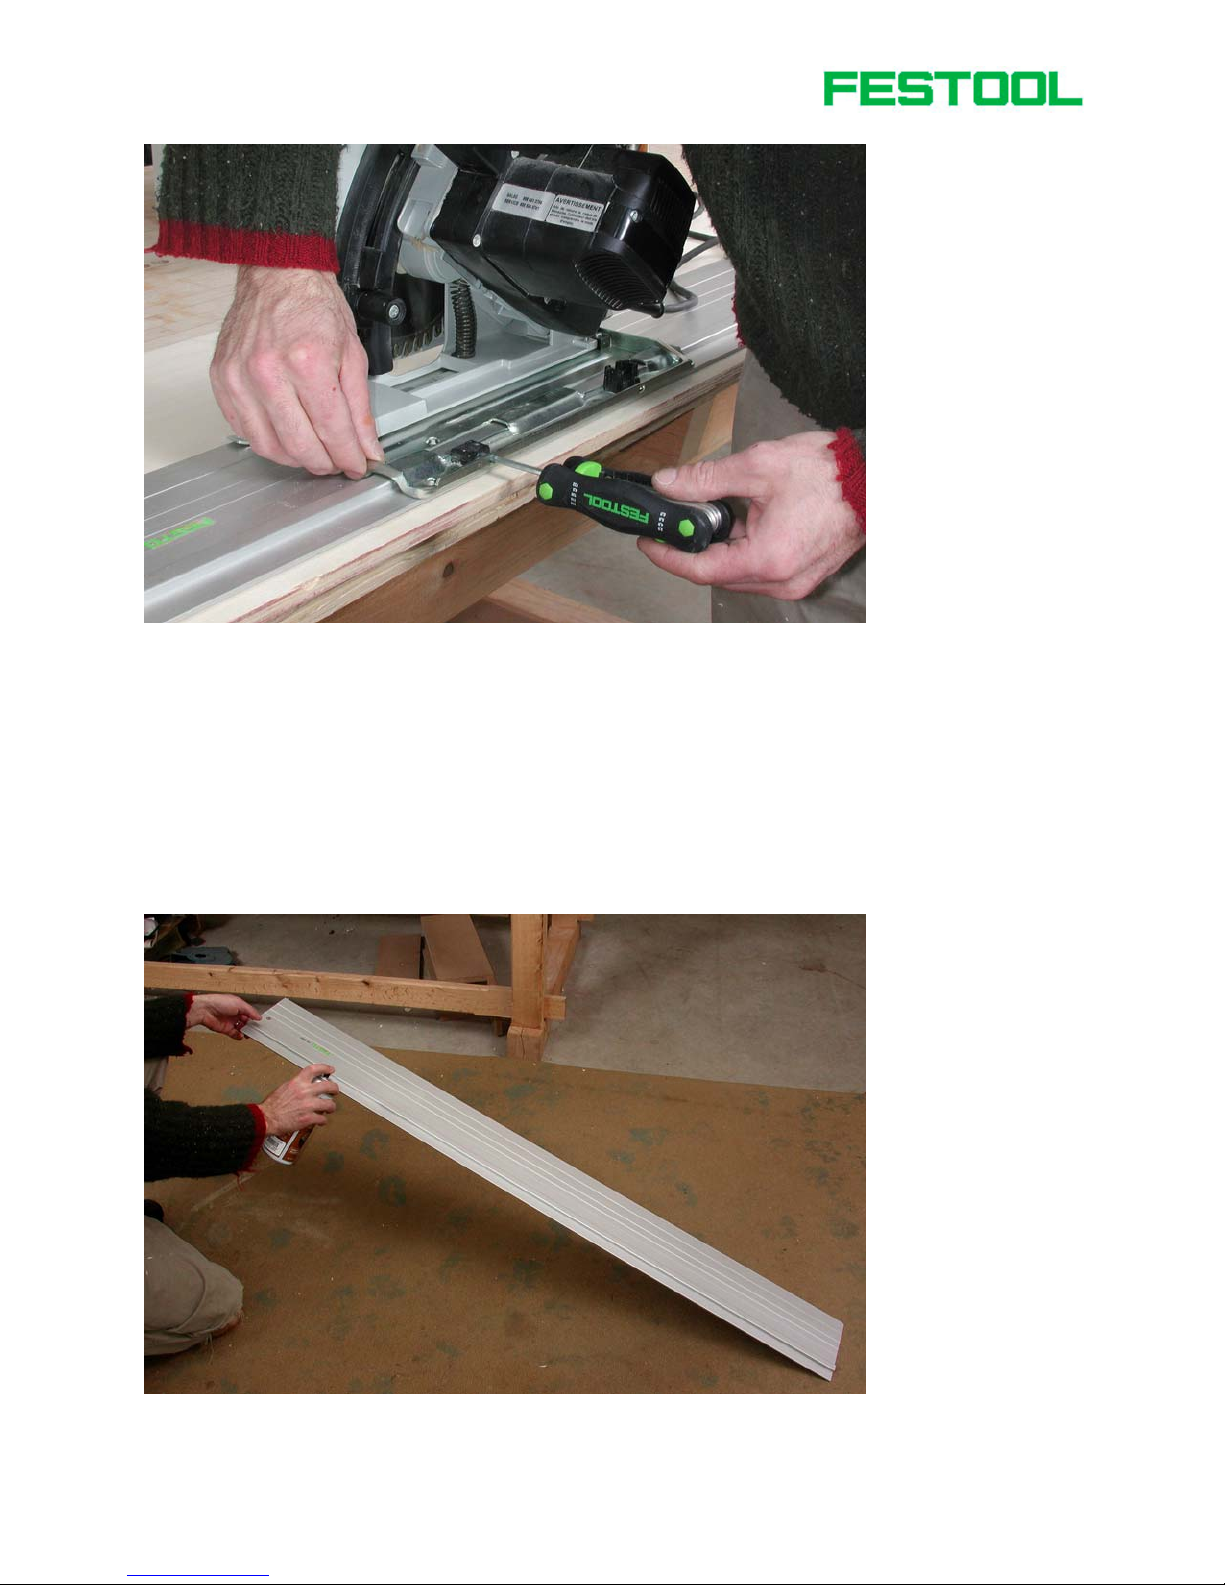
First, put the rail down on your bench and the saw on the rail. The saw will move from side
to side a bit. This is normal, as the saws are delivered without the guide jaws adjusted.
You’ll need to tighten the guide jaws so that the saw has no side to side pay, but still travels
smoothly and easily on the rail. A very thin slot screwdriver is necessary to adjust the guide
jaws. You can also use a “Toolie” to do the job (as shown). It has the right slot screwdriver
on it (as well as every torx and hex head needed to tune the tools). Frankly, I think Festool
should sell the saws for $15 more with a Toolie included as standard delivery.
Check the side-to-side play every now and then and adjust the guide jaws accordingly. They
wear very little, so maybe once every 6 months I need to tighten them a little bit. Also
check the fit when you use the saw with a different guide rail.
2
Page 3

www.festoolusa.com
I spray coat the guide rail and the bottom of the saw with a dry lubricant such as Topcote.
Silicone and wax will also work well. Is this a necessary step? Not at all. The saw and guide
rail work excellently without any lube. I just find they work even better with it. There’s your
first $10 tip. The next step is to trim the splinterguard on the new guide rail. It’s hard to get
this wrong no matter how you do it (as long as the guide jaws are set properly). But I’ll
show you the way I think gives the best results.
First set the speed on your saw to 1. You want to run the saw nice and slow for trimming.
Next, set the depth on the saw to about 6mm or 7mm and set the guide rail on top of a
piece of scrap plywood. I find that if I trim the splinter guard without a backerbaord, with
the edge hanging in space, I don’t get as clean an edge.
3
Page 4

www.festoolusa.com
Trim the rubber very slowly and steadily. The saw won’t be able to cut the scrap well at
such a slow speed. Anyway, what’s the rush?
Here’s a closeup of the blade eating away the new rubber. When you’re done trimming, the
rubber edge of the guide rail will be the exact line of cut. Pretty neat, eh? Now make your
first real cut on a piece of wood or plywood scrap at least ¾ in. thick. Set the saw speed to
6, and the blade depth setting the thickness of the workpiece plus the thickness of the rail
(5mm).
4
Page 5

www.festoolusa.com
Take a look at the edge you’ve just sawn and measure its squareness. It will be glassy
smooth and exactly at 90 degrees. Pretty amazing.
Try a crosscut on something that splinters easily, such as red oak plywood. Admire the
perfect, splinter free edge and be content knowing your saw and rail are all set up and
ready to go.
5
Page 6

www.festoolusa.com
If for some reason your cut is not perfect, first troubleshoot the situation. Is the guide rail
sitting flat on the workpiece? Is the workpiece warped? Did the guide rail slide during the
cut? If the problem is the angle of the saw, you can adjust it. First loosen the two rotary
knobs and the saw will tilt up to 45 degrees. Near each knob you w ill find a hex head bolt.
These are stops when the blade is set at 90 degrees to the workpiece. You can fine tune the
angle of the saw by adjusting them up or down. Chances are good that you won’t ever have
to do this. I’ve set up and used maybe a dozen saws over the years and every one has been
spot-on right out of the box. But once when I dropped my saw, I found these adjustment
bolts very useful.
6
 Loading...