

Page 1
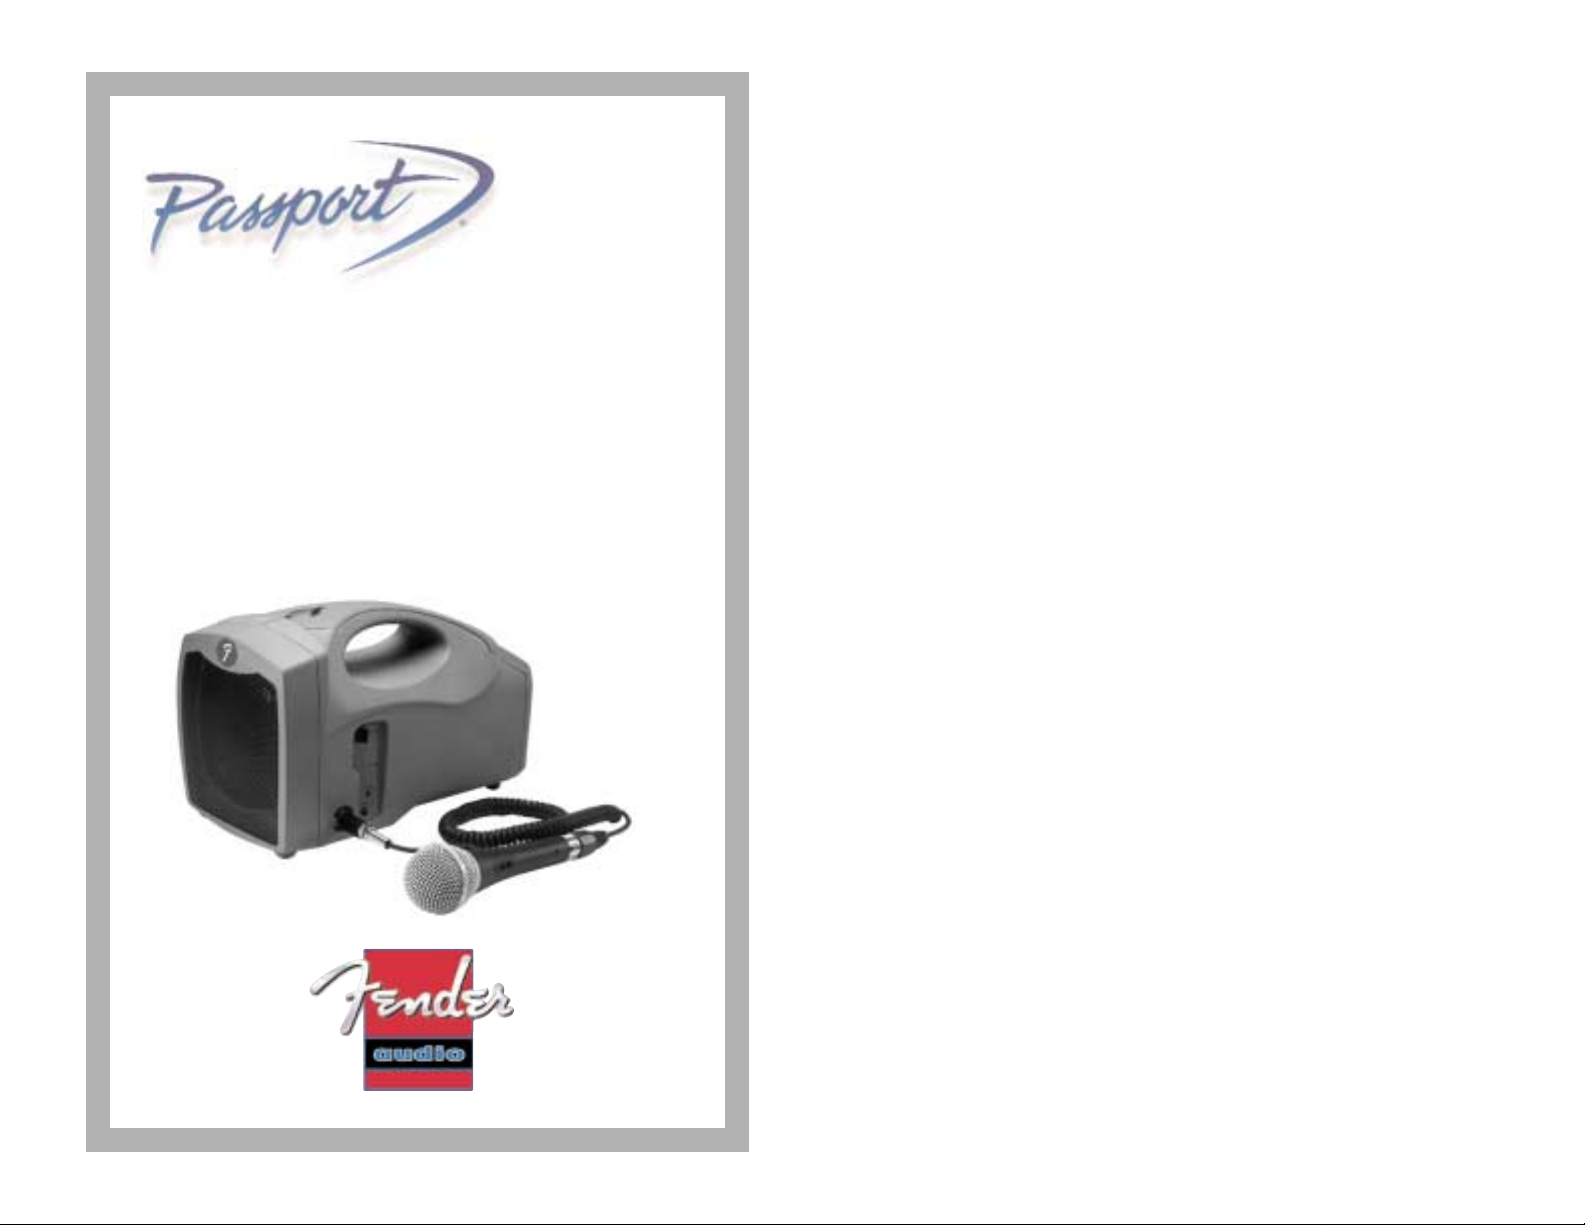
P10Personal Portable Sound System
Users
Guide
Page 2
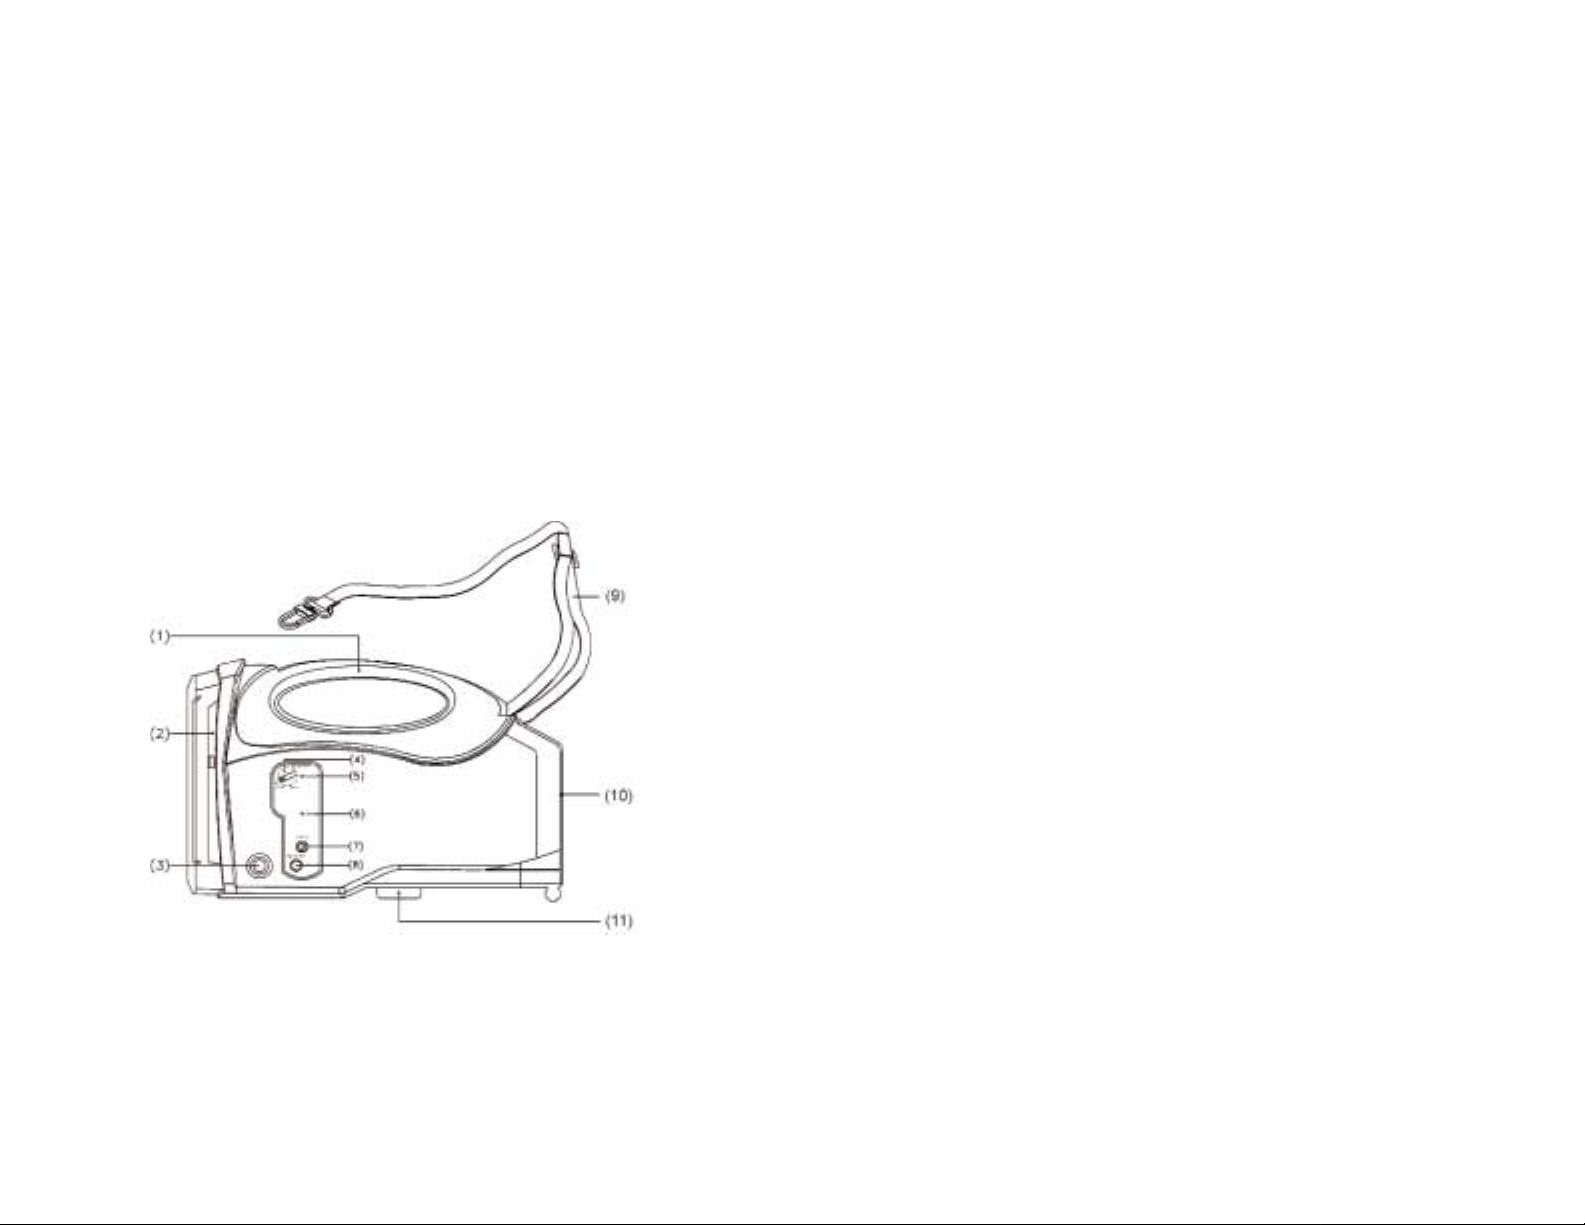
Overview of Features
(1) Molded Carry Handle
(2) 5” Full-Range Loudspeaker
(3) 1/4” (6.3mm) Input Jack (plug the male-end of the mic cable in
here). This input is a mic level input.
(4) Power Switch/ Volume Control.
A click-off position is located at the fully counter-clockwise
position. Rotating the control clockwise increases the output
volume.
(5) Power Indicator Light (glows red when power is on).
(6) Battery Charge Indicator.
- Red light indicates battery is low and needs charging.
- Green, blinking indicates charging in progress.
- Solid green indicates battery is fully charged.
(7) 1/8” (3.5mm) Auxiliary Input (for connecting CD, Cassette, or
audio line output from another device like a computer sound
card).
(8) DC Power Input Jack (plug in the battery charger here).
(9) Shoulder Strap.
(10) Battery Compartment (shoulder strap can be stored in here).
(11) Mic Stand Adapter.
Thank you for selecting the Fender Passport P10 Personal Sound System.
Fender’s Passport brand of products are known for their portability, ease
of use, innovative design, exceptional quality and value. We think you
will find the same qualities in your new P10. Before operating the P10,
please read this instruction manual thoroughly and familiarize yourself
with the features and operation of your new sound system.
Your P10 was carefully packed at the factory. The carton should contain:
1 - P10 Main unit
1 - AC to DC power adapter
1 - AC cord (appropriate for country where P10 was purchased)
1 - Dynamic cardioid microphone
1 - 3’ coil microphone cable
If any items are missing, please contact the authorized Fender retailer
where you purchased the P10.
The P10 is a battery powered personal portable sound system. It is ideal
for any situation where you need to raise the level of your voice (or other
audio source) to effectively communicate with a group of people. The
P10 is perfect for teachers, tour guides, auctioneers, presentations, crowd
control situations, emergency personnel, coaches, zoos, museums... anyone, anywhere.
Page 3

Charging the Battery
Plug the barrel end of the cord into the DC power input jack (#) and plug
the AC end into your AC power source.
Charging will begin immediately and the Battery Charge Indicator (#6)
will show a blinking green light.
Battery Charge Indicator.
- Red light indicates battery is low and needs charging.
- Green, blinking indicates charging in progress.
- Solid green indicates battery is fully charged.
If the indicator does not immediately start to blink green, it may be due to
excessive power drain of the battery. This is normal. The indicator should
begin to blink after 10 to 15 minutes. If the battery charge indicator
fails to light, it may be due to a faulty battery.
Replacing, or using a second Battery
With proper care and charging, it is unlikely that it will be necessary to
replace the battery in the P10. If you plan on using the P10 for
extended periods of time, you may want to purchase a second battery.
The battery is a standard 12 volt 2.7 amp gel cell and is available from
Fender directly, or from Authorized Fender Audio dealers. (Part number
005-7535-000).
To replace the battery:
- Open the battery compartment by pressing down on the two tabs at
the top of the battery compartment. The door will hinge down.
- The battery is “spring loaded” behind an interior rear panel. Remove
this panel by sliding it upwards.
- Remove the battery by pulling it out of the compartment. Replace the
battery with another. The terminals on the battery should be on
the “top” as you slide it into the compartment.
- Press the battery into the unit and replace the interior rear panel.
- Close the compartment door. Lift up the two tabs until they “click”
into place.
Operation
Very Important! - Before you use your P10, you must charge the
battery for at least four hours (or until the Battery Charge Indicator
indicates the battery is fully charged)
Using the microphone
- Plug the microphone into the XLR (3 pin) connector of the coiled
microphone cable.
- Plug the 1/4” end of the coiled microphone cable into the 1/4”
Input Jack on the P10 (#3 in drawing).
- Turn the Volume Control (#4) clockwise to turn on the P10, and
adjust to desired volume.
Connecting another audio source to the P10
- The 1/8” Auxiliary input jack (#7) is available to connect a CD or
Cassette player to the P10.
- Connect the device’s audio output to the 1/8” Auxiliary Input on
the P10.
- Turn the Volume Control (#4) clockwise to turn on the P10, and
adjust to desired volume.
Charging the Battery
Very Important! - Before you use your P10, you must charge the battery for at least four hours (or until the Battery Charge Indicator indi-
cates the battery is fully charged). A single four hour charge will power
the P10 for up to eight hours of continuous use.
The P10 has an auto turn-off protection circuit. When the battery charge
is weak, the unit will automatically turn off to prevent damaging the battery. If this happens, turn off the unit and recharge the battery.
AC to DC power adapter
A power adapter is supplied with your P10. This adapter is used to
recharge the battery. It is not designed to power the P10 from an AC
source. Make sure the P10 is turned off when recharging the battery.
The power adapter converts AC power to DC power. The output of the
power adapter is 18V DC. (The inner section of the connector is positive).
Page 4

Product Specifications
Model Passport P10 120v part number 069-1110-000
Euro 230v part number 069-1110-060
Aust 240v part number 069-1110-030
UK 230v part number 069-1110-040
100v part number 069-1110-070
(only difference in product is AC line cord)
Power Output 27 watts (RMS)
Speaker type 5” full-range, 4 ohm
Power Supply Intelligent charger 90-260v AC input
18VDC +2.5A output (inner contact is posi
tive)
Battery 12v/ 2.7amp hour rechargeable gel cell
Charging Time 4 hours
Operating Time Up to eight hours talk time
Dimensions (In) 11.2 L x 6.3 W x 7.0 H
(mm) 285 L x 160 W x 178 H
Weight 6.5 lbs. / 2.95 Kgs (with battery)
Replacement parts
Replacement parts are available through your Authorized Fender Audio
dealer, Service Center or from Fender Musical Instruments directly.
Microphone 069-9000-000
3’ mic cable (coiled) 005-7529-000
Shoulder Strap 005-7527-000
Universal Power Adapter 005-7530-000
AC Power Cord
120v 005-7531-000
230v Euro 005-7532-060
230v UK 005-7533-040
100v 005-7534-070
Rechargeable Battery 005-7535-000
Be sure to register your purchase at www.fender.com
Tips on correctly using the microphone
Getting good results with a microphone is largely due to proper microphone technique. When speaking, hold the microphone directly in front
of your mouth. Picture yourself eating a lollipop. The lollipop stick is
the “body” of the microphone. This is the proper angle you should be
holding the microphone in relation to your mouth.
The distance the microphone is held away from your mouth is largely
dependent on how loud you speak. It is common for performers or presenters to “eat the mic”. This is term used for someone who keeps the
microphone grill in contact with their lips at all times. You will find that
if you use the microphone this way, you can speak in a normal voice and
be heard clearly. Speaking loudly can cause your voice to distort.
Experiment with what is most comfortable for you. Keep these few
items in mind.
- The closer the mic is to your mouth, the louder you will be.
- The closer the mic is to your mouth, the “fuller” your voice will be
(this is called “proximity effect” where bass frequencies
increase when you move closer to a microphone).
- The closer your mouth is to the microphone, the lower you can set the
overall output. This lessens the opportunity for feedback to
occur (that awful squealing that occurs when a microphone gets
too close to a speaker).
Page 5

A Product of
Fender Musical Instruments Corporation
Corona, CA USA
Crafted in Taiwan
www.fender.com www.fenderaudio.com
Pt # 005-7536-000
 Loading...