

Extel AudioGlass 651, AG 652, AudioGlass 652, AG 651 Installation And User Manual
0681
Before starting using the handset, put the
handset on charge during about ten hours.
Without this complete charge, the product
will not work
651
INSTALLATION AND USER’S GUIDE
Wireless door phone
652
AG 651 AG 652
Ed. 02-06 V11
41GB
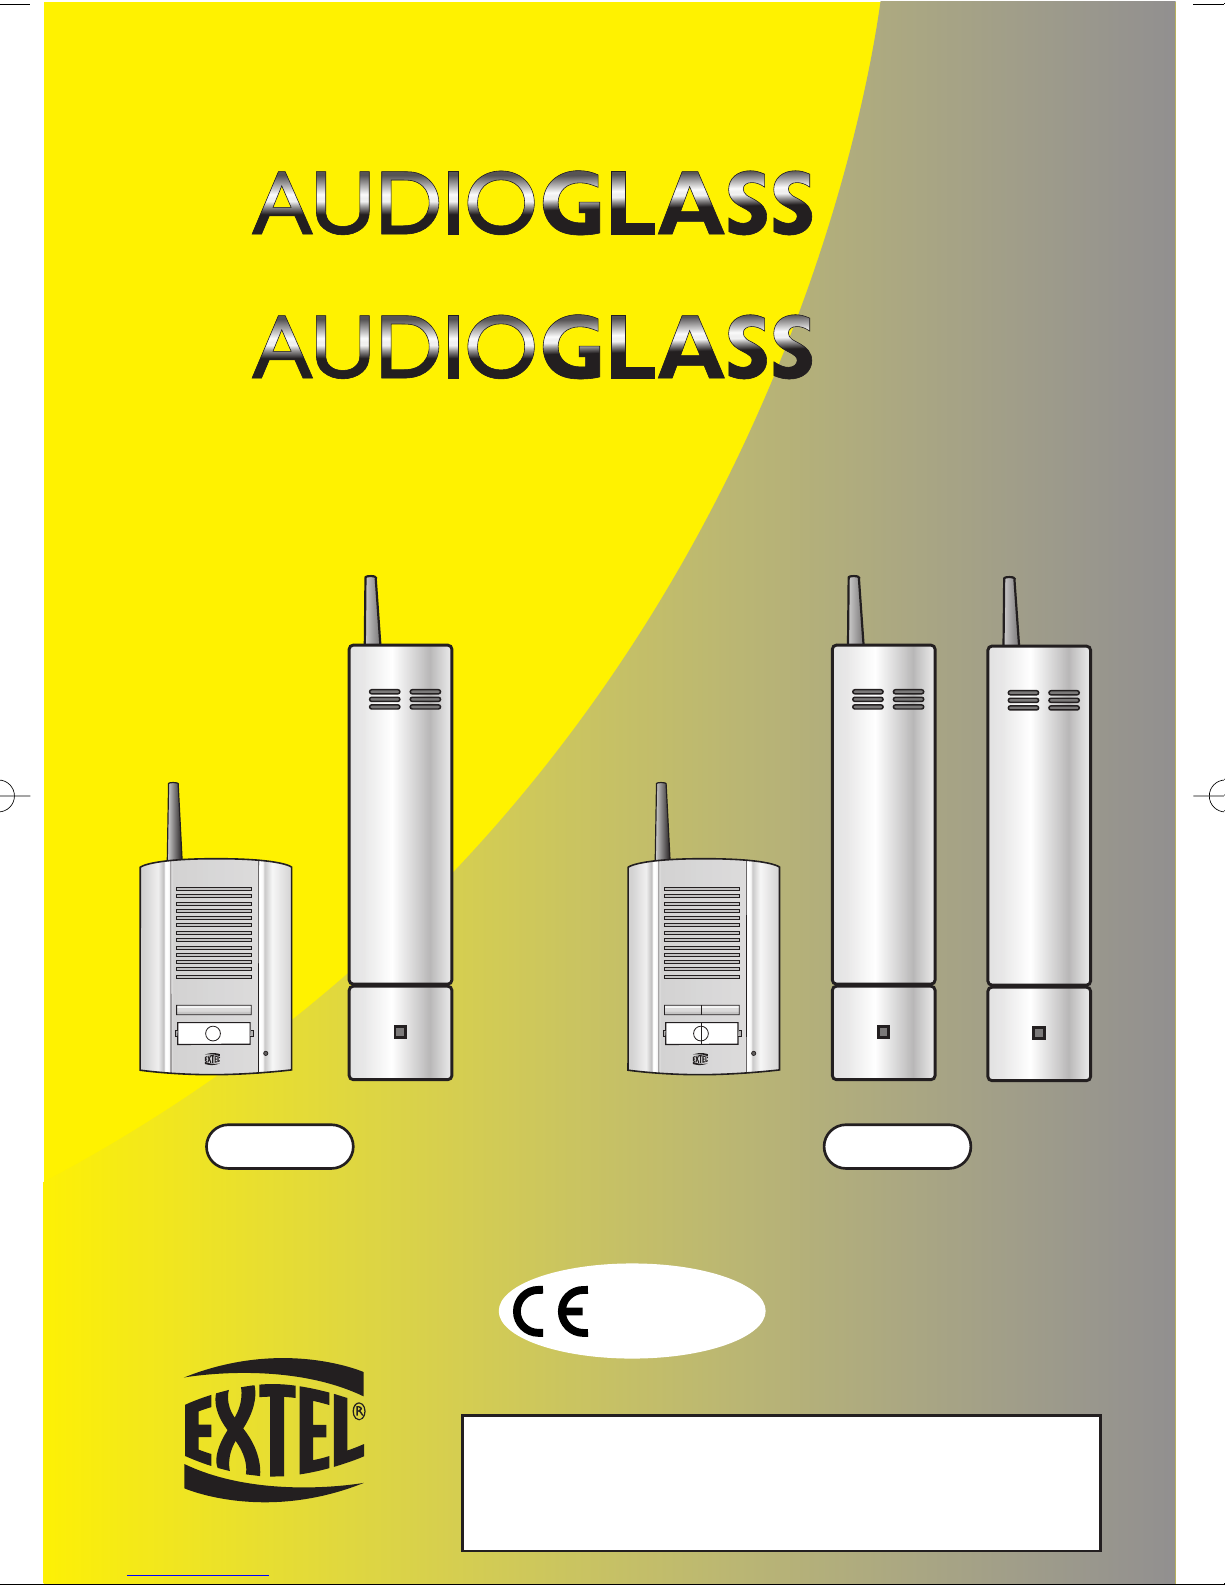
WALL
BRACKET
(x2 - AG 652)
HANDSET
(x2 - AG 652)
ROADSIDE
PANEL
INSTALLATION
The transmission range listed was measured in a free field (no obstacles).
The actual range may be shorter depending on the quantity and type of obstacles between or beside the
units.
It is therefore essential to test all system components before installing them in order to determine
the best locations for the roadside panel and the handset.
ACCESSGLASS
ADAPTER
(x2 - AG 652)
1. DESCRIPTION
Important !
- Before starting to test the unit, charge the handset for about 10 hours (see page 44)
- If communication is not established between the handset and the roadside panel, repeat the entire programming procedure (see "selecting a communication code" on page 44

42GB
2. COMPONENTS
a. Handset
(x2 - AG 652)
1. Microswitch compartment. Open to select the audio communication channel with the roadside
panel (3 microswitches to be set with microswitches 2-3-4 on the roadside panel).
2. Multifunction status LED for wireless handset.
Green LED : correctly synchronised with roadside panel
Red: recharge handset battery.
Green/red : change batteries in the Accessglass box on the roadside panel or power supply
problem to Accessglass box.
3. Automatic gate opener control button (operates only if the Accessglass box is connected).
Important : to activate this function, press and hold this button for at least 5 seconds.
4. Electric strike plate or lock control button (operates only if the Accessglass box is connected).
Important : to activate this function, press and hold this button for at least 5 seconds.
5. Speak button (for communication with roadside panel).
6. Handset ‘phone’ antenna.
7. Handset battery compartment.
8. Chime volume control.
9. Charge LED (If LED is off, the handset is incorrectly positioned or not on its base).
10. Socket for 12 V DC adapter.
2
1
3
8
7
4
5
6
10
9
43GB
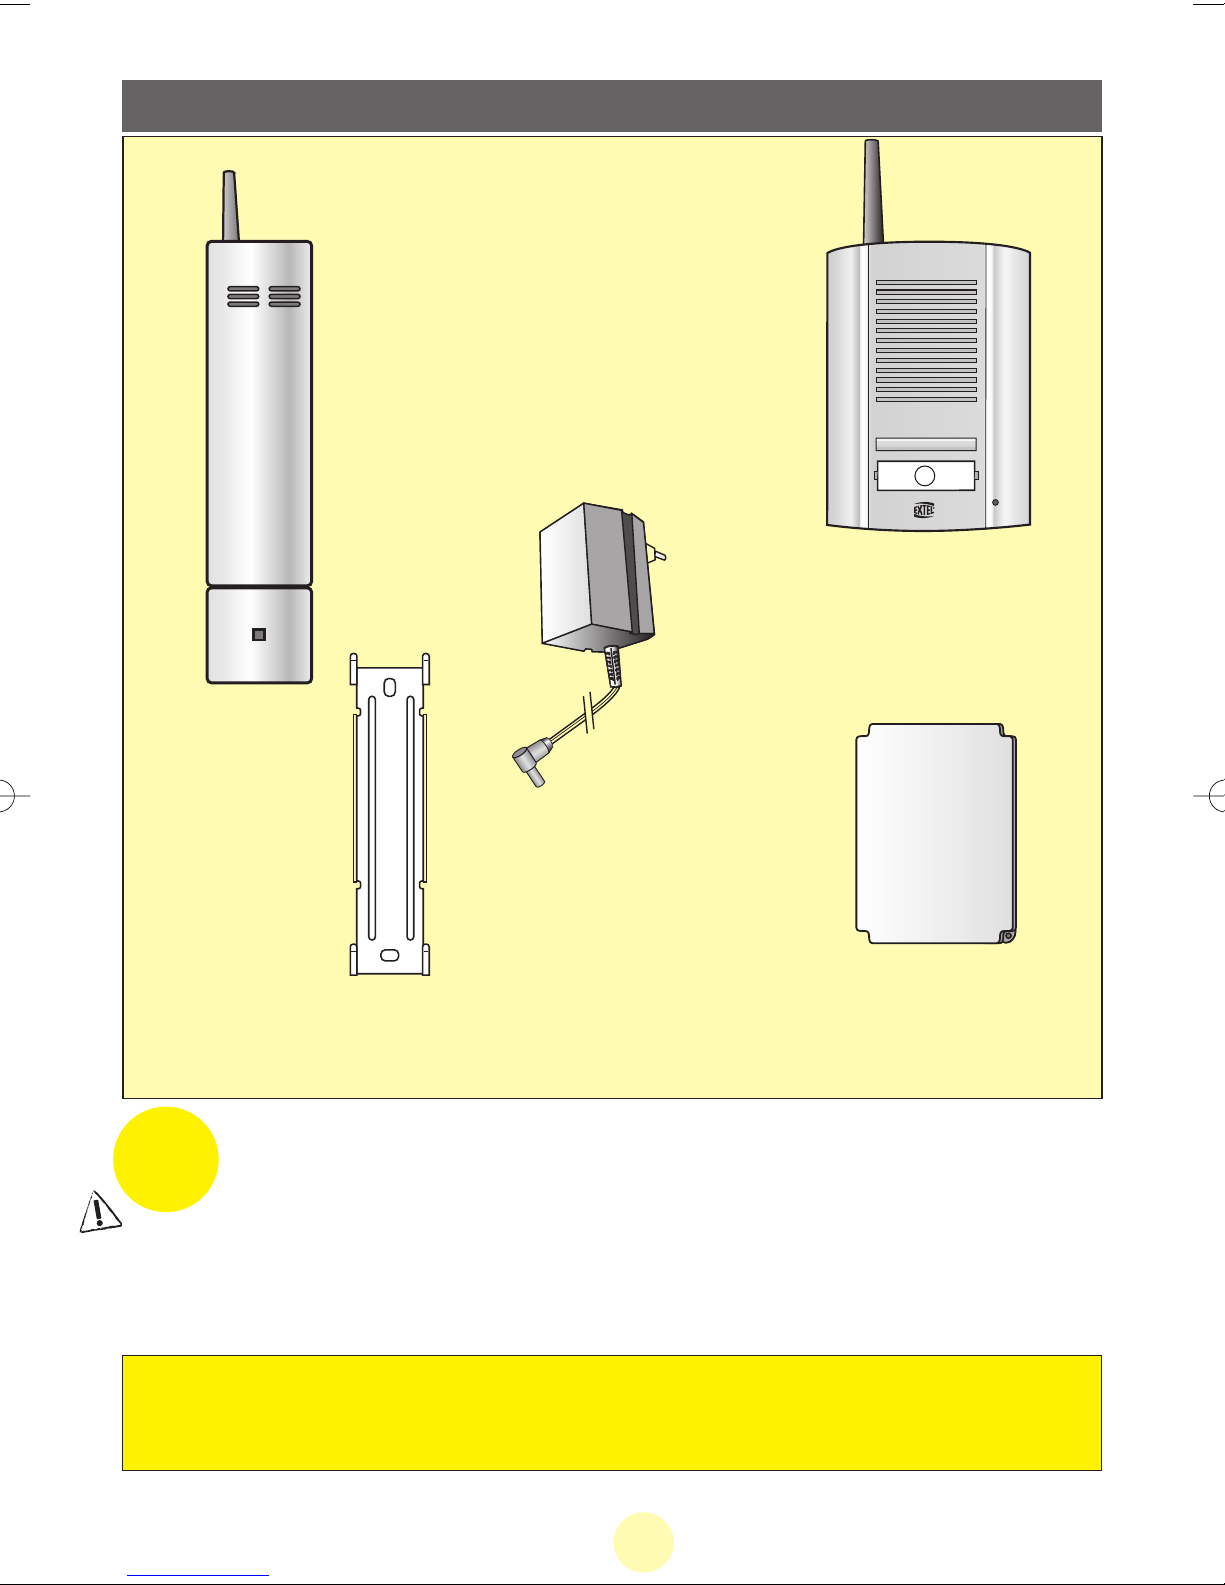
b. Roadside panel - AG 651
1. Speaker : allows callers to hear the person inside.
2 - 3. Nameplate and call button: a chime is heard inside and
outside when this button is pressed.
4. Microphone : for communicating with the person inside.
5. LED lights up to confirm proper connection with the
indoor panel and the right battery level or power supply
connection.
6. Gently lift up the protective plastic cover with a small
screwdriver and slide the card in the slot.
1
3
45
2
6
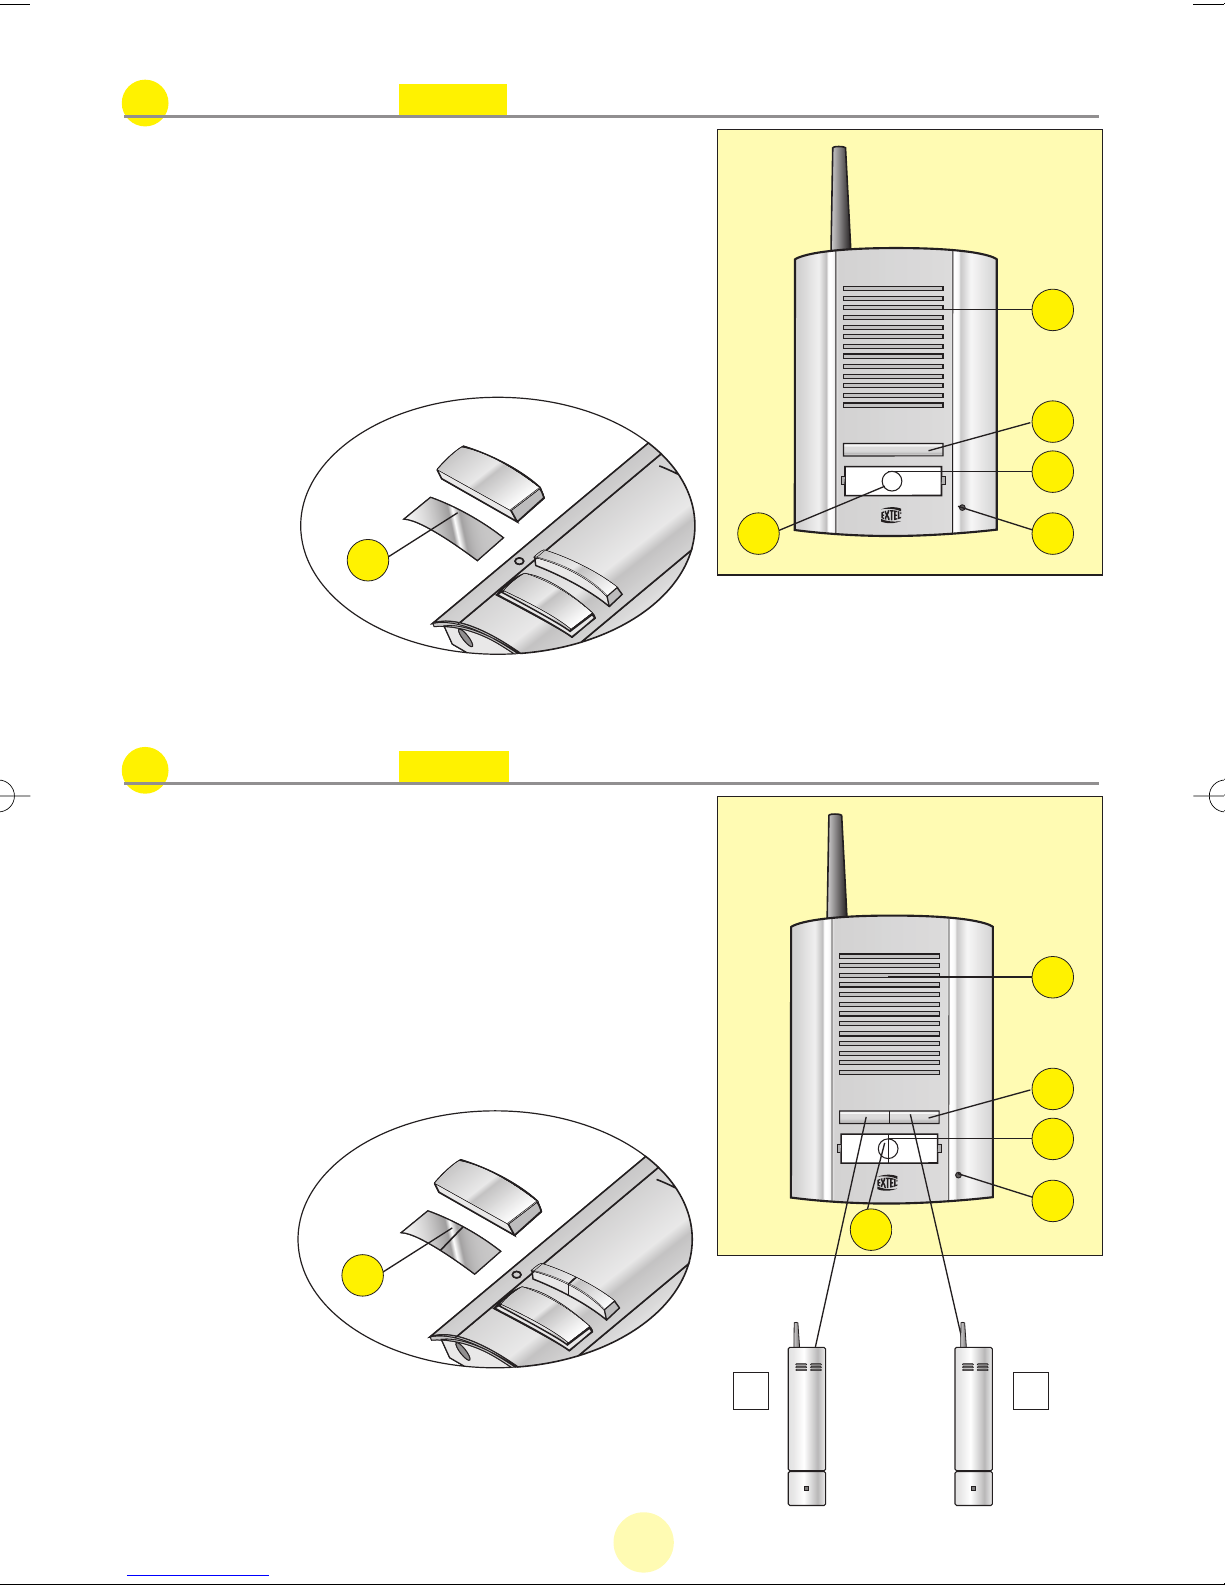
b. Roadside panel - AG 652
1. Speaker : allows callers to hear the person inside.
2 - 3. Nameplate and call button: a chime is heard inside and
outside when this button is pressed.
4. Microphone : for communicating with the person inside.
5. LED lights up to confirm proper connection with the
indoor panel and the right battery level or power supply
connection.
6. Gently lift up the protective plastic cover with a small
screwdriver and slide the card in the slot.
1
3
4
5
2
6
1 2
 Loading...