

Page 1
EPSON Stylus
®
Photo R300 Series
Quick Reference
Printing Without a Computer
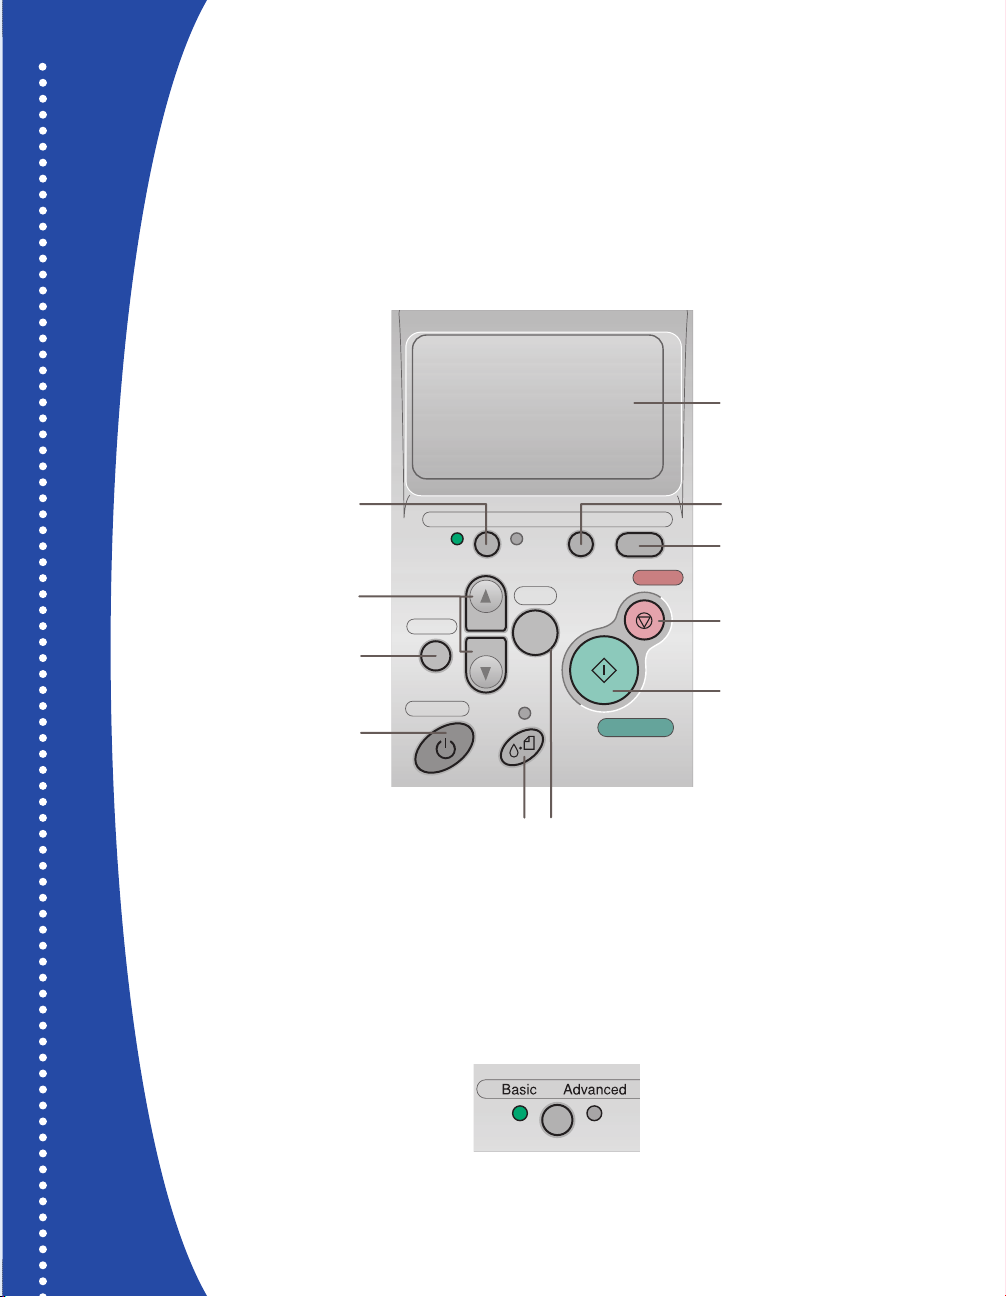
Here’s how to use the control panel:
CPD-17017
4044645-00
XXX
Choosing Basic or Advanced Print Mode
When should you use each mode? You can use Basic mode for quick and easy 4 x 6" photo
prints. For more options, choose Advanced mode. Just press the Basic/Advanced button
to choose Basic or Advanced mode (indicated by the green light).
LCD Screen
Return to previous menu
or cancel menu selection
Press and hold for 3 sec.
Choose Basic or
Advanced Mode
Choose Menu Settings
to turn on printer
perform printer maintenance
Basic Advanced Custom Direct Save
Back
Power
Press to replace ink or
OK
Stop
Print
Go to next menu or
choose menu selection
Save custom advanced settings
Save photos to external disk
or CD-R
Cancel control panel settings
or stop printing and cancel
print job
Start printing
Page 2
EPSON, EPSON Stylus, and Print Image Matching are registered trademarks of SEIKO EPSON CORPORATION.
PhotoEnhance is a trademark of Epson America, Inc.
© 2003 Epson America, Inc. 9/03
Printed in XXXXXX XX-XX.XX
More Options for Standalone Printing
For more printing options, you can press the mode
button and switch to Advanced mode.
Advanced mode lets you expand your standalone
printing options with the following features:
• Choose from a variety of paper types
• Specify paper sizes
• Choose layouts for printing, such as multiple
photos per page, jewel case insert, or a single
print on half of the page.
• Print photo information such as time, date,
and image exposure settings
• Use filters for special effects
• Use P.I.M., Exif Print, or PhotoEnhance
TM
automatic
color correction
• Adjust contrast, brightness, sharpness, saturation,
and image quality
• Adjust what part of the photo appears in your print
with the Crop and Fit to Frame options
See your User’s Guide for instructions on using all
these features.
NOTE: If you change your settings in Advanced
mode, you may want to reset the defaults before
printing in Basic mode. See your User’s Guide
for details.
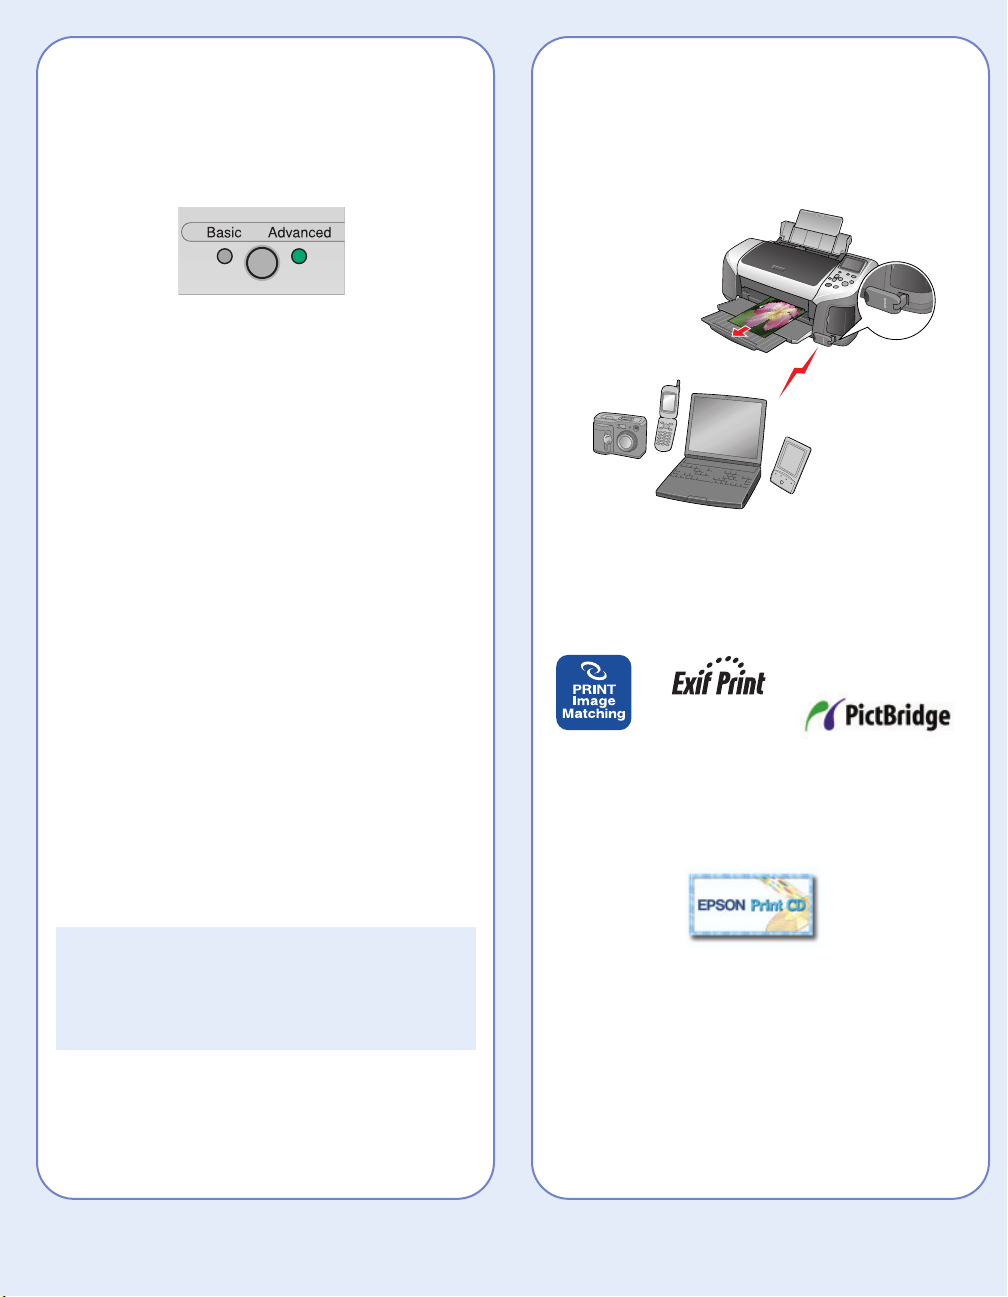
Other Great Features
You can use a Bluetooth®-enabled PDA, phone,
computer, or other device to send images to your
printer wirelessly with an optional Bluetooth photo
print adapter. See your User’s Guide for instructions.
If you have a PictBridge- or USB DP-enabled
camera, you can print photos directly from your
camera. If your camera has P.I.M. or Exif Print
support, you can use those features when printing
directly from the camera.
You can create great-looking custom CDs or
DVDs. See your User’s Guide for instructions on
standalone CD/DVD printing and using EPSON Print
CD to print directly on CDs or DVDs.
The printer lets you save the photo files from your
camera’s memory card directly to a CD-R or Zip
disk, without a computer. You can also print photos
from CDs and Zip disks. See your User’s Guide.
You can maintain your printer right from its control
panel. You can clean the print head if you see
banding or other image quality issues, or you can
replace an ink cartridge using the control panel.
See your User’s Guide for instructions.
TM
Page 3

Inserting Your Memory Card
See below to install your memory card:
When you insert the card, you see a message
indicating that you have inserted a memory card.
The printer reads and counts the images on
your card.
NOTE: The printer recognizes the first 999 files
only. If your photos aren’t recognized, see your
User’s Guide for troubleshooting information.
CompactFlashTMor
Microdrive
TM
(left)
Memory Stick
®
(middle)
SD (Secure Digital) Card
or MMC (MultiMediaCard)
(middle)
SmartMediaTMcard
(right)
xD Picture Card
TM
(right)
Loading 4 x 6 " Premium Glossy Photo Paper
In Basic mode, you can print 4 x 6" photos on
EPSON
®
Premium Glossy Photo Paper.
1 Place the paper against the
right side of the feeder.
2 Slide the left
edge guide
against the
paper.
Printing an Index
If you don’t have the preview monitor, you’ll need to
print an index of your images to choose the photo
you want to print.
1 Press the mode button to choose Basic mode.
2 Press the or button to highlight Select
Photo and press OK.
3 Press the button to choose Index.
NOTE: If you have a large number of photos and
you only want to print a range of a few to choose
from, select Range and press OK. Then use the
or button to choose a photo to start the
range under From and press OK, then choose a
photo to stop at under To.
4 Press OK.
5 Make sure Copies is highlighted and press OK.
6 Choose 1 each and press OK.
7 Press the Print button.
Page 4

Previewing Your Photos
If your printer includes the preview monitor,
you can use it to preview and select your photos.
1 Press the mode button to choose Basic mode.
2 Press the or button to highlight
Select Photo and press OK.
3 Use the and buttons to scroll through
your photos. (Press and hold one of the
buttons to scroll quickly.)
4 When the photo you want to print is shown on
the left and highlighted in yellow on the right,
press OK to select it.
To print, continue with step 5 under “Printing a
4 x 6" Photo.”
Printing a 4 x 6" Photo
1 If you printed an index, look at your index and
find the photo you want to print. The number is
below the photo.
2 Press the or button to highlight
Select Photo, then press OK.
3 Press the or button and scroll until
the number of your photo is highlighted. (Press
and hold one of the buttons to scroll quickly.)
4 Press OK.
5 Press OK again and use the or buttons
to choose a number of copies (1-100).
6 Press OK, check your settings, then press the
Print button to print your photo.
NOTE: If you see unexpected results and you
have made settings in Advanced mode, see
your User’s Guide to go back to the default
print settings.
Photo number
 Loading...