

Page 1

If you have the Artist
or Professional
model and are using
LaserSoft SilverFast
4.0, you’ll f ind the
electronic manual for
that scan ner
software on the
LaserSoft SilverFast
CD-ROM.
4
Using the Auto Document Feeder - B813162
The auto document feeder (part number B813162) automatically loads
multiple- page docu m ents into your s c anner. It is par ticularly usef ul for
OCR (optic al charact er recognition) scannin g or for creatin g an image
databas e. F ollow the steps in these sections to install and use the ADF:
Unpacking the Auto Document Feeder
◗
Installing t he Auto Doc um ent Feede r
◗
Loading Paper in the Au t o D oc ument Fe eder
◗
Fixing Paper Jams in the Auto Document Feeder
◗
Page 2
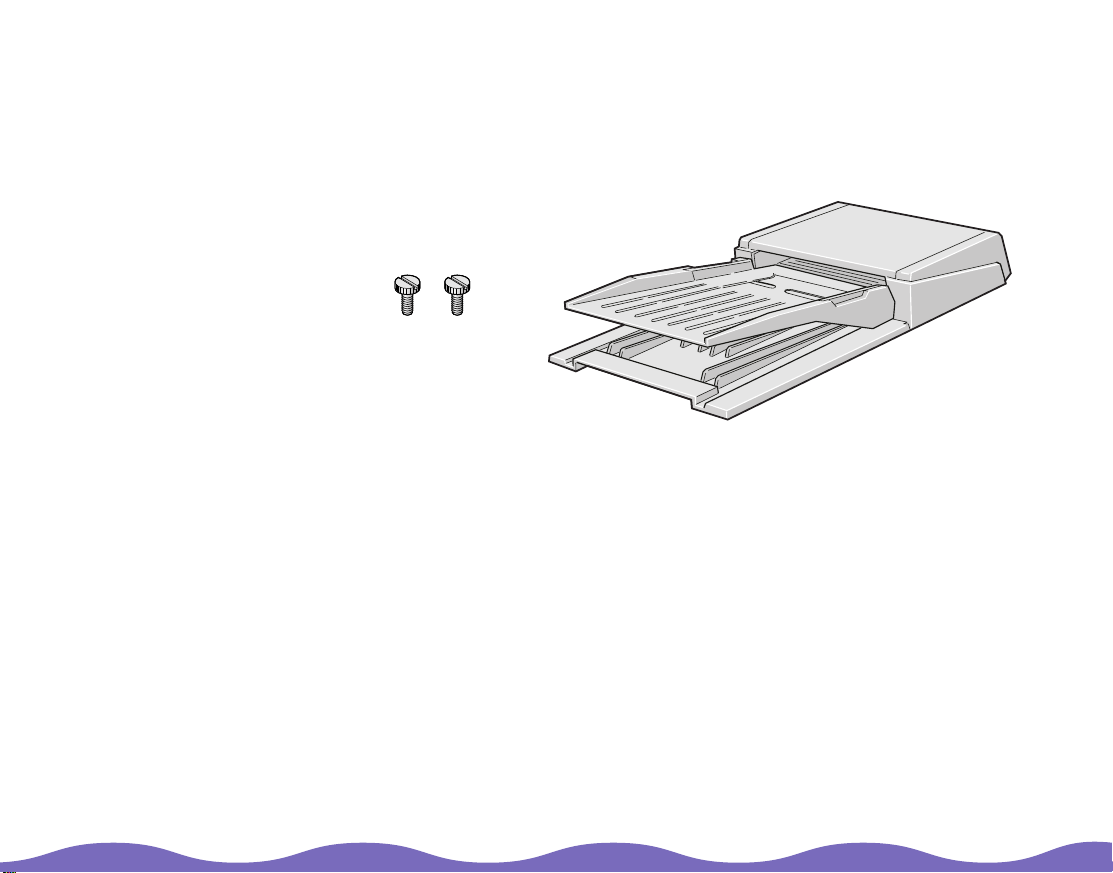
Unpacking the Auto Document Feeder
Make sure that the following items are included in the ADF box. Contact
your EPSON deale r if a ny t hing is missing or damaged .
installa tion
screws
auto document feeder
Page 3
To use the ADF, you
must ins ta ll EPSON
TWAIN Pro.
LaserSoft SilverFast
Lite does not support
the ADF.
Installing the Auto Document Feeder
Before ins t alling the ADF, be aware that:
The ADF is large, so clea r a w ide space aro und the scan ner before
◗
unpacki ng and installing it.
Don’t remove the protective foam block from the ADF’s mounting
◗
hardware until you’v e f inished installing it.
Follow the s t eps below to ins t all t he ADF on your scanner:
Turn your scanner off and unplug t he c ables and pow er cord.
1
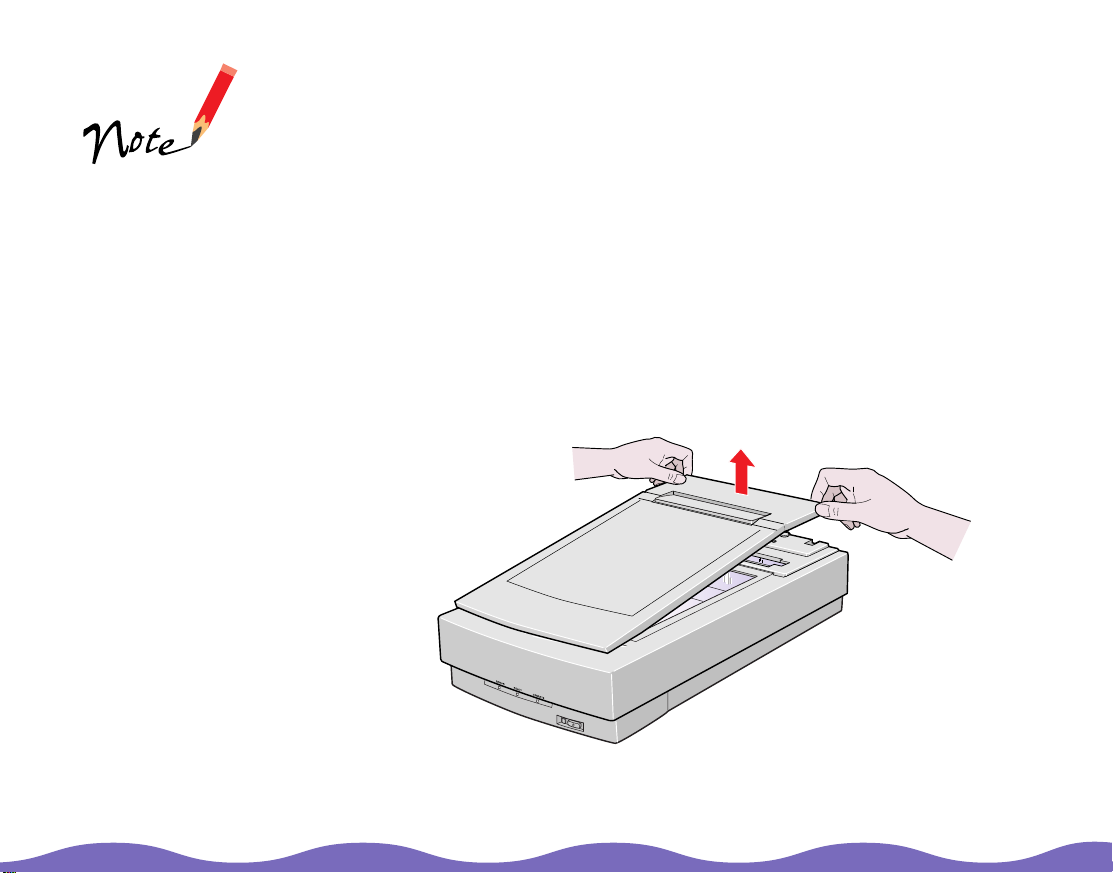
Remove the document cover by grasping the back of the document
2
cover as sh ow n and easi ng t he cover up.
Page 4

Do not remove the
protective foam
block until you’ve
finished tightening
the ADF’s installation
screws (see step 4.)
Position the ADF’s mounting slots over the two mounting screws
3
located a t the back of the s c anner. Slide t he ADF forward slightly unt il
the two holes in front of these slots are aligned with the screw holes at
the back of th e s c anner.
line up these holes
with the screw holes
on the scanner
screw holes
on scanner
position the ADF’s
mounting slots over
the two large screws
on the scanner
Page 5

Insert the two installation screws that came with the ADF into the
4
screw holes, then tighten the scre w s wi th a c oin.
install the screws
in the screw holes
Remove the protective foam block from the ADF’s mounting hardware
5
foam block
and gently c los e the ADF.
Page 6

Attach the AD F ’s c onnector to th e s c anner’s optio n interface . S ec ure
6
the connection by tightening the connector screws.
OPTION
UNLOCK
LOCK
OPTION
TERMINATOR
SW
ON
SCSI
OFF
ID
0
1
2
7
6
3
4
5
Reattac h all t he scanner c ables and turn on the scanner.
7
Page 7

Loading Paper in the Auto Document Feeder
The ADF ca n hold up to 30 sheets of the following pap er sizes, bas ed on
a paper weight of 17 lb and a thicknes s of 0. 2 inc h (6.0 mm) o r les s :
Do not feed
photographic sheet s
or valuable original
artwork into the ADF;
misfeeding may result
in acciden ta l w rinkling
or damage to your
original.
Also, photo quality and
glossy paper are too
thick to feed into the
ADF successfully.
Checks: 3 × 5 inches (7 6 × 127 mm)
B5: 7.17 × 10.1 inches (182 × 257 mm)
A4: 8.27 × 11.69 inch es (210 × 297 mm)
Letter: 8.5 × 11 inches (215.9 × 279.4 mm)
Legal: 8.5 × 14 inches (215.9 × 355.6 mm)
Before loading the A D F , make sure the document :
Has no wet ink on it.
◗
Has no hol es and is not ripped or wrinkled.
◗
Has no staples or other objects attached that may damage the feeder.
◗
Has no folds .
◗
Is not a multipart form.
◗
Is not bound.
◗
Is not print ed on photo qu ality or glossy paper.
◗
Has no carbon coating.
◗
Has no cut -out areas.
◗
Page 8

For checks, move th e
left edge gu ide
toward the center
until it stops, then
place your checks in
the tray. Move the
right edge guide flush
against the checks.
Follow the s t eps below to load paper in the ADF:
Slide the edge guides all the way out.
1
Arrange your stack of originals face up, with the page you want to scan
2
first on the top. Insert the paper stack into the ADF until it meets
resistance. Make sure that the side you want to scan is facing up.
Page 9

When scanning
high-qu alit y c olor or
halftone documents,
it is be s t t o open
the ADF and scan
documents as
describe d in Loading
documents manually.
Don’t open the ADF
while scanning. Yo u’ll
get an option error
and poss ibly a paper
feeding error.
Slide the edge guides to th e edges of your paper.
3
Follow the steps in your electronic
4
scan your document .
EPSON TWAIN Pro User’s Guide
to
Loading documents manually
You can load documents manually while the ADF is installed. Lift the ADF
and place t he document on the document table. Then close th e AD F and
scan the doc ument as des c ribed in your electronic
User’s Guide
800 Scanning Tools C D -R OM.)
(located in the Man uals folder on your EPSON Expres s s ion
EPSON TWAI N Pro
Page 10

Be caref ul not to pull
too hard on the paper.
It may tear, making it
more dif f ic ult to
remove.
Fixing Paper Jams in the Auto Document Feeder
If there is a pape r jam , open the ADF ’s co ve r to se e w here the pape r jam
occurred . Pull the jam-release lever forward and slowly pull t he jammed
paper out of t he f eeder mechanism.
pull forward on the
jam-release lever to
release the paper
After removing the jammed paper, close the ADF cover and reset the
scanner by tu rning it off and on again or pres s ing the
RESET
button.
 Loading...