

Endress+Hauser Promag 300, Promass 300, Promass 500, Promag 500 Instructions Manual

Products Solutions Services
EA001164D/06/A2/01.16
71327830
Alteration Instructions
Promag 300, 500
Promass 300, 500
Activate the Software Licence Code
These Instructions are Alteration Instructions; they
do not replace the Operating Instructions included in
the scope of supply.
For detailed information, refer to the Operating
Instructions and other documentation or visit
"www.endress.com/deviceviewer".

2
Overview Registration key
3
1 Overview Registration key
Instruction is valid for the following order codes:
Order Code Application packages
DK8009– for Promass 300
DK8011– for Promass 500
DK5009– for Promag 300
DK5011– for Promag 500

Authorized personnel
4
2 Authorized personnel
NOTICE
‣ The person who carries out the alteration is responsible for safety during the work, the qual-
ity of work completed and safety of the device after alteration.
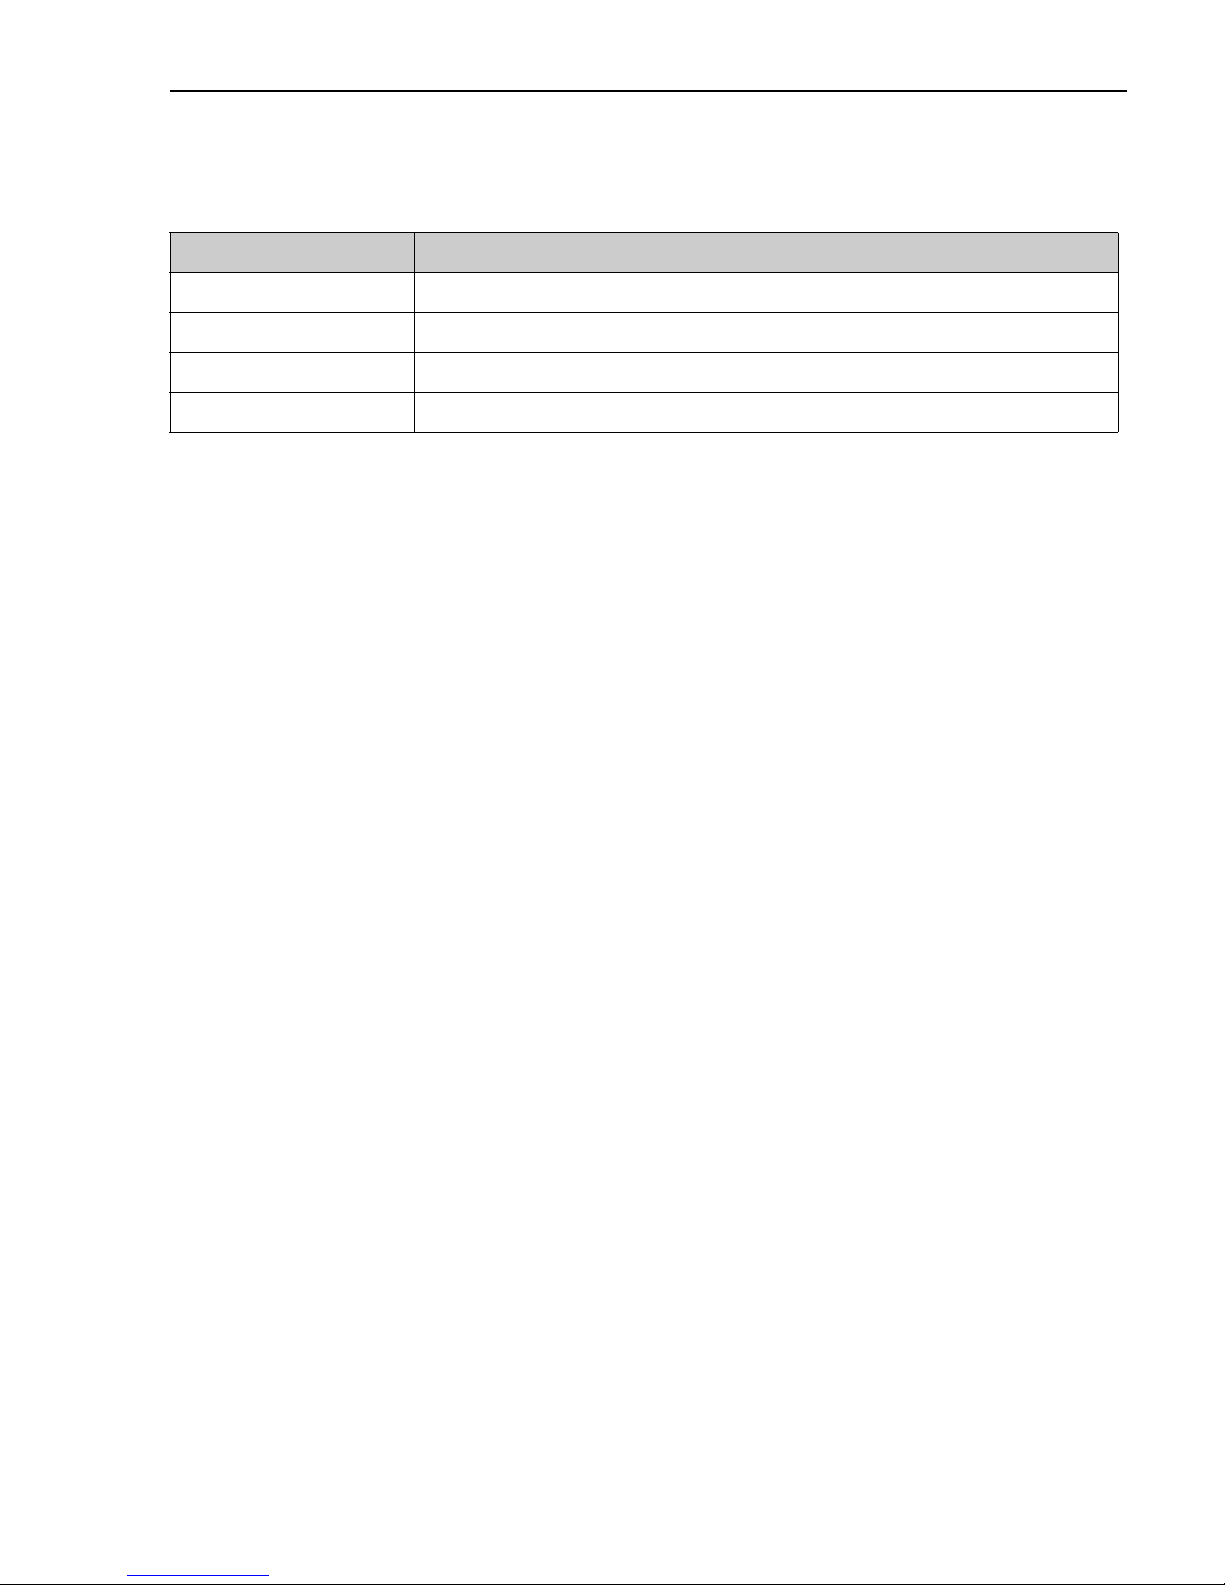
3 Authorized personnel to affix new nameplates
Approval of the measuring device Group of persons authorized to carry out alteration
without approval 1, 2, 3
with approval (for Ex. IECEx, ATEX, FM, CSA, TIIS, NEPSI) 1, 2, 3
1 = Trained customer technician
2 = Service technician authorized by Endress+Hauser
3 = Endress+Hauser (send measuring device back to manufacturer)
Approval of the measuring device Group of persons authorized to affix new nameplate
without approval 1, 2, 3
with approval Endress+Hauser*
1 = Trained customer technician
2 = Service technician authorized by Endress+Hauser
3 = Endress+Hauser (send measuring device back to manufacturer)
* Note: For the change of nameplates, some markets require field inpsection. Please follow your national legislation.

Safety instructions
5
4 Safety instructions
• Comply with national regulations governing mounting, electrical installation, commissioning,
maintenance and alteration procedures.
• Requirements with regard to specialized technical staff for the mounting, electrical
installation, commissioning, maintenance and alteration of the measuring devices:
– trained in instrument safety
– familiar with the individual operation conditions of the devices
– for Ex-certified measuring devices: also trained in explosion protection
• The measuring device is energized. Danger: Risk of electric shock! Open the measuring device
in a de-energized state only.
• In the case of Ex-certified measuring devices: Only open in a de-energized state (once a delay
of 10 minutes has elapsed after switching off the power supply) or in environments which do
not have a potentially explosive atmosphere.
• In the case of measuring devices in safety-related applications in accordance with IEC 61508
or IEC 61511: After alteration recommission in accordance with Operating Instructions.
Document the alteration procedure.
• Use genuine parts from Endress+Hauser only.
• Before removing the device: set the process in a safe condition and purge the pipe of
dangerous materials.
• Hot surfaces! Risk of injury! Before commencing work, allow the system and measuring device
to cool down to a touchable temperature.
• Follow the Operating Instructions for the device.
• Risk of damaging electronic components!
Ensure you have a working environment protected from electrostatic discharge.
• Only open housing for a brief period.
Avoid the penetration of foreign bodies, moisture or contaminants.
• Replace defective seal/gaskets with genuine parts from Endress+Hauser only.
• If threads are damaged or defective, the measuring device must be repaired.
• Threads (e.g. of the cover for the electronics and connection compartments) must be
lubricated. Use an acid-free, non-hardening grease if an abrasion resistant dry lubricant
is non-existent.
• If spacing is reduced or the dielectric strength of the measuring device cannot be guaranteed
during alteration work, perform a test on completion of the work (e.g. high-voltage test in
accordance with the manufacturer's instructions).
• Service connector:
– do not connect in potentially explosive atmospheres.
– only connect to Endress+Hauser service devices.
• Observe the instructions for transporting and returning the device outlined in the
Operating Instructions.
• If you have any questions, contact your Endess+Hauser service organization.
Tool List
6
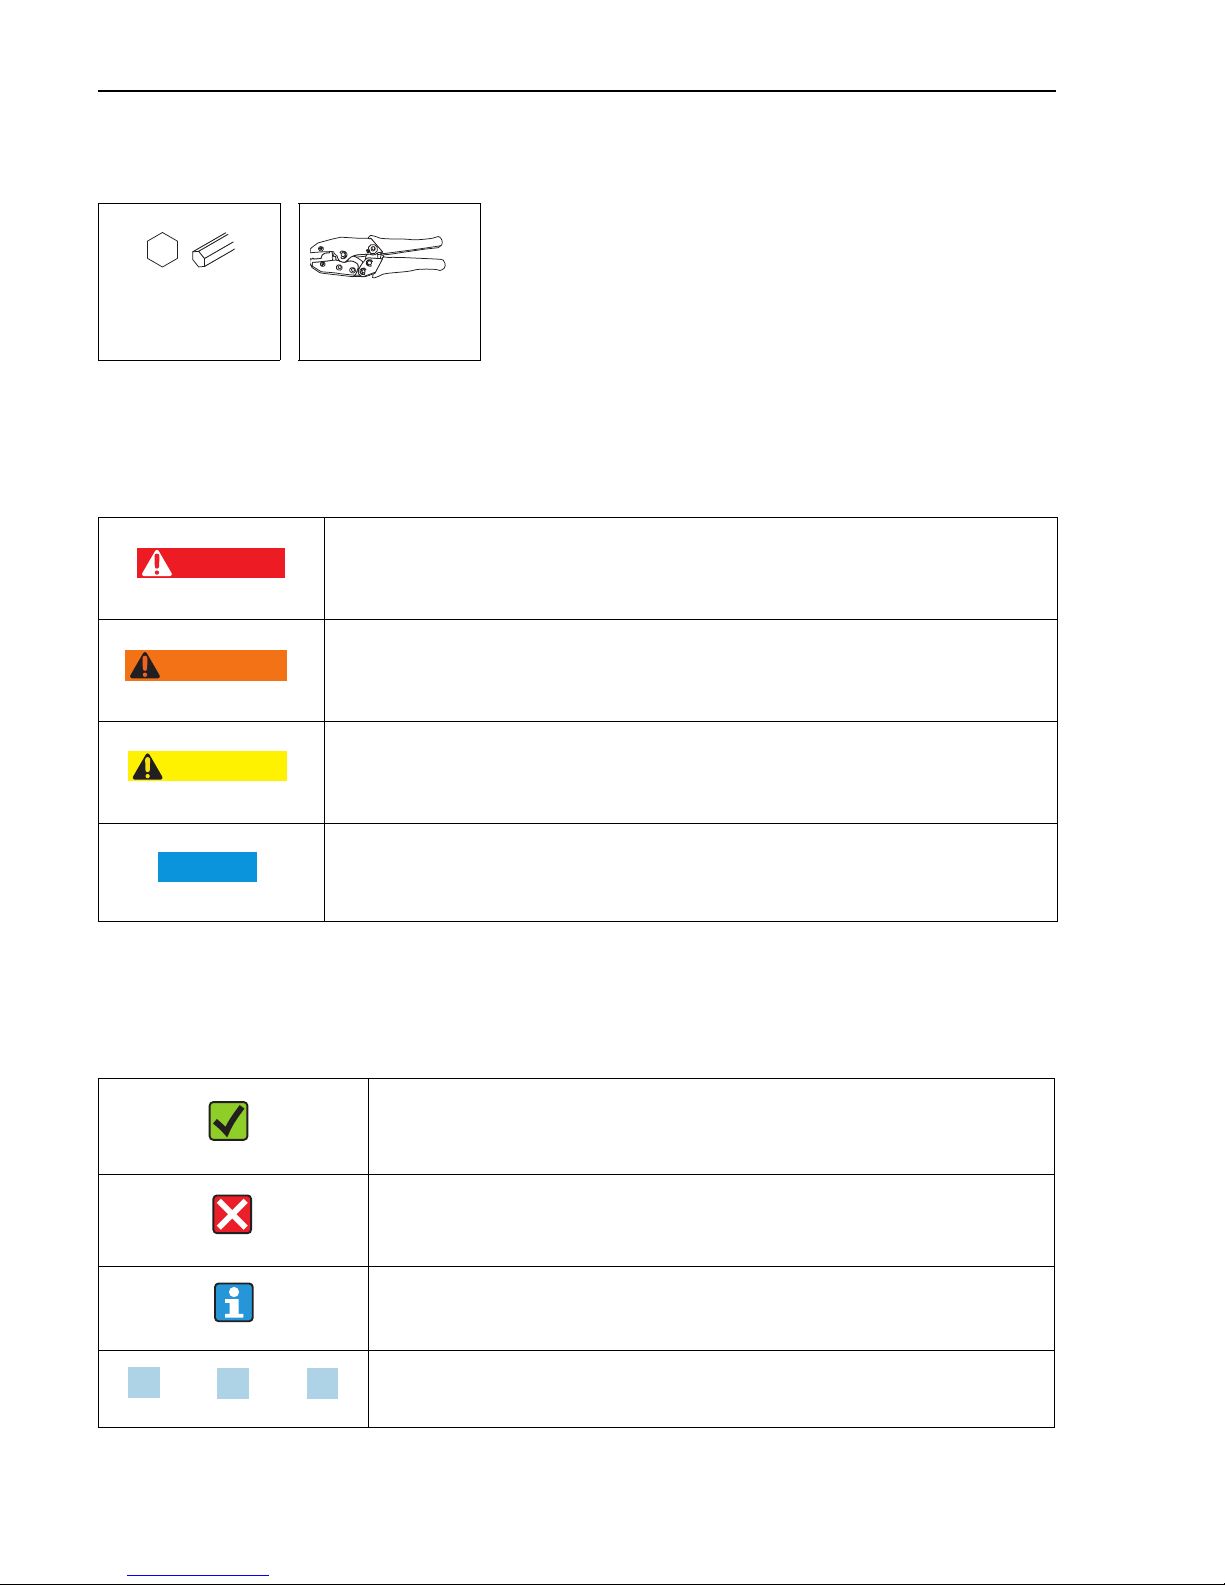
5 Tool List
6 Safety symbols
7 Symbols for certain types of information
3 mm Crimp tool
A0011189-EN
DANGER!
This symbol alerts you to a dangerous situation. Failure to avoid this situation will result in
serious or fatal injury.
A0011190-EN
WARNING!
This symbol alerts you to a dangerous situation. Failure to avoid this situation can result in
serious or fatal injury.
A0011191-EN
CAUTION!
This symbol alerts you to a dangerous situation. Failure to avoid this situation can result in
minor or medium injury.
A0011192-EN
NOTICE!
This symbol contains information on procedures and other facts which do not result in
personal injury.
A0011182
Allowed!
Indicates procedures, processes or actions that are allowed.
A0011184
Forbidden!
Indicates procedures, processes or actions that are forbidden.
A0011193
Tip
Indicates additional information.
Series of steps
DANGER
WARNING
CAUTION
NOTICE
1.
2.
3.
Activate the application package via Software Licence Code
7
8 Activate the application package via Software Licence Code
NOTICE
Notice for E+H service technician:
‣ Log into the device with the custom-password via access level "Maintenance".
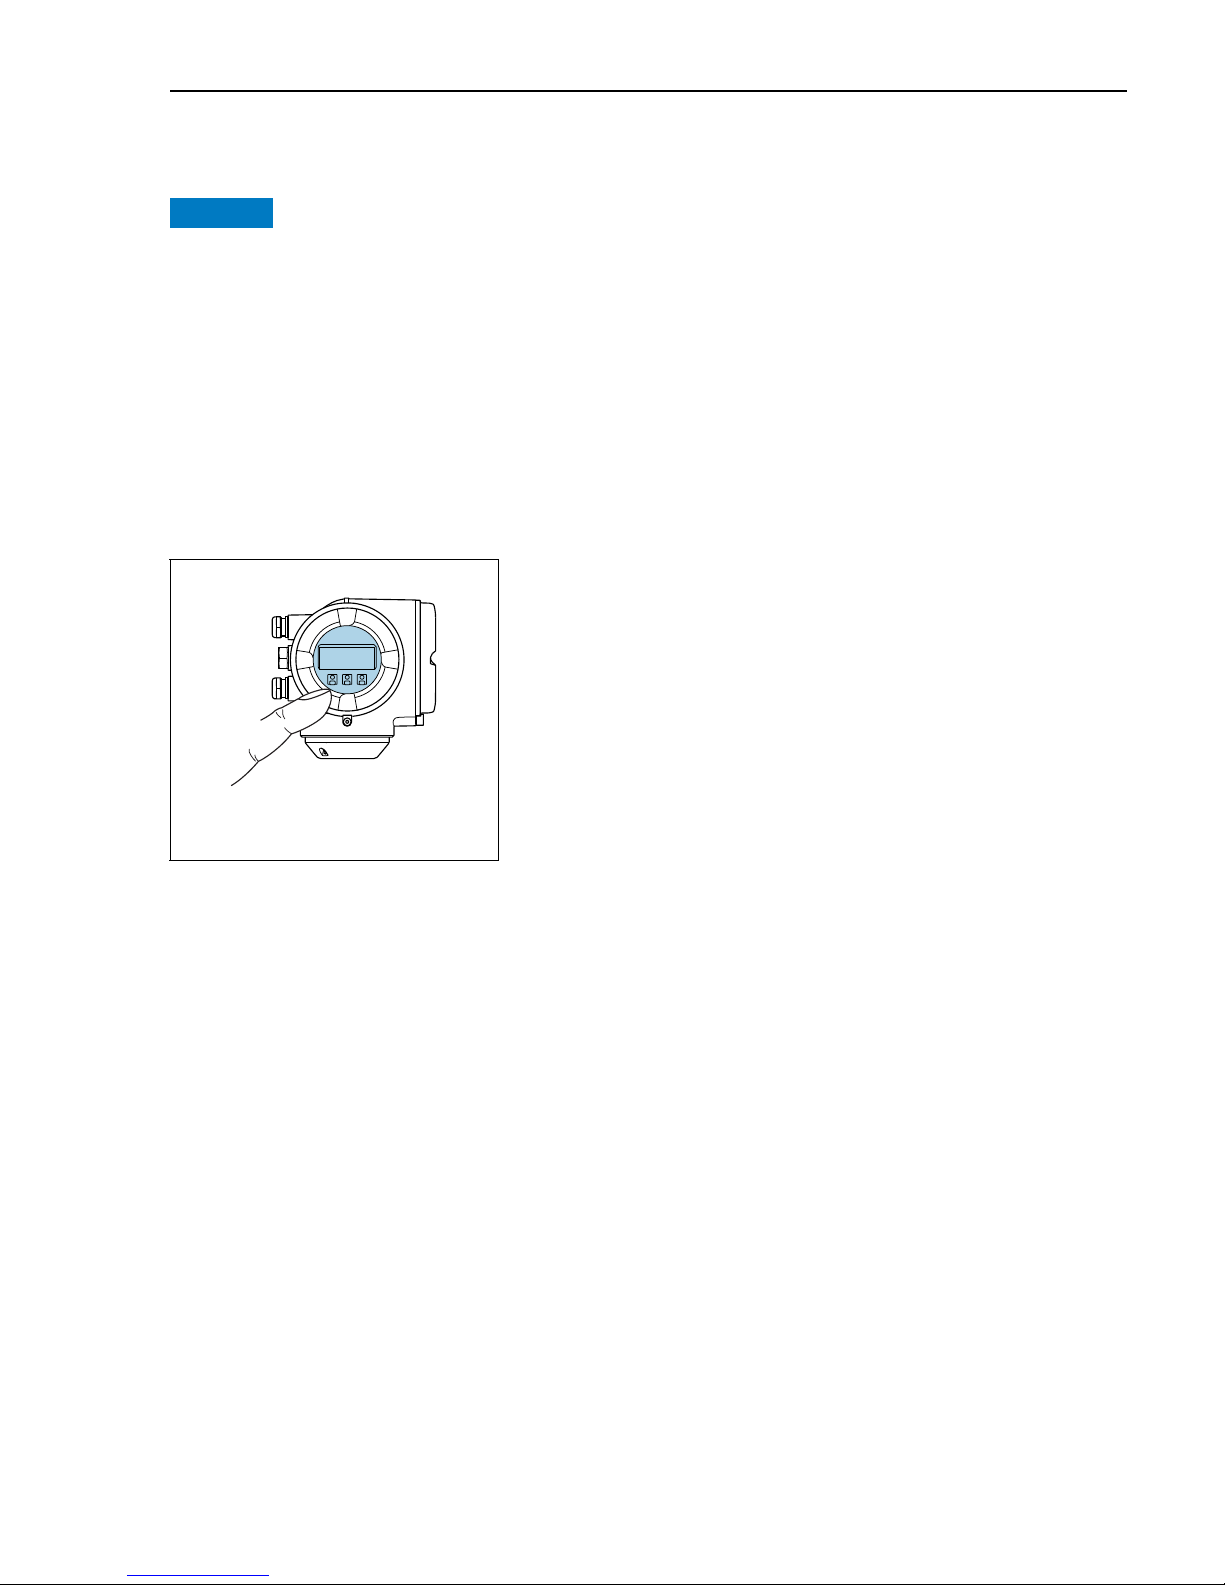
8.1 Enter the software option code: via display
Navigation: Select in the menu of the display:
Enter software-option(s):
1. Remove the keylock (2 sec)
2. Main menu → Display language: Select language
3. Main menu → Expert → Input code factory setting → 0000 or the changed code (customer
code)
4. Expert → System → Administration → Activate software option:
Enter software option code
5. Admininstration → Overview software options: Display of the activated softare option(s)
6. Main Menu → Expert → System → Administration → Overview software options
1.
A0026785
Activate the application package via Software Licence Code
8
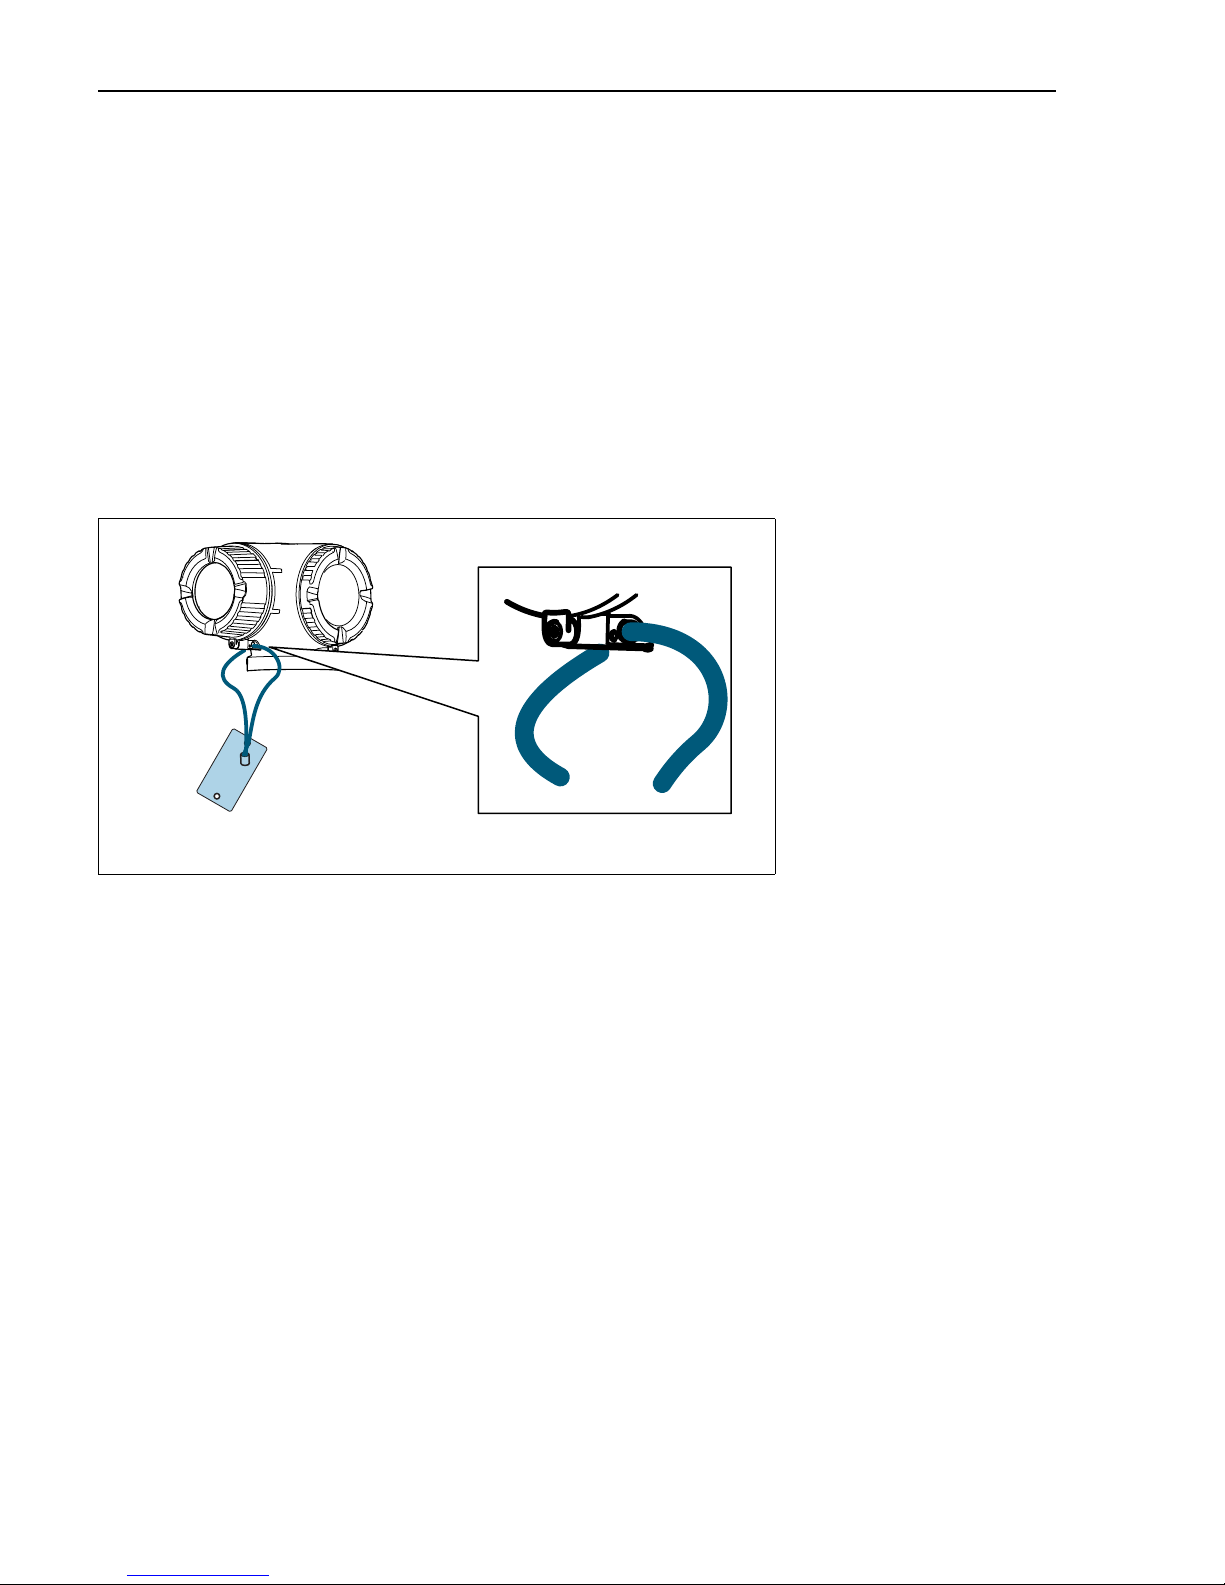
7. Check and note the date on the tag:
• Serial number of the device
• Order code new
• Entered activation code for the software-options (application package code)
• Affix the tag with the enclosed stainless steel wire and crimp sleeve as indicated in the graphic:
• Affix the nameplate (optional) according to the device labeling (see chapter 3
"Authorized personnel").
1.
A0031061

Activate the application package via Software Licence Code
9
8.2 Enter the Software option code via Webserver
Open Webserver:
1. Select language
Login Webserver:
2. Webserver language: Select language
3. Login →
access status → Maintenance → Enter access code: Input code factory setting = 0000
or the changed code (customer code)
4. Menubar menu
5. Main menu
6. Expert
7. System
8. Administration
9. Activate software option: Enter software option code
10. Confirm software option code with "Enter"
11. Overview ot the software option: Display of the activated software option(s)
12.
Check of the date on the tag
:
• Serial number of the device
• Order code new
• Entered activation code for the software-options (application package code)

Activate the application package via Software Licence Code
10
13. Affix the tag with the enclosed stainless steel wire and crimp sleeve as indicated in
the graphic:
• Affix the nameplate (optional) according to the device labeling (see chapter 3
"Authorized personnel").
1.
A0031061
 Loading...