

Page 1

HOME AUDIO SYSTEM
with 3 CD CHANGER
and DIGITAL AM/FM RECEIVER
OWNER'S MANUAL
MS3100
Visit our web site at www.emersonradio.com
Page 2

BEFORE WE BEGIN
Thank you..................
for purchasing this Emerson audio product. The Emerson brand is your assurance of
quality, performance and value.
Our engineers have included many useful and convenient features in this product.
Please be sure to read this Owner's Manual completely to make sure you are getting
the maximum benefit from each feature.
This product was manufactured using the highest quality components and standards
of workman ship. It wa s tested by Emerson in spectors a nd found to be in perfect working
order before it left our fa ctory. However, there is always the chance that some problem
may occur because of rough handling during shi pment to the retail store or to the f in al
consumer.
If, after reading this Manual, you experience any problems with the operation of this
product, please refer to the in struction s f or obtaining service at the end of this Manual.
Emerson and Emerson retailers are committed to your satisfaction. Once again, thanks
for purchasing this Emerson audio product.
For future reference, record the serial number in the space provided.
Model No: MS3100
Serial Number:
WARNING: TO PREVENT FIRE OR SHOCK HAZARD,
DO NOT EXPOSE THIS UNIT TO RAIN OR MOISTURE.
CAUTION
RISK OF ELECTRIC SHOCK
DO NOT OPEN
CAUTION: TO REDUCE THE RISK OF ELECTRIC SHOCK,
DO NOT REMOVE COVER (OR BACK). NO USER
SERVICEABLE PARTS INSIDE. REFER SERVICING TO
QUALIFIED SERVICE PERSONNEL.
DANGEROUS VOLTAGE
Uninsulated Dangerous Voltage that may be of sufficient magnitude
to constitute a risk of electric shock to persons is pre sent within this
product's enclosure.
ATTENTION
The Owner's Manual contain s important operating and maintenance
instructions.
For your safety, it is necessary to refer to the manual.
1
Page 3
IMPORTANT NOTES
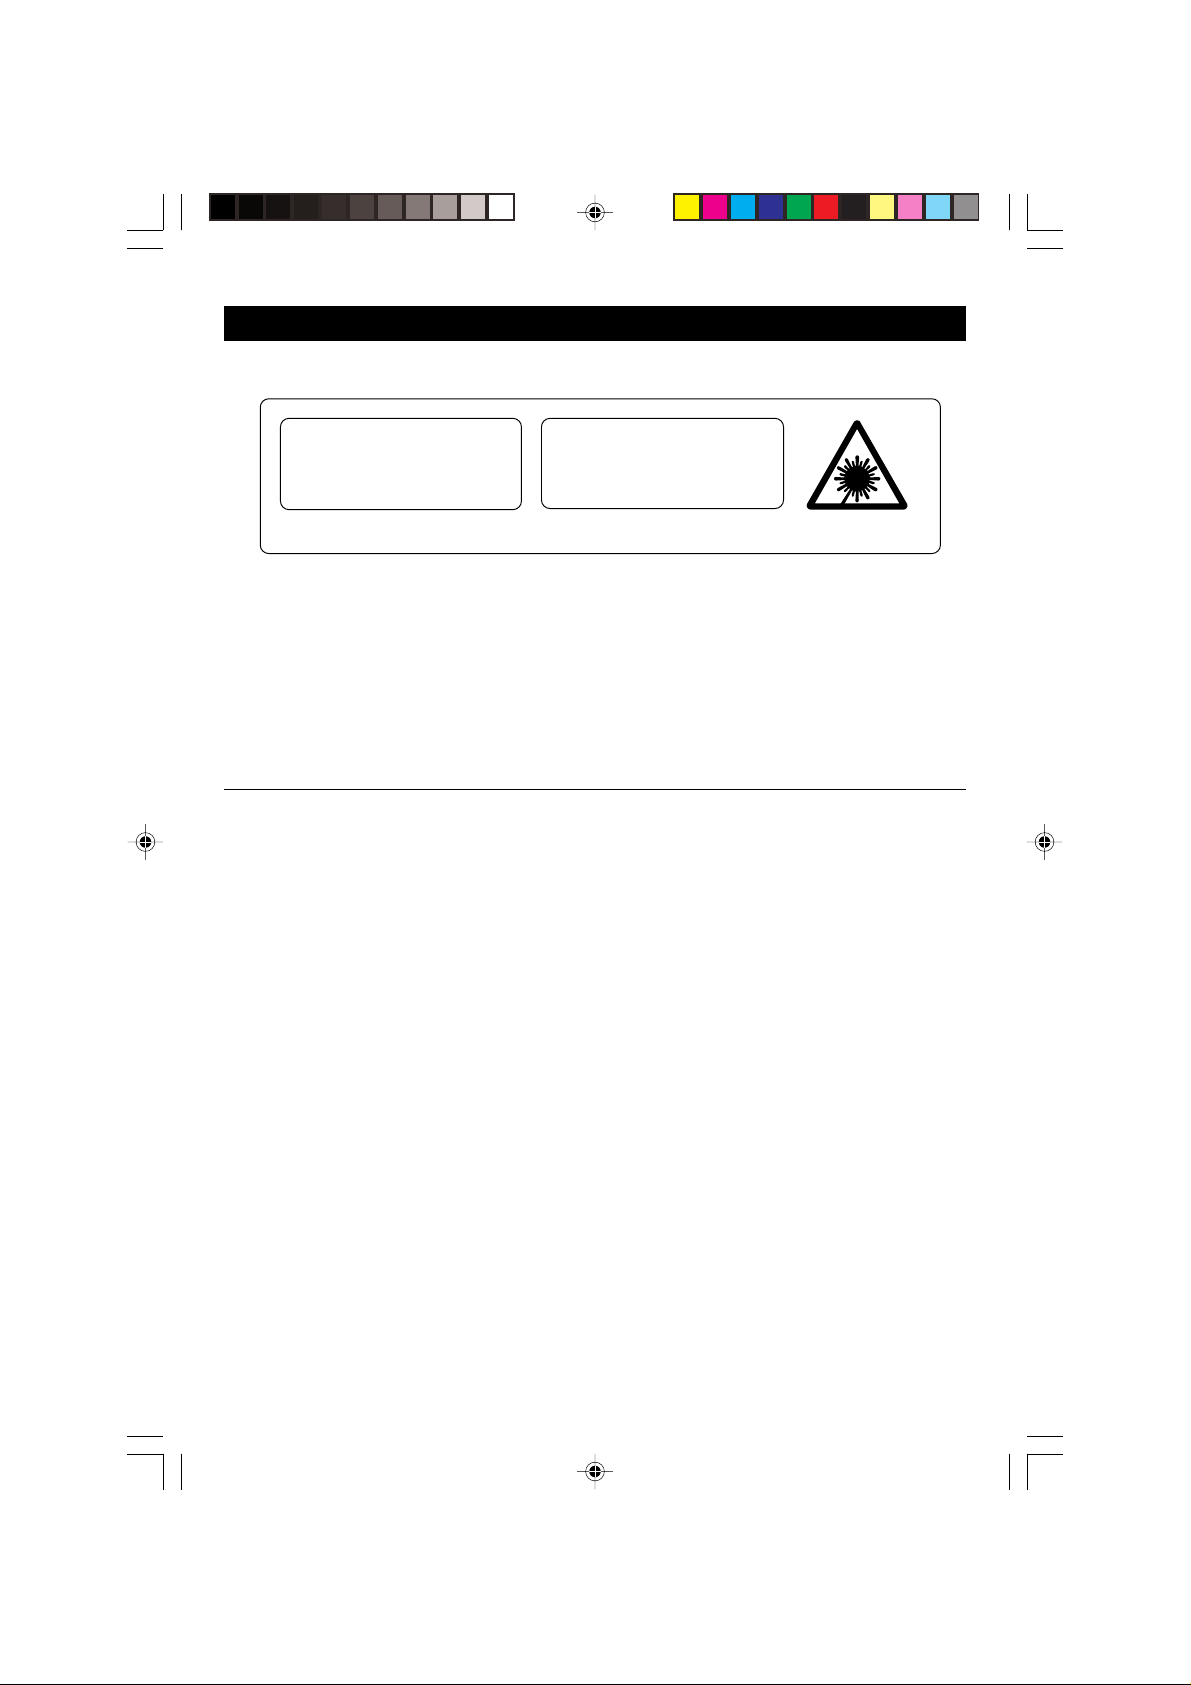
CLASS 1 LASER PRODUCT
CLASS 1 LASER PRODUCT
APPAREIL Á LASER DE CLASSE 1
PRODUCTO LASER DE CLASE 1
This product contains a low power Laser Device.
WHEN OPEN AND INTERLOCKS
• Avoid installing this unit in places
exposed to direct sunlight or close to
heat radiating appliances such as
electric heaters, on top of other stereo
equipment that radiates too much heat,
places la cking ventilation or dusty area s,
placessubje ct to consta nt vibration a nd/
or humid or moist areas.
INVISIBLE LASER RADIA TION
AVOID EXPOSURE TO BEAM
CAUTION
DEFEATED.
• Operate controls and switches as
described in the manual.
• Before turning on the power, make
certain that the connecting cords and
power cord are properly installed.
• When moving the set, be sure to first
disconnect the power cord and remove
cords connected to other equipment.
FCC INFORMATION
This equipment has been tested and found to comply with the limits for a class B
digital Device, pursuant to part 15 of the FCC Rules. These limits are designed to
provide rea sona ble prote ction against harmful interference in a residential installation.
This equipment generates, uses, and can radiate radio frequency energy and, if not
installed and used in accordance with the instructions, may cause harmful interference
to radio communications. However, there is no guarantee that interference will not
occur in a particular installation. If this equipment does cause harmful interference to
radio or television reception, which can be determined by turning the equipment off
and on, the user is encouraged to try to correct the interference by one or more of the
following measures:
• Reorient or relocate the receiving antenna.
• Increase the separation between the equipment and receiver.
• Connect the equipment into an outlet on a circuit different from that to which the
receiver is connected.
• Consult the dealer or an experienced radio/TV technician for help.
This device complies with part 15 of the FCC Rules. Operation is subject to the
following two conditions:
(1) This device may not cause harmful interference, and
(2) This device must accept any interference received, including interference
that may cause undesired operation.
2
Page 4
PREPARATION FOR USE
UNPACKING AND SET-UP
Carefully remove the unit from the carton and remove all packing material
from the unit.
Remove any labels or stickers which may be on the front or top of the set,
but do not remove any labels from the back or bottom.
We suggest that you retain the original carton and packing materials in
case it ever becomes necessary to return your unit for service. This is the
only sure way to protect the unit from damage in transit.
If you do dispose of the carton and packing materials, please do so properly.
POWER SOURCE
This system is designed to operate on 120V 60Hz AC house current. Connecting
this system to any other power supply could result in damage to the unit which
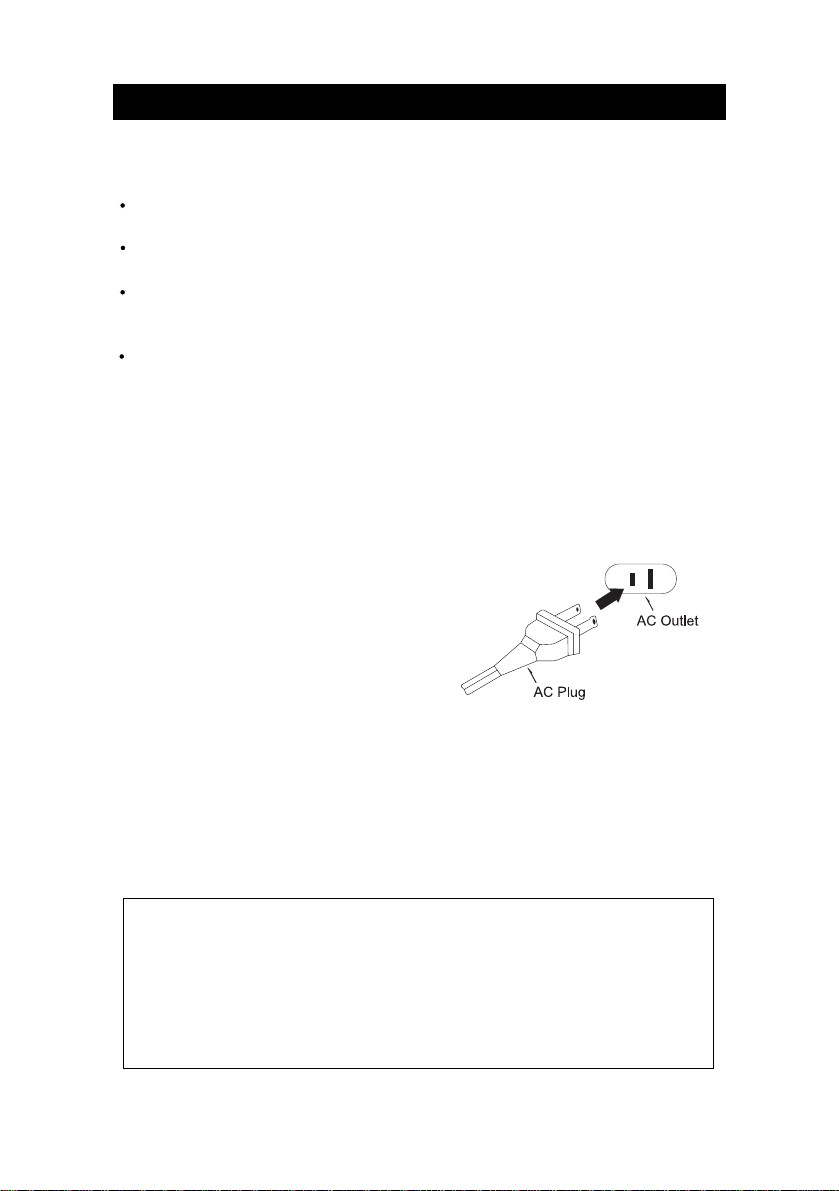
is not covered by your warranty. You will note that this system is equipped with
a polarized AC power plug having one
blade wider than the other. This is a safety
feature. If this plug does not fit into your
existing AC outlet, do not try to defeat this
safety feature by filing the wide blade to
make it fit into your outlet. If this plug will
not fit into your outlet, you probably have
an outdated non-polarized AC outlet. You
should have your outlet changed by a
qualified licensed electrician.
AC Operation
1. Unwind the AC Power Cord completely.
2. Insert the plug into any convenient 120V 60Hz AC outlet.
Follow these precautions when using batteries in this device:
1. Use only the size and type of batteries specified.
2. Be sure to follow the correct polarity when installing the batteries as indicated in the battery compartment.
Reversed batteries may cause damage to the device.
3. Do not mix different types of batteries together (e.g. Alkaline and Carbon-Zinc) or old batteries with fresh
ones.
4. If the device is not to be used for a long period of time, remove the batteries to prevent damage or injury
from possible battery leakage.
5. Do not try to recharge batteries not intended to be recharged; they can overheat and rupture. (Follow
battery manufacturer's directions.)
BATTERY PRECAUTIONS
3
Page 5
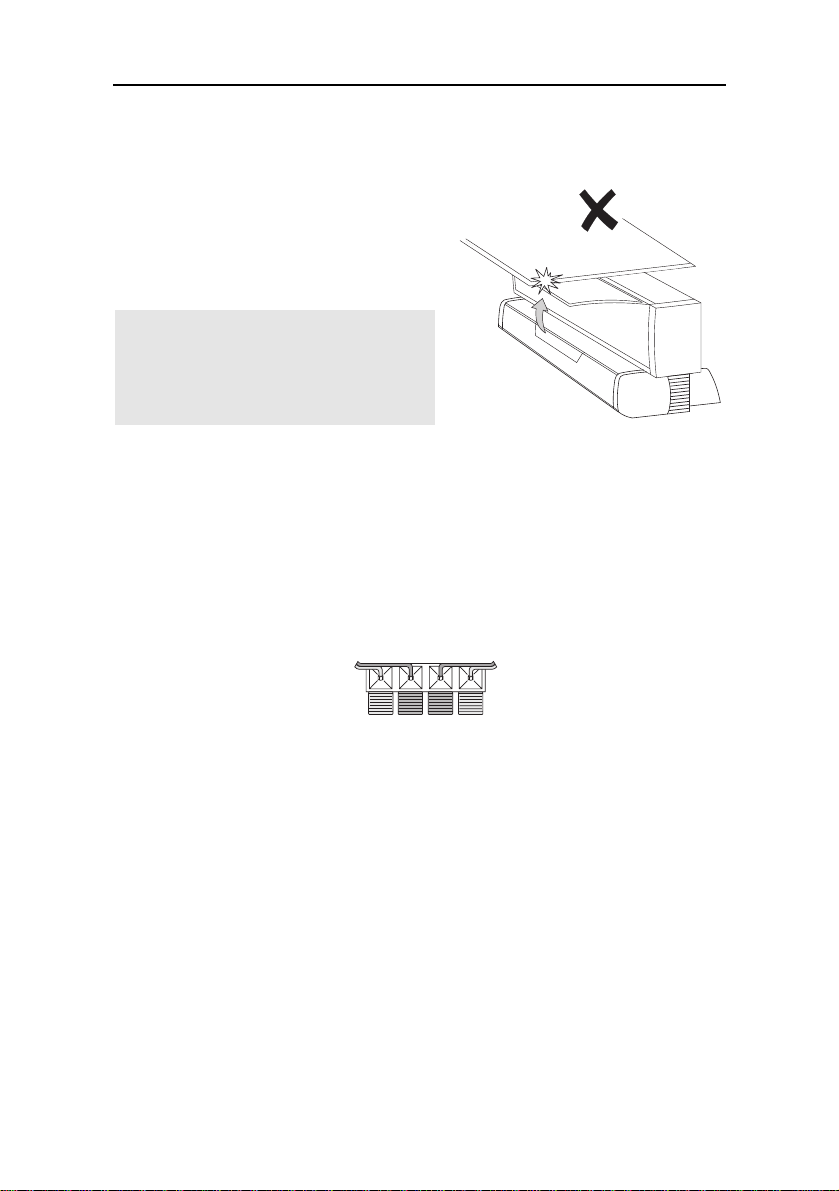
Installation
Installation
For shelf mounting, extend the
left and right flaps at the back of
the unit and place it on a strong
flat surface.
Note - Leave at least 6 inches
(15cm) above the unit for the
door to open without being
obstructed.
Finally, position the speakers to the left and right of the unit.
Connections
Connect the speakers to the red and black terminals on the back of the unit as
shown below. (Hold down red or black terminal flap, insert wire, release flap.)
TO RIGHT
SPEAKER
Optional: connect any additional equipment to the back panel sockets as
follows:
Plug your *playback equipment (e.g. MiniDisc or cassette player) into the
AUX sockets.
Plug your recording equipment (e.g. MiniDisc or cassette recorder) into
the LINE OUT sockets.
*Other examples of playback equipment may include your TV, video recorder
or satellite receiver, your computer or games console, or DVD/DAT player.
Always refer to the equipment manufacturer's instructions.
4
TO LEFT
SPEAKER
Page 6
Installation
FM antenna wire
The single trailing wire from the unit is the FM antenna. This should be positioned for
best FM reception (do this when you're tuning - in to radio stations–see page 18).
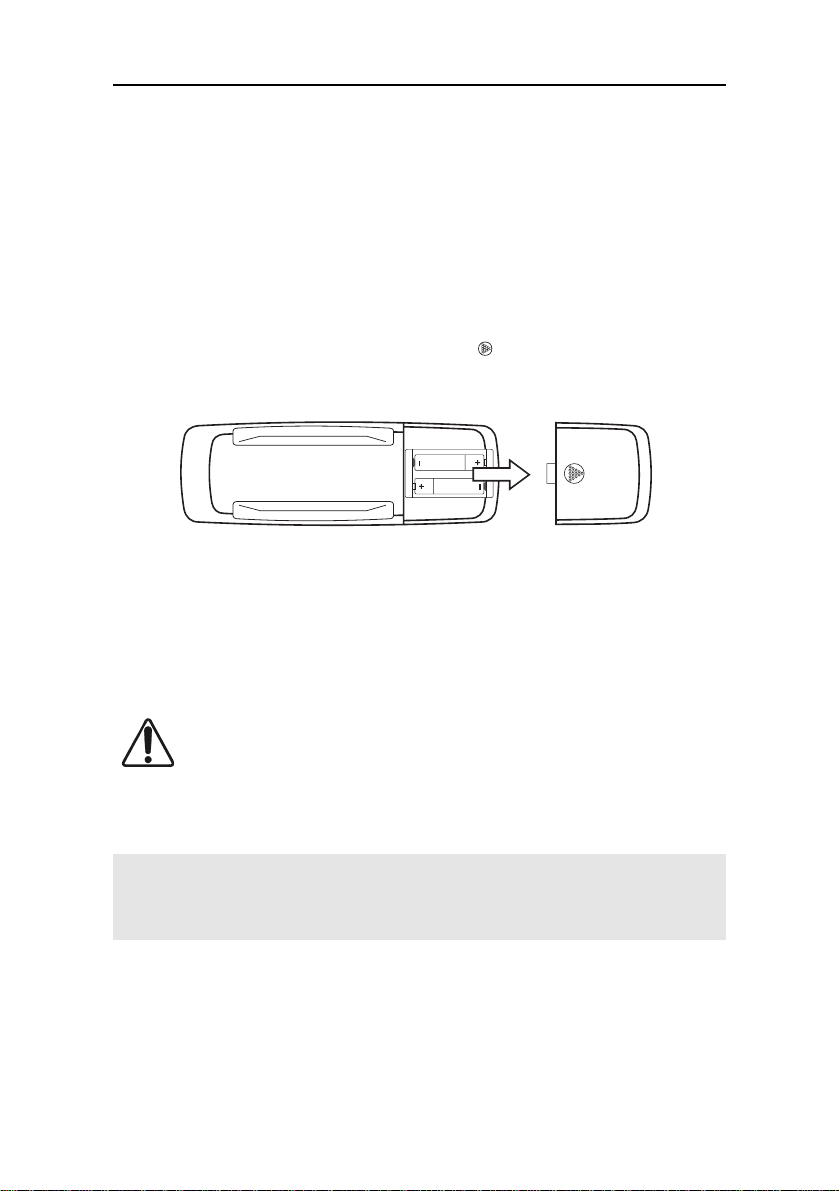
Installing the remote control batteries
At the back of the remote, press the indented area and slide open the battery
compartment.
Install 2 batteries type AA (not included). Make sure the direction of the batteries is as
shown above.
Once the batteries are inserted, replace the battery cover.
If the remote stops working, it's most likely that the batteries need replacing. Always use
leakproof batteries.
Dispose of old batteries safely. Do not throw them in the fire.
If you're not using the remote for a few weeks or more, remove the batteries.
Note–Most functions can be operated by the remote.
However, the controls are also present on the front panel (below the flap). In
general you shouldn't need to lower the flap unless you lose the remote.
5
Page 7
Installation
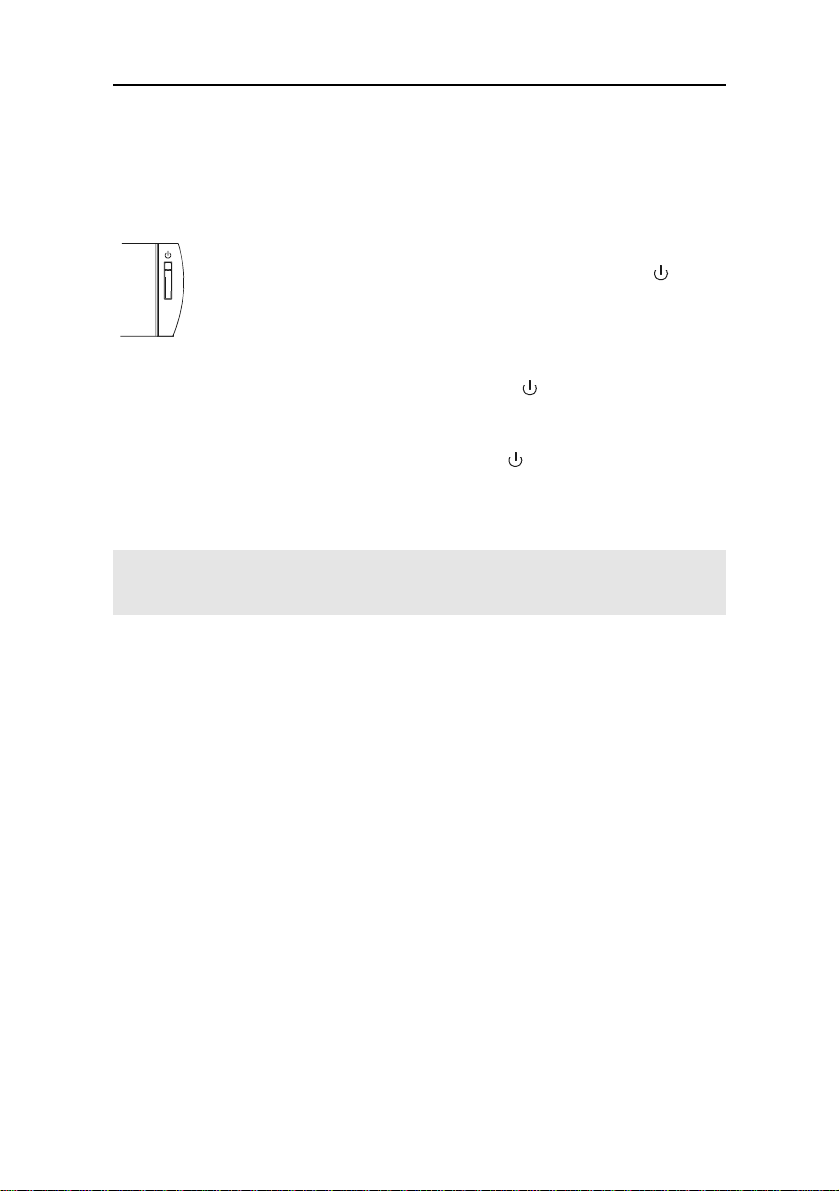
Ready to switch on
Plug the unit into the AC outlet.
On the front panel, the light above the POWER button
red to indicate that the unit is in standby. (Standby means pluggedin but not switched on.)
Switch the unit on by pressing the POWER button
change to green.
(To switch the unit back to standby, simply press
The unit is now ready to use.
Note–If necessary, peel off the label entitled 'IMPORTANT NOTES'
on the outside of the CD door.
. The red light will
again.)
will be
Cleaning & Maintenance
This unit is maintenance free - do not use oil or other lubricants on any of
the moving parts.
You may clean the main unit and speakers' cabinets periodically using a slightly
dampened cloth.
6
Page 8

Setting the clock
Setting the clock
1.Press
2.Press the AUX button. (Note the time setting appears at the centre of
the display.)
3.Press MEMORY so that the hour setting flashes, then immediately
press + or - to set the correct hour.
Note – check the AM / PM indicator (to the left of the hour) to ensure you
make the correct setting.
4.Press MEMORY repeatedly so that the minute setting flashes, then
immediately press + or - to set the correct minute.
After the display has stopped flashing, the clock is set.
Note–If ever you find the whole time display is flashing, this means that the
clock needs to be reset (possibly due to the unit having been disconnected
from the AC outlet, or a power interruption).
to switch the unit on.
7
Page 9
General use
General use
All general functions can be operated by the remote. You shouldn't need to
lower the front panel flap.
Switch the unit on by pressing
.
Selecting the sound source
To select the sound source you wish to listen to, press:
CD / SELECT to listen to compact disc, or
FM / AM to listen to radio, or
AUX to listen to auxiliary equipment connected to the AUX jacks.
( See page 4.)
Volume
To adjust the volume, use VOLUME or .
To stop the sound instantly, press MUTE. (Press again to restore sound).
Note that mute is indicated by the 3 central
rings flashing on the CD door (see right.)
Note – At minimum volume (or when MUTE is pressed), you may find
that the sound is not completely silenced. This is perfectly normal.
8
Page 10

General use
Headphones
For private listening, plug a pair of stereo
headphones into the PHONES socket on the
lower left side panel.
P
H
O
N
E
When headphones are plugged in, the
S
speakers are switched off automatically.
Graphic equalizer
The graphic equaliser (EQ) adjusts the character of the sound. It provides a
range of four tonal shapes: flat, rock, classic and pop.
Press EQ repeatedly to set the graphic equaliser according to your taste or
the style of music being played. The selected setting: FLAT, ROCK, CLASSIC or POP
appears at the bottom right of the display.
Switching off
To switch off to standby, press
.
Note–This unit is intended to be switched off to standby. If you unplug
the unit, you will lose all clock and timer settings together with any
radio stations you have stored in the unit's memory.
When the unit is in standby, a small amount of current continues to flow. If you
intend not to use the unit for a long period of time, it is recommended that you
disconnect it from the AC outlet (see note above, however).
9
Page 11

CD operation
CD operation
All CD functions can be operated by the remote. You shouldn't need to
lower the front panel flap.
Switch the unit on and press CD / SELECT.
Important
Never open or close the CD door rapidly
by hand - doing so will damage the
mechanism.
In an emergency situation (eg.a power cut)
where you have no option other than to open
or close the door by hand, do so very slowly
and very gently. APPLY ONLY LIGHT
PRESSURE - NEVER USE FORCE ON
THE DOOR.
Loading and removing discs
Always load discs with the printed side facing towards you.
1. Press and the CD door will open automatically.
2.Take the disc out of its case, handling it by the edges.
3. Load the disc onto one of the three players (see note below).
Note–To load a disc, place it onto the centre spindle of the player
in the same way that you'd put a disc back in its case.
4. Press to close the CD door.
10
Page 12
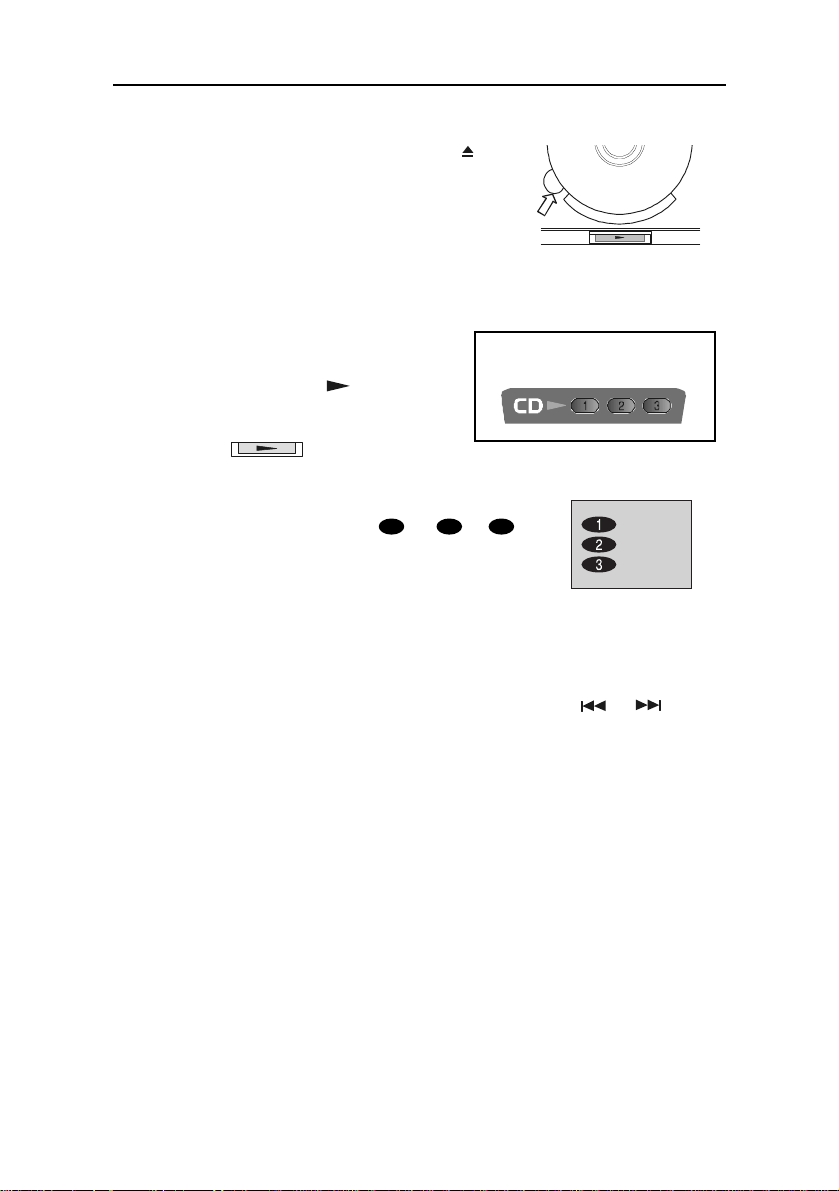
To eject, simply open the CD door using and
remove the disc. Note there's a cutout to the left of
each player so that you can place your finger under
the edge of the disc to remove it.
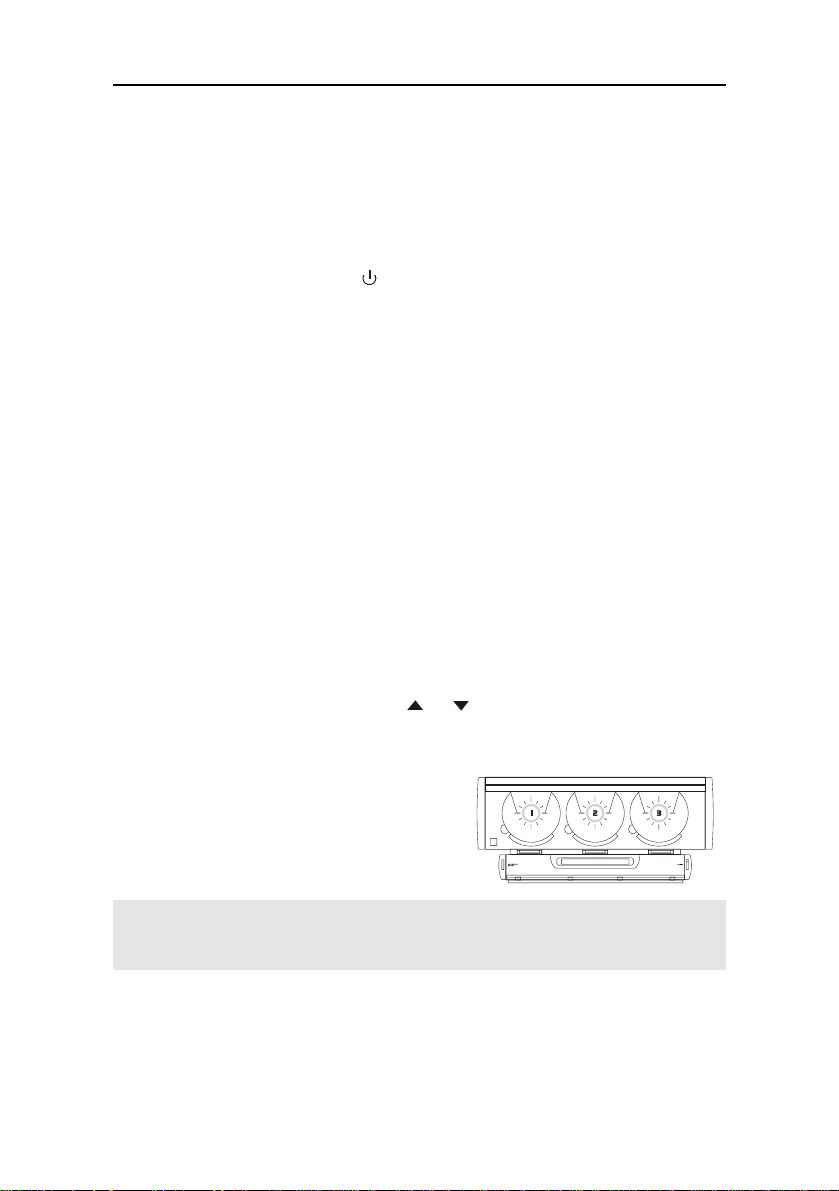
Playing one disc
CD operation
1. Load the disc as previously shown.
2. Press one of the three
buttons below the disc you wish
to play:
The number of the disc playing ( 1 or 2 or 3 ) is
indicated at the left of the front panel display.
(Alternatively, press one of the
CD buttons on the remote.)
Selecting tracks
To change track while a disc is playing, press and release or .
Alternatively, you can pick a track number directly using buttons 1 to 9 on the
remote.
If the required track number is higher than 9, use the +10 button.
Examples: To select track 10 press +10 then 0.
To select track 23 press +10 twice then 3.
11
Page 13

CD operation
Searching tracks
To search within tracks while a disc is playing, hold in the or button.
Pause and stop
To pause during play, press
To stop play, press .
(press again to resume play).
Repeat play
You can repeat all discs, one disc, or just one track. To select the mode you
require, press REPEAT until the top-left of the display indicates one of the
following: REPEAT ALL DISC
REPEAT 1 DISC
REPEAT 1 TRACK
To cancel repeat play, press REPEAT until the word REPEAT disappears from
the display.
Random play
You can play tracks in random order (from one disc or all discs).
To select the mode you require, press RANDOM until the top left of the display
indicates one of the following: RANDOM ALL DISC
RANDOM 1 DISC
To cancel random play, press RANDOM until the word RANDOM disappears
from the display.
12
Page 14

Playing all discs
1. Load the discs as shown earlier.
Note that discs will be played in order. If you don't want
to start with disc 1 , press CD / SELECT to select 2
or 3 (indicated at the left of the front panel display).
CD operation
2. Press
To select tracks or pause, stop, etc, use buttons
(see page 11).
For repeat and random play, see previous page.
to start play.
, ,
and
Playing a programmed selection of tracks
You can program the unit to play a selection of tracks from the discs loaded.
(Up to 40 tracks can be programmed.)
Note you can abandon programming at any time by pressing
1. Load the disc(s).
Note – When you press PROG to start programming, the front panel
will display p - 0 1 - this means programmed track 1.
Note that TRACK 0 0 flashing next to P - 0 1 is telling you to enter the CD
and track number for programmed track 1.
2. Press PROG.
.
3. Press CD / SELECT to select disc 1 or 2 or 3 (on the front
panel display).
13
Page 15

CD operation
4. Press
tracks on the disc, press
or to select the TRACK number on that disc. (To select all
or so that TRACK AL is displayed.)
5. Repeat steps 2, 3 and 4 for each programmed track. (Note that P - 0 1
advances to P - 0 2, P - 0 3 etc as you program each track.)
You can check your program by pressing PROG repeatedly.
As P - 0 1, P - 0 2 advances, check the displayed disc and track numbers.
(Note after the final track, the display flashes TRACK 0 0 ; pressing PROG
again will return to the first track.)
6. Finally, press
After the program has stopped, you may press
to play the program.
to play the whole program
again.
To set the program to repeat continuously, press REPEAT so that REPEAT
is displayed. (To cancel repeat, press REPEAT so that REPEAT disappears.)
Note–You cannot set a program to random play.
14
Page 16

CD operation
Editing the program
Before editing, make sure no disc is playing.
To change a track, press PROG repeatedly (until the required P -
umber is displayed) then press or to change the TRACK number.
To delete a track, press PROG repeatedly (until the required P - number
is displayed) then press
To add a track, press PROG repeatedly (until TRACK 0 0 flashes) then use
CD / SELECT and
or to change the TRACK number to - - .
or to select required disc and TRACK number.
Clearing the program
To clear the program, stop any disc playing first, then press once play has
stopped.
Note–The program will be cleared if the CD door is opened.
If you don't want to clear the
program but wish to play one
of the loaded discs normally,
simply press one of the three
buttons below the players:
(Alternatively, press one of the
CD buttons on the remote.)
15
Page 17

CD operation
Additional CD functions
Track introductions
If INTRO is pressed (instead of
each track will be played. This enables you to scan through a CD (or a
programmed selection of tracks) automatically.
The introduction feature can also be used to help you search for a track-when
you hear the track you require, press INTRO again and that track will continue
playing.
) to start play, only the first 10 seconds of
Track/time displays
When all discs are stopped, the display shows the total playing time of
the currently selected disc.
When a disc is playing, the display shows the elapsed time of the
current track.
When a disc is playing, pressing MODE (REMAIN) once to display
the remaining time of the current track; pressing again displays the
remaining time of the whole disc.
To display the current time (when all discs are stopped), press
MODE once. To display current time during play, press MODE 4 times.
Note–Press MODE repeatedly also displays any TIMER ON and TIMER
OFF settings. These are explained on page 20.
16
Page 18

Instant play
CD operation
If you are listening to radio or
auxiliary input, you can instantly play
a disc simply by pressing one of the
three buttons below the players:
(Alternatively, press one of the
CD buttons on the remote.)
17
Page 19

Radio operation
Radio operation
All radio functions can be operated by the remote.You shouldn't need to
lower the front panel flap.
Tuning-in a new radio station
Pressing BAND selects radio operation. The display indicates the tuning
frequency, and just to the right of it, the band: FM, or AM. Repeatedly pressing
BAND changes the band.
Having selected the required band, tune-in to a radio station in either of the
following ways:
To search up or down the band for a station, hold in + or - for two
seconds then release.
To change frequency one step at a time, repeatedly press and
release + or - .
You can keep any new station you've tuned-in by storing it in the memory
(see below.)
Note–For best FM reception, position the trailing FM antenna wire for
least interference. (Note if AM reception is poor, you may need to
rotate the unit.)
Storing radio stations in memory
You can store up to 20 radio stations on each band.
1.Tune in to the station you wish to store (as described above).
2. Decide on the memory number you will use for this station, for
example 2.
18
Page 20

Radio operation
3. Press MEMORY followed by MEMs or MEMt so that the memory
number flashes to the left of the frequency, for example:
MEMORY CH 02 89. 1 MHz FM. After a few seconds the flashing stops and the
memory number is set.
Note-Instead of using MEMs and MEMt you can use the number keys on
the remote. In the above example, you would press MEMORY followed by 2.
Note after pressing MEMORY you must enter a memory number within 5
seconds, otherwise the number will not be stored.
Selecting stored radio stations
1. Press BAND to select required band.
2. Press MEMs or MEMt to select required memory number.
Alternatively, you can use the number keys on the remote.
Examples: For memory 7, simply press 7.
For memory 14, press + 10 then 4.
For memory 20, press + 10 twice then 0.
FM mono/stereo
You can set FM radio stations to mono (for example if FM stereo reception is
noisy). To switch between FM mono and stereo, lower the front panel flap
and press FM MONO/STEREO.
Time display
To display the current time, press MODE once.
Note–pressing MODE repeatedly also displays any TIMER ON and TIMER
OFF settings. These are explained on the next page.
19
Page 21

Timer operation
Timer operation
The timer function allows you to set the unit to switch itself on and off
automatically, for example, to wake you up each morning.
While setting up the timer, make sure you carry out each step within five
seconds, otherwise your entry will not be accepted in the memory and you
will have to start again.
Note-During timer setup, always check the AM/PM indicator (to the left of the
time) to ensure you make the correct settings.
1. Select the radio station or CD you wish to play when the unit switches
on. (For CD this can be a programmed selection of tracks if desired.)
2. Press MODE repeatedly until TIMER ON flashes at the right of the
display, then press MEMORY immediately.
The timer on (hour setting) will flash.
3. Immediately press + or - to set the hour, then press MEMORY .
The minute setting will flash.
4. Immediately press + or - to set the minute, then press MEMORY .
5. Press MODE repeatedly until TIMER OFF flashes at the right of the
display, then press MEMORY immediately.
The timer off (hour setting) will flash.
6. Immediately press + or - to set the hour, then press MEMORY .
The minute setting will flash.
7. Immediately press + or - to set the minute, then press MEMORY .
20
Page 22

Timer operation
The timer on and off times have now been set. To check them at any time,
press MODE repeatedly to step through the TIMER ON and TIMER OFF settings on
the display.
8. To activate the timer, lower the front panel flap and press TIMER so
that TIMER appears at the right of the display.
9. Press
Timer operation is now set. The unit will switch itself on and off at the set
times every day.
Note–If ever you find the whole time display flashing, the clock needs to be
reset (see page 7). This could be due to the unit having been
disconnected from the AC outlet, or a power interruption.
to switch off the unit to standby.
Cancelling timer operation
If you don't want the unit to switch itself on, for example at weekends, press
TIMER (inside front panel flap) so that the word TIMER is not displayed. (The
timer settings are still retained for the next time you wish to activate the timer.)
To reactivate the timer, repeat step 8 above.
Sleep timer
The unit has a sleep timer. Activating it will make the unit will switch itself off
after 90 minutes.
To activate the sleep timer, lower the front panel flap and press SLEEP so that
SLEEP appears toward the right of the display.
To cancel the sleep timer, press SLEEP so that so that the word SLEEP is not displayed.
21
Page 23

CARE AND MAINTENANCE
There are no user serviceable parts inside the unit. Do not attempt any a djustments other than
those described in the manual. Refer all other problems to qualified service personnel.
Compact Disc Care
• To remove a disc from its storage case, press down on the centre of the ca se and lift the disc
out, holding it carefully by the edges.
• Treat the disc carefully. Handle the disc only by its edges. Never allow your f ingers to come in
contact with the shiny, unprinted side of the disc.
• Do not attach a ny tape, stickers, etc. to the disc label.
• Clean the disc periodically with a soft, lint-free, dry cloth. Never use detergents or abrasive
cleaners to cle a n the disc. If ne cessary, use a CD cleaning kit.
• If a disc skips or gets stuck on a section of the disc, it is proba bly dirty or da maged (scratched).
• When cleaning the disc, wi pe in straight lines from the center of the disc to the outer edge of the
disc. Never wi pe in circular motions.
If the cabinet becomes dusty, wipe it with a soft cloth. If the cabinet be comes smudged or dirty,
clean it with a soft, slightly dampened cloth. Never allow water or any liquid to get inside the
cabinet. Never use a ny a bra sive cleaners or cleaning pads a s these will da mage the f inish of your
radio.
TO FIND THE LOCATION AND PHONE
NUMBER OF YOUR NEAREST SERVICE
SERVICE
CALL TOLL FREE: 1-800-695-0098
FOR ADDITIONAL SET-UP OR OPERATING ASSISTANCE
FOR CUSTOMER SERVICE, PLEASE WRITE T O:
CENTER PERMITTED TO PERFORM
WARRANTY...
PLEASE CALL:
1-800-898-9020
Emerson Radio Corp.
Consumer Affairs Dept.
1901 Diplomat Drive,
Farmers Branch, TX 75234.
22
Page 24

WALL MOUNTING INSTRUCTIONS
If you decide to wall mount your MS3100 audio system, please read and
carefully follow these instructions:
General Precautions and Recommendations
* When choosing a location for wall mounting remember that the main unit
must be connected to an AC outlet. The AC power cord of the main unit
should be able to hang straight down from the main unit to the AC outlet.
See Figure 1.
Correct
Figure 1
Incorrect
Connect the main unit to the AC outlet and position it against the wall in the
desired location. Make sure the plug remains firmly and fully inserted into the
outlet. There should be just enough slack in the power cord so that the plug
can be easily removed from, and reconnected to the AC outlet.
* Make pencil marks on the wall to indicate the top of the cabinet.
PENCIL MARK
23
PENCIL MARK
Page 25

If there is no AC outlet directly below the desired mounting location, you may
use a UL approved extension cord. In this case you should allow the AC
plug of the main unit to reach all the way to the floor and connect the extension
cord on the floor, not above the floor. See Figure 2.
Correct Incorrect
Figure 2
Although all major functions of this system, including opening/closing the
front cover, can be operated by the remote control, you must still load and
unload your CDs manually. Therefore the main unit should be mounted at
a height that is convenient and comfortable for changing discs.
IMPORTANT. The front cover requires 6" clearance to open fully. If you plan
to mount the unit under a shelf, in a cabinet. etc, you must allow at least
6" clearance above the unit so that the door can open completely without
obstruction. If the front cover encounters some obstruction as it is opening,
the motor will reverse automatically and the door will close immediately. Be
sure to follow the instructions on the template carefully for best results.
TEMPLATE INSTRUCTIONS
1) Select the desired location for wall mounting after carefully reviewing the
"General Precautions and Recommendations" of the wall mounting
instructions.
2) Tape the template to the wall, or other surface, in the desired location. Align
the dotted line on the template with the pencil marks you made on the wall.
Be sure to allow at least 6" clearance above the main unit, as indicated on
the template, for the CD door to open fully.
3) Make sure the template is level.
4) Use an awl, ice pick, a nail or similar pointed tool, and push through the
template to make a small starter hole in the wall surface as indicated by
the "Drill Hole Here" marks. Then remove the template from the wall.
24
Page 26

5) Before You Drill: Make sure there are no water plpes, gas pipes,
electrical wires on other obstructions or hazards behind the wall in your
chosen mounting location. If you are not sure about this. and don't know
how to check, perhaps you should consider having the system mounted
by someone with the necessary experience.
6) Use a 3/16" drill bit in your electric drill and drill completely through the
drywall.
NOTE: The hollow wall plastic anchors included with this system are intended
for installation in normal 5/8" drywall (sheetrock, plasterboard, etc). If
you are installing this system on a solid wall surface such as wood,
concrete, cinderblock, brick, etc. you cannot use these hollow wall
anchors. In this case you must use the appropriate solid wall anchors,
(not included), available at your local hardware store or home
improvement center.
7) Insert the tip of the plastic anchor into the hole and use a hammer to tap
the anchor all the way in until it is flush with the wall surface.
8) Insert the screw into the anchor and tighten the screw until it touches the
collar on the plastic anchor. This causes the anchor to spread inside the
wall and locks the anchor in place.
25
Page 27

9) Loosen the screw until there is a gap about 1/8" between the screw head
and the wall .
1/8"
GAP
10) Position the main unit over the two screw heads so that the heads of the
screws fit into bottom of each "Keyhole" on the back cabinet. When the
two screw heads are inside the keyholes, slide the main unit slightly
downward until each screw head is in the top of the keyhole.
Slide unit downward to lock unit in positionInsert screw heads into keyhole
If the main unit is still loose, you probably left too large a gap between the
screw head and the wall. Slide the unit slightly upward and take it off the
mounting screws. Tighten one or both screws slightly and remount the unit. It
should fit snugly against the wall and not move when you are loading or
unloading CDs.
Follow a similar procedure to mount each speaker.
NOTE: It will be necessary to remove the main unit from the wall to connect
the speaker wires. If there is any excess speaker wire hanging
between the main unit and the speakers, remove the speaker from
the wall and push the excess wire into the back of the speaker cabinet,
then remount the speakers.
NOTE: You can also purchase plastic cord covers at most home improvement
centers. These covers can easily be cut to any desired length and
attached to the wall to conceal the speaker wires and AC power cord
if necessary. The covers can also be painted or wall papered to match
the surrounding wall surface.
26
Page 28

EMERSON RADIO CORP.
LIMITED WARRANTY
What does this warra nty cover ? Any manufa cturing defects in original material, including original parts a nd workma nship,
under normal use and conditions.
For how long? For a period of ninety (90) days from the date of original purchase in the U.S.
What will we do ? If you need service under this W arranty, and you provide us with the dated proof of purcha se, we will
provide repair service at no charge for labor and parts at an authorized Depot Repair Fa cility , or re place the product in our
discretion.
How do you make your warranty claim ? If it becomes necessary to repair your unit, you can obtain the name and
mailing location of a Depot Repair Facility by di aling 1-800-695-0098. You should pack your unit in a well-padded heavy
corrugated box, enclose your check or money order payable to the Depot Repair Facility in the a mount of $9.00 to cover
the return shipping a nd ha ndling costs, a nd enclose a copy of your proof of purcha se (warra nty service will not be provided
without a dated proof of purchase). Finally , you should shi p the unit prepaid vi a UPS or parcel post (insured).
What does your warranty not cover ? Your warranty does not cover the following :
· Damage from negligence, misuse, abuse, a ccident, or failure to f ollow operating instructions.
· Use of product in a commercial a pplication or rentals.
· Changes or repairs by anyone other than a n authorized De pot Repair Fa cility.
· Da mage because your unit is i mproperly connected to the equipment of other manufacturers.
· Unit on which the serial number ha s been defa ced, modified or re moved.
· Da mage to equi pment not properly connected to the product.
· Cost incurred in shipping your unit to and from an authorized Depot Repair Fa cility.
· Ordinary adjustments which you can perform as outlined in the owner’s manual.
· Signal reception problems caused by external a ntenna or ca ble syste ms .
· Products purchased, used, serviced, or da maged outside of the United States.
· Da mage to compa ct discs or ca ssettes.
What other limitations a pply to your warranty ?
THIS WARRANTY IS NON-TRANSFERABLE AND APPLIES ONL Y TO THE ORIGINAL PURCHASER AND
DOES NOT EXTEND T O SUBSEQUENT OWNERS OF THE PRODUCT. THIS WARRANTY IS V ALID ONL Y IN
THE UNITED STATES OF AMERICA. ANY APPLICABLE IMPLIED WARRANTIES, INCLUDING THE
WARRANTY OF MERCHANTABILITY, ARE LIMITED IN DURATION TO A PERIOD OF THE EXPRESSED
W ARRANTY AS PROVIDED ABOVE BEGINNING WITH THE DATE OF ORIGINAL PURCHASE A T RET AIL
AND NO WARRANTIES, WHETHER EXPRESSED OR IMPLIED, SHALL APPLY TO THE PRODUCT
THEREAFTER. WE MAKE NO W ARRANTY AS TO THE FIT NESS OF THE PRODUCT FOR ANY P AR TICULAR
PURPOSE OR USE.
THE EXTENT OF OUR LIABILITY UNDER THIS LIMITED WARRANTY IS THE REP AIR OR REPLACEMENT
PROVIDED ABOVE AND IN NO EVENT WILL OUR LIABILITY EXCEED THE PURCHASE PRICE PAID BY
THE PURCHASER OF THE PRODUCT . UNDER NO CIRCUMST ANCES WILL WE BE LIABLE FOR ANY LOSS,
DIRECT, INDIRECT, INCIDENTAL, SPECIAL, OR CONSEQUENTIAL DAMAGE ARISING OUT OF OR IN
CONNECTION WITH THE USE OF THIS PRODUCT.
How does state law apply to your warra nty ?
THIS WARRANTY GIVES YOU SPECIFIC LEGAL RIGHTS, BUT YOU MAY ALSO HAVE OTHER RIGHTS
WHICH VARY FROM STATE TO STATE. SOME STATES DO NOT ALLOW LIMITATIONS ON IMPLIED
WARRANTIES OR EXCLUSION OR LIMITATION OF INCIDENTAL OR CONSEQUENTIAL DAMAGE, SO
THESE RESTRICTIONS MA Y NOT APPLY T O YOU.
AU898F
27
Page 29

EMERSON
Part No.: 16-2837
110-01 Printed in China
EMERSON RADIO CORP.
 Loading...