

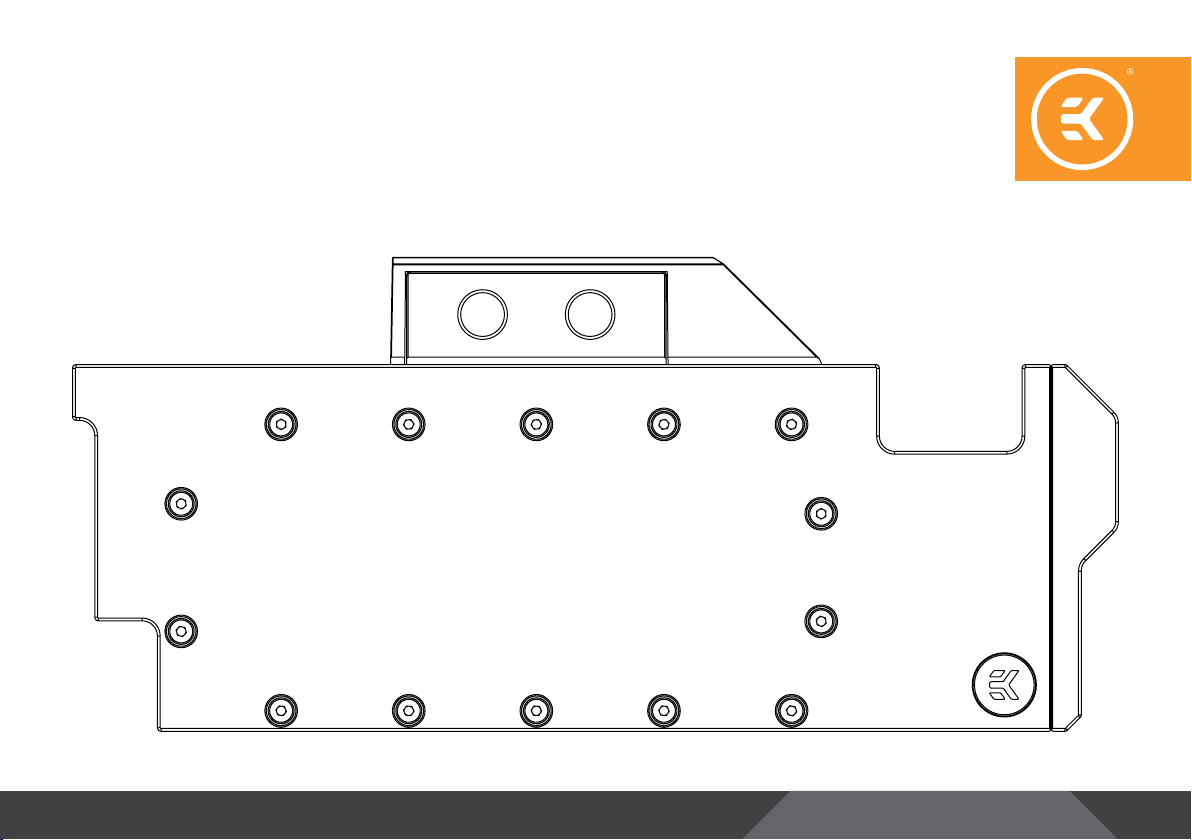
EKWB EK-Quantum Vector RTX RE, EK-Quantum Vector RE Ti, EK-Quantum Vector Titan RTX Installation manual
EKQuantum
Vector RTX RE / RE Ti / Titan RTX
GPU WATER BLOC K
INSTALLATION MANUAL

This product is compatible with RTX 2070, RTX 2080, RTX 2080 Ti
and Titan RTX graphic cards. It is intended for installation only by
exper t users. Please c onsult with a quali fied technician for i nstallation.
Improper installation may result in damage to your equipment. EK
Water Blocks assumes no liability whatsoever, expressed or implied,
for the use of these products, nor their installation. The following
instructions are subject to change without notice. Please visit our
web site at www.ekwb.com for updates. Before installation of this
product please read important notice, disclosure and warrant y
conditions printed on the back of the box.
Before you start using this product please follow these basic
guidelines:
Please carefully read the manual before beginning with the
installation process!
Please remove your graphics card from the computer to assure
safest mounting process in order to prevent any possible
damages to your GPU and/or graphics card circuit board (PCB).
The EK Fittings require only a small amount of force to screw
them firmly in place since the liquid seal is ensured by the
rubber O-ring gaskets.
The use of corrosion inhibiting coolants is a lways recommende d
for liquid cooling systems, and mandatory for nickel plated
water blocks!
Do not use pure dist illed water! For best results EK recommends
the use of EK-CryoFuel coolants!
Make sure to thoroughly bleed air out of your water block, or
you will not reach optimal performance!
- 2 -

TABLE OF CONTENT
PREPARING YOUR GRAPHIC CARD 4
INSTALLING THE WATER BLOCK FOR RTX 2070 / RTX 2080 / RTX 2080 Ti / Titan RTX GRAPHIC CARD 7
CHECKING FOR CONTACTS 8
INSTALLATION OF FITTINGS AND TUBING 8
INSERTING THE CARD IN YOUR PC CASE 9
REQUIRED TOOLS 9
CONNECTING THE D-RGB LED STRIP 10
SUPPORT AND SERVICE 11
SOCIAL MEDIA 11
- 3 -
PREPARING YOUR GRAPHIC CARD
STEP 1
STEP 1
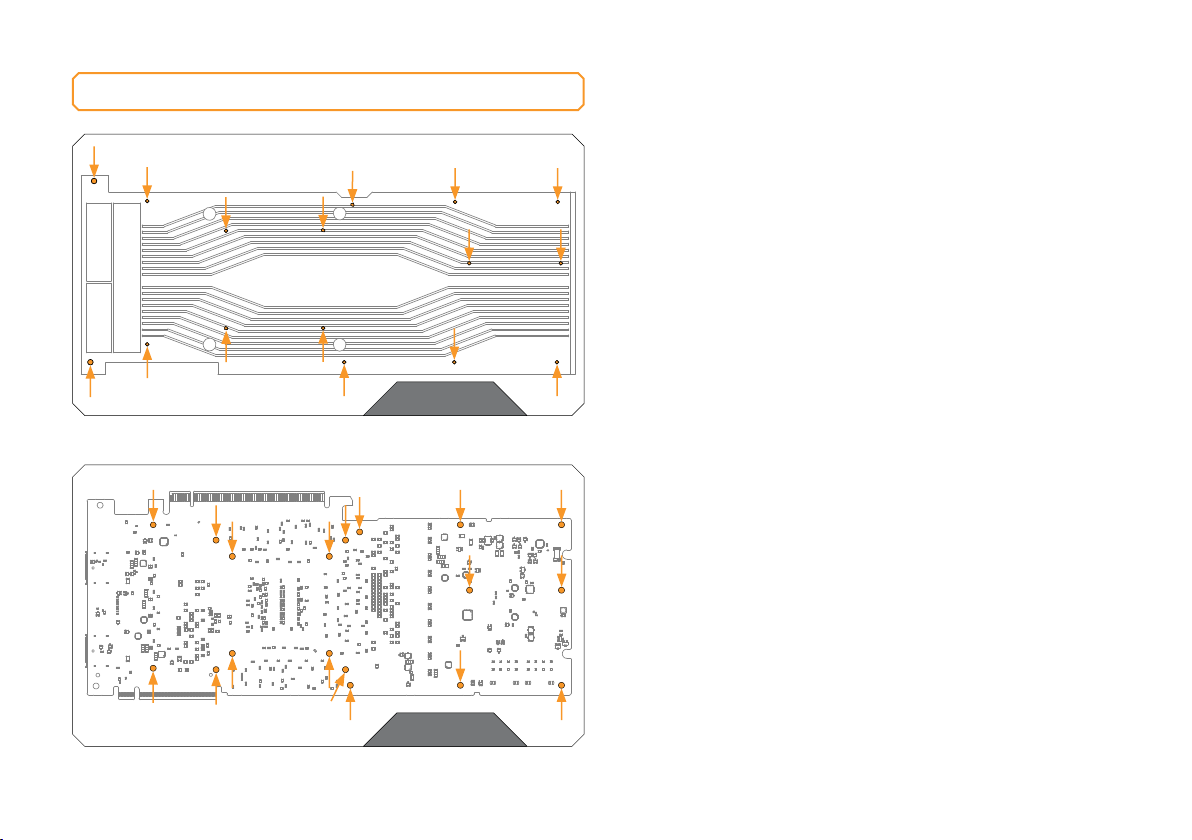
REMOVING FACTORY PROVIDED BACKPLATE
Remove all encircled screws using Phillips screwdriver. All heat
sink assembly screws should be removed, including self-adhesive
washers on both sides of the PCB (if present).
STEP 2
REMOVING STOCK COOLER
Remove all encircled screws using Phillips screwdriver (4 spring
screws around the GPU chip) and 4 mm hex socket. All heat sink
assembly screws should be removed, including self-adhesive
washers on both sides of the PCB (if present). After you remove the
housing do not forget to unplug the fans.
STEP 2
- 4 -
 Loading...