

E-flite UMX Whipit User manual
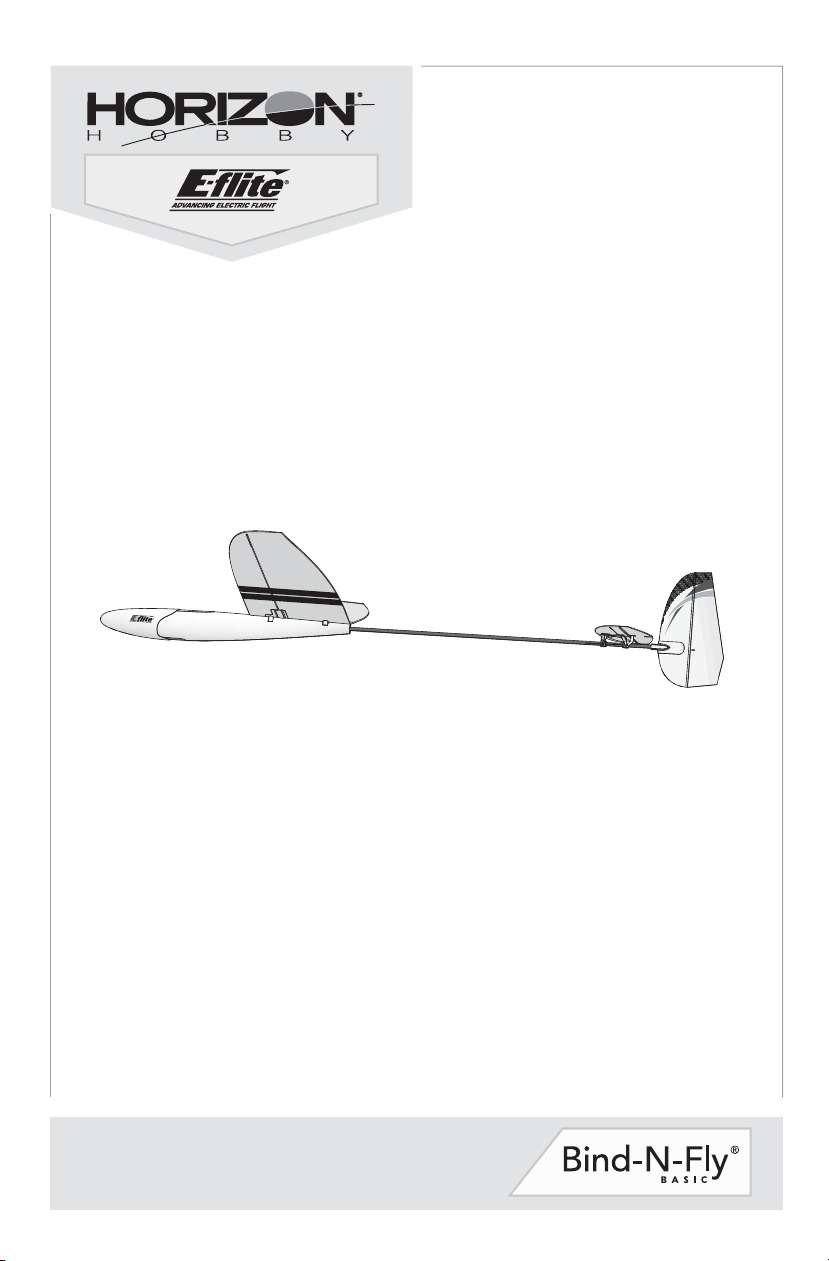
UMX™ Whipit
™
Instruction Manual

EN
NOTICE
All instructions, warranties and other collateral documents are subject to change at the sole discretion
of Horizon Hobby LLC.
support tab for this product.
The following terms are used throughout the product literature to indicate various levels of potential
harm when operating this product:
NOTICE: Procedures, which if not properly followed, create a possibility of physical property damage
AND little or no possibility of injury.
CAUTION: Procedures, which if not properly followed, create the probability of physical property
damage AND a possibility of serious injury.
WARNING: Procedures, which if not properly followed, create the probability of property damage,
collateral damage, and serious injury OR create a high probability of superfi cial injury.
WARNING: Read the ENTIRE instruction manual to become familiar with the features of the
product before operating. Failure to operate the product correctly can result in damage to the product,
personal property and cause serious injury.
This is a sophisticated hobby product. It must be operated with caution and common sense and requires
some basic mechanical ability. Failure to operate this product in a safe and responsible manner could
result in injury or damage to the product or other property. This product is not intended for use by
children without direct adult supervision. Do not use with incompatible components or alter this product
in any way outside of the instructions provided by Horizon Hobby, LLC. This manual contains instructions
for safety, operation and maintenance. It is essential to read and follow all the instructions and warnings
in the manual, prior to assembly, setup or use, in order to operate correctly and avoid damage or
serious injury.
For up-to-date product literature, visit www.horizonhobby.com and click on the
Meaning of Special Language:
Age Recommendation: Not for children under 14 years. This is not a toy.
Safety Precautions and Warnings
•
Always keep a safe distance in all directions
around your model to avoid collisions or injury.
This model is controlled by a radio signal subject
to interference from many sources outside your
control. Interference can cause momentary loss
of control.
• Always operate your model in open spaces away
from full-size vehicles, traffi c and people.
• Always carefully follow the directions and
warnings for this and any optional support equipment (chargers, rechargeable battery packs, etc.).
• Always keep all chemicals, small parts and
anything electrical out of the reach of children.
• Always avoid water exposure to all equipment
not specifi cally designed and protected for this
purpose. Moisture causes damage to electronics.
• Never place any portion of the model in your
mouth as it could cause serious injury or
even death.
2
• Never operate your model with low transmitter
batteries.
• Always keep aircraft in sight and under control.
• Always use fully charged batteries.
• Always keep the transmitter powered on while
aircraft is powered.
• Always remove batteries before disassembly.
• Always keep moving parts clean.
• Always keep parts dry.
• Always let parts cool after use before touching.
• Always remove batteries after use.
• Always ensure failsafe is properly set
before fl ying.
• Never operate aircraft with damaged wiring.
• Never touch moving parts.
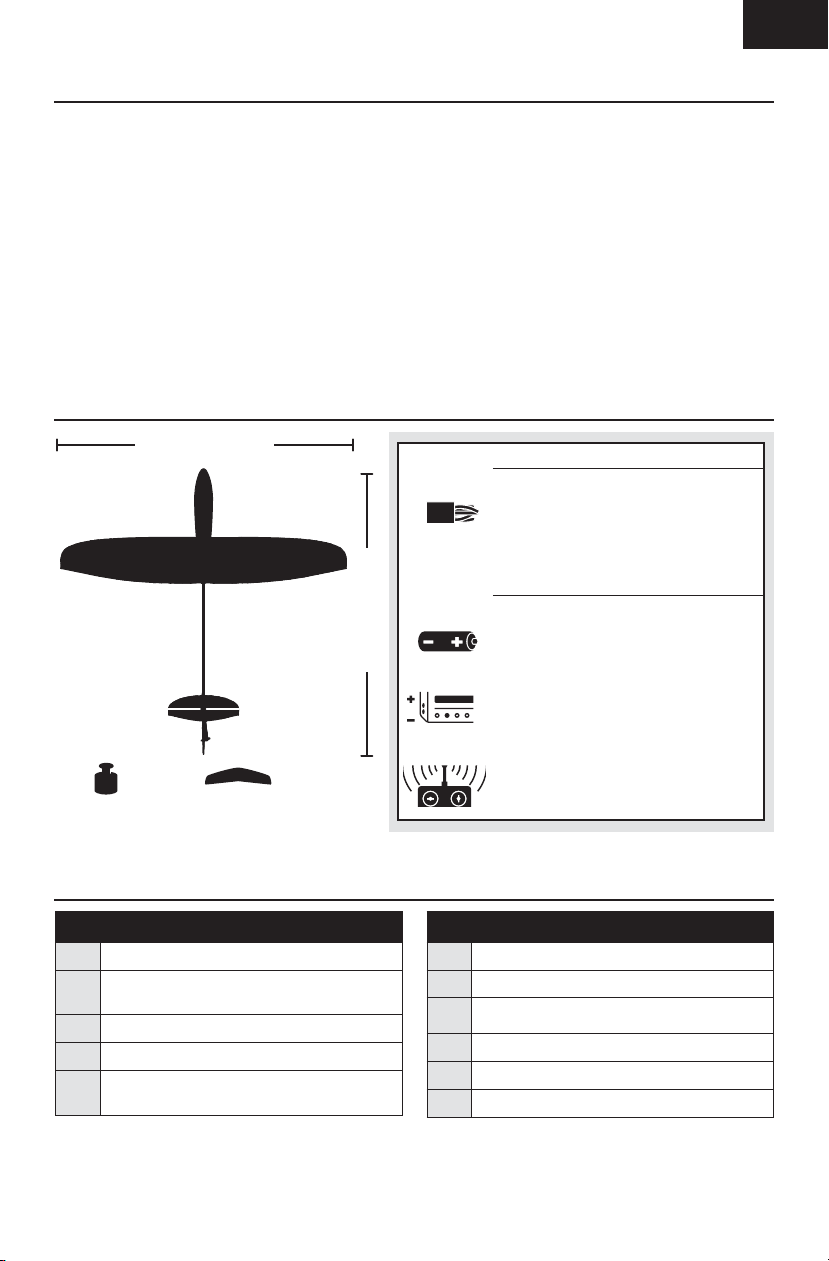
Table of Contents
EN
Transmitter Setup ..................................................4
Wing Installation ....................................................4
Transmitter and Receiver Binding ...........................5
Flight Battery Installation and Receiver Arming ......6
Center of Gravity (CG) Adjustment ..........................7
Control Direction Test .............................................7
Control Centering ..................................................8
Control Horn Settings .............................................8
Optional Decals ......................................................8
Flying Tips and Repairs ..........................................9
Post Flight Checklist ............................................10
Troubleshooting Guide .........................................10
Specifi cations
24.4 in (620mm)
24.2 in (615mm)
Limited Warranty .................................................11
Warranty and Service Information ........................12
FCC Information ...................................................12
IC Information ......................................................12
Compliance Information for the European Union ...13
Replacement Parts ...............................................47
Optional Parts and Accessories ............................47
Installed
Receiver : Receiver/ESC DSM2®/
DSMX® (PKZ3352)
Required to Complete
Battery: 150mAh 1S 3.7V 25C Li-Po
battery (EFLB1501S25)
Battery Charger : 1S Li-Po battery
charger.
1.53 oz
(43.3 g)
Prefl ight Checklist
9
1. Charge fl ight battery.
2. Install fl ight battery in aircraft (once it has
been fully charged).
3. Bind aircraft to transmitter.
4. Make sure linkages move freely.
5. Perform Control Direction Test with
transmitter.
To register your product online, go to www.e-fl iterc.com
Wing Area:
82.0 sq in
(5.30 sq dm)
Recommended Transmitter:
Spektrum™ DSM2®/DSMX® full range
with dual-rates (DX4e and up)
9
6. Set dual rates.
7. Adjust center of gravity.
8. Perform a radio system Range Check.
9. Find a safe and open area.
10. Plan fl ight for fl ying fi eld conditions.
11. Set fl ight timer for 45 minutes
3

EN
Transmitter Setup
Dual Rates
To obtain the best fl ight performance, we
recommend using a DSM2/DSMX radio capable
of adjustable Dual Rates. The suggested settings
shown here are the recommended starting settings.
Adjust according to the individual preferences after
the initial fl ight.
Dual Rate
High Low
Elevator 100% 70%
Rudder 100% 70%
NOTICE: Do not set your transmitter travel adjust
over 100%. If the TRAVEL ADJUST is set over
100%, it will not result in more control movement, it
will overdrive the servo and cause damage.
It is normal for linear servos to make signifi cant
noise. The noise is not an indication of a
faulty servo.
Wing Installation
Install the wing on the fuselage using 4 screws.
Tip: For the fi rst fl ight, fl y the model in low rate.
4

Transmitter and Receiver Binding
EN
Binding is the process of programming the receiver to recognize the GUID (Globally Unique Identifi er)
code of a single specifi c transmitter. You need to ‘bind’ your chosen Spektrum
equipped aircraft transmitter to the receiver for proper operation.
Any full range Spektrum DSM2/DSMX transmitter can bind to the DSM2/DSMX receiver. Please visit www.
bindnfl y.com for a complete list of compatible transmitters.
Binding Procedure
9
CAUTION: When using a Futaba transmitter with a Spektrum DSM® module, you must reverse the
throttle channel and rebind. Refer to your Spektrum module manual for binding and failsafe
instructions. Refer to your Futaba transmitter manual for instructions on reversing the throttle channel.
1. Refer to your transmitter’s unique instructions for binding to a receiver (location of transmitter’s
Bind control).
2. Make sure the fl ight battery is disconnected from the aircraft.
3. Power off your transmitter.
4. Connect the fl ight battery in the aircraft. The receiver LED will begin to fl ash rapidly (typically after
5 seconds).
5. Make sure the transmitter controls are neutral and the throttle and throttle trim are in low position.
6. Put your transmitter into bind mode. Refer to your transmitter’s manual for binding button or
switch instructions.
7. After 5 to 10 seconds, the receiver status LED will turn solid, indicating that the receiver is bound
to the transmitter. If the LED does not turn solid, refer to the Troubleshooting Guide at the back of
the manual.
™
DSM2/DSMX technology
5
 Loading...