

Page 1
Version 1.0 | 05/06/2013
User Manual
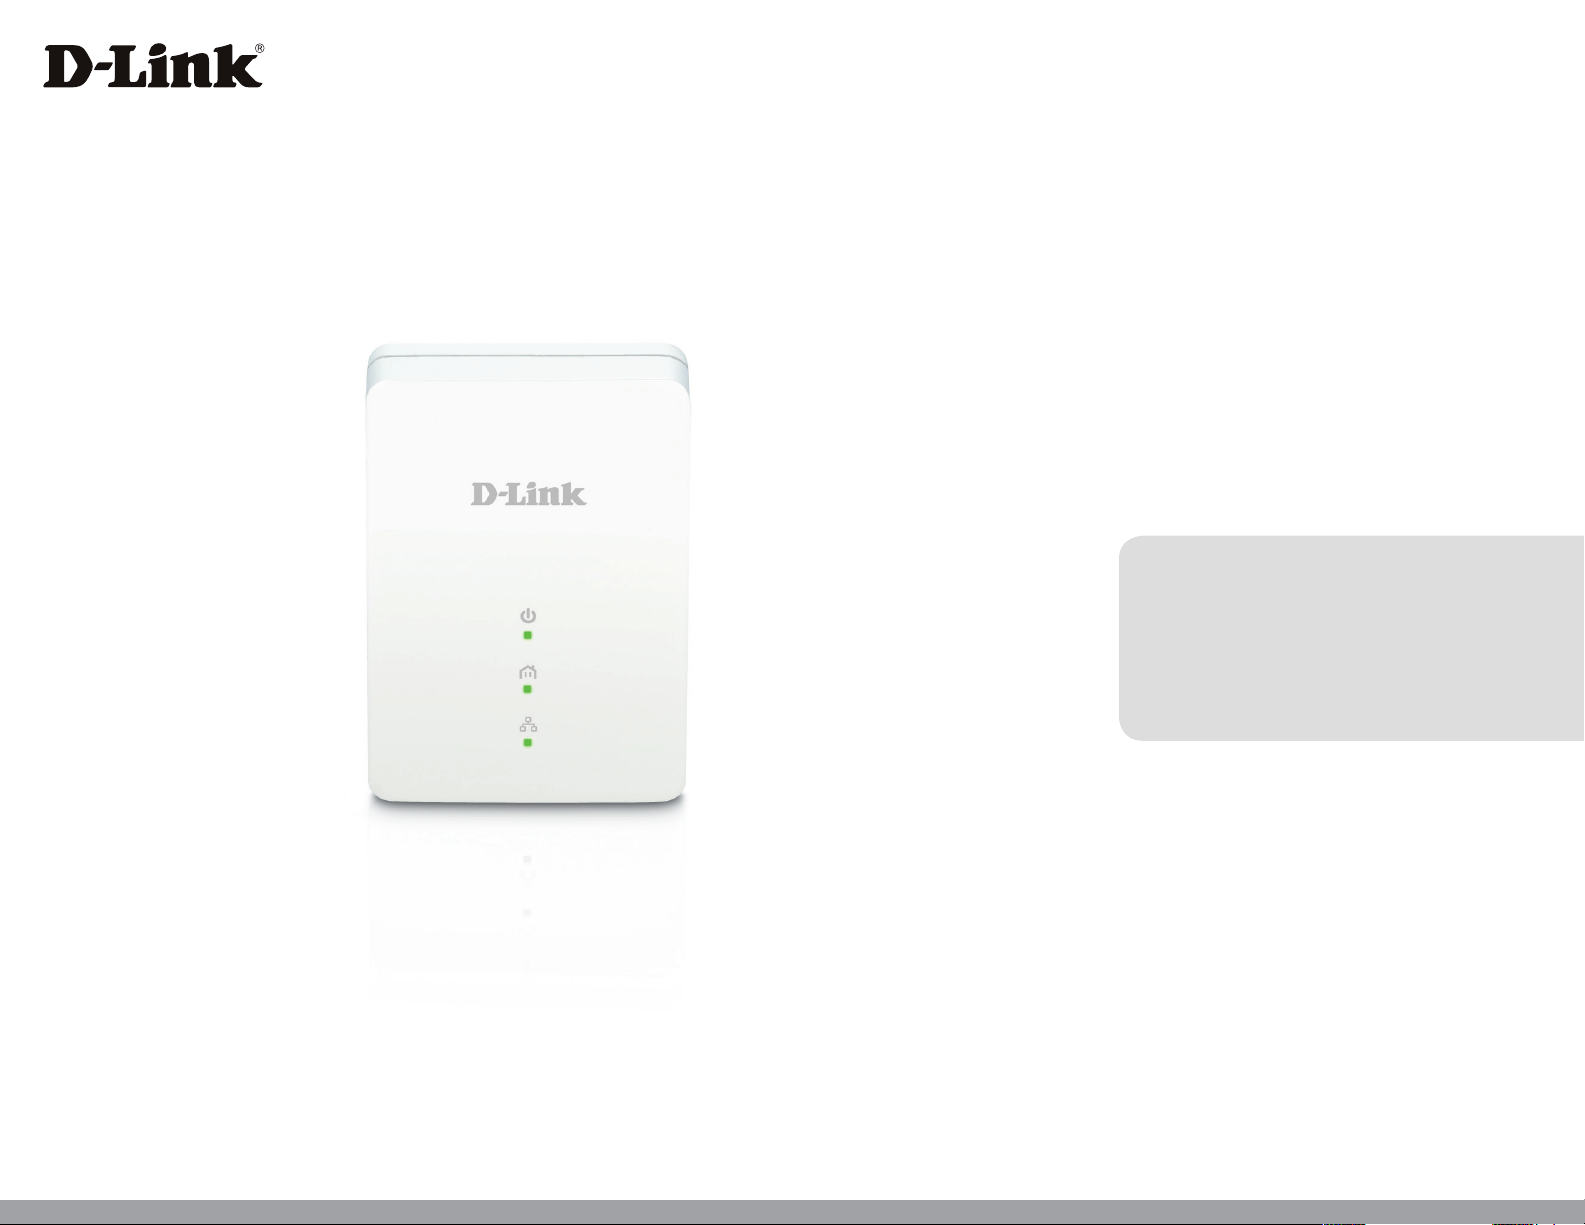
Powerline AV Mini Easy Adapter
GO-PL-200/GO-PLK-200
Page 2
Preface
D-Link reserves the right to revise this publication and to make changes in the content hereof without obligation to notify any
person or organization of such revisions or changes.
Manual Revisions
Revision Date Description
1.0 May 06, 2013 • Initial release for hardware revision A1
Trademarks
D-Link and the D-Link logo are trademarks or registered trademarks of D-Link Corporation or its subsidiaries in the United
States or other countries. All other company or product names mentioned herein are trademarks or registered trademarks of
their respective companies.
Copyright © 2013 by D-Link Systems, Inc.
All rights reserved. This publication may not be reproduced, in whole or in part, without prior expressed written permission
from D-Link Systems, Inc.
2D-Link GO-PL-200/GO-PLK-200 User Manual
Page 3

Table of Contents
Table of Contents
Preface .........................................................................................2
Manual Revisions .......................................................................... 2
Trademarks .....................................................................................2
Product Overview ......................................................................4
Package Contents ......................................................................... 4
Introduction ...................................................................................5
Features ............................................................................................5
Hardware Overview ..................................................................... 6
LEDs ........................................................................................... 6
Connection .............................................................................7
Hardware Installation ...............................................................8
Push Button Security ................................................................... 9
Powerline Installation Considerations ................................12
Troubleshooting ..................................................................... 14
Technical Specications ........................................................ 15
3D-Link GO-PL-200/GO-PLK-200 User Manual
Page 4
Section 1 - Product Overview
GO-PL-200
• D-Link GO-PL-200 Powerline AV Mini Easy Adapter
• Ethernet Cable
• Quick Install Guide
GO-PLK-200
• D-Link GO-PL-200 Powerline AV Mini Easy Adapter x2
• Ethernet Cable x2
• Quick Install Guide
Product Overview
Package Contents
4D-Link GO-PL-200/GO-PLK-200 User Manual
Page 5

Section 1 - Product Overview
Introduction
D-Link announces a fast, 200Mbps* Powerline AV Mini Easy Adapter which allows you to connect your computers, networking
devices and gaming devices through the most pervasive medium in your house - the electric wiring - and share Internet
connections, share printers, transfer les, play games, and more.
Features
• Provides Ethernet to Powerline Connection
• Fast Data Transfer Rate of Up to 200Mbps*
• One Ethernet port
• Plug & Play, Easy Installation
• Push Button Security
• Power Saving mode
• Quality of Service(QoS)
* Maximum throughput based on theoretical transmission PHY rate. Actual date throughput will vary. Network conditions and environmental factors, including volume of trac
and network overhead, may lower actual data throughput rate. Interference from devices that emit electrical noise, such as vacuum cleaners and hair dryers, may adversely aect
the performance of this product. This product may interfere with devices such as lighting systems that have a dimmer switch, short wave radios, or other powerline devices that
do not follow the HomePlug AV and IEEE1901 standard.
5D-Link GO-PL-200/GO-PLK-200 User Manual
Page 6

Section 1 - Product Overview
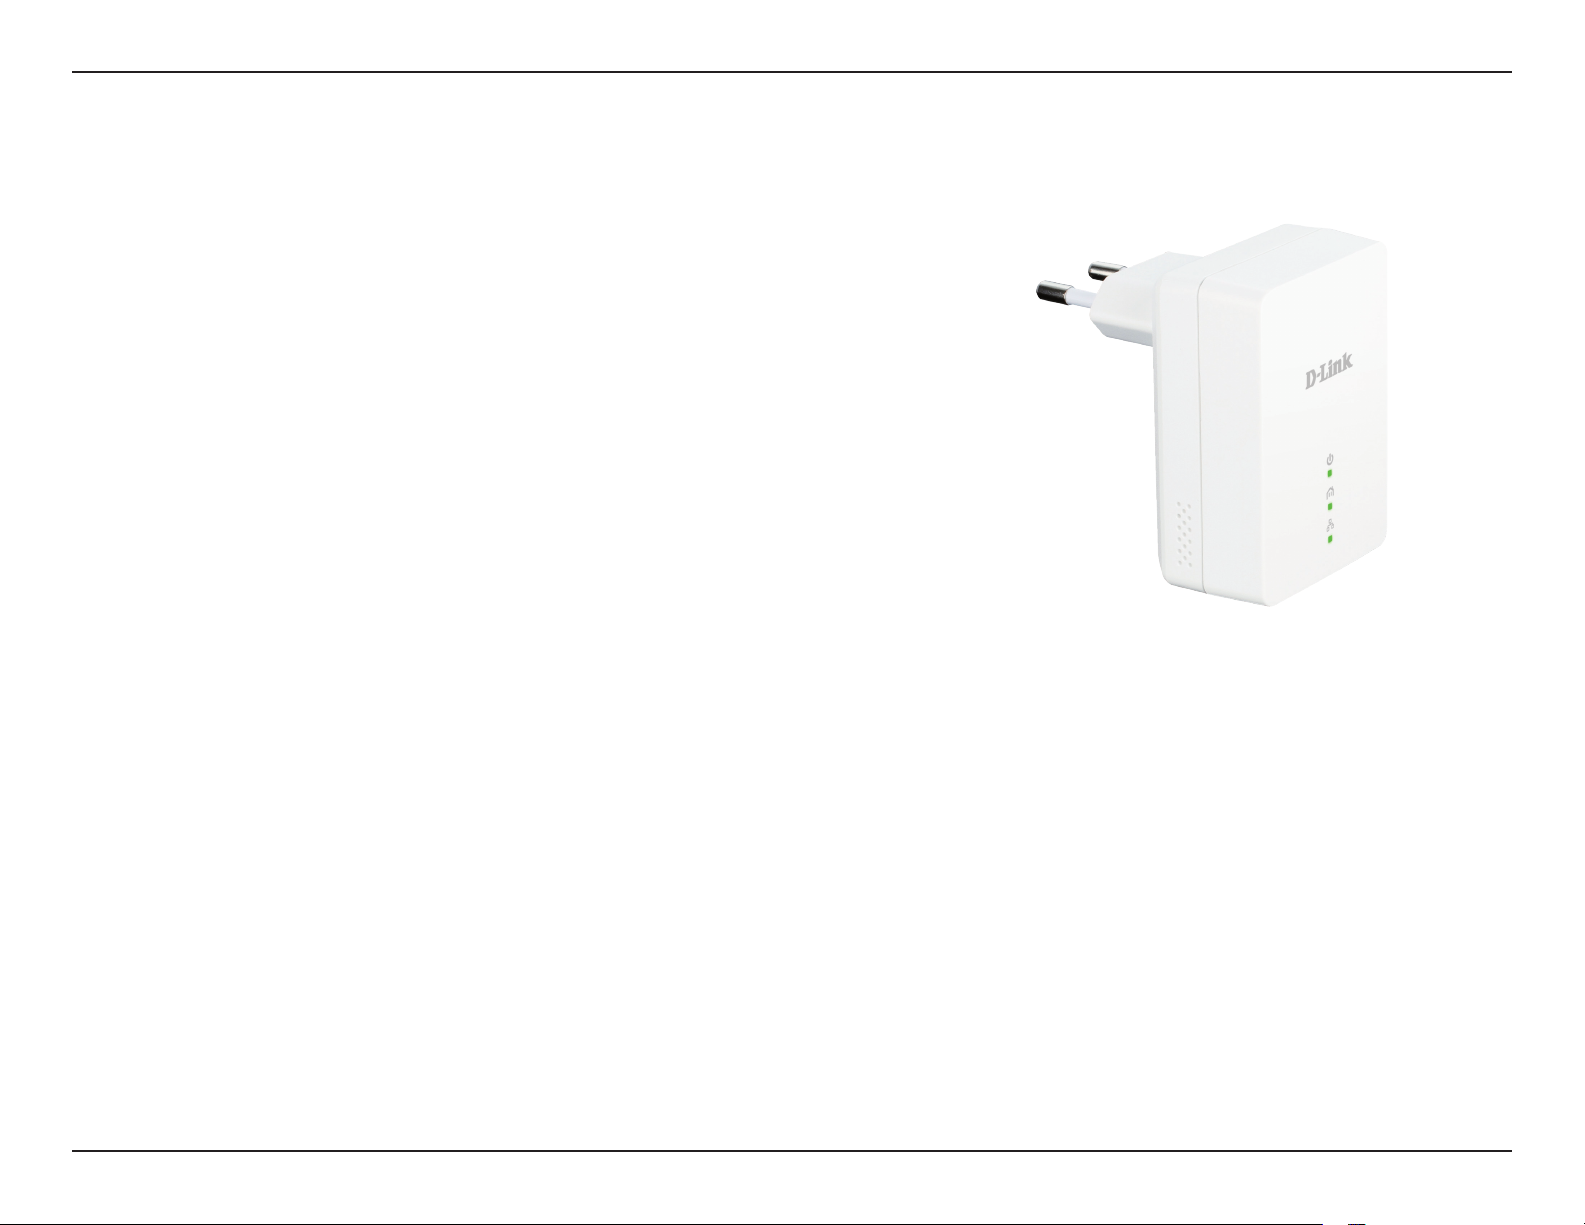
Power LED
• Solid. The device is receiving electrical
power.
• Blinking. The device is setting itself up
after reset or simple connect button was
pressed or power saving mode enabled.
• O. The device is not receiving electrical
power.
Hardware Overview
LEDs
Powerline LED
• Solid. The device is connected to a Powerline
network.
• O. The device has not found any other compatible
Powerline devices using the same encryption key.
The color indicates the Powerline link rate:
• Green. The Powerline link rate is excellent.
• Amber. The Powerline link rate is good
• Red. The Powerline link rate is fair.
Ethernet LED
• Solid. The Ethernet port is linked.
• O. There is no Ethernet connection.
6D-Link GO-PL-200/GO-PLK-200 User Manual
Page 7

Section 1 - Product Overview
Hardware Overview
Connection
Simple Connect Button
Press to secure your network or
reset your device back to the
factory default settings. Refer
to page 9 for more information.
Ethernet Port
Connects to your PC or Ethernet
device through an Ethernet cable.
7D-Link GO-PL-200/GO-PLK-200 User Manual
Page 8

Section 2 - Installation
Hardware Installation
Power
Plug in the GO-PL-200 into an AC wall outlet. Note that it is not recommended to connect the GO-PL-200 to a power
strip or UPS.
Note: Power source is conrmed when the Power LED on the GO-PL-200 is illuminated.
Connect the Ethernet Cable
Connect the included Ethernet cable to the Ethernet port
located on the GO-PL-200 and attach the other end of the
Ethernet cable to your PC or Ethernet device. Network
Connectivity is conrmed when the Ethernet LED on the
GO-PL-200 is illuminated.
Power Saving Mode Enabled
When the Ethernet link activity has been down for 5
minutes, the GO-PL-200 will automatically go into power
saving mode. The Power LED will blink intermittently.
ROOM A ROOM B ROOM C
2
1
ROOM C
GO-PL-200
PC
WARNING! D-Link powerline devices cannot be congured while in
Power Saving Mode.
GO-PL-200GO-PL-200
RouterInternet
EXI STI NG PLC NET WOR K
PC
GO-PL-200
PC
8D-Link GO-PL-200/GO-PLK-200 User Manual
Page 9

Section 2 - Installation
Push Button Security
Understanding Powerline AV Mini Easy Adapter Security
Powerline AV Mini Easy Adapters must use the same encryption key in order to be on the same network. The default encryption
key of each Powerline AV Mini Easy Adapter is HomePlug AV. All Powerline AV Mini Easy Adapters with default encryption key
can communicate with each other.
It’s recommended to create a private encryption key for network security purposes. The private encryption key allows you to
protect your network from unauthorized access via the Powerline network. To create a private encryption key, please follow
the steps below:
1. All Adapters
Plug in all the adapters to be congured and make sure each device’s encryption key is set to HomePlug AV (default value). If
the encryption key is not set to the default value, press the Simple connect button for 10 seconds to reset it to the default value.
2. First Adapter
Press the Simple Connect Button of the rst adapter for no more than three seconds.
The Power LED will start blinking after you release the button. The adapter will create a private, randomly generated encryption
key that each Powerline AV Mini Easy Adapter will use.
3. Second Adapter
9D-Link GO-PL-200/GO-PLK-200 User Manual
Page 10

Section 2 - Installation
Within two minutes of pushing the Simple connect button of the rst adapter, press the Simple Connect Button on the second
adapter in your Powerline network for no more than three seconds. The Power LED will start blinking after you release the
button.
Note: Both Simple connect buttons must be pressed within two minutes.
Your Powerline network is now securely congured with the same network encryption key. The adapters will remember the
security settings even if they are unplugged.
Note: To change the private encryption key, please reset the adapter back to its default value by pressing the Simple Connect
button for 10 seconds and then follow the security setup procedure above.
4. Adding More Adapters
If you would like to add more than two adapters, press the Simple Connect Button on the additional adapter for no more than
three seconds. The Power LED will start blinking after you release the button.
press the Simple Connect Button on any adapter in your existing Powerline network for no more than two seconds. The Power
LED will start blinking after you release the button.
Note: Both Simple connect buttons must be pressed within two minutes.
Now your new adapter will be able to connect to your existing Powerline network.
10D-Link GO-PL-200/GO-PLK-200 User Manual
Page 11

Section 2 - Installation
ROOM A ROOM B
1 2
ROOM A ROOM B
3
RouterInternet
GO-PL-200GO-PL-200RouterInternet
GO-PL-200GO-PL-200
PC
PC
11D-Link GO-PL-200/GO-PLK-200 User Manual
Page 12

Section 2 - Installation
Powerline Installation Considerations
Plan the location of your Powerline devices:
1. Connect Powerline devices to electrical outlets that are not controlled by a wall
switch to avoid accidentally turning o power to the device.
2. Do not connect the Powerline devices to an extension cord, surge protector, or
power strip as this might prevent it from working correctly, or reduce network
performance.
3. Avoid using the Powerline devices in an electrical outlet that is located near an
appliance that uses a lot of power, such as a washer or dryer, microwave, or a
refrigerator. This may prevent the adapter from working correctly, or negatively
impact network performance.
4. Verify that your Powerline devices are electrically rated to operate with the power available in your location.
5. To help prevent against electrical shock, be sure to plug the power cables into properly grounded electrical outlets.
6. The Powerline device is equipped with a three-pronged plug to help ensure proper grounding. Do not use adapter plugs
or remove the grounding prong from the cable.
12D-Link GO-PL-200/GO-PLK-200 User Manual
Page 13

Section 2 - Installation
7. Important safety instructions
Please read all of the safety and operating instructions before using your device:
1. Do not open the device or attempt to repair or service the device.
2. Only use the included power adapter to power your device.
3. Ensure that the device is plugged into the wall in a vertical position, with the ports facing down.
4. Use the device in a dry location, and avoid placing it in humid environments.
5. Do not submerge the device in liquid or attempt to clean it with liquids or solvents. To clean the device, disconnect it
from the power outlet and use a damp towel.
6. Keep the device out of direct sunlight.
7. Do not cover or block the vents on the device.
8. Make sure that the device has adequate room for ventilation.
9. Avoid placing the device near a heater or radiator.
10. The device should be located only where sucient ventilation can be ensured.
13D-Link GO-PL-200/GO-PLK-200 User Manual
Page 14

Section 5 - Troubleshooting
Troubleshooting
• I can’t congure the Powerline AV Mini Easy Adapter, an error is shown when I try to congure it:
Please make sure you have not unplugged the Powerline AV Mini Easy Adapter while conguring it.
• I changed the Ethernet cable to another Network adapter and now the utility does not work correctly:
Please restart the utility each time you disconnect the Ethernet cable.
• I’m having problems conguring my network:
If you are having problems conguring the network with two or more Powerline AV Mini Easy Adapters, please make a reset
all of the Network adapters and start conguring the adapters again. Please see page 9 for more details.
14D-Link GO-PL-200/GO-PLK-200 User Manual
Page 15

Appendix A - Technical Specications
Technical Specications
Network Ports
• One Ethernet port
AC Input
• 100-240V, 50/60Hz, 0.1A
Standard
• Compatible with IEEE1901
• Homeplug AV
EMC
• CE Class B / FCC
Safety
• CE LVD / UL
Encryption
• 128-bit AES
Operation Temperature
• 0°C ~ 40°C
Storage Temperature
• -10°C ~ 70°C
Humidity
• Operation: 10% ~ 90% RH
• Storage: 5% ~ 90% RH
15D-Link GO-PL-200/GO-PLK-200 User Manual
 Loading...