

Page 1
Using the Configuration Utility (continued)
Site Survey > Add
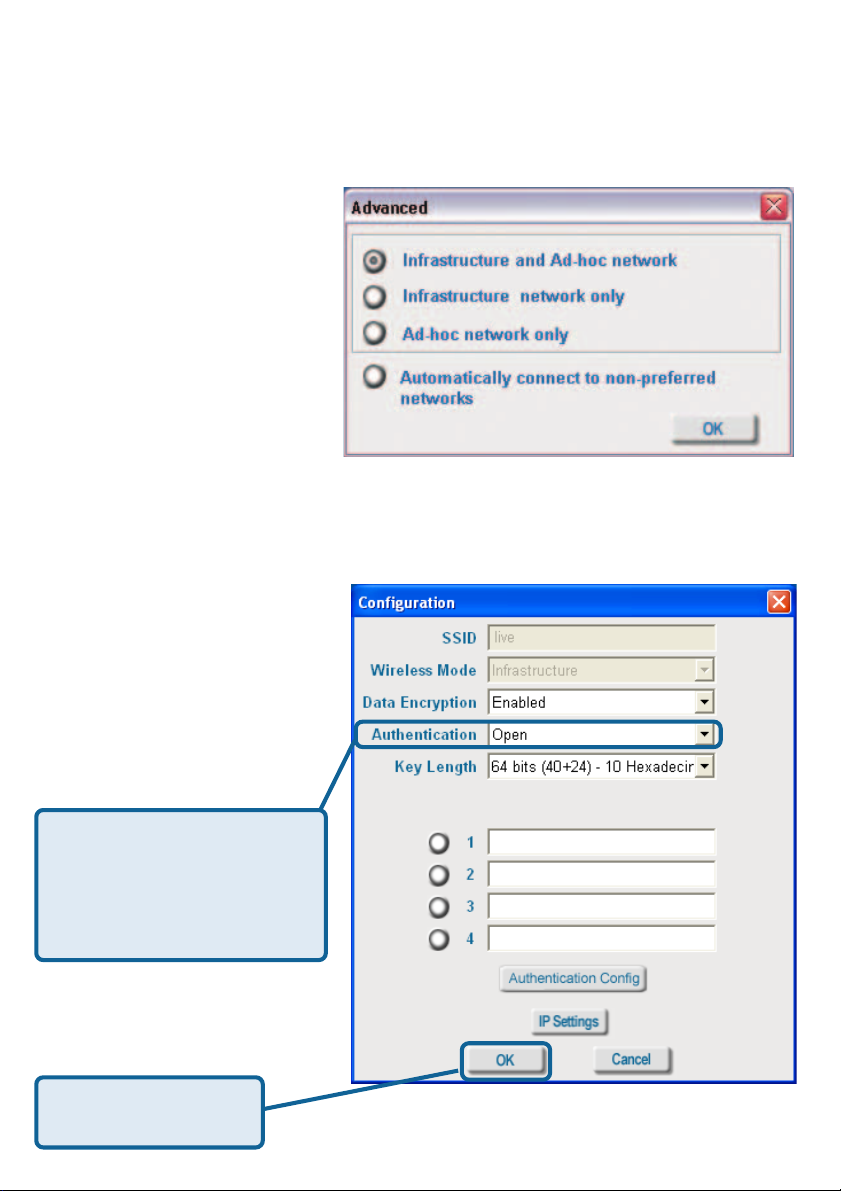
Advanced
In this window you can select
the type of network connection.
Click OK to save the
changes.
If you clicked on Add, you can
configure, in this window, all the
properties of a profile that you
wish to add to the network.
If you clicked on Configuration
or Properties you can configure, in this window, all the properties of a profile that already
exists in the network.
Configuration, Add or Properties
If you select WP A in the
Authentication field, please
see detailed instructions for
configuring WP A on the
following pages.
Click OK to save the
changes.
16
Page 2
Using the Configuration Utility (continued)
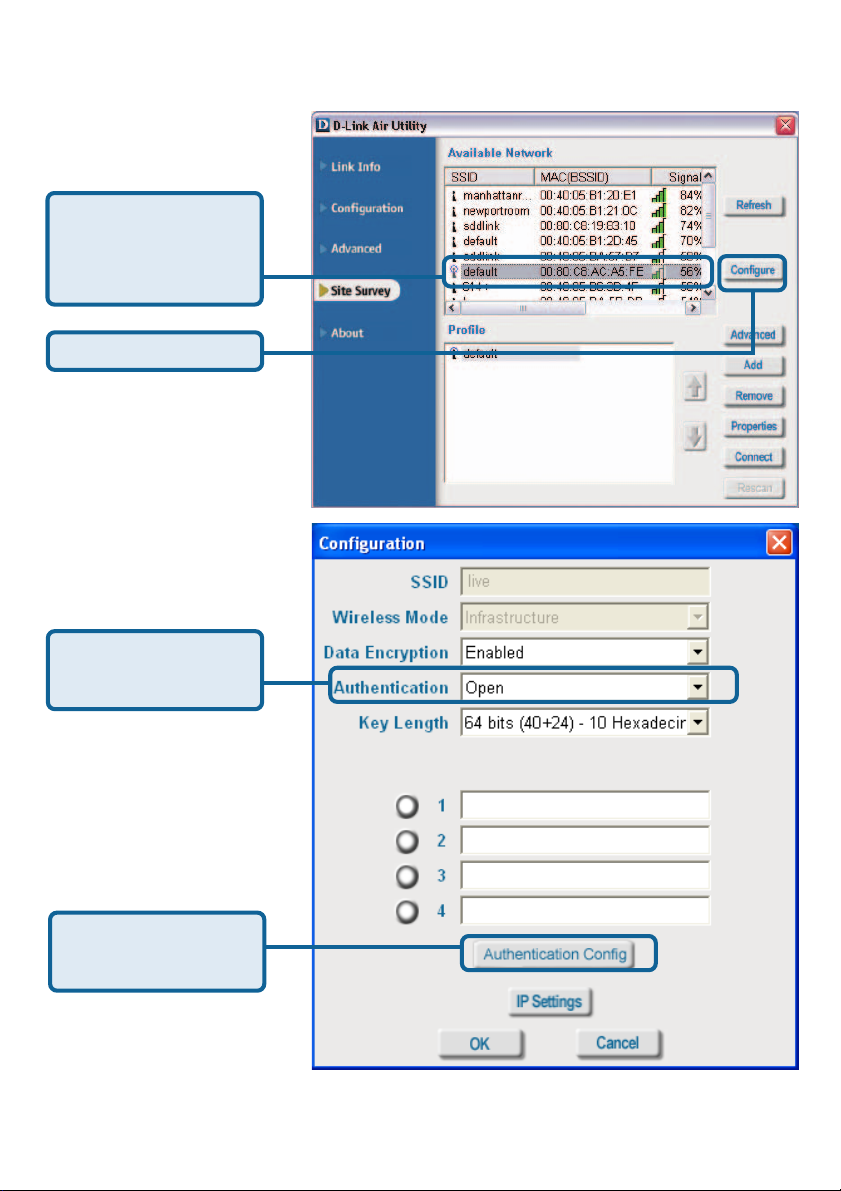
Authentication > WP A
Select the available
network to which you
want to connect.
Click Configure.
Select WPA in the
Authentication field.
Click Authentication
Config
After you click Authentication Config, the Advanced Security Settings screen will ap-
pear. Complete the Advanced Security Settings configuration. Please see pages 17-20 of
this manual to find out more about the Advanced Security Settings.
17
Page 3
Using the Configuration Utility (continued)
Authentication > WP A-PSK
Select the available
network to which you
want to connect.
Click Configure.
WPA-PSK does
not require a
RADIUS Server
in the network.
Select WPA-PSK in
the Authentication
field.
Click Authentication
Config
18
Page 4
Using the Configuration Utility (continued)
Authentication > WP A-PSK (continued)
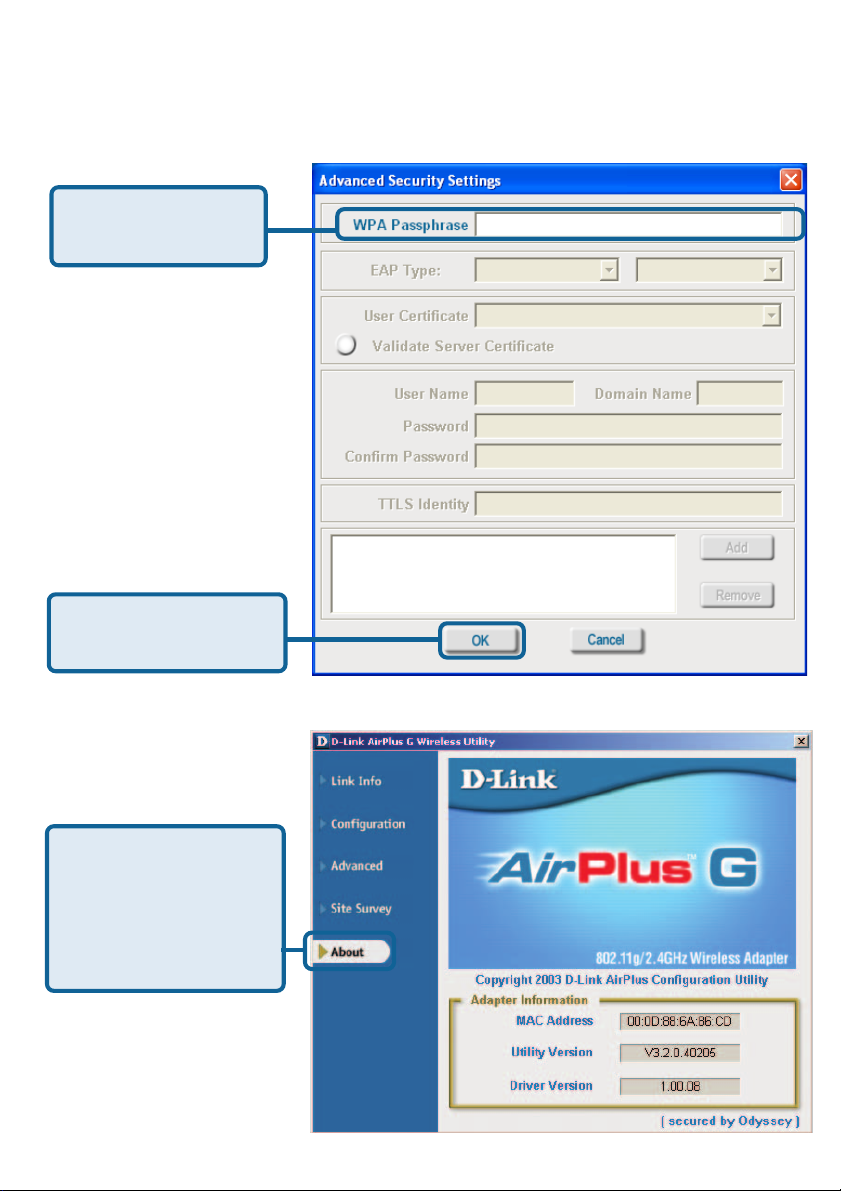
Advanced Security Settings
Enter the WPA
Passphrase.
Click OK.
The configuration is done.
The About screen gives
you the MAC address,
Utility Version and the
Driver Version of the
DWL-G120.
About
19
Page 5
Using the Configuration Utility with Macintosh OS
After you have completed the installation of the DWL-G120 into your
Macintosh computer (please refer to the Quick Installation Guide included
with the product), follow the steps below to access the configuration settings.
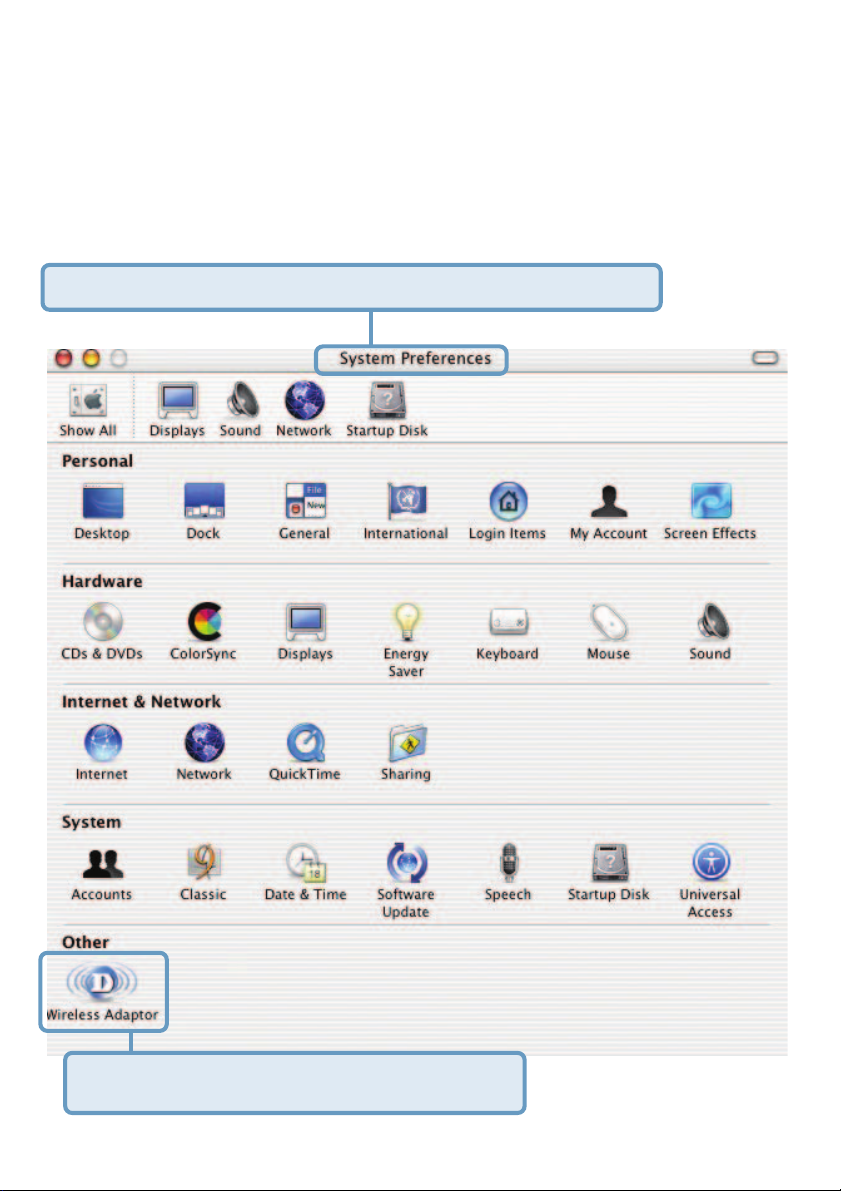
From the Apple pull-down menu select System Preferences.
Double-click on the Wireless Adaptor icon.
20
Page 6

Using the Configuration Utility with Macintosh OS
(continued)
This window will appear displaying the
following:
Current Wireless
Network settings:
Network Name; Network T ype; Link St atus; Channel; and
Signal Strength.
Available Wireless
Networks includ-
ing:
Name; T ype; Signal;
Channel; Privacy.
Start Scan:
Click Start Scan to
rescan for an available wireless network at your current
location.
Connect: Highlight a
network profile and
click Connect to
connect to that network profile.
Wireless Adaptor Settings:
Radio On: Select or deselect
Frequency Band: Displays the frequency band; default is 2.4GHz
(may not be changeable).
Click Show My Networks to manage your network profiles.
21
Page 7

Using the Configuration Utility with Macintosh OS
(continued)
My Networks
Connect: Highlight a network profile and click Connect to connect to that net-
work profile.
Properties: Highlight a network profile and click Properties to configure that
network profile. (See screens on the next page.)
Remove: Highlight a network profile and click Remove to remove that network
from the profile list.
Create: Click Create to create a new network profile, manually. (See screens
on the next page.)
22
Page 8

Using the Configuration Utility with Macintosh OS
(continued)
My Networks >
Create and/or Properties
Select the level of WEP encryption. In the example, 40 Bits ASCII
was chosen.
Enter the WEP string, in this case
5 ASCII characters have been
entered.
Select the key that you wish to
use. You can input up to four
keys.
23
Page 9

Networking Basics
Using the Network Setup Wizard in Windows XP
In this section you will learn how to establish a network at home or work,
using Microsoft Windows XP.
Note: Please refer to websites such as
http://www.microsoft.com/windows2000 for information about networking
and
computers using Windows 2000/Me/98SE.
Go to Start>Control Panel>Network Connections
Select Set up a home or small office network
http://www.homenethelp.com
When this screen appears, click Next.
24
Page 10

Networking Basics (continued)
Please follow all the instructions in this window:
Click Next.
In the following window, select the best description of your computer. If your
computer connects to the Internet through a router, select the second option
as shown.
Click Next.
25
Page 11

Networking Basics (continued)
Enter a Computer description and a Computer name (optional.)
Click Next.
Enter a Workgroup name. All computers on your network should have the
same Workgroup name.
Click Next.
26
Page 12

Networking Basics (continued)
Please wait while the Network Setup Wizard applies the changes.
When the changes are complete, click Next.
Please wait while the Network Setup Wizard configures the computer.
This may take a few minutes.
27
Page 13

Networking Basics (continued)
In the window below, select the option that fit s your needs. In this example,
Create a Network Setup Disk has been selected. You will run this disk on
each of the computers on your network. Click Next.
Insert a disk into the Floppy Disk Drive, in this case drive A.
28
Page 14

Networking Basics (continued)
Please read the information under Here’s how in the screen below. After you
complete the Network Setup Wizard you will use the Network Setup Disk to
run the Network Setup Wizard once on each of the computers on your network. To continue click Next.
29
Page 15

Networking Basics (continued)
Please read the information on this screen, then click Finish to complete the
Network Setup Wizard.
The new settings will take effect when you restart the computer. Click Yes to
restart the computer.
You have completed configuring this computer. Next, you will need to run the
Network Setup Disk on all the other computers on your network. Af ter running
the Network Setup Disk on all your computers, your new wireless network
will be ready to use.
30
 Loading...