

Page 1
This product can be set up
using any current web
browser, i.e., Internet Explorer,
Netscape Navigator.
DSL-302G
ADSL USB/Ethernet
Modem
Read This First!
This Quick Installation Guide introduces you to your new DSL modem and walks you
step-by-step through the process of installing the modem on your computer. Please make
sure to follow each step carefully. For more detailed information on the functions and
features of the DSL modem, please refer to the User’s Manual located on the included
CD-ROM.
Before continuing, you will need to know the VPI/VCI numbers and the
encapsulation method (LLC or VC Mux) used for the ADSL connection. If
you do not know these information, please contact your ISP.
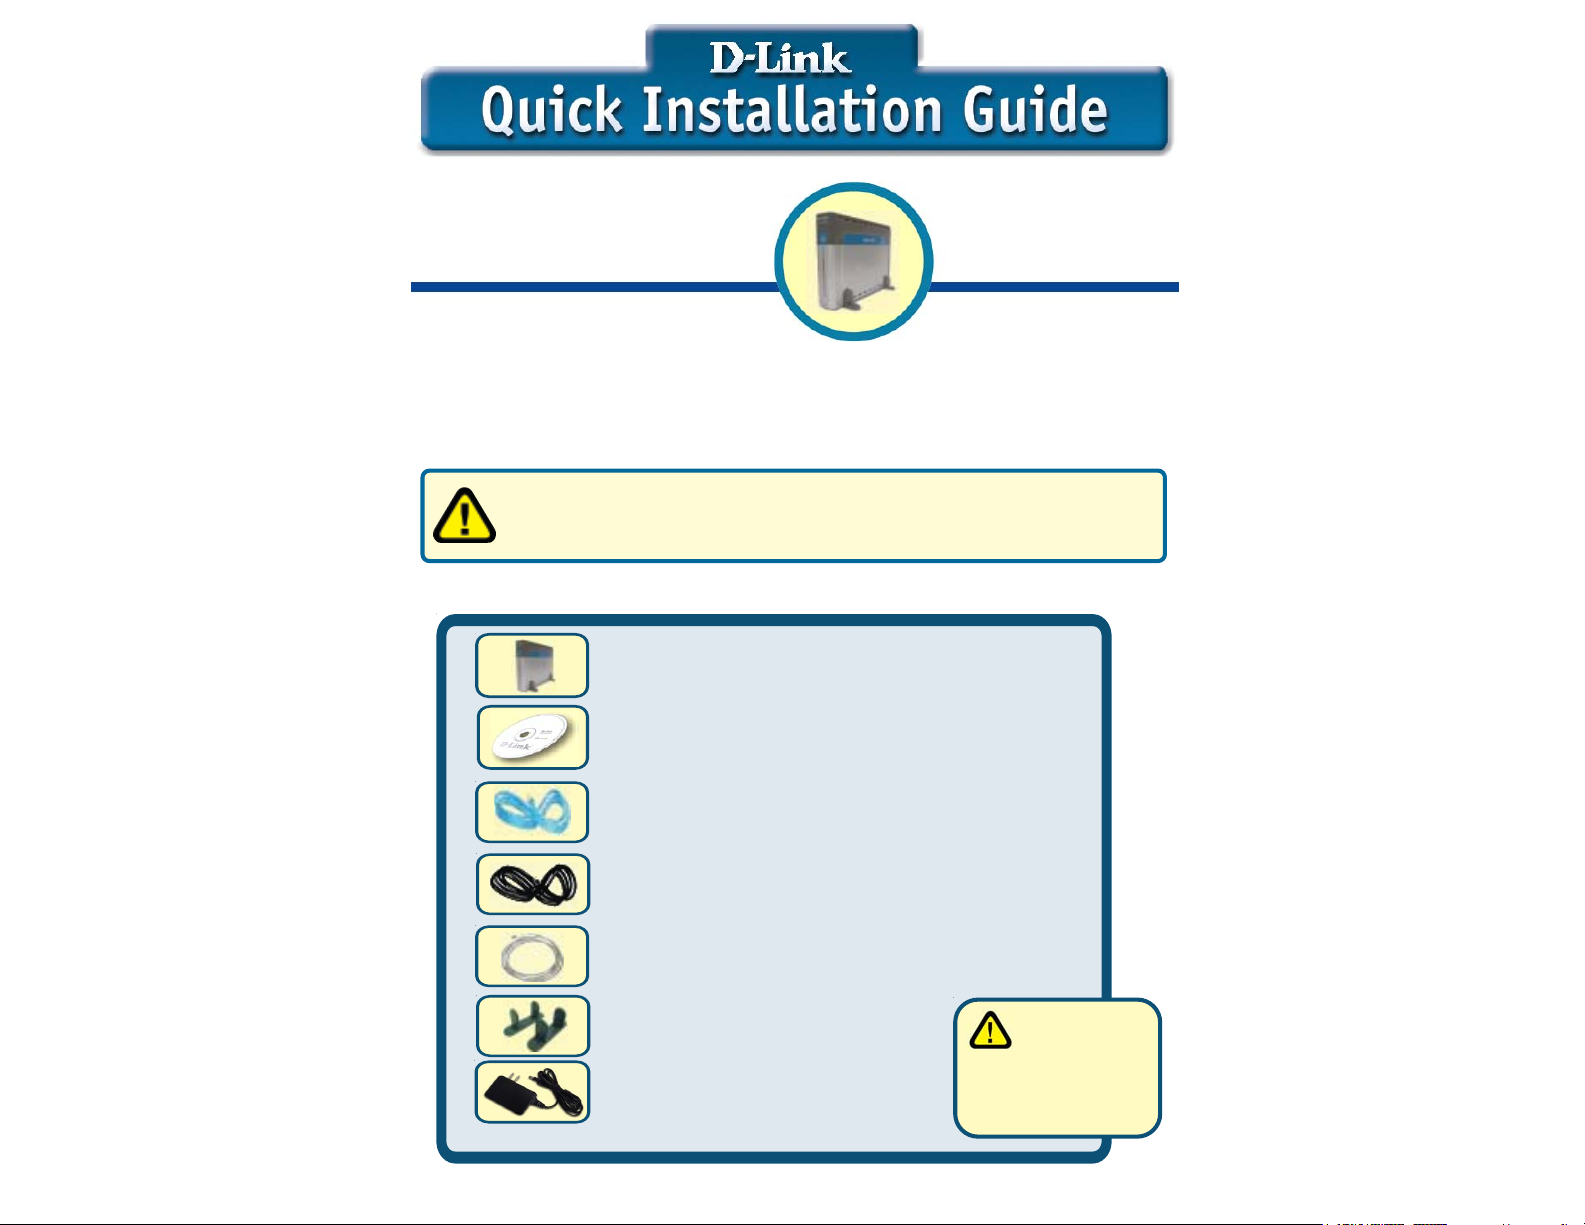
Check Your Package Contents
DSL-302G ADSL USB/Ethernet Modem
CD-ROM (containing Manual, Drivers and
Warranty)
Ethernet (CAT5 UTP) Cable (blue)
RJ-11 Telephone Cord (black)
USB Cable (transparent)
Device Feet (one pair)
9V DC, 1A Power Adapter
If any of the above items are missing, please contact your reseller.
©2002 D-Link Systems, Inc. All rights reserved. Trademarks or registered trademarks are the property of their respective holders. Software and
specifications subject to change without notice. DSL-302G.09232002
Using a power
supply with a
different voltage rating
will damage and void
the warranty for this
product.
Page 2
Pre-Installation
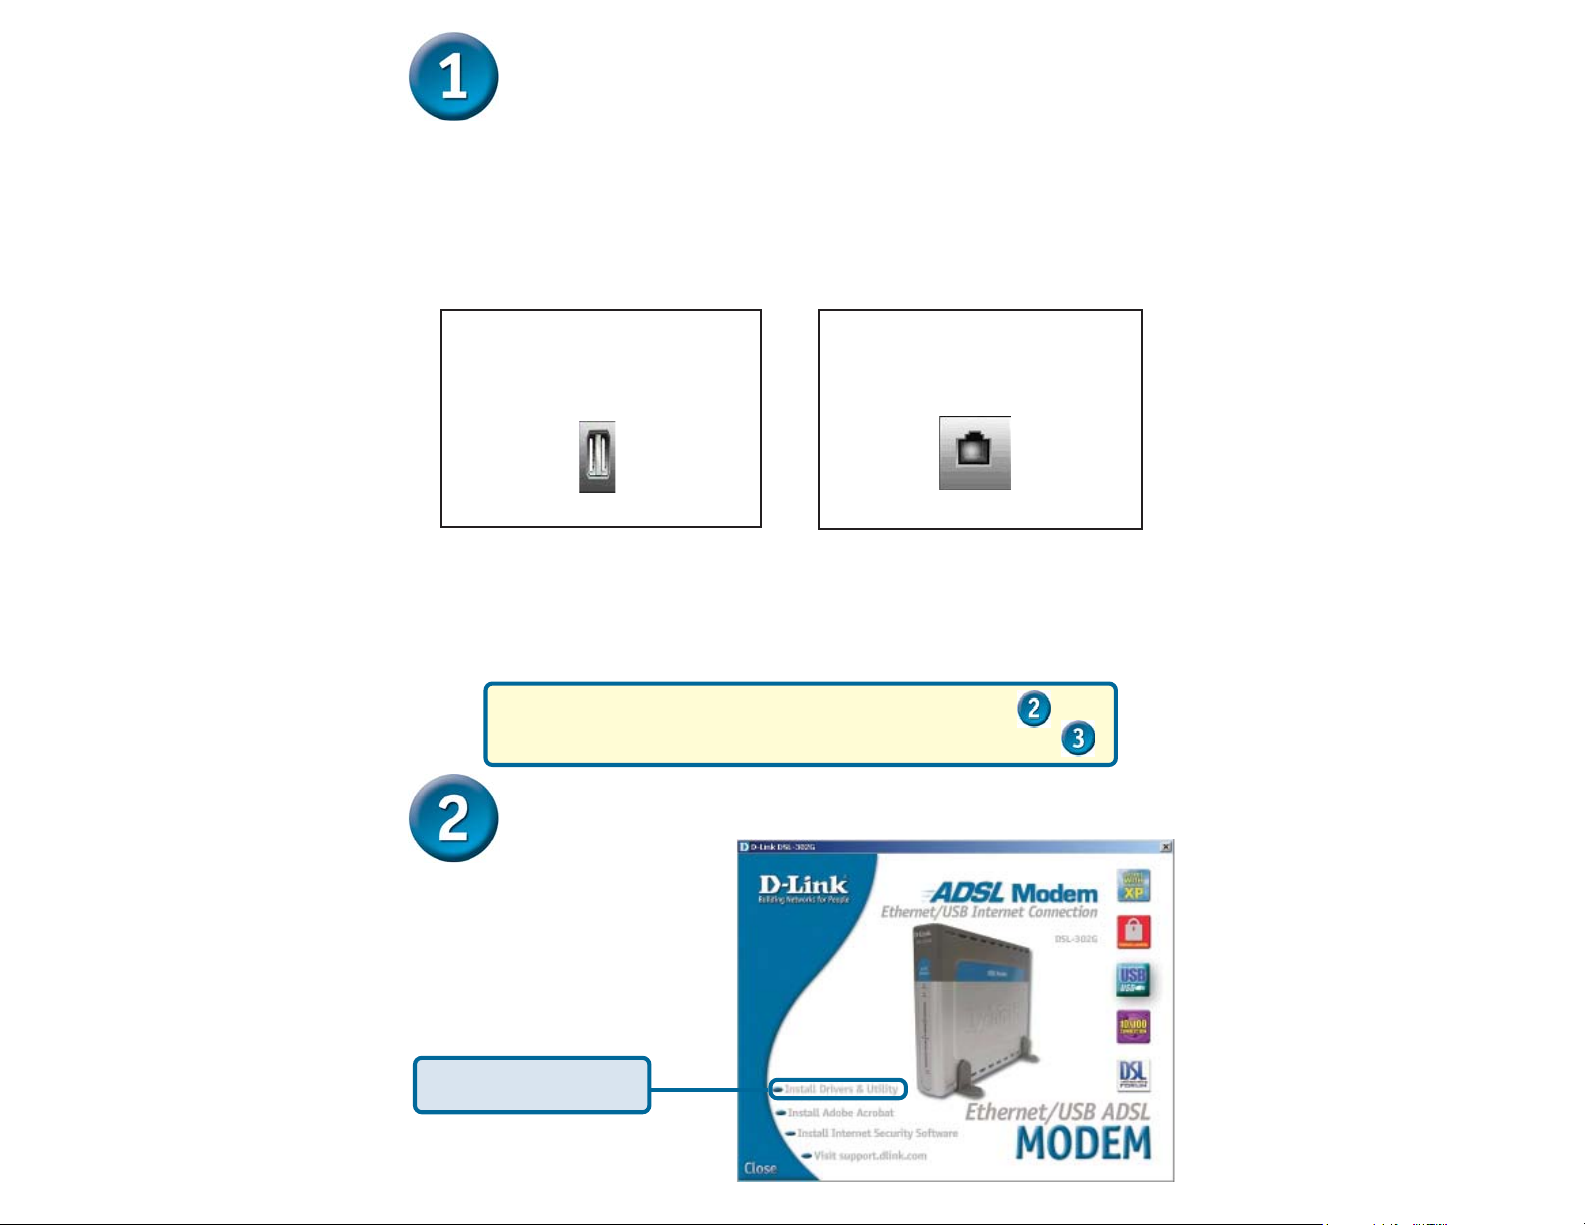
This section explains how to physically connect the DSL-302G to your computer. Before
you begin, visually inspect the rear of your computer and make sure it has either a USB
or Ethernet port as shown below. If you are uncertain as to the different type of ports,
please consult the manuals that came with your computer. If your computer does not
have one of the two ports, you need to purchase and install a USB or Ethernet adapter
before proceeding with the installation.
Requirements:
For USB:
• Your computer has a functional USB
port.
• Only for Microsoft Windows
98SE/Me/2K/XP Operating Systems.
USB Port Ethernet Port
Make sure that your ADSL service is enabled. If you are not sure, please contact your
ISP to verify. Since both ADSL and your telephone service uses the same telephone line
wire, you are susceptible to noise and interference. To eliminate these noise, you must
use a micro-filter with all other telephony devices such as your telephone, fax machine,
and answering machine. Please refer to the Appendix at the end of this guide for more
information.
For Ethernet:
• Your computer has pre-installed or built-in
Ethernet adapter.
• Can be used for all Operating Systems.
For USB Installation, please continue to step
For Ethernet Installation, please continue to step
USB Installation (for Windows 98SE/Me/2K/XP)
Insert the DSL-302G CD-ROM
into the computer. The following
auto-run screen will appear:
Click on Install Drivers &
Utility
Page 3
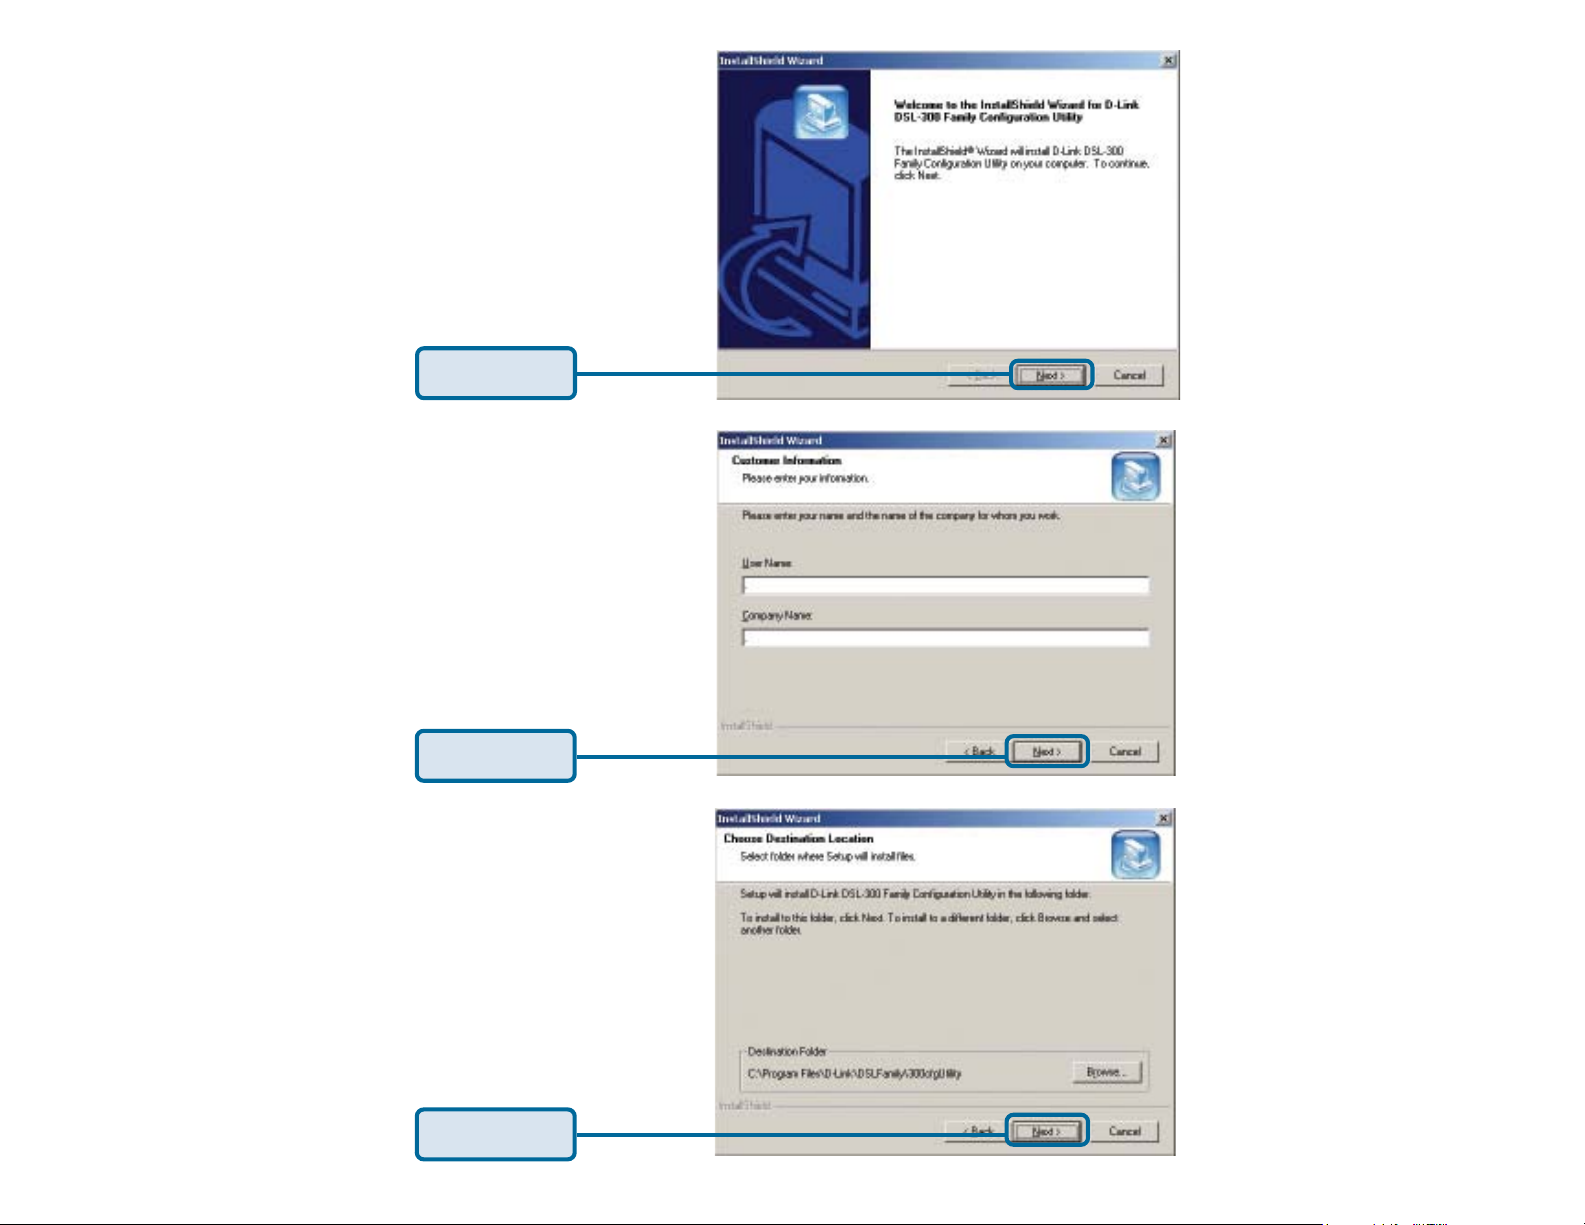
Click Next
Enter in a User Name and
Company name.
Click Next
Click Next
Page 4
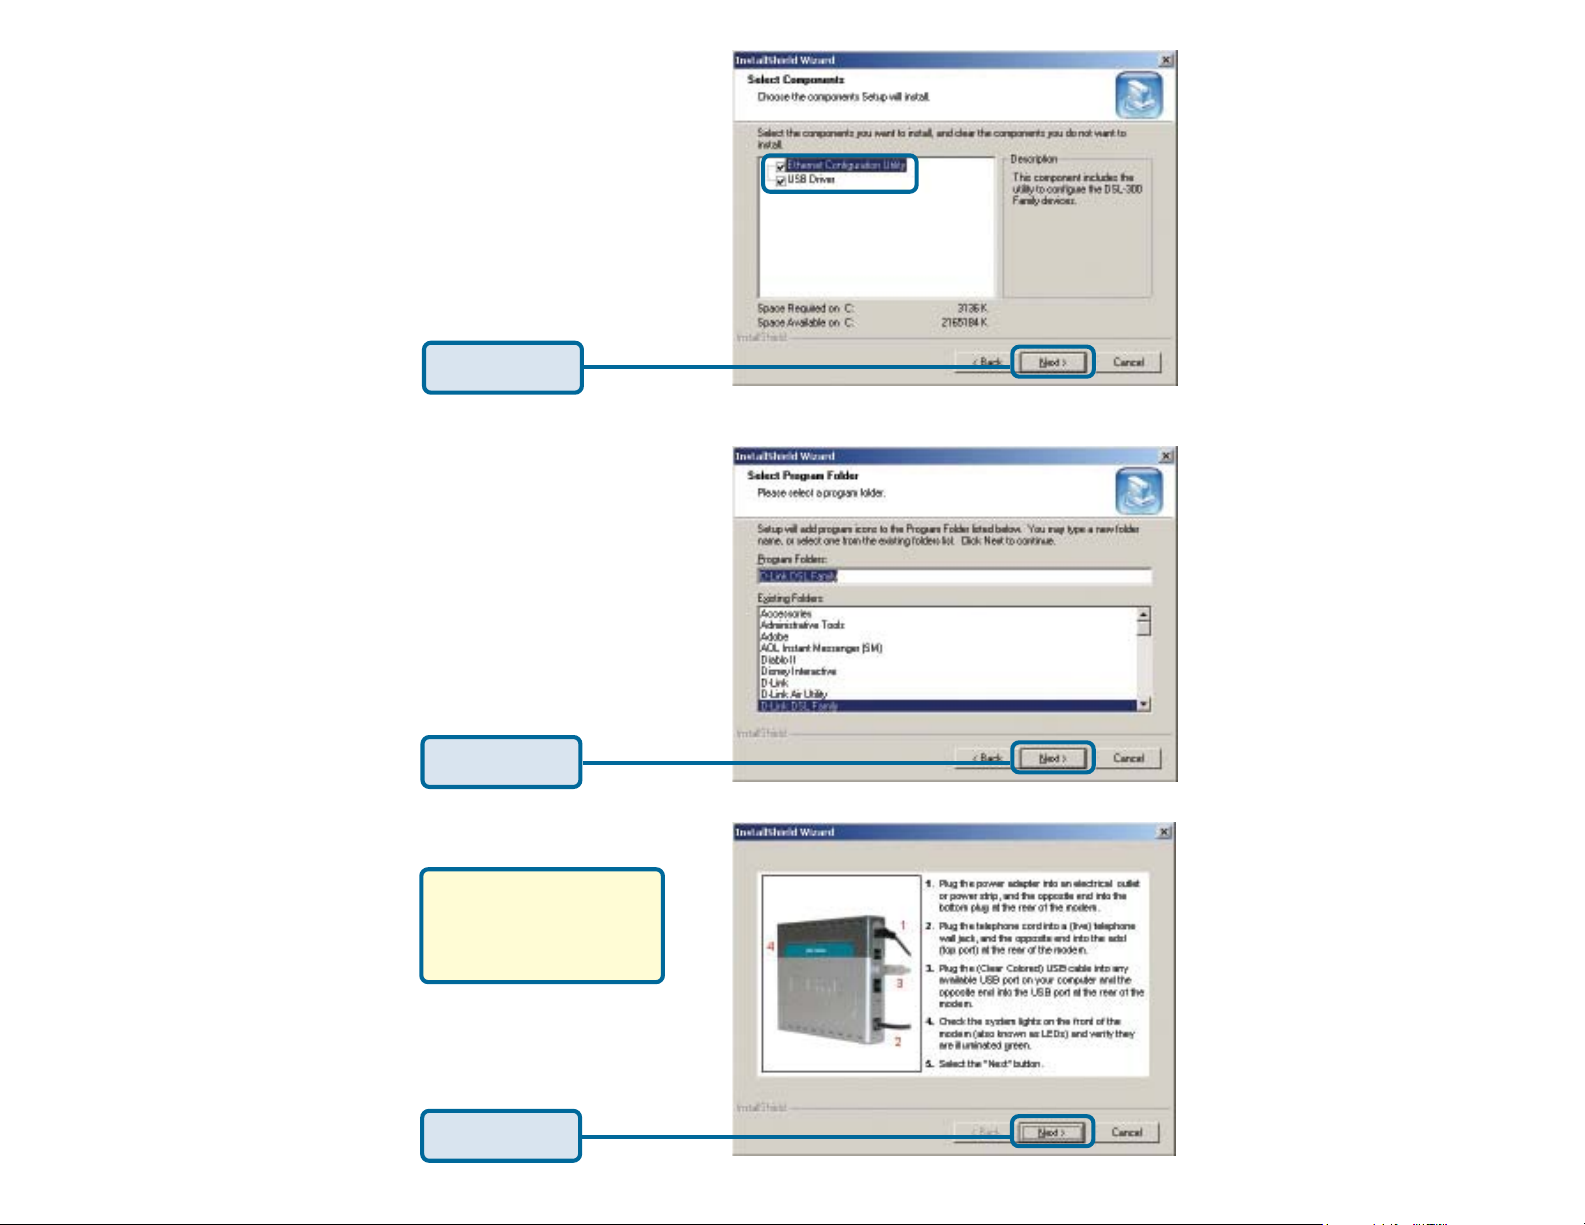
Make sure both boxes are
checked.
Click Next
Click Next
Follow the on-screen
instructions to physically
connect the modem
before moving further.
Click Next
Page 5

Click Finish to reboot
the computer
After the computer restarts, the USB drivers should now be installed.
Please proceed to step to configure the DSL-302G.
Ethernet Installation (for all Operating Systems)
Connect the DSL-302G to a suitable power source.
Once the unit is powered on, insert one end of the
included Ethernet cable into the Ethernet port, and the
other end into the Ethernet port of the NIC card installed
on your computer. Make sure your computer is turned
on.
Note: If the cable connection is good, a green LED on the front of the device labeled
Ethernet/Link will glow steadily.
Page 6

Now connect the telephone cable to the ADSL port on
the back of the device. Connect the other end of the
cable to the telephone wall jack.
To Power Supply
Note: If the ADSL Link LED does not glow green
within three minutes of it being connected,
check all your cable connections to make sure
they are correct and securely installed.
To Phone Jack
Please proceed to step to configure the DSL-302G.
ADSL Configuration
The Configuration Utility allows you to change the VPI/VCI settings of the DSL-302G to
connect to your ISP and also displays ADSL connection information. The DSL-302G
comes with a default VPI of “0” and a VCI of “35”. If your DSL service provider uses
different numbers, change these numbers on the modem to match those of your provider.
If you are unsure of the VPI/VCI numbers, check all documentation provided by your
DSL provider or contact them to get this necessary information. The DSL modem will not
work unless the VPI and VCI numbers exactly match those of your DSL provider. Follow
the steps below to change the VPI/VCI if necessary.
There should be a DSL-300 Family Configuration Utility icon on your desktop. (Alter-
nately, you can go to Start>Programs>D-Link DSL Family>DSL-300 Family Configuration Utility) If it is not installed, please refer back to step 2 to install the Ethernet
Configuration Utility.
To Computer
Double-Click on the icon.
When the utility is launched, it will
search for any DSL-302G on the
network and display them in the
table. If the modem does not
appear in a few seconds, click the
Discover button.
Click
Page 7

Double-click on the MAC
address of the DSL-302G or
highlight it and press the Enter
or Return key.
You should now be prompt for
the password. The default
password is “admin”.
Click Ok
Click on the General ADSL
Information tab. The new menu
lists 8 channels available for
configuration. You need to
change settings for only one
channel in order to use the ADSL
modem. Click on the first
channel listed to highlight it, this
is the default channel used by
the modem.
admin
Click Update
In the new menu screen you must enter new
values for the VPI and VCI settings. You also
must choose the Encapsulation method used
(LLC or VC Mux) from the pull-down menu. Your
service provider will supply this information.
Click Set
Note: The default settings for the modem are VPI of “0” and a VCI
of “35”. The default encapsulation method used is LLC.
Page 8

You wil be returned to the General
ADSL Information screen.
Click Ok
Click Yes
The modem will save the new
settings and automatically restart.
Click Yes
Note: Do not manually restart the modem. It will automatically restart by itself.
When the DSL-302G has been fully restarted, then it will be ready for use.
The power LED, status LED, ADSL LED, and Ethernet or USB LED should now remain
solid green.
Page 9

Your Setup is Complete!
You have now installed and configured the DSL-302G modem.
Your ISP may require you to install other software such as a PPPoE client. If so, please
do that now.
Your connection may look similar to this:
Page 10

Appendix
Installing Micro-filters
Micro-filters are obtained from your DSL provider and must be installed on
every normal telephone in the house, apartment or office where you are
installing the DSL modem. Micro-filters ensure that the new DSL data signal
and the normal voice signal do not interfere with each other as they travel on
the same telephone line.
Install a micro-filter on every telephone other than the one used for the DSL
modem. If it’s not a DSL modem, it needs a micro-filter.
Page 11

3. If there is only one telephone wall jack close to your computer and you wish to
share this jack with a normal telephone, install a 2-way splitter and attach a microfilter for the normal phone. The unused splitter jack can be used for the DSL modem
as shown on this page.
All phones, faxes, answering machines, etc. must have micro-filters installed
before you can use the DSL modem. If you do not have enough micro-filters
and wish to begin using the DSL modem, unplug the devices that do not have a
micro-filter and leave them unplugged until you can obtain more micro-filters.
Page 12

 Loading...