

Page 1
Page 2
System Requirements
• Windows® XP SP2 or 2000 SP4
• 233MHz processor and at least 64MB of RAM
• An available Ethernet Adapter (100MBit/s)
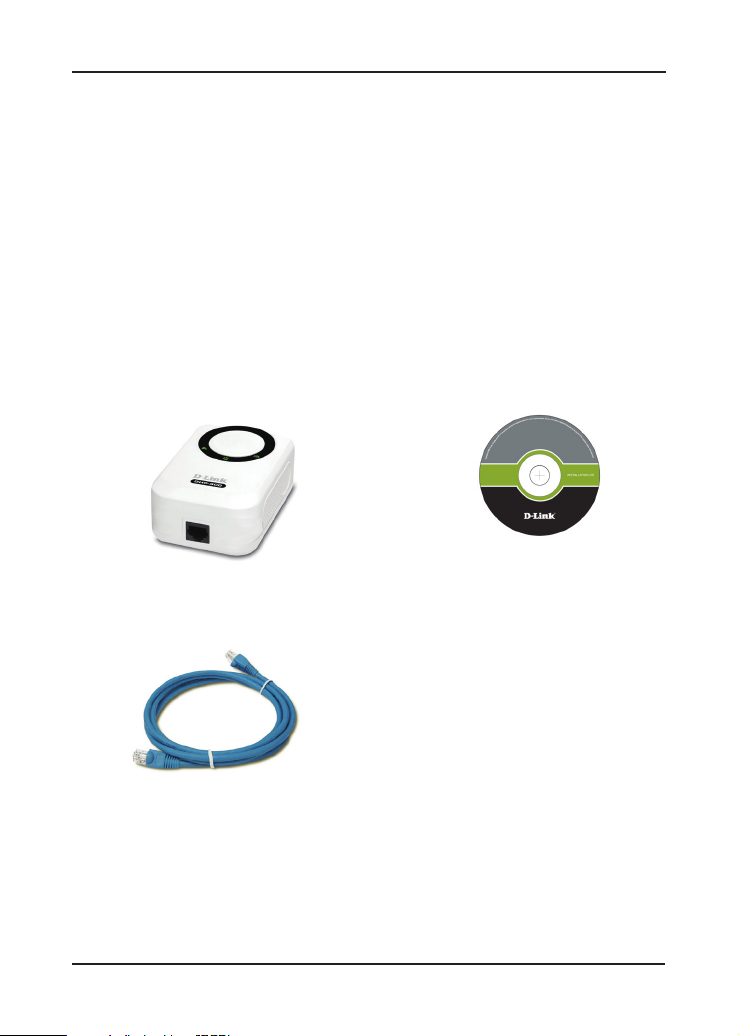
Package Contents
DHP-300
Powerline HD Ethernet Adapter
CD-ROM with Manual and
Installation Wizard
CAT5 Ethernet Cable
If any of the above items are missing, please contact your reseller.
2D-Link DHP-300 Quick Install Guide
Page 3
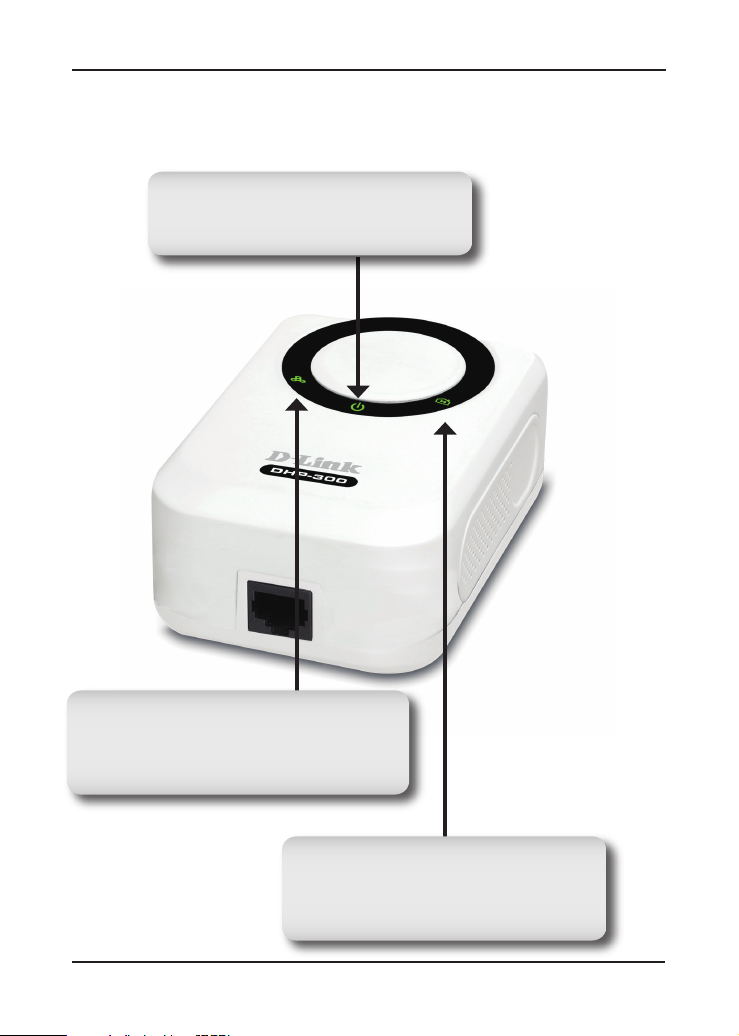
Hardware Overview
Power LED
A solid light indicates that the device is
receiving power.
Hardware Overview
Ethernet LED
A solid light indicates a connection on the
Ethernet port. The LED blinks during data
transmission.
Powerline LED
A solid light indicates that the device
has detected another Powerline device
on the network.
3 D-Link DHP-300 Quick Install Guide
Page 4
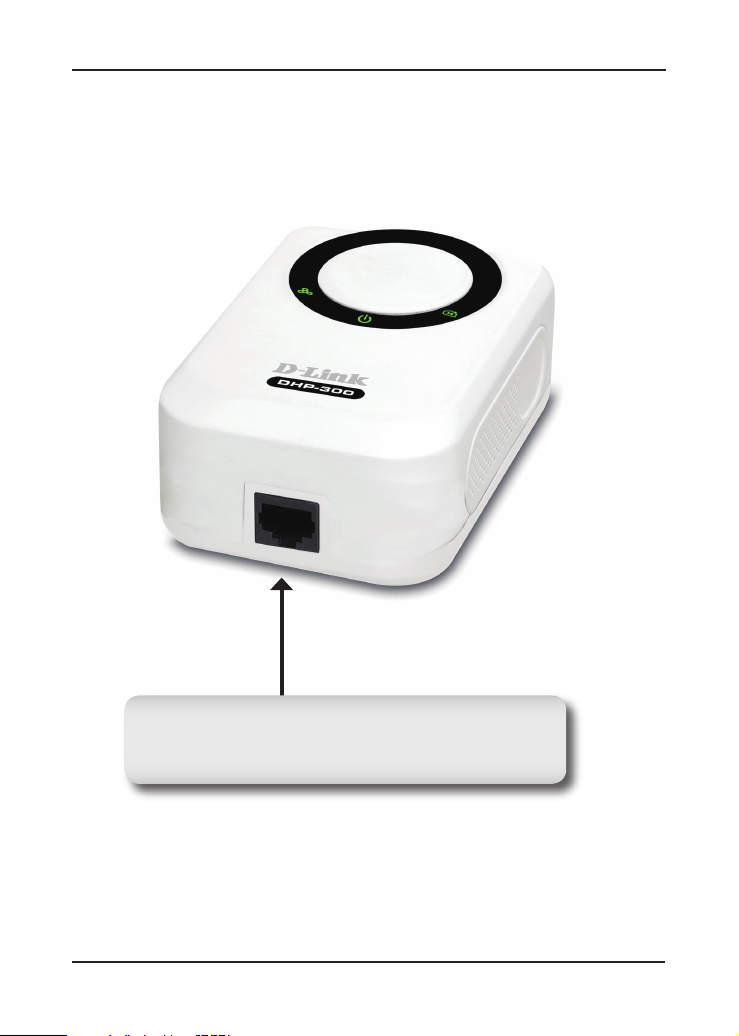
Hardware Overview
Ethernet
Connect CAT5 Ethernet cable to the DHP-300 Ethernet
port.
D-Link DHP-300 Quick Install Guide 4
Page 5

Hardware Installation
Hardware Installation
Power
Plug the DHP-300 into an AC wall outlet or power strip.
Note: Power source is confirmed when the green LED Power Indicator
on the DHP-300 is illuminated.
Connect the Ethernet Cable
Connect the included Ethernet cable to the network cable connector located on the
DHP-300 and attach the other end of the Ethernet cable to the network or PC.
Note: Network Connectivity is confirmed when the green Powerline
LED indicator on the DHP-300 is illuminated.
5 D-Link DHP-300 Quick Install Guide
Page 6

Software Installation
Software Installation
Follow the simple steps below to run the Setup Wizard to guide you quickly
through the installation process.
Insert the D-Link DHP-300 Powerline HD Ethernet Adapter CD into your
CD-ROM drive. If the CD Autorun function does not automatically start on
your computer, click Start > Run.
In the Run command box type “D:\DHP300.exe”, where D: represents the
drive letter of your CD-ROM. If it does start, proceed to the next screen.
Click on Install Utility
The InstallShield Wizard will begin the DHP-300 software installation.
Click Next.
D-Link DHP-300 Quick Install Guide 6
Page 7

Click Install
Click Finish
Software Installation
The W inPca p 4.0 i nstal l a tion
is necessary to run the DHP-300
Utility, click Next to continue with the
installation.
Click Next
7 D-Link DHP-300 Quick Install Guide
Page 8

Software Installation
Click Next
Click I Agree
The WinPcap 4.0 Installation is
complete. Click Finish to close the
wizard.
Click Finish
D-Link DHP-300 Quick Install Guide 8
Page 9

Configuration
Configuration
After you have completed the D-Link DHP-300 Utility installation wizard,
double-click the D-Link DHP-300 Powerline HD Utility icon on your
desktop to start the configuration of the DHP-300.
Double-click the D-Link DHP-300
Powerline HD Utility icon.
The utility provides you with the option of setting your own unique Network
ID and the ability to prioritize traffic passing through the network. The color
of text on the MAC, Net ID, Alias, and Location columns represent the status
of powerline network.
• Green text - Powerline network is encrypted with non-default encryption
key
• Red text - Powerline network is encrypted with default encryption
key
• Grey text - Powerline network is not connected due to different Net
ID, Encryption key or Password.
9 D-Link DHP-300 Quick Install Guide
Page 10

Configuration
Red text on the MAC, Net ID, Alias & Location columns mean that
the powerline network is encrypted with the default encryption key
(DHP-300). Follow the steps below to encrypt the network with a non-default
encryption key:
• Double-click on the nodes.
• Once all the nodes you want to encrypt with a non-default encryption
key, click the Configure button.
D-Link DHP-300 Quick Install Guide 10
Page 11

Configuration
The screen on the previous pages displays the current configuration of the
DHP-300.
MAC: MAC Address of detected node.
Net ID: Powerline Network Name. Default is DHP-300 (Max 10 characters,
0-9, A-Z, case sensitive).
Alias: Device Name. Default is Device 1, Device 2 etc (Max 16 characters,
0-9, A-Z, case sensitive) ie. Living room, Bedroom, etc.
Location: Local or Remote nodes.
Quality: Network connection quality of the connected node.
• Three circles - Best powerline connection. Suitable for HD video
stream connection.
• Two circles - Better powerline connection. Suitable for SD video
stream connection.
• One circle - Good powerline connection. Suitable for data and
internet activity connection.
Scan: Scan the powerline network for PLC nodes. Check the AutoScan box
to scan the network periodically.
11 D-Link DHP-300 Quick Install Guide
Page 12

Technical Support
D-Link’s website contains the latest user documentation and software
updates for D-Link products.
U.S. and Canadian customers can contact D-Link Technical Support
through our website or by phone.
United States
Telephone
(877) 453-5465
World Wide Web
http://support.dlink.com
Canada
Telephone
(800) 361-5265
World Wide Web
http://support.dlink.com
Version 1.1
April 27, 2007
29072600D300A10
Copyright ©2007 D-Link Corporation/D-Link Systems, Inc. All rights reserved. D-Link and the D-Link logo are registered
trademarks of D-Link Corporation or its subsidiaries in the United States and other countries. Other trademarks are the property
of their respective owners. Network conditions and environmental factors, including volume of network traffic, building materials
and construction, and network overhead lower actual data throughput rate. Product specifications, size and shape are subject
to change without notice, and actual product appearance may differ from that depicted on the packaging. Visit www.dlink.com
for more details.
12D-Link DHP-300 Quick Install Guide
 Loading...