

Page 1
WORLD BAND RADIO
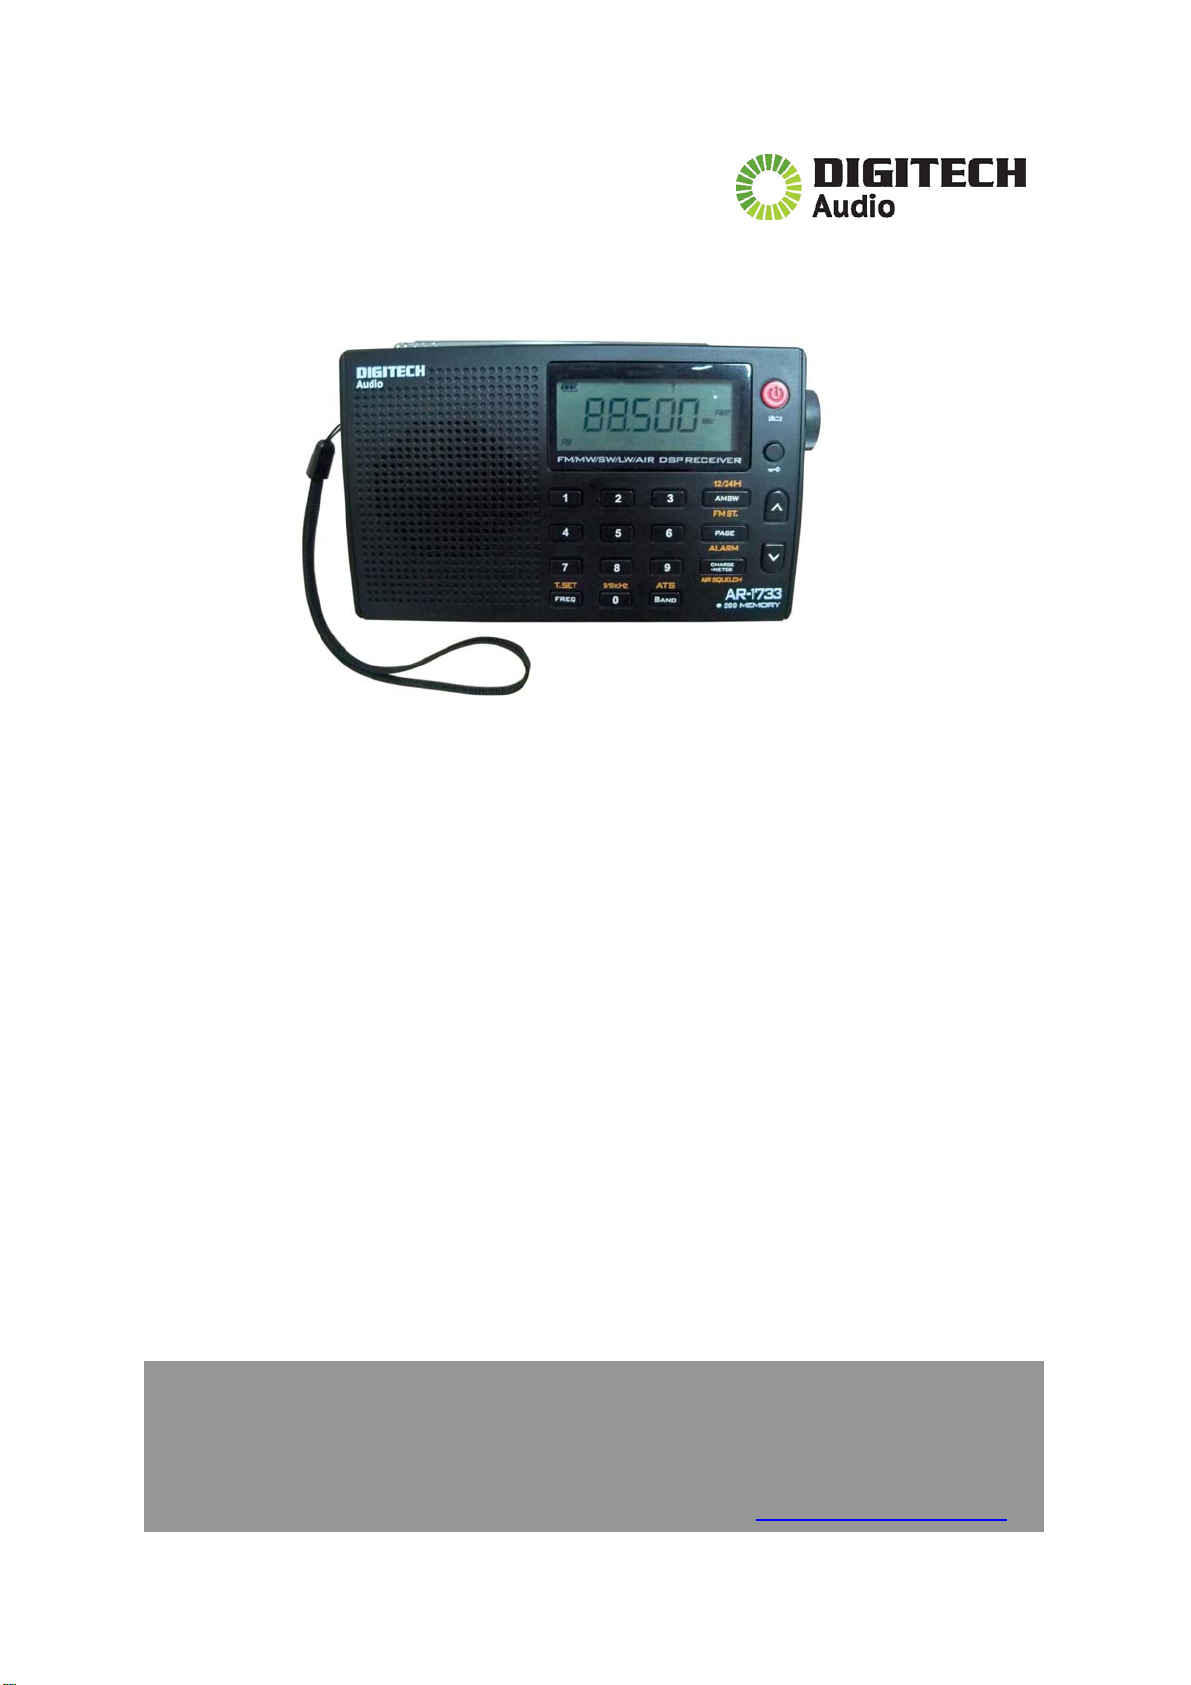
AR-1733
FM/MW/LW/SW/AIR Band Radio with LCD display
OWNER’S MANUAL
Distributed by:
Electus Distribution Pty Ltd
320 Victoria Rd
Rydalmere NSW 2116 Australia
Ph:1300 738 555
Fax:1300 738 500
www.electusdistribution.com.au
Page 2

Page 3

______________________________________________________________________
WARNING
Do not expose this appliance to rain or moisture
Do not submerge or expose to water
Protect from high humidity and rain
Only operate within specified temperature range (0℃ to 40℃)
Unplug immediately if liquid has been spilled or objet have falle into the
unit.
Clean only with a dry cloth. Do not use detergents or chemical so lvents as this
might damage the finish
Do not attempt to open the unit
_________________________________________________________________________
3
Page 4

Quick Start Guide
1. Install 2 AA batteries in the battery
compartment and pay attention to the
polarity of batteries’ + and – ends
2. Turn on the radio by pressing the
”POWER” button
3. Adjust ”Volume”
4. Select band by pressing the
BAND button
5. Use the ‘TUNING’ knob to locate
a disired station or by directly entering
a frequency:
a) First,select the ”BAND” you want
b) Press the “FREQ” button
c) Enter the frequency on the
keyboard
4
Page 5

Table of Contents
Safety Instructions……………………………. 3
Quick Start Guide……………………………....4
Radio View……………………………………....6-9
Functions and Operation Explained
Power/Sleep Button…………………10
Tuning Knob………………………….10
Lock button…………………………..10
UP and Down Buttons………………11
AM BW Button……….......................11
PAGE Button/Setting the alarm…...11
RESET…………………………………12
METER Button/Charging function..12
LIGHT………………………………….12
Band Button………………………….12
“0” KEY Button………………………13
0-9 KEYS………………………………13
“FREQ”UENCY Button……………...13
LCD DISPLAY…………………………13
Technical Specifications……………….....14
5
Page 6

Radio View – Front View
12
1
2
F M /A M /S W /LW /A IR DSP REC EIV ER
123
456
7
T. S E T 9/10 kHz A T S
FREQ B AND
11
10
89
0
9
8
12/24h
AM BW
FM ST.
PAG E
ALARM
charg e
meter
AIR SQUEL CH
AR -1733
500
memo ry
3
5
4
6
7
1
Power and Sleep button
○
2
Tuning Knob,Stop/Fast/Slow step(Push down in central position on Tuning knob)
○
3
Lock button
○
4
Up/Down,Auto Scan button
○
5
AM band width selection,12/24Hour
○
FM mono/stereo selection
6
Page selection, Set Alarm Time button
○
Display Alarm and Clock
7
Battery Charge,Meter band, Step selection
○
Air Squelch
8
Band,Change Bands,ATS
○
9
0 key,9-10kHz steps
○
10
Time Set, Press to enter frequency
○
11
0-9 KEYS,Direct Frequency and Page access
○
12
LCD Display
○
6
Page 7

Radio View – LCD Display
16
15
14
13
12
2
1
12
3
4
1011
1
Battery Level indicator,flashing indicates batteries are low
○
2
Page Number (0-9)
○
3
Indicates memory channel number (0-9) for Memory Stations
○
4
Air Squelch display
○
5
Indicates Signal Strength Level
○
6
Indicates Frequency Step (Stop/Slow/Stop)
○
7
kHz indicates Kilohertz while in MW and SW bands only
○
MHz indicates Megahertz while in FM,LW and Air band
8
LOCK swith is “on”
○
9
ALARM means alarm is active
○
10
Buzzer indicates buzzer type alarm
○
11
Sleep function indicator
○
12
Indicates AM band width selection (wide/narrow)
○
13
FM sterero indicator
○
14
AM/PM show while in 12 hour time format
○
15
Indicates Band (MW means “AM” in U.s./LW means long wave/
○
SW means Shortwave/AIR means air craft band/
FM means radio is in FM band)
16
Time and Frequency display
○
5
6
7
89
7
Page 8

Radio View – Sides View
29
3
TUNING
+
32
3
-
VOLUM E
USB
30
3
31
3
33
IN
5V
~
3
29
Carry hand hole
○
30
Earphone jack (3.5mm)
○
31
USB power jack, Battery Charge USB jack,5 Volts
○
32
Tuning Knob adjusts Frequency
○
33
Volume Up and Down
○
8
Page 9

Radio View – Back View
34
36
35
34
○
Whip Antenna used for FM and SW bands
35
Battery Compartment location,insert 2 “AA” batteries
○
36
Reset Hole for reseting radio (located on bottom of radio)
○
9
Page 10

Functions and Operation Explained
Power/Sleep Button
When you press the “POWER” button the first time, you will see
“on” displayed for about two seconds. Press the “Power” button again
To turn the radio off.
To set a “SLEEP”,press and hold down “POWER” button for about two
seconds. You will see “on” displayed. It will first display “120” minutes
and then quickly press this button to show “90-60-45-30-15-on-120” in
cycle. Stop on the setting you desire and it will be remembered for your
convenience each time you turn the radio “on” again. If you select any
one of the sleep settings,except “on”, the SLEEP symbol
played while the radio is “on”. When “on” is selected, the radio will simply
turn on and off each time while the Power button is pushed.
With the radio is operating on any of SLEEP settings, pressing this button
will turn the radio off.
TUNING KNOB
Rotate Tuning knob to turn in a different frequency while the radio is on.
Slowly turn forward or backward,the frequency step is:
FM at 10kHz step
MW/SW/LW/AIR at 1kHz step
Quickly turn forward or backward,the frequency step is:
FM at 100kHz step
AM at 9kHz step (in 9k mode)/ 10kHz (in 10k mode)
LW at 3kHz step
SW/ AIR at 5kHz step
While the radio is operating, press down the tuning knob to change
tuning step at STOP/SLOW/FAST at a time to turn to a different
station or frequency. So you can search stations or frequency in your
favorite tuning step.
LOCK Button
Quickly press the button to lock all buttons, the lock icon
will be dis-
will be displayed
10
Page 11

in the LCD; press and hold down this button for three seconds to unlock all
buttons,the lock icon
will disappear.
UP and DOWN Button
These buttons can be used to tune the radio one step at a time
or “press and hold” to scan for the next strong station.
While the radio is on, quickly press the button to increase or decrease frequency at the following steps:
FM at 100kHz step
LW at 3kHz step
AM at 9kHz step (in 9kHz mode)/10kHz step (in10kHz mode)
SW/AIR at 5kHz step
Press and hold “UP” or “DOWN” button to auto-scan strong stations,once found
one and stop scanning.
AM BW (i.e. AM BANDWIDTH) Button
While the radio is off, press and hold the button for three seconds to change
between 12 hour and 24 hour format.
While the radio is on,
In FM band, press the button to change between mono and stereo.
Note:
While the Stereo is on, the stereo icon will be displayed for 3 seconcs
While the Stereo is off, the stereo icon flashes for 3 seconds
In MW/SW/LW/AIR band, press the button to change between wide
bandwidth and narrow bandwidth.
PAGE Button/Setting The Alarm
Quickly pressing the button with the radio “off” changes to display Alarm
and Clock time.
Press and hold the button for 3 seconds with the radio “off”:
1) If Alarm function is off, enter alarm setting and activate alarm function;
Using (0-9) number keys only to enter alarm time you desired.
2) If Alarm function is on, turn off alarm, the Alarm cannot be set.
(Note:The radio will alarm on the last station listened to.)
While the radio is on,quickly pressing the button changes Page (0~9)
11
Page 12

You press the button in the first time, the “PAGE” icon will flash for about
5 seconds. You can select 0~9 pages with 0~9 keys during this period.
Then press 0~9 keys to enter the channel number of a station you memorized.
If there is not any operation,the “PAGE” will turn off automatically after flashing for 5
seconds.
RESET
The Reset hole locates on bottom of unit,you can use toothpick to
press the button to reset the radio.
METER Button/Charging Function
While the radio is on,quickly press the button to increase frequency as
the following steps:
FM/AIR at 1MHz step
MW at 100kHz step
LW at 10kHz step
In SW mode, pressing the “METER” button changes meter band.
Press and hold the button for three seconds in AIR band to activate
air squelch function.
While the radio is off, press the button to activate rechargeable battery
Charging. (See “Technical Specification” page about Charging Notes)
LIGHT
Pressing any button will give you about 5 seconds of light on the display.
BAND Button
Quickly pressing the button with the radio “on” changes bands in order:FM,LW,
MW,SW and AIR.
The “BAND” button can be pressed and held for 3 seconds to search
station from low end to high end frequency and memorize station automatically.
You will see channel number changes automatically as soon as one strong
station is searched.
12
Page 13

“0” KEY Button
The button can be pressed and held for two seconds to change MW step at 9kHz
and 10kHz.
“FREQ”UENCY Button
This button is used to enter a frequency directly. You have to be in the radio band
of your choice before you enter a frequency.
Quickly pressing the button enters 0~9 number keys directly with the radio “on”.
For FM,you have to enter a last digit. To enter 107.5 FM,you must press “FREQ”
and then press 1-0-7-5,and then press “FREQ” once again.
For LW and AIR band, you can enter a frequency using 0~9 numbered keys.
AM and SW is straightforward. Press “FREQ” and enter the AM or SW frequency
using the numbered keys.
While the radio is off, press and hold the button for 3 seconds to enter
time setting. Whatever in 12 or 24 hour format, you must enter the numbered
keys to set time in 24 hour format. Example: press “8”,display “08:_ _”.
If default in 12 hour format, it will change to 12 hour format automatically.
0-9 KEYS
There are used to directly enter a frequency or memory channel. See above ‘FREQ’
-UENCY button for direct entry with the radio “on”.
Directly enter the numbered key (0~9),recall the frequency on “CH0~9” with the radio
“on”.
Press and hold any one number key for three seconds to save the entire frequency on
corresponding number channel. Example: show “96.10MHz” in the LCD now, press
number “5” for three seconds,then the radio will memorize “96.10MHz” to “CH 5” on
current page.
LCD DISPLAY
Learning the features and the corresponding display icons can make your radio easier
to use.
13
Page 14

Technical Specifications
1. Frequency Coverage:
FM 87.5 ~ 108 MHz
AM(MW) 522 ~ 1620 kHz (9k step)
520 ~ 1710 kHz (10k step)
SW 2300 ~ 26100 kHz
LW 153 ~ 279 kHz
AIR 118 ~ 137 MHz
2. S/N (Signal to Noise) Sensitivity:
FM >3uV
MW >0.5mV/m
LW >10mV/m
SW >10uV
AIR >0.5uV
3. AM Selectivity: >80dB
4. Number of Memories: 500
5. Power source:
2 x AA Size or LR2
Mini USB port in: 5V
6. Built-in Speaker: 25ohm 0.5W
7. Earphone Jack: 3.5mm 32ohm
8. Dimensions: 4.75” W x 3” H x 1.2” D
*Charging Notes:
When the user uses rechargeable batteries, we recommend to use Ni-MH or Ni-Cd
rechargeable batteries. The average current is 200mA. For example, it will take 10
hours to charge 2000mA/H batteries fully. For more capacity battery, the user has to
charge them by multi-startup methods until charging is full.
Max charging time: ≤10 hours, the aim is to protect rechargeable batteries or unit
from being damaged;
Charging voltage protection: when the batteries reach full-charging voltage,the
unit will stop charging automatically to prevent batteries from being damaged;
Battery detection function: the unit can detect the status of short circuit or open
circuit with one or two batteries. If Not sure batteries are in good or bad condition,
the unit will stop charging automatically in 10 hours.
* Specifications is subject to change without notice
14
 Loading...