

Page 1

The Data Downloader (DDL)
Features of the DDL:
Easy and accurate storage and transfer of data between indicator and PC •
•
Does not require any batteries, maintenance or converter box
•
Accepts all ASCII data from printer and stores it for transfer to the PC
•
Al l recipes and printouts are saved to DDL
•
64K of memory (1600, 40 character lines)
•
Compatible with all Digi-Star/OMP and EZ Indicators with serial/printer ports
•
Accepts all EZ foreign language formats
•
Works with DTU (Data Transfer Utilities, Version 6.2 or later)
Operation, Installation Manual
DIGI-STAR
790 WEST ROCKWELL AVENUE
FORT ATKINSON, WISCONSIN 53538
PHONE (920) 563-1400
TECHNICAL SERVICE 1-800-225-7695 (920) 563-9700
D3564C Printed: 04/02 © 2001 Digi-Star Printed in the U.S.A.
Page 2
1. Getting Started
Load the DTU (Data Transfer Utilities) software on your PC. Instructions included with the CDRom Software.
1.a. System Requirements for Computer
Windows 98/2000/NT operating system Pentium 100 PC or better
Serial Port. 100 Meg of free disk space
32 Meg of RAM CD-Rom drive
2. Connect Cable to Computer
The cable included with your DDL Kit, connects to the serial port on your computer. The serial
port is referred to as “COM port.” If your computer has more than one COM port, they will
usually be named COM1, COM2, etc. This cable has a 9-pin D-sub connector. The cable must
be securely connected to a COM port to function.
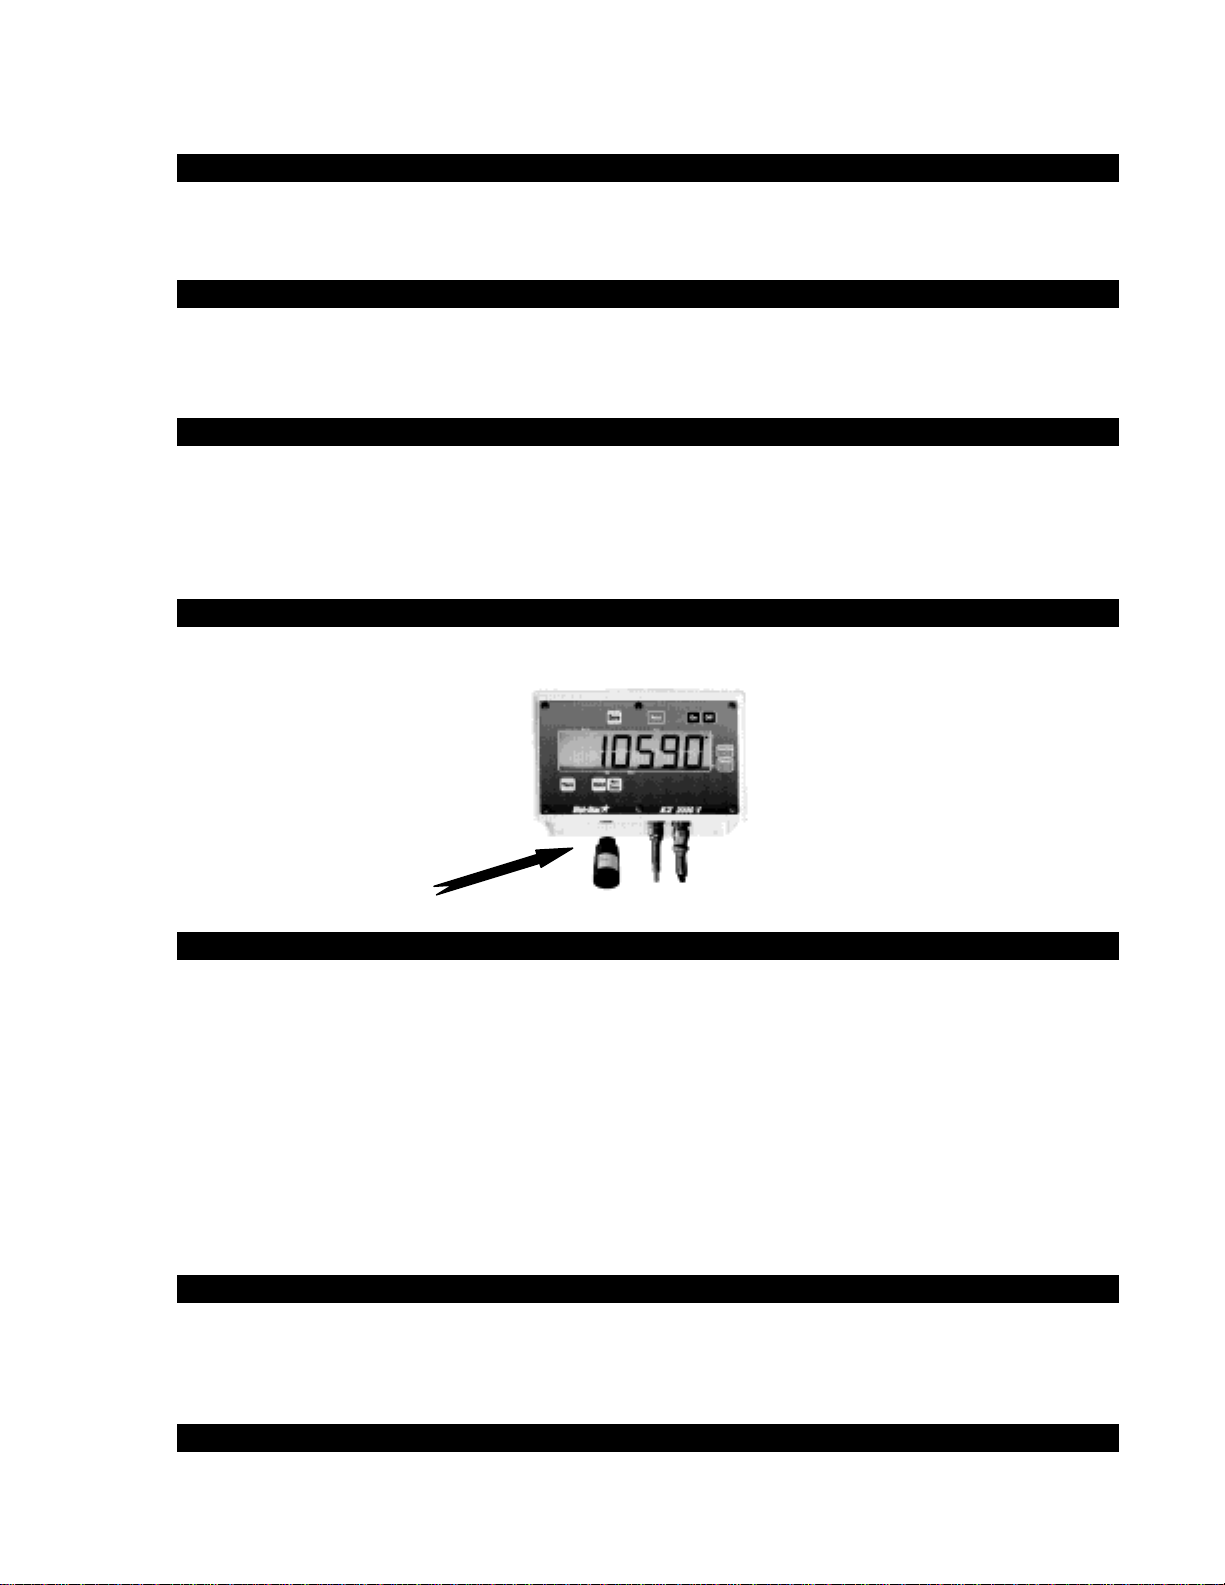
3. Connect DDL to Indicator
Connect DDL to Serial/Printer port (J904) on Digi-Star indicator, which is located on bottom
panel. Press the “Print Key.” When indicator printing is completed, remove DDL.
3.a. DDL Set Up Requirements
Use of the DDL (Data Downloader) with the EZII series indicators requires the latest software
version. It is recommended that you call the Digi-Star Service Department for the latest software
version and upgrade, if necessary to become current, before attaching and using a DDL.
Menu 2 in the long form set up contains some features that must be set for the DDL to function
properly. They are:
SCOREM 0
COM IN DOWNLD
C1 DLY .10
4. Connect DDL to cable
Simply fasten module on the black circular plastic connector opposite computer connector. The
module will lock on the cable connection with a twist of the fastener on module. Be sure that the
module is secured on cable.
5. Operate the DDL from Computer
Follow Data Transfer Utilities (DTU) software instructions included with the CD-Rom software.
Page 3

6. Troubleshooting
Data will not transfer to PC.
Some information not listed
Lost or invalid data
Dialog box and program locks up (not responding)
Note: the larger the amount of information saved, the
longer the amount of time to upload data to computer, up
to three minutes for 64K of data.
• Check for proper connection to cable.
• Check for proper connection of cable to serial
port of PC.
• Check port setting in the DTU program to be
sure DDL is on the correct serial port.
• DDL could be faulty, try another DDL.
• If any other installed software that requires a
com port is trying to run and there is only one
com port, the second software will not be able
to run. If the DTU software had been loaded
first and then the (eg. Palm Pilot) software, the
Palm software would have a problem. This is a
hardware allocation problem. For sites that
need to run both, a second com port must be
added or you have to turn off all other software
packages that may be using the 1 com port
• Was the file saved?
• Was the file saved as a text file? (.txt)
• Was the data saved in a valid Windows file
folder and/or directory?
• Check for proper connection to cable.
• Check for proper connection of cable to serial
port of PC.
• Check port setting in the DTU program to be
sure DDL is on the correct serial port.
• Save a small text file to the DDL then read it
back on PC.
• Was the 64K capacity of the DDL over filled?
• Was the information overwritten?
• Was the DDL removed from indicator before
printing was complete?
• Is DDL connected to indicator or cable?
• DDL could be faulty, try another DDL
• On Indicator Scoreboard must be set to “3” not
“4.”
• Print delay must be set to the minimum setting
but not “0.”
• CRTL-ALT-DEL and end task then restart.
 Loading...