

Delonghi HX65L22 Instruction manuals
DESCRIPTION
A Power indicator light
B ON/STAND-BY button
C +/- adjustment buttons
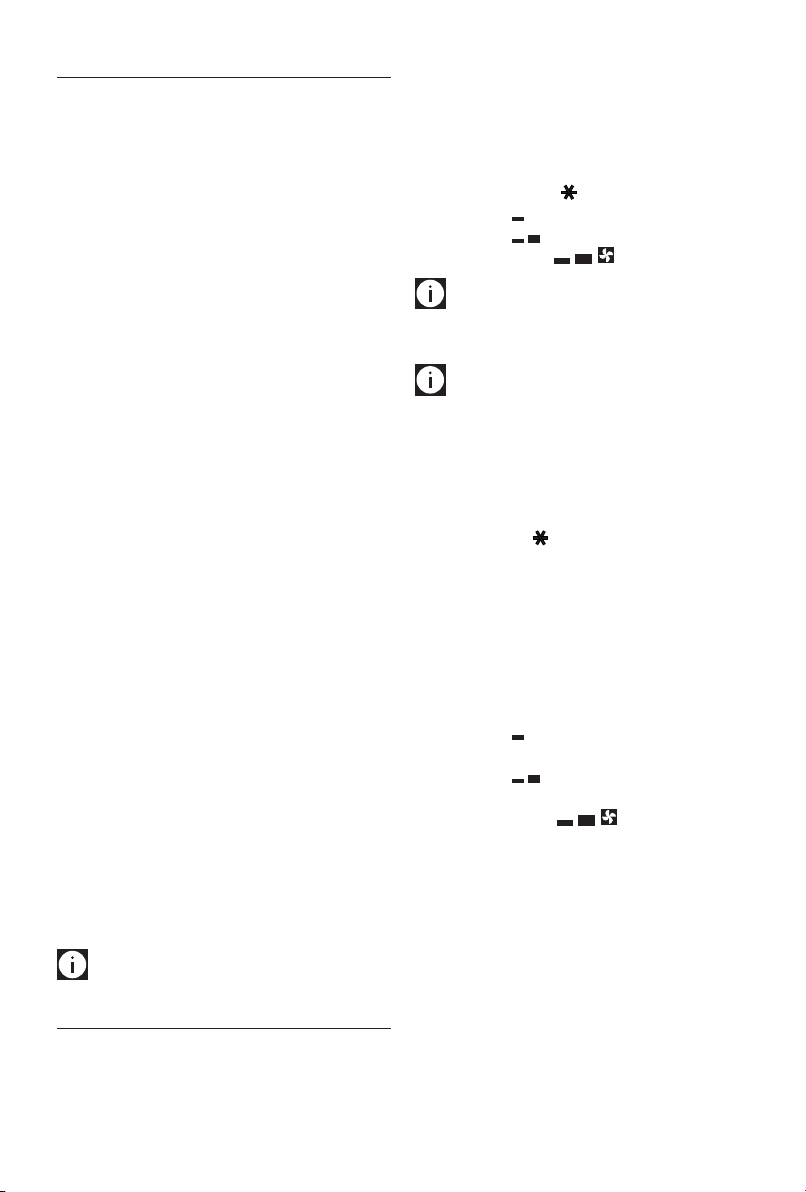
D MODE button (selects the operating mode)
E “ECO plus” button
F Timer button
Fundamental recommendations regarding
safety
Dear Customer – The plug on this appliance will get ‘warm’
during use, this is perfectly normal.
This product is A HIGH POWER HEATING APPLIANCE designed
to our usual high standards but please make sure your wall
sockets are in good condition and the plug is inserted
correctly to avoid any accidental overheating. We suggest
that you check the plug AND THE SOCKET regularly if the
heater is in prolonged use, if you are in any doubt please
consult an electrician.
General instructions
Remove the heater from the packaging. Check that neither
the heater nor the power cable has been damaged during
transport. Do not operate the heater if damaged. Remove all
publicity material present on the appliance.
- The appliance switches to stand-by.
- Press the ON/STAND-BY to turn the appliance on. It
begins heating the room according to the current
settings.
- Press the MODE button to select one of the following
operating modes:
l
Freeze prevention
l
Heating 1
l
Heating 2
l
Heating 3 + Fan
Please note: after an interruption of power supply
(power failure or appliance unplugged) the unit goes always
to stand-by.
Please note: in order to avoid peaks of power
absorption, with room temperature below -5°C the appliance
will operate automatically at power level 2 even if power
level 3 has been selected. Once the room temperature is
higher than -5°C, the appliance will operate at the selected
power level.
Freeze prevention
In this mode, the appliance keeps the room at a temperature
of 7°C to avoid freezing.
Electrical connection
- Before connecting the appliance to the current outlet,
check that the voltage indicated on the appliance rating
plate is the same as your electric plant and that it can
stand the power consumption (Watt) indicated by the
labelling.
- If more than one appliance is used at once, it is
important to ensure that the electric plant is able to
support the power required.
Mounting the feet
Turn the appliance upside down on a rug or soft surface in
order to prevent damaging the paint nish.
Fix the feet to the appliance with the nr. 4 screws supplied
(see g. 1), 2 screws for each foot.
Please note: use only supplied screws.
USE
Operation and use
- Plug into the mains socket.
- The appliance emits a beep. The indicator light comes on
and remains lit while the appliance is powered.
Heating 1, 2, and 3 + Fan
In this mode, the desired temperature can be selected by
pressing the adjustment buttons + and –. By pushing the +
or - button once, the temperature (shown on the display) will
increase or decrease by 1°C.
- Heating 1
The appliance operates at low power.
- Heating 2
The appliance operates at medium power.
- Heating 3 + Fan
The appliance operates at the maximum power with
the fan. The setting temperature range available is from
16°C to 32°C.
“ECO plus” function
The “ECO plus” function is available in Heating 1, 2 and
3 + fan modes only. To activate the function, press the
“ECO plus” button (E). When this function is active the
appliance automatically sets the most appropriate power
level to guarantee optimum comfort while reducing energy
consumption.
While the “ECO plus” function is active, the appliance may
switch automatically to a lower heating power than the one
7
displayed.
The working indicator colour could change.
Working indicator
The symbol indicates the heating status by means of its
colors.
RED: the unit is heating at the maximum power.
YELLOW: the unit is heating at the medium power.
GREEN: the unit is heating at the minimum power.
absent: the unit is not heating.
Brightness of the display
The appliance allows two dierent brightness settings for the
display. The highest is active when any key button is pressed.
After a few seconds of keyboard inactivity, the brightness will
decrease to the operating brightness level.
Key lock
In order to avoid accidental operation, you can lock the
keyboard using the keylock function. To activate this function
during on mode press buttons + and - together for at least
3 seconds. The display shows the symbol and a double
acoustic signal will be emitted. To deactivate the function
proceed in the same way.
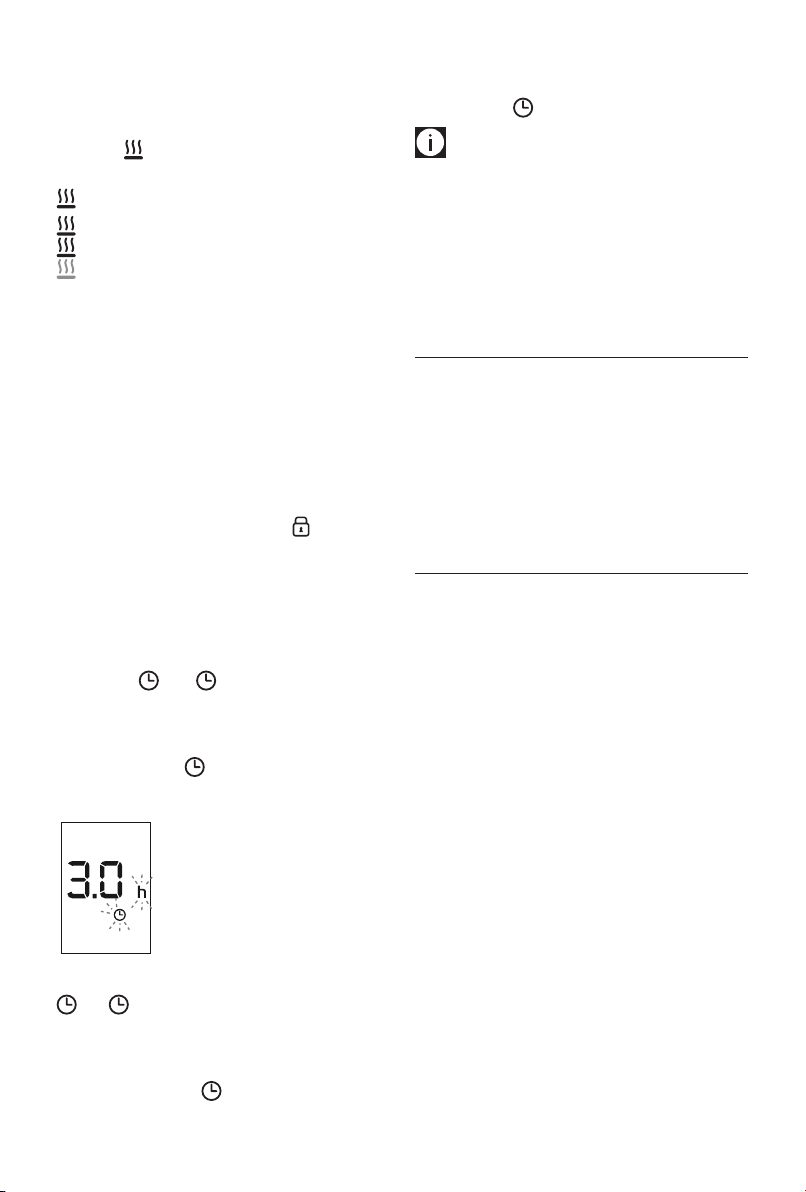
Timer function
This function can be activated in two dierent ways.
Delayed start: With the appliance on-standby, press the
timer button . The symbol is displayed ashing
together with the hours left before the appliance comes
on. Change the hours using the + and - buttons, then wait
a few seconds for the program to be stored. The display will
return to o and the symbols remains on. When the
programmed time has elapsed, the appliance will come on
with the previous settings.
automatically. To go back to operating without the timer,
press the timer button twice.
The timer symbol disappears from the display.
Please note: the time is settable from 0.5 to 24 hours.
Changing of the temperature scale
The display can show the temperature in both °F (Fahrenheit)
and °C (Celsius). To select the desired temperature scale,
when the unit is in standby position, press and hold the "+"
key for at least 10 seconds, then release. The change of scale
will be indicated by two short beeps.
MAINTENANCE
Before carrying out any maintenance, unplug the heater from
the mains and wait for it to cool o completely.
This heater requires no particular maintenance. It is sucient
to remove the dust with a soft, dry cloth.
Never use abrasive powders or solvents. If necessary remove
concentrated areas of dirt with a vacuum cleaner. Please
refer to the enclosed guarantee leaet for service and
assistance details.
TECHNICAL CHARACTERISTICS
Supply voltage See rating label
Absorbed power “
Delayed stop: with the appliance on, press the timer button
. The symbol is displayed ashing together with the
hours left before the appliance goes on-standby. Change the
hours using the + and - buttons, then wait a few seconds for
the program to be stored.
The current settings and symbol are displayed. At the
end of the set time the appliance switches on-standby
8
 Loading...