

Page 1
INSTALLATION INSTRUCTION
GRILL GUARD
08 -10 FORD SUPERDUTY F250/350/450/550HD
502394& 502395
Page 2

PARTS LIST:
1
Grille Guard
2
10mm Nylock Nuts
2
Mounting Brackets ( A )
4
10mm ID x 30mm OD x 2.5mm Flat
Washers
1
Driver Side Top Bracket (C)
4
12-1.75mm x 30mm Hex Head Bolts
1
Passenger Side Top Bracket (B)
4
12mm Nylock Nuts
2
10-1.50mm x 25mm Button Head Bolts
8
12mm ID x 37mm OD x 3mm Flat Washers
PROCEDURE:
1. REMOVE CONTENTS FROM BOX. VERIFY ALL PARTS ARE PRESENT. READ
INSTRUCTIONS CAREFULLY BEFORE STARTING INSTALLATION.
2. From front of vehicle remove the passenger side bumper mount bolts. WARNING! Do not
remove passenger and driver bumper mount bolts at the same time. Remove one side at a
time.
3. Place Mounting Bracket onto vehicle and line it up against the gusset bend on the frame.
Leave about 1/8” clearance between bottom of Mounting Bracket and bumper. Secure
Mounting Bracket to vehicle using the factory bolts (Figure 1). Tighten these bolts at this time.
4. Once the passenger side Mounting Bracket is fully tightened, repeat steps 2 & 3 for driver side
Mounting Bracket. Tighten driver side Mounting Bracket before going to the next step.
5. Open the hood and determine the Top Bracket mounting location. Remove the passenger side
inner factory bolt located by the latch released. Place Top Bracket and attach it to vehicle
using the factory bolt (Figure 2). Do not tighten at this time.
6. Repeat step 5 for driver side Top Bracket installation.
7. With help position Grille Guard on the outer side of Mounting Brackets. Attach Grille Guard to
Mounting Brackets using the included (4) 12- 1.75mm x 30mm Hex Head Bolts, (4) 12mm
Nylock Nuts, and (8) 12mm Thick Flat Washers (Figure 3). Do not tighten at this time.
8. Attach Grille Guard to Top Brackets using the included (2) 10-1.50mm x 25mm Button Head
Bolts, (2) 10mm Nylock Nuts, and (2) 10mm Flat Washers (Figure 4). Do not tighten at this
time.
9. Level and adjust Grille Guard as desired, then tighten all hardware at this time.
10. Do periodic inspections to the installation to make sure that all hardware is secure and tight..
( A )
( A )
(B)
(C)
Page 3

10mm x 25 Button
Head Bolt,
10mm Nylock Nut,
10mm Flat Washer
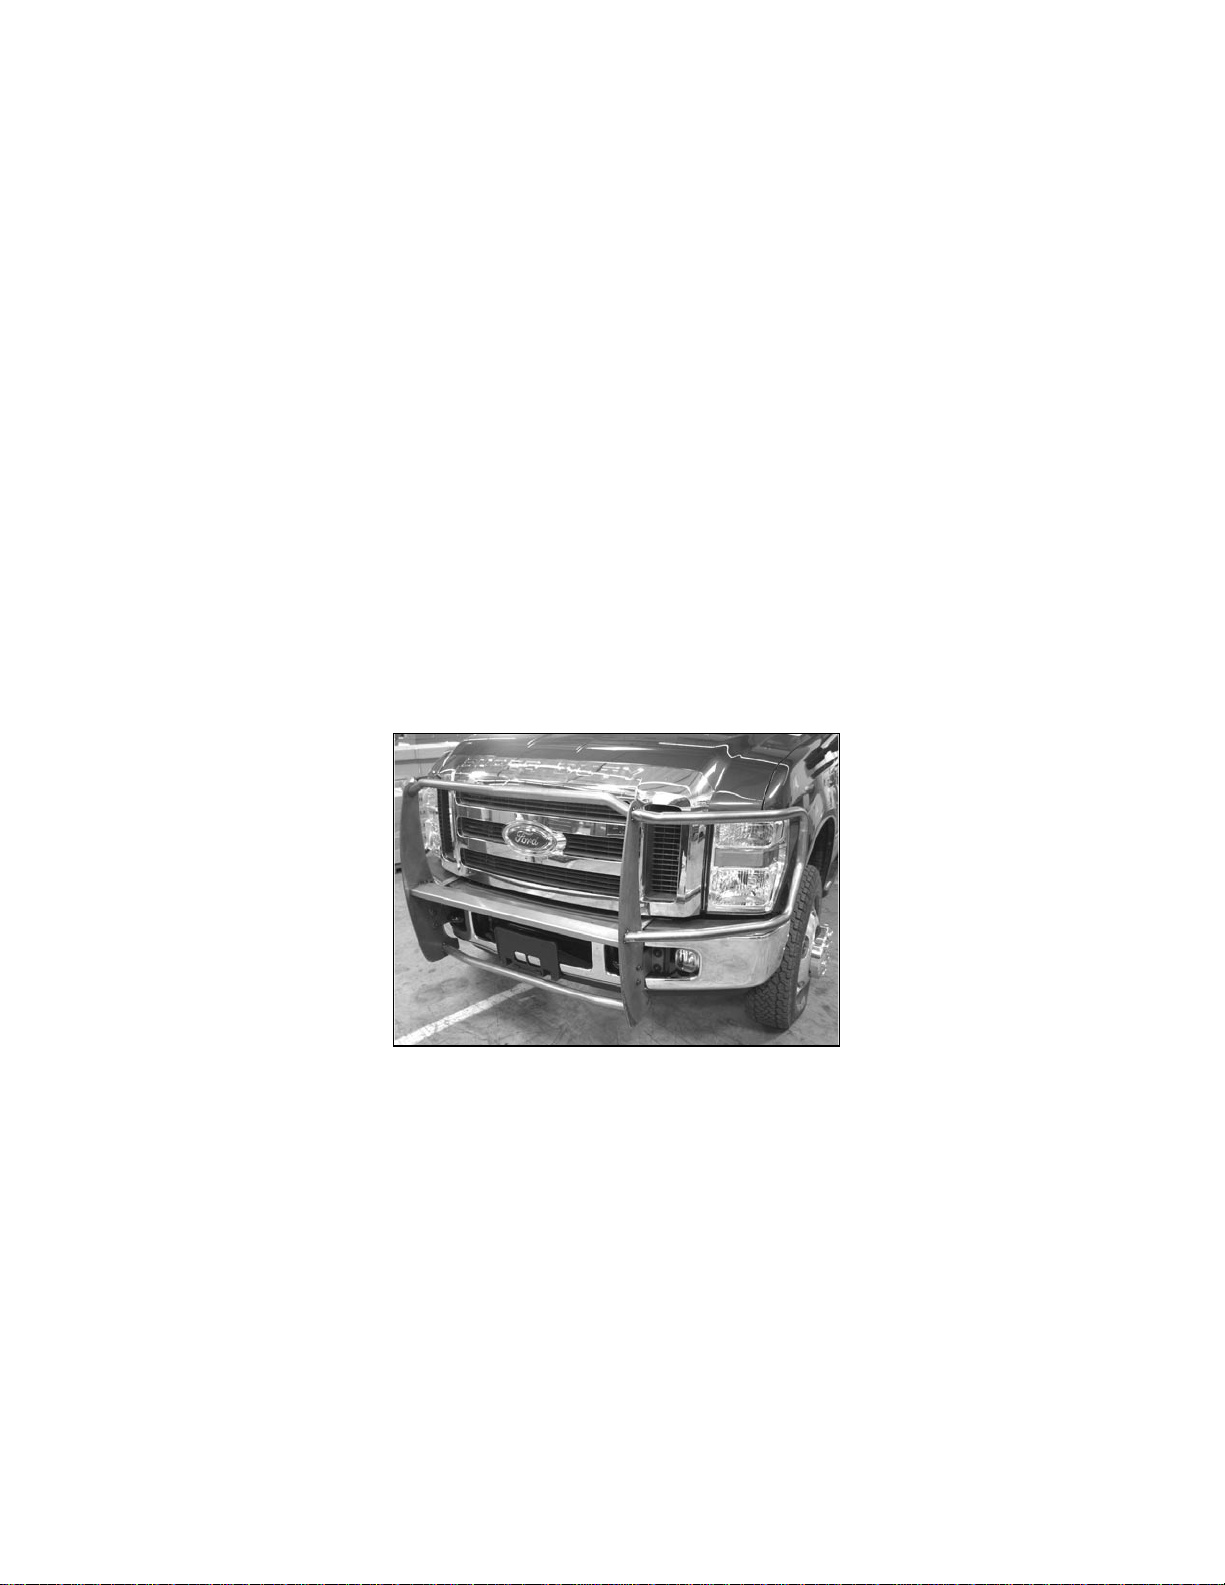
Installation Complete
(Passenger Side Mounting Bracket Installation Shown)
Factory Bolts
Leave 1/8” clearance
between Mounting
Bracket and bumper
Factory Bolt
12mm x 30mm Hex Head Bolts,
12mm Nylock Nuts,
12mm Thick Flat Washer
Figure 1
Figure 2
Figure 3
Figure 4
Figure 5
Gusset Bend
 Loading...