

Page 1

1
P
P
P
N
P
e
b
e
D
c
R
:
b
n
r
P
h
e
g
e
P
n
c
n
t
e
a
S
s
n
P
u
n
n
w
L
p
a
er
e
s
T
n
w
h
i
h
s
e
fo
h
f
“
.
p
m
g
fo
V
w
t
O
s
i
k
I
r
e
s
w
e
(
l
G
W
r
t
h
e
w
m
s
U
l
e
7
y
R
s
h
r
t
w
V
i
n
E
S
n
h
h
t
)
u
m
h
S
b
m
m
B
d
¾
m
o
a
h
d
e
p
o
w
r
d
f
i
i
p
t
s
o
d
C
t
w
l
r
t
o
n
f
e
6 STEP I
STA
LATI
N G
IDE
Y D
I
STE
STEP
1
2
STE
(Ensur
Begin
on cent
edge.
interse
BE CA
NOTE
locki
vents o
STE
Place t
and ev
hangin
Nail th
one hig
1
metal dri
y cutting
) into th
o not cut
tion.
EFUL NO
Ensure i
g the flo
other ex
2
e fabric p
n along t
over the
fabric pi
h and one
edge wa
slit 1” w
roof dec
lit within
TO CUT
sulation o
of air ext
aust vent
ece half
e drip edg
ide edge
ce(s) in p
low.
previous
de (or a s
ing 6” to
12” of an
NTO THE
other ob
nding to t
are requi
ay on the
. Half of
Gable) of
ace with t
y installe
ries of 1
” up fro
side end
AFTERS!
tructions
e roof ri
ed.
roof side
he fabric
the roof.
o (2) ro
.)
” holes a
the drip
r valley/
re not
ge. Ridge
dge (Gab
iece is
fing nails,
3”
all
e)
STE
STE
3
4
STE
Lay the
edge a
roof de
from o
covers
Nail th
evenly
of the
require
1 ½”, e
nails at
STE
Contin
STEPS
gable e
additio
detail
3
3’(three
d at the ro
king at th
e end to t
he outer e
bottom o
long the
martVent
a total of
ough to
2” in fro
4
e installin
2 & 3 be
d Smart
al air flo
ithout wri
ot) piece
of edges(
e top edge
e other.
dge of the
the Sma
nail line”
Each 3’(
(8) nails.
enetrate t
each end
SmartV
re laying
ent with
. Do not
ten permi
of Smart
able). Na
with (4)
rap the
martVe
tVent wit
and matc
hree foot
Nails sho
rough the
of each S
nt until t
the final
rapped fa
ake any
sion fro
ent even
l the Sma
ails space
nd Fabric
t and nail
(4) nails
ing the na
section o
ld be a m
roof deck
artVent
e last piec
martVen
ric allow
odificati
DCI Pro
ith the d
tVent to
evenly
tightly so
in place.
spaced
ils at the t
SmartVe
nimum o
ng. Start
iece.
e. Repeat
piece. Th
for
ns to this
ucts.
ip
he
it
p
t
Rev20
20901
Page 2
STEP 5
STEP 5
Install ice and water shield (or tar paper in warm climates)
“on top” of the SmartVent. Standard building code
requirements determine when ice shield should be used. Full
width ice and water membrane (36”) is required to be
installed over the SmartVent in all snow environments.
Ensure the upper underlayments are lapped over the lower
underlayments. Any questions please call the DCI Technical
Department.
STEP 6
Shingle the roof as usual. You now have proper intake
ventilation to your attic.
NOTE
edge of the SmartVent with nails that penetrate through the
roof sheathing. (Generally 1½” roofing nails are used on new
roofs.) Shingles must overhang the SmartVent lifted edge by
3/8” minimum to 1” maximum. Refer to shingle
manufacturer application manual. Any questions please call
DCI Technical Department.
: Secure shingles to the roof deck at the ¾” lifted
NOTE: SmartVent can be installed under virtually any shingle course using proper installation
techniques. SmartVent should be installed on shingled roofs with a minimum of 4/12 pitch.
There is no maximum slope limitation. Low slope roofs with less than 4/12 pitch can use
FasciaVent by DCI for intake ventilation. Use of continuous ridge vents and other exhaust vents
are required. No moisture from household appliances, equipment or fixtures can be discharged
into the attic area. Maximum rafter length is 22 feet to maintain proper NFA(soffit to ridge).
STEP 6
ICC-ES Evaluation Report ESR-2484
Complies with National Building Codes
Texas Dept of Insurance Approved
Passed Dade County Hurricane Test
Passed New England Ice Damming Test
Rev20120901
US Patent #6,447,392
DCIProducts•CliftonHeights,PA19018•800‐622‐4455WWW.DCIPRODUCTS.COM
Page 3
1
Rev20
20901
Page 4

Rev20
1
20901
Page 5

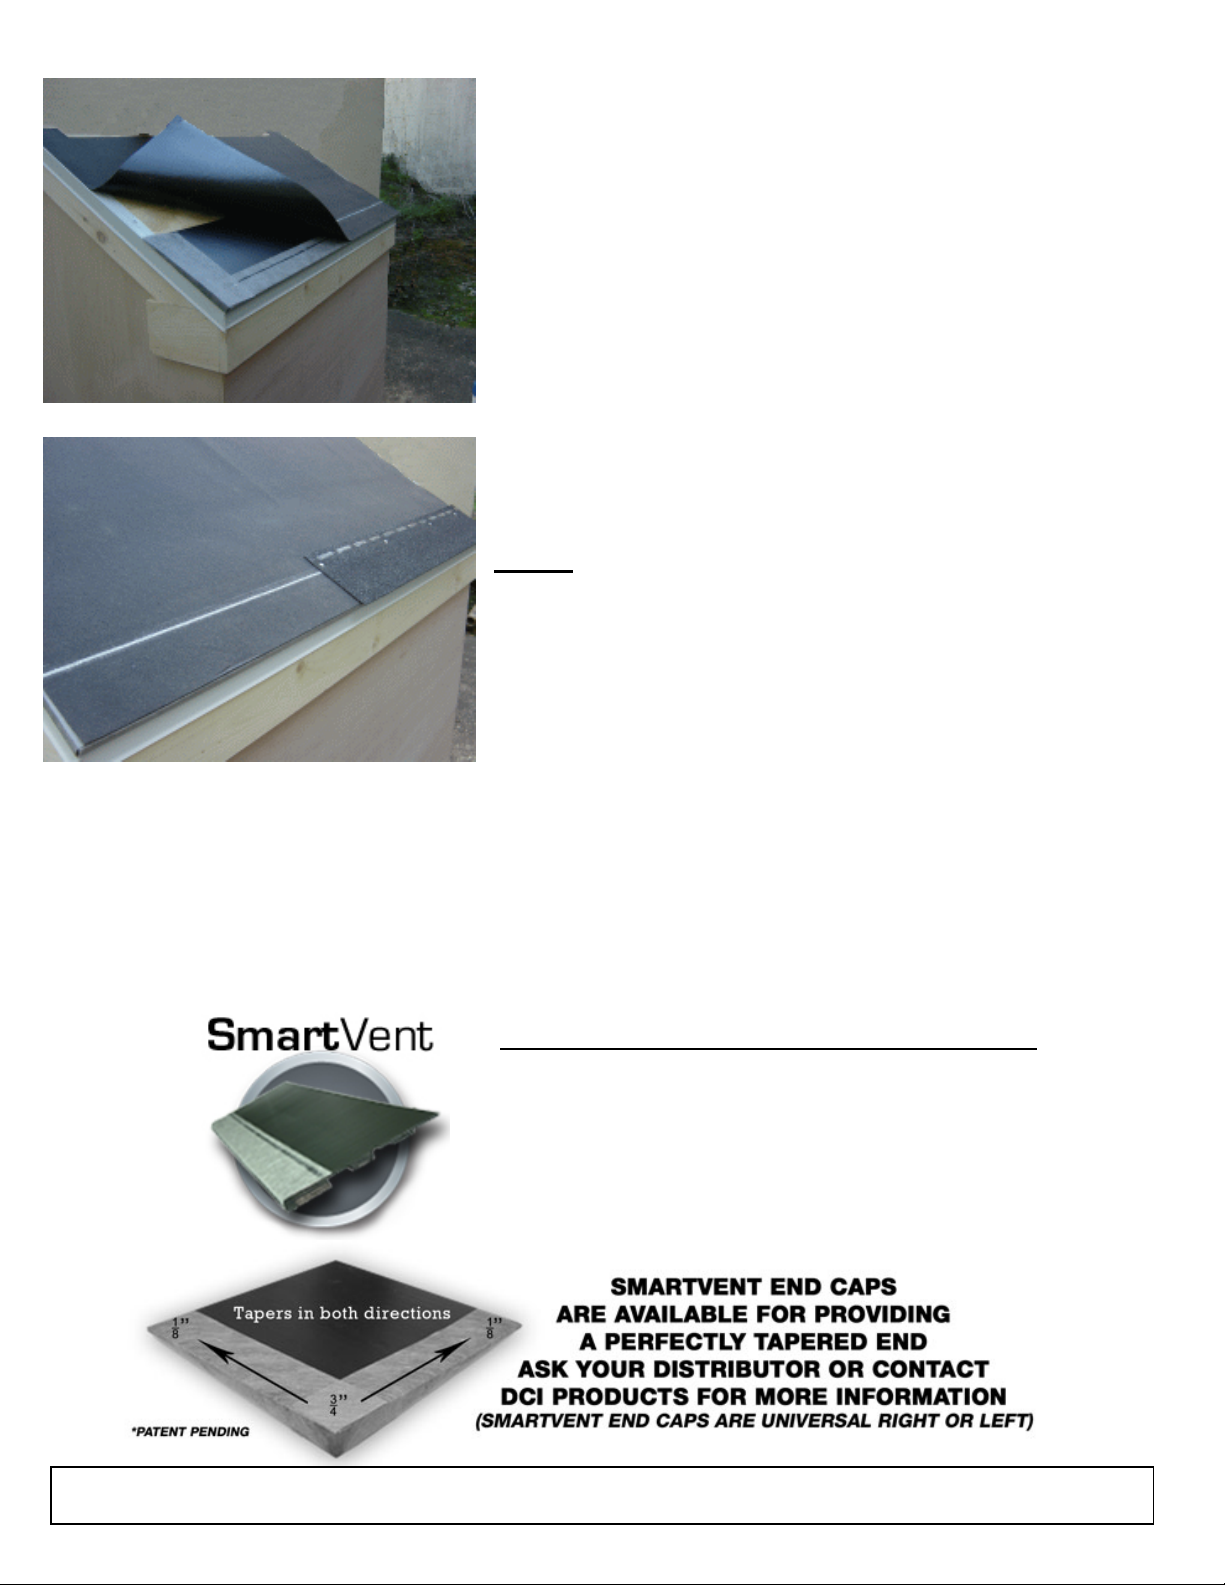
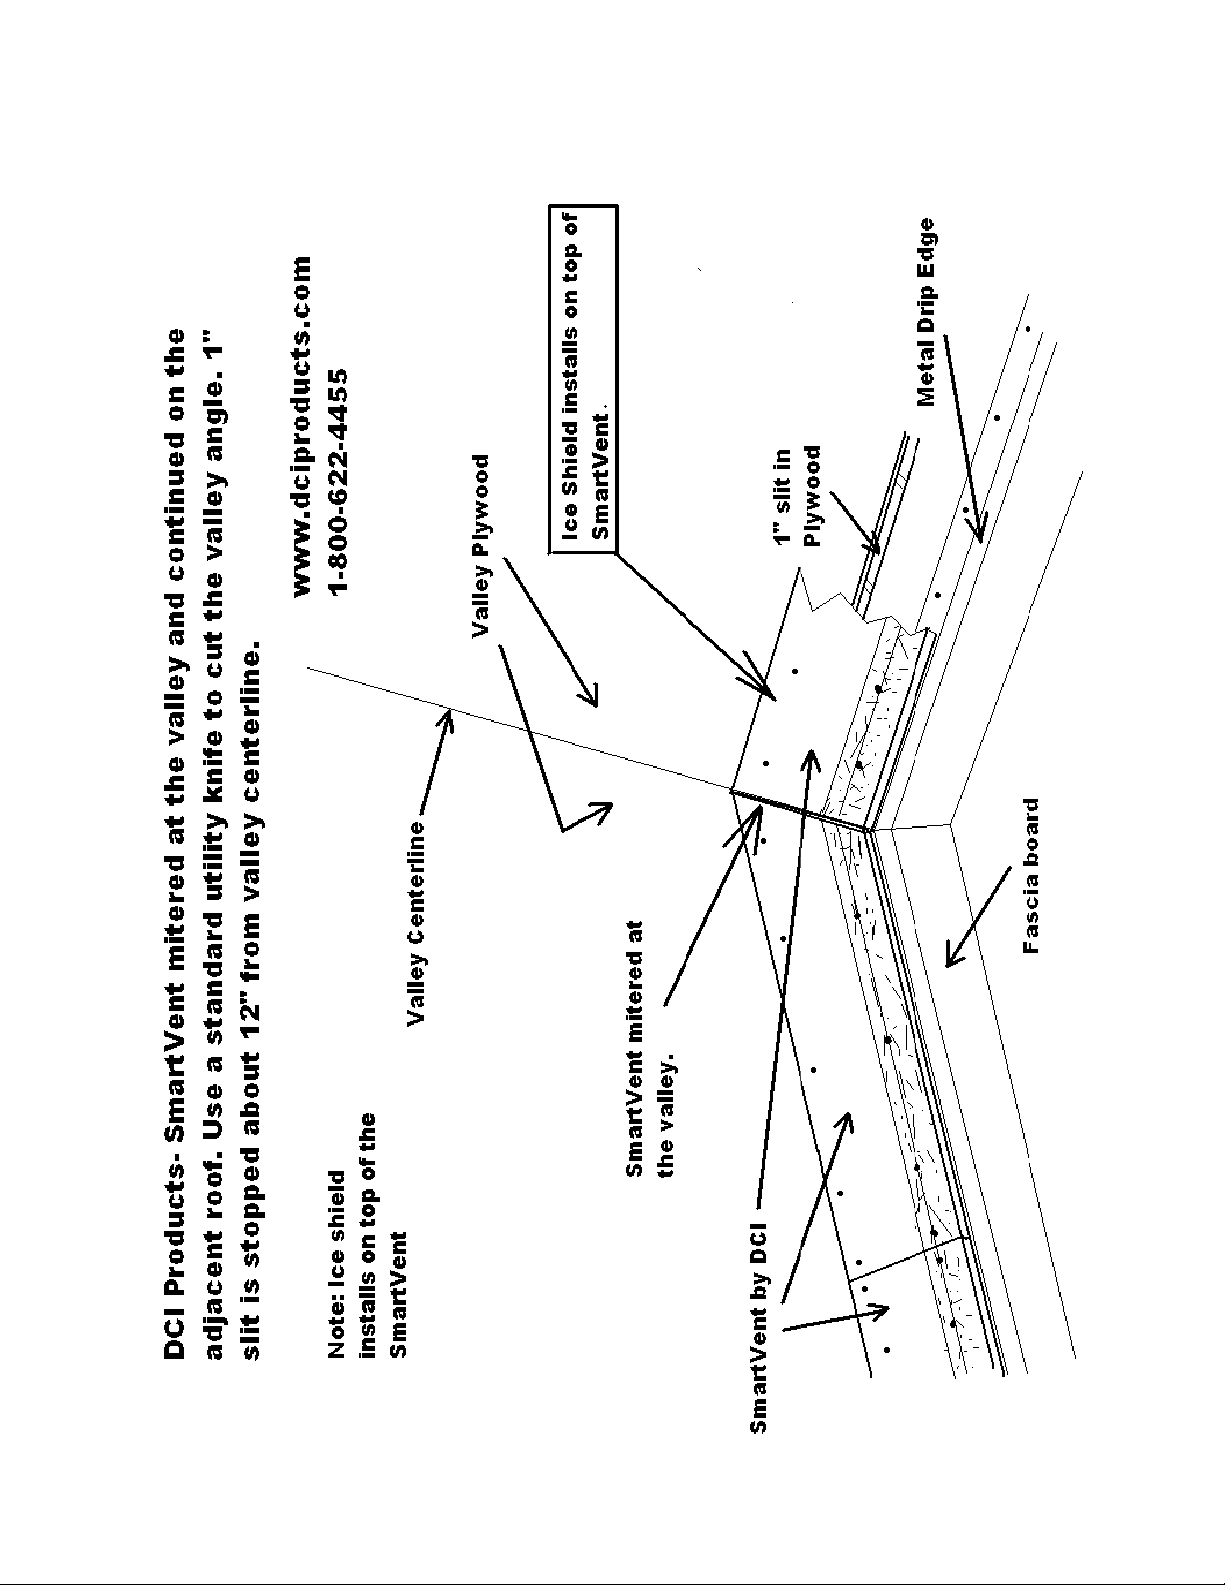
SmartVent by DCI
Off Wall Shed Roof Application:
Please reference the drawing to the right
when reading these directions.
Step 1
SmartVent.
Step 2
Step 3
Step 4
Step 5
Step 6
Step 7
Step 8
Note
- Shingle up to the area that requires the
- At the location of the shingle course
(where the SmartVent is to be located)
measure up from the bottom of the shingle
(the weather edge) 6” to 7” before
installing the actual shingle.
- Make lines at the 6” and 7” marks
and cut through the top of the previously
installed shingle and the plywood only
Do not cut the rafters!
(or 1 ¾” holes @ 3” centers)
- Remove the plywood decking after the continuous cut and ensure the air flow is open from
the shed wall vent to the soffit area.
-Nail the SmartVent similar to the eave detail and make it even with the bottom edge of the
course of shingle next to be installed.
-Apply a roll of ice shield on top of the SmartVent even at the lower lift edge and directly to
the plywood above the vent. If tarpaper was already installed, gently tuck the ice shield under
the higher course of tarpaper so it laps over the ice shield by at least three inches or more.
-Install a starter course of shingle slightly overhanging the SmartVent bottom edge about 3/8”
to 1/2”. Align shingles per manufacturers’ directions.
-Install the shingles over the starter course as you would normally at the eaves edge and
continue up the roof. The installation at the mid-roof is very similar to that of the eaves edge.
If you have any questions or comments on installation please call 1-800-622-4455 and ask for
a roof ventilation technician to assist you.
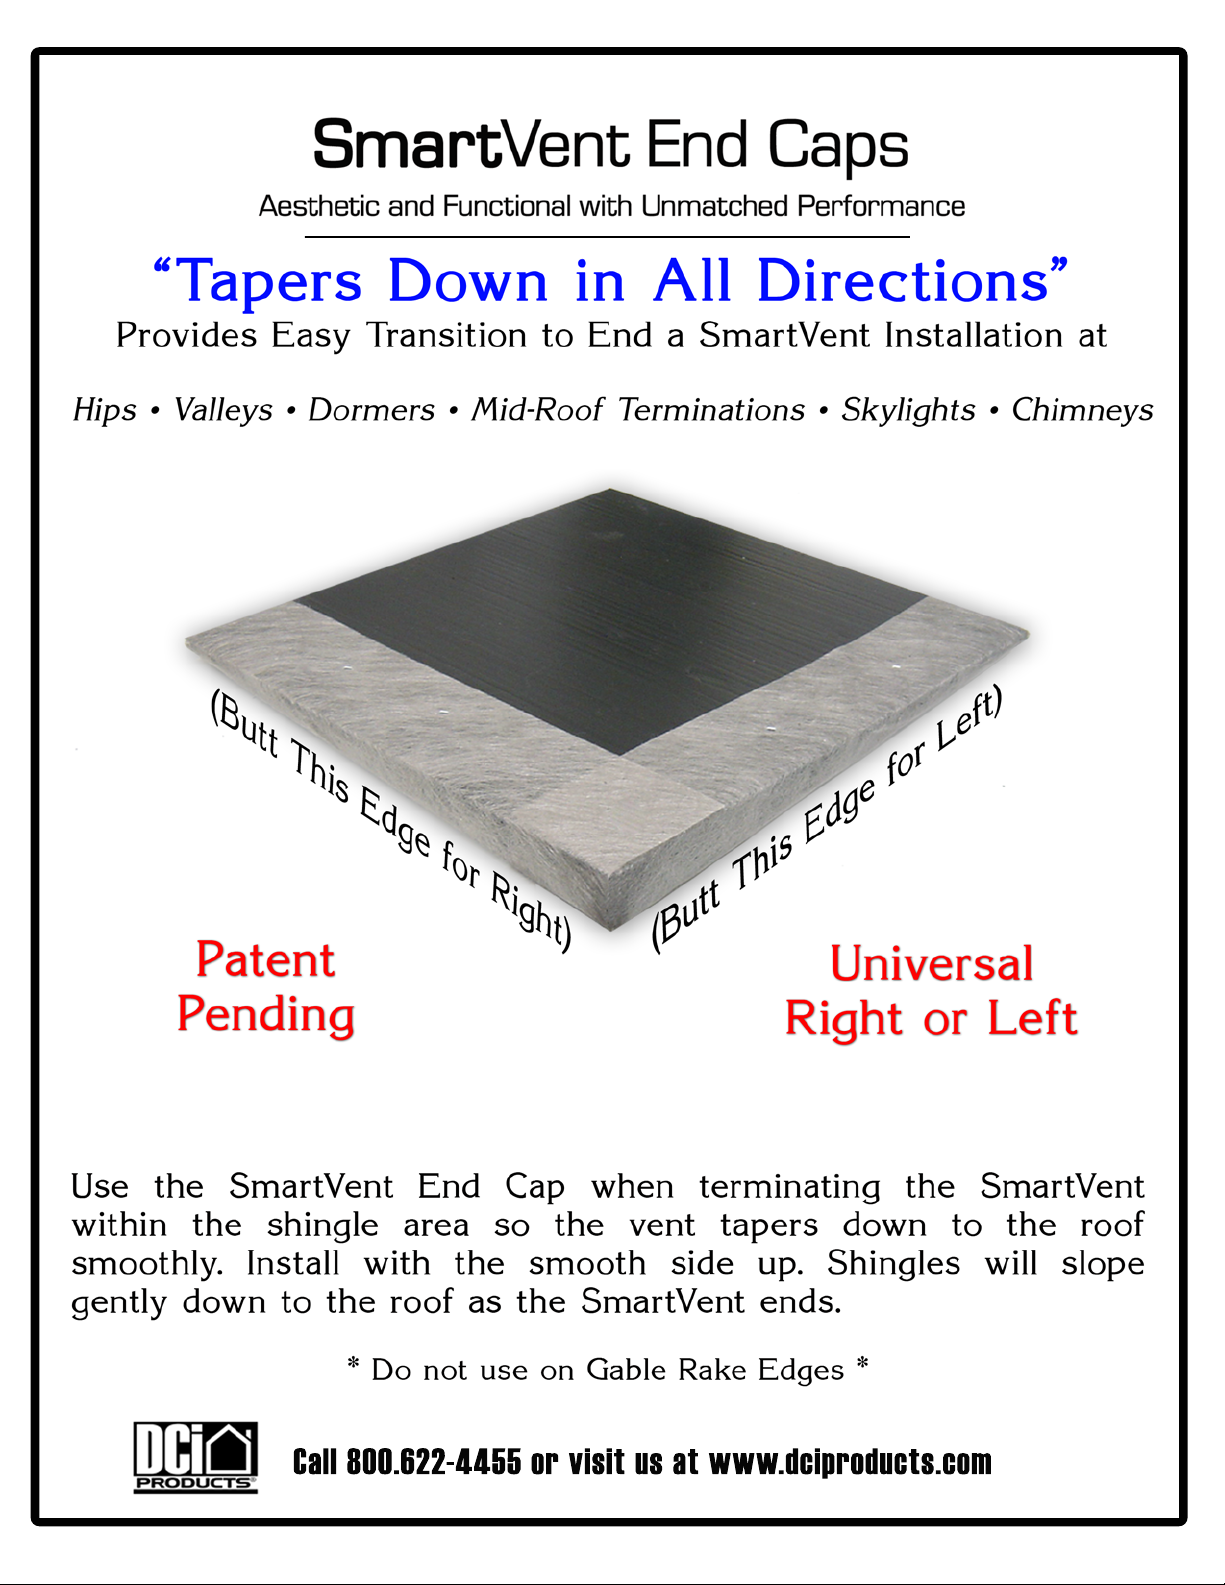
: Stop any roof deck 1” cuts about 12” from rake edges, dormer walls or valley areas, or at ends
of the SmartVent runs, etc. Use the enclosed fabric at the open ends of SmartVent to seal for
weather and insects. Cut SmartVent even at the rake edges, miter SmartVent in the valley and
hip areas and return miter SmartVent to end at locations inside the roof edging. The ‘return
miter’ is available to see on our website or call to receive this installation detail.
(Pre-made factory SmartVent End Caps are available directly from our factory for ease of installation)
Visit
WWW.DCIPRODUCTS.COM to learn about the variety of ways SmartVent can be used.
Call 1-800-622-4455
.
or
MID-ROOF/SHED WALL VENT
CROSS SECTION
Rev20120901
Page 6

Return Miter SmartVent Directions
When installing SmartVent on a transitional roof you should use the following steps to achieve the best results for
both curb appeal and ventilation.
Cut 45° angle with razor knife starting from the tapered edge working towards the Fabric exterior
Step 1
Step 2
Step 3
Take another SmartVent and miter like this and then.....
Step 4
Step 6
Step 5
Step 7
Install the fabric that is in the box and wrap it over the vent. It is now tapered to blend into the roof!
Step 8
Step 9
If you have questions regarding this process call DCI Products at 1-800-622-4455
Rev20120901
Page 7

SmartVent Installation Procedure for a ‘Continuously Ventilated Valley’ Application:
1. First strike a chalk line at 6½” away from the centerline of the valley on each side of the roof deck.
2. Then drill 1 ¾” holes at 3” on center along the chalk lines( or 15” wafer cuts at 6” intervals at 6” to 7” in from
the centerline). Do not drill through any rafters. Call DCI Products at 1-800-622-4455 if you have any
questions on installation of SmartVent. Install 12” X 12” square piece of ice and water membrane at the
bottom edge of the plywood roof deck where it meets the metal drip edge and fascia board before installing
the lower SmartVent piece and fabric.
3. Install one SmartVent with the smooth side up and the thick edge towards the valley. Install a second
SmartVent on the opposing side matching the thick edges together at the centerline. Install with eight nails,
four nails along the upper edge and four nails along the lower edge of each SmartVent piece.
4. Cut and/or miter the SmartVent with a razor knife at the bottom and the top of the valley to conform to the
ridge and the fascia. Wrap the enclosed fabric on any exposed edges of SmartVent when installing.
5. Install your choice of valley protective membrane over top of the SmartVent (Do Not Wrap the Bottom
Exposed Edge Where the Fabric was Wrapped). Continue your roof shingling per manufacturer’s directions.
The pictures shown above have SmartVent installed at both the eave and in the valley. If soffits exist
with vents underneath, cut the lower SmartVent valley product at the lower metal roof edge corner
and install the enclosed fabric around the exposed edges before laying the first piece down.
Rev20120901
Page 8
 Loading...