

Page 1
Large Drill Attachment
(DAREX Part # 4200)
Installation and Operating Instructions
Installation
Mount sharpening
fixture as shown in
Figure 1. Unscrew
wing nut, remove
standard sharpening fixture assembly. Replace with
the # 4200 fixture
assembly and
secure with wing
nut.
Figure 1
Operating Instructions
¾” through 1-1/8” ( 19 - 28 mm)
3. Secure drill in the chuck.
Grasp the chuck body with your left hand. With
your right hand, turn drill closing knob until drill is
firm in the chuck. Make sure the chuck does not
rotate in the alignment when tightening or the setting will change. Pull the chuck out of the alignment fixture and complete the tightening process.
4. Setting the point angle
Loosen the wing nut on the sharpening fixture and
rotate the fixture to the desired point angle mark.
Use the corner angle of the fixture base as the
pointer. (See fig. 4)
1. Insert drill into chuck
A Adjust the chuck drill closing knob to hold drill
loosely. ( Drills should be loose enough to slide
back and forth easily.)
B Drill should protrude approximately one inch from
end of chuck. (See Fig. 2)
Figure 2
2. Setting drill to length and aligning for relief.
A Insert chuck into alignment fixture, making sure
the flutes of the drill go between the two stop pins
allowing the drill to go all the way in. Continue
pushing the chuck in as far as it will go.
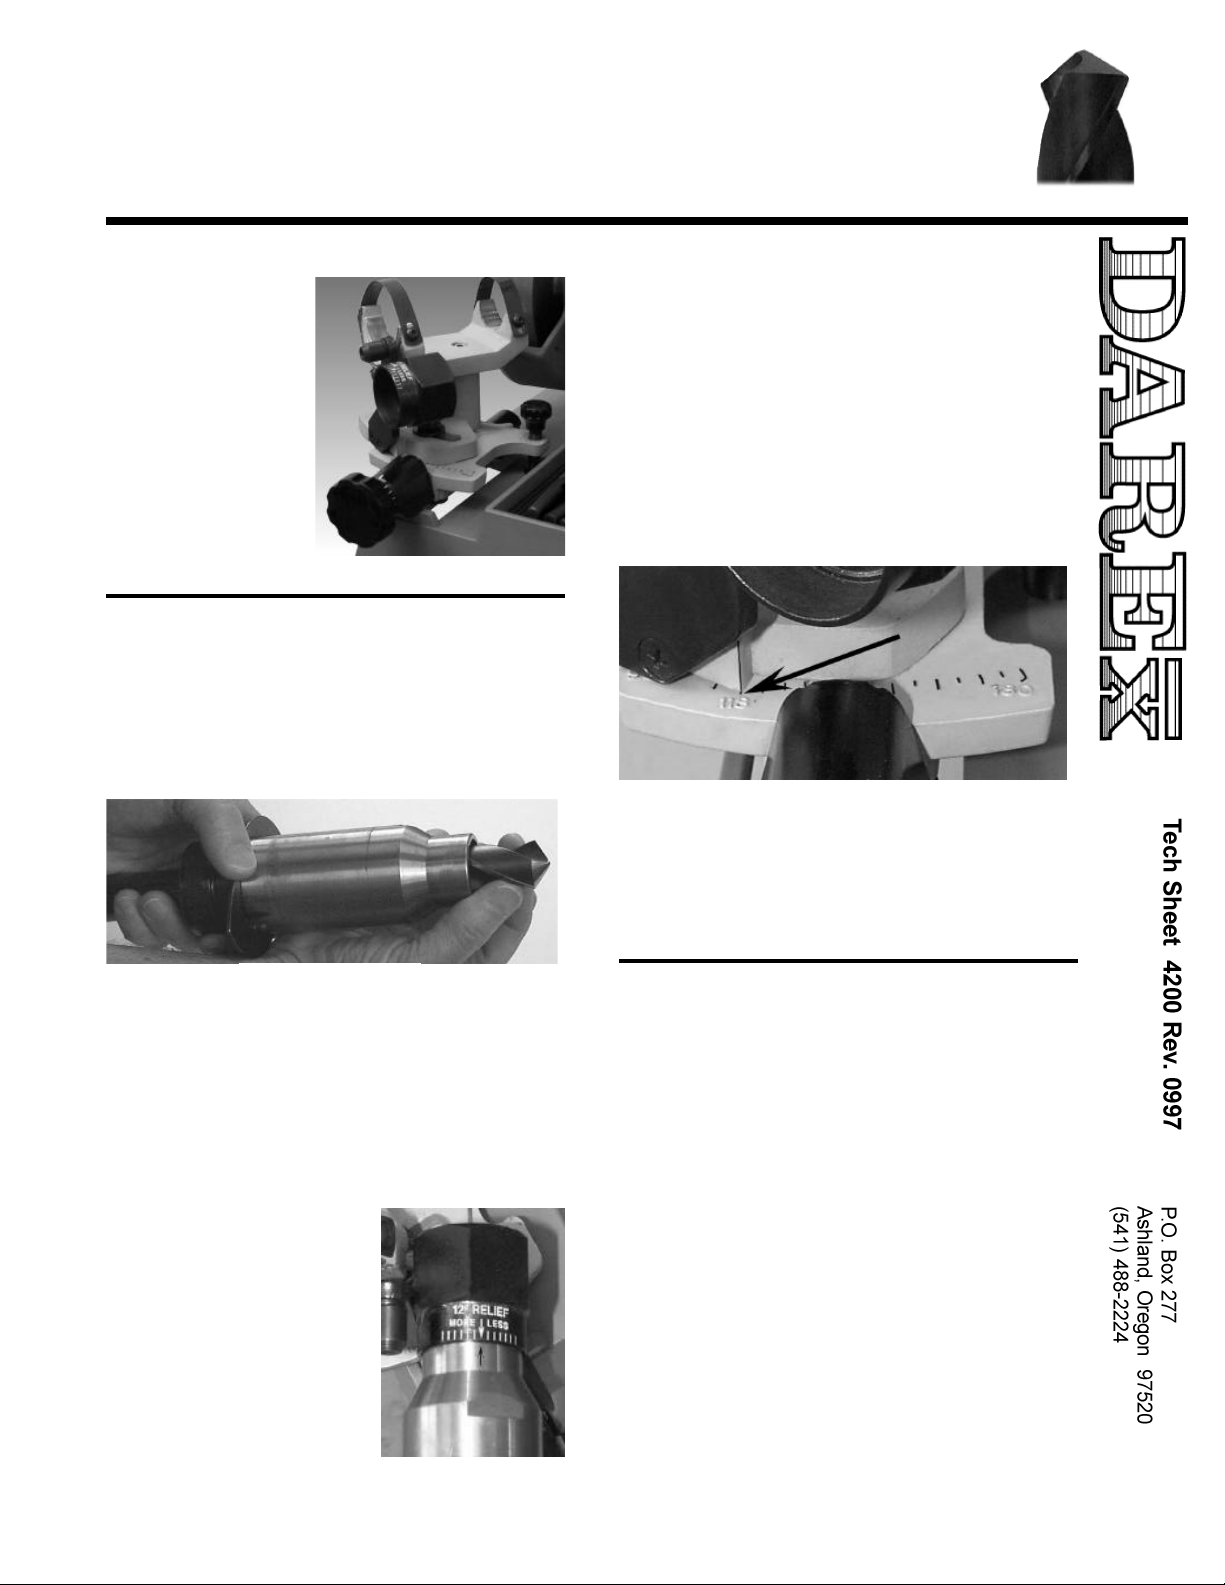
B Grasp wing cam and rotate chuck CLOCKWISE
until alignment arrow coincides with arrow on the
lip relief scale. To set
for more relief locate
the chuck arrow a line
or so to the left of the
alignment arrow or to
the right for less relief.
(Never turn chuck
counterclockwise,
merely rotate chuck
around again to make
sure the cutting lips are
against the stop pins
inside of the alignment
tube.) (See Fig. 3)
Figure 3
Figure 4
5. Sharpening the drill
Use the same procedure for sharpening as shown
on page 3 in the operating instructions.
( M5OPS Rev: 0796)
Tips
1 To sharpen 90 degree drills in this fixture :
When aligning the drill, hold the chuck about
1/4" from being inserted all the way into the
alignment port. This procedure will allow the
drill to extend out of the chuck further and eliminate the sharpening mechanism from touching
the wheel while sharpening.
2 To grind drills upwards of 1" the wheel position-
ing knob may need to be used to position the
drill point in such a way so as to make sure it is
being covered completely by the wheel in the
grinding process.
 Loading...