

Daikin EKVSU180A, EKVSU260A Installation manuals

180 l
260 l
Installation manual
Daikin Altherma – Domestic hot water tank kit
EKVSU180A
EKVSU260A
Installation manual
Daikin Altherma – Domestic hot water tank kit
English
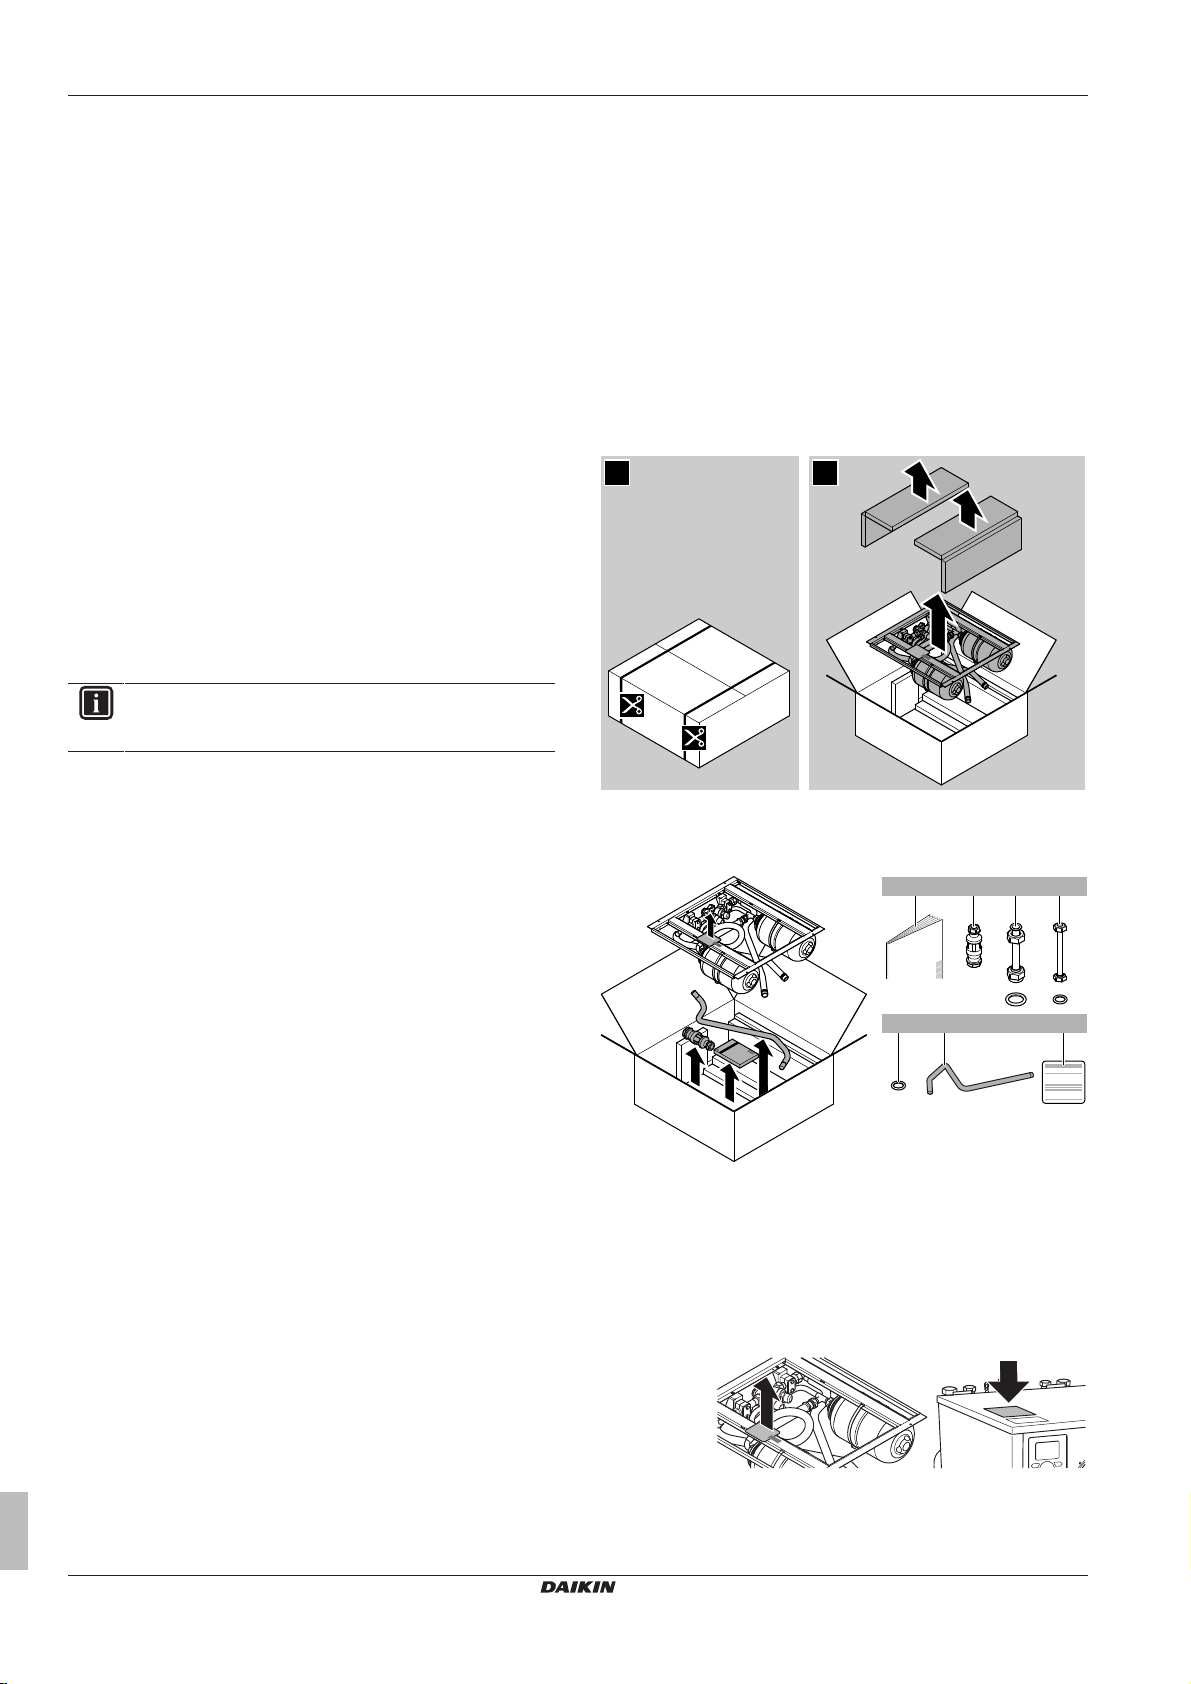
Table of Contents
21
1× 1× 2×
1×
a b c1×d
2× 1×
fe g
+ +
1
2
Table of Contents
1 About the documentation 2
1.1 About this document.................................................................. 2
2 About the box 2
2.1 Domestic hot water tank kit ....................................................... 2
2.1.1 To unpack the domestic hot water tank kit.................. 2
2.1.2 To remove the accessories from the domestic hot
water tank kit............................................................... 2
3 Preparation 3
3.1 Preparing installation site .......................................................... 3
3.1.1 Installation site requirements of the domestic hot
water tank kit............................................................... 3
3.2 Preparing water piping .............................................................. 3
4 Installation 3
4.1 Opening the units ...................................................................... 3
4.1.1 To open the indoor unit............................................... 3
4.2 Connecting the water piping...................................................... 3
4.2.1 To connect the water piping........................................ 3
4.3 Finishing the domestic hot water tank kit installation ................ 5
4.3.1 To close the indoor unit............................................... 5
1 About the documentation
1.1 About this document
INFORMATION
Make sure that the user has the printed documentation and
ask him/her to keep it for future reference.
Technical engineering data
▪ A subset of the latest technical data is available on the regional
Daikin website (publicly accessible).
▪ The full set of latest technical data is available on the Daikin
extranet (authentication required).
2 About the box
2.1 Domestic hot water tank kit
2.1.1 To unpack the domestic hot water tank kit
Target audience
Authorised installers
Documentation set
This document is part of a documentation set. The complete set
consists of:
▪ General safety precautions:
▪ Safety instructions that you must read before installing
▪ Format: Paper (in the box of the indoor unit)
▪ Indoor unit installation manual:
▪ Installation instructions
▪ Format: Paper (in the box of the indoor unit)
▪ Outdoor unit installation manual:
▪ Installation instructions
▪ Format: Paper (in the box of the outdoor unit)
▪ Domestic hot water tank kit installation manual
▪ Installation instructions
▪ Format: Paper (in the box of the domestic hot water tank kit)
▪ Installer reference guide:
▪ Preparation of the installation, good practices, reference data,…
▪ Format: Digital files on http://www.daikineurope.com/support-
and-manuals/product-information/
▪ Addendum book for optional equipment:
▪ Additional info about how to install optional equipment
▪ Format: Paper (in the box of the indoor unit) + Digital files on
http://www.daikineurope.com/support-and-manuals/productinformation/
Latest revisions of the supplied documentation may be available on
the regional Daikin website or via your dealer.
The original documentation is written in English. All other languages
are translations.
Installation manual
2
2.1.2 To remove the accessories from the domestic hot water tank kit
a Installation manual
b Tundish
c Water piping extension pieces for space heating IN and
OUT + sealings (38×27×2mm) (EKVSU260A only)
d Water piping extension piece for domestic hot water OUT +
sealing (24×17×2mm) (EKVSU260A only)
e Sealings for the flexible hoses of the domestic hot water
tank kit (24×17×2mm)
f Discharge pipe
g Identification label of the domestic hot water tank kit. Fix it
near the identification label of the indoor unit.
EKVSU180A + EKVSU260A
Daikin Altherma – Domestic hot water tank kit
4P449984-1B – 2016.11
3 Preparation
a
b
e
c
d
e
h
f f
g g
e
4×
3 Preparation
3.1 Preparing installation site
3.1.1 Installation site requirements of the domestic hot water tank kit
INFORMATION
The domestic hot water tank kit is mounted into the indoor
unit. The use of tank kit EKVSU260A extends the height of
the indoor unit by 190mm.
3.2 Preparing water piping
Respect the following water circuit requirements:
▪ Domestic hot water tank kit – Clean pipes. Before installing the
domestic hot water tank kit, all piping and fittings must be flushed
free of flux and debris. Failure to do this may cause irreparable
damage to the tank kit control valves. Flush the system by
opening the hot water tap.
▪ Domestic hot water tank kit – Drainage. For the discharge
piping connected to the pressure relief valve of the domestic hot
water tank kit, respect the following requirements:
Item Requirement
Pressure relief valve diameter 15mm
Discharge pipe diameter (to pressure relief valve) 15mm
Discharge piping diameter (from tundish) 22mm
Discharge piping material (from tundish) Metal
Vertical length below tundish, before first elbow or
bend
Continuous fall after first elbow or bend ≥1:200
Maximum resistance
Resistance created by each elbow or bend 0.8m
(a) The maximum allowed resistance (i.e. equivalent length) is
INFORMATION
All piping MUST be installed according to section G3 of the
Building Regulations.
▪ Domestic hot water tank kit – Pressure balancing. To prevent
large pressure differences at the taps and damage to the shower
valve due to high‑pressure cold water (5bar), provide a dedicated
2‑bar feed to both cold water and hot water taps. To do this, also
connect the cold water supply for the cold water taps to the
pressure reducing valve of the domestic hot water tank kit.
(a)
expressed as a length of straight pipe (i.e. no elbows or
bends).
≥300mm
≤9m
4 Installation
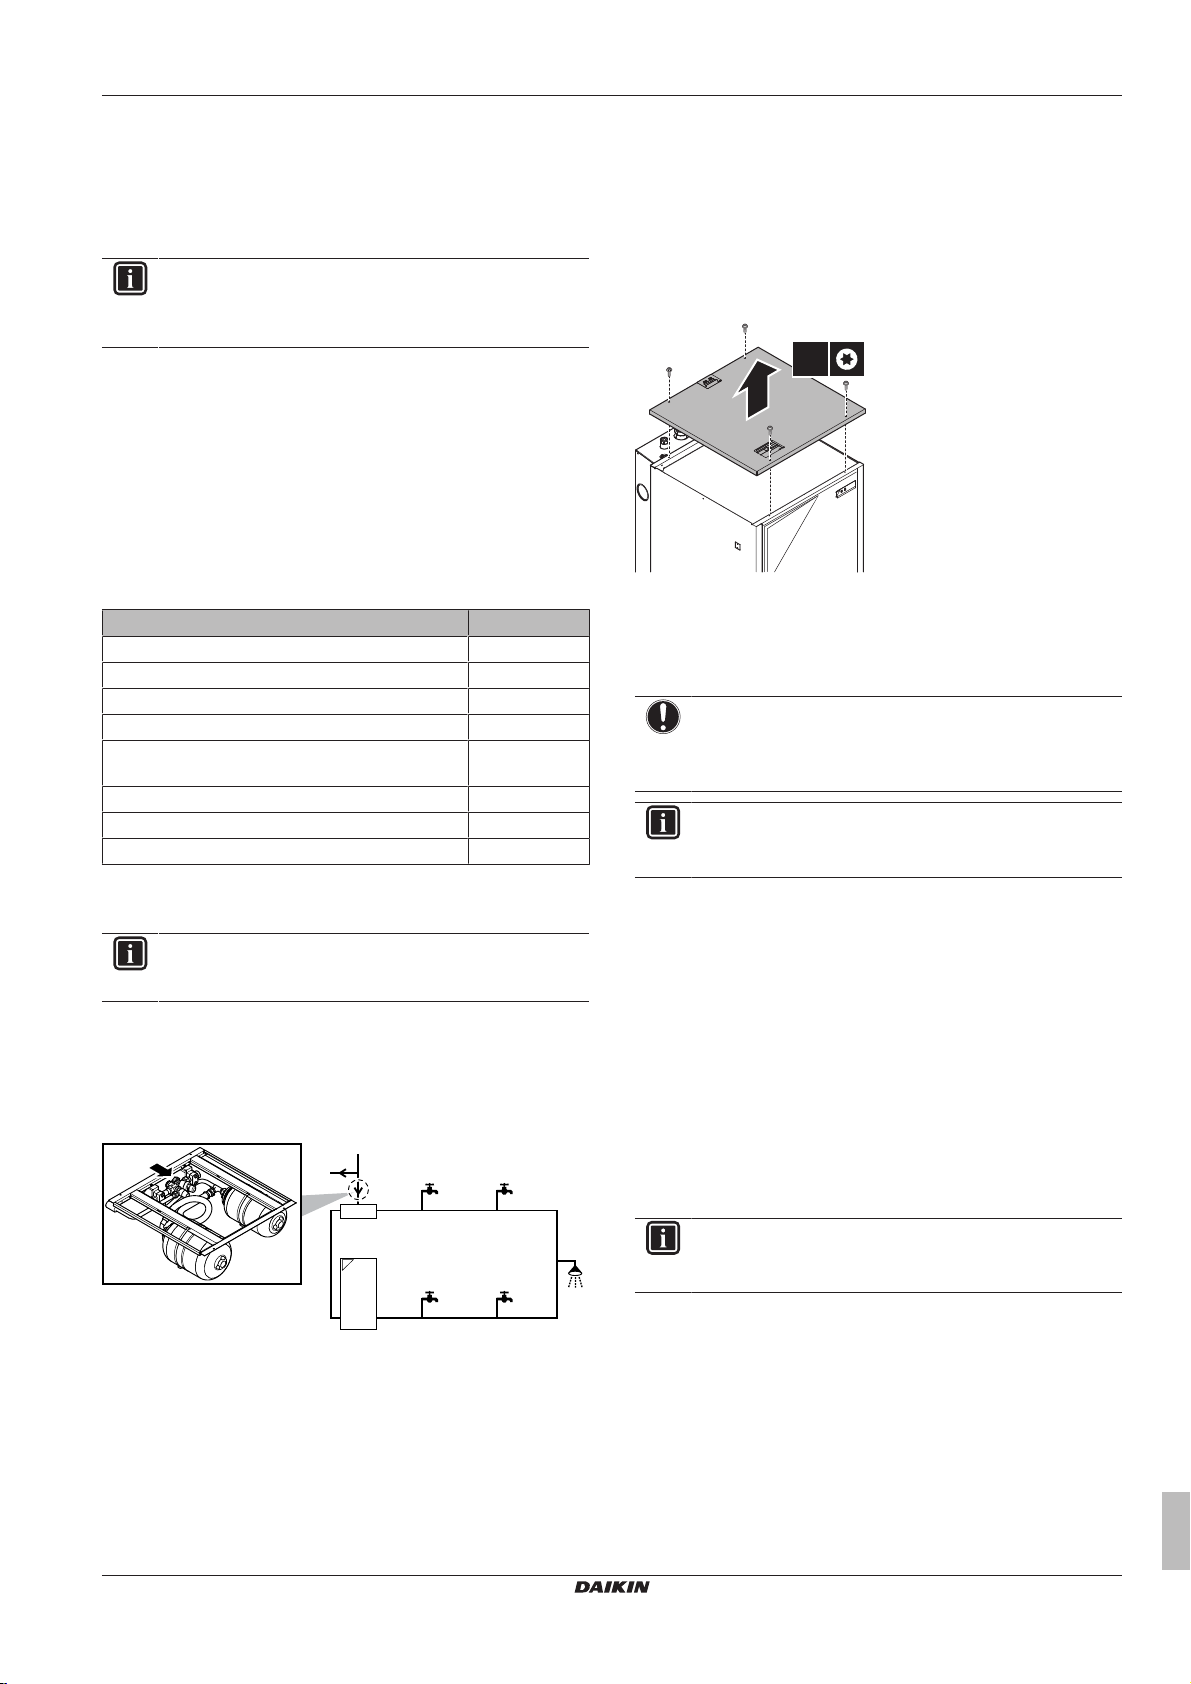
4.1 Opening the units
4.1.1 To open the indoor unit
1 Loosen and remove the 4 screws that fix the top panel.
2 Remove the top panel from the unit.
4.2 Connecting the water piping
4.2.1 To connect the water piping
NOTICE
Do NOT use excessive force when connecting the piping.
Deformation of the piping can cause malfunctioning of the
unit.
INFORMATION
If you have to inspect the inside of the domestic hot water
tank, you can access it via the booster heater boss.
The installation of the domestic hot water tank kit is part of a larger
installation flow. The total installation of the water piping consists of:
1 Connecting the recirculation piping.
2 Connecting the water piping:
▪ Directly to the indoor unit: connecting the water piping to the
space heating inlet, the space heating outlet, and the domestic
hot water outlet.
▪ Via the domestic hot water tank kit: connecting the water
piping to the unit’s domestic cold water inlet, and
connecting the kit itself to the drain.
3 Connecting the pressure relief valve to the drain.
4 Filling the water circuit.
5 Filling the domestic hot water tank.
6 Insulating the water piping.
a Cold water supply into house at 5bar
b To 5-bar taps
c Pressure reducing valve (part of the domestic hot water
tank kit)
d Indoor unit
e Dedicated 2‑bar feed
f Cold water taps
g Hot water taps
▪ Domestic hot water tank kit – Secondary return. Where the
EKVSU180A + EKVSU260A
Daikin Altherma – Domestic hot water tank kit
4P449984-1B – 2016.11
secondary return circuits are used, an additional expansion vessel
may be required.
INFORMATION
For more information, see the installation manual of the
indoor unit and the installer reference guide.
Installation manual
3
 Loading...