

Read the separate safety instructions before using the appliance.
DE’LONGHI
DEʼLONGHI
1. DESCRIPTION
1.1 Description of appliance (A)
A1. Air outlet louver
A2. Lifting handles
A3. Room sensor air intake
A4. Castors
A5. Water level viewing window
A6. Condensate collection tank
A7. Epa lter
A8. Silver ion dust lter
A9. Filter housing cover
A10. Continuous drain rubber stopper
A11. Continuous drain cap
A12. Continuous drain hose
1.2 Description of control panel (B)
B1. ON/STAND-BY button
B2. Ventilation button
B3. Dehumidifying button
B4. Wi-Fi button
B5. Swing button
B6. Dry button
B7. Timer button
1.3 Description of display(C)
C1. Full tank alarm
C2. EPA lter present symbol
C3. Ventilation mode active
C4. % Relative Humidity
C5. Wi-Fi symbol
C6. App control symbol
C7. Dr y mode active
C8. Hours
C9. Dehumidifying mode ac tive
C10. Low temperature alarm
C11. Remote timer symbol
C12. Local timer symbol
2. DOWNLOAD THE APP!
This appliance can also be used with the app "Aria Dry De'Longhi"
that can be downloaded from the App Store®.
To gain access to all functions, a local network (Home WLAN)
with Internet access is required. Moreover, check that there
are no impediments to Internet access: Firewall, Proxy,
authentications, etc.
3. DRAINING THE CONDENSATE WATER
The condensate can be drained in 2 ways:
3.1 Draining into the tank
The condensate is drained directly into the tank (A6).
When the tank is full, the appliance stops and the display (C)
shows the tank alarm (C1). Proceed as follows:
1. Remove the tank (g. 1) and empty it into a sink or bathtub.
2. Replace the tank in its housing, making sure the handle is
properly positioned (g. 2).
3.2 Continuous external draining
If the appliance is used for long periods of time without the
possibility to regularly empty the tank, the continuous drain
function should be used.
Proceed as follows:
1. Remove the continuous drain cap (A11) from the spout,
turning it in an anti-clockwise direction, then remove the
continuous drain rubber stopper (A10) from the opening
(g. 3) (Watch out for any leaking water!)
2. Attach the condensate drain hose (A12) to the spout (g.
4).
3) Make sure the hose is positioned below the spout (g. 5) or
the water will ow back into the tank of the appliance.
Also make sure there are no kinks in the hose.
4. MODE SELECTION
Connect the appliance to the mains supply. Upon rst use, the
symbol will appear on the display and at the same time,
an acoustic signal will sound to indicate that the appliance is in
stand-by mode.
1. To turn the appliance on, touch the button (B1).
The appliance will operate in the previously set mode and
the air outlet louver (A1) will open in a preset position (g.
6).
2. If there is a blackout, when the power is restored the
appliance will resume operation in the previously set
operating mode.
Please note:
If the symbol (C1) appears on the display, the tank (A6)
needs to be emptied or properly positioned (see paragraph “3.1
Draining into the tank”).
10
Air ltration
If the EPA lter (A7) is installed, in addition to operating in the
preset mode, the appliance will also lter the air in the room. In
this case, the symbol (C2) will appear on the display.
The lter is designed to last up to 9 months, based on 8-hour
daily usage at medium working load.
To maintain the eciency of ltration, see paragraph “5.3
Replacing the EPA lter”.
4.1 Dehumidifying mode
1. Touch the button (B3). The symbol (C9) will
blink on the display (g. 7).
2. The display shows the previously set relative humidity
value. When the symbol blinks, the setting can be
changed by repeatedly touching the button.
There are 5 dierent relative humidity settings ranging
from 30% (dry environment) to 70% (humid environment).
Depending on the environmental conditions, it may not be
possible for the appliance to reach the minimum settable
value. In these cases, it is recommended the heat the
environment that needs to be dehumidied.
3. When the symbol stops blinking, the display shows the
percentage of relative humidity in the room. The appliance
may take a few seconds to display the value of the relative
humidity in the room.
4. When the room reaches the preset relative humidity level,
the appliance stops dehumidifying and operates at a very
slow ventilation speed.
4.2 Dry mode
1. Touch the button (B6). The display shows the
symbol (C7) (g. 8).
Please note:
The appliance automatically operates at the maximum
dehumidifying capacity. Recommended for particularly humid
environments or to dry laundry more quickly.
4.3 Ventilation mode
1. Touch the button (B2). The display shows the
symbol (C3) and the selected speed (g. 9).
2. When the symbol blinks, the ventilation speed can be
adjusted by repeatedly pressing the button. the
display shows the number corresponding to the selected
speed (1 ⇒ LOW; 2 ⇒ MED; 3 ⇒ HIGH).
4.4 Swing function
1. Press the button (B5) . The air outlet louver (A1)
moves up and down, evenly distributing the air ow in the
room (g. 10).
2. To stop the louver in the desired position, touch the same
button again.
4.5 Timer function
The timer can be used to delay appliance start-up and shutdown. This will avoid energy wastage, ensuring the appliance
operates only when needed.
The timer function can be programmed from either the control
panel or the app.
• If programmed from the control panel: the display shows
the symbol (C12) (g. 11).
• If programmed from the app: the display shows the
symbol (C11) (g. 12). To programme the timer from the
app, follow the instructions provided in the app.
How to programme delayed start-up
1. With the appliance in stand-by ( ), touch the
button (B7): the display will show the symbol and the
number relative to the selected hours (g.11);
2. Set the desired number of hours by repeatedly touching
the button.1, 2, 4, 6, 8, 12 hours can be selected.
3. After a few seconds, the appliance will return to stand-by
mode and the symbol will remain lit on the display.
4. After the programmed time, the appliance will turn on in
the previously set operating mode.
How to programme delayed shut-down
1. While the appliance is running, touch the button
(B7): the display shows the symbol and the relative
number of selected hours (g. 11);
2. Set the desired number of hours by repeatedly touching the
button. 1, 2, 4, 6, 8, 12 hours can be selected.
3. After a few seconds, the display returns to the current
operating mode and the symbol remains lit.
4. After the programmed time, the appliance will
automatically turn o.
Please note:
• O nce the timer has been programmed, to see the remaining
time until start-up or shut-down, touch the
button once.
• To deactivate the timer function, press the button
twice. The symbol on the display will turn o.
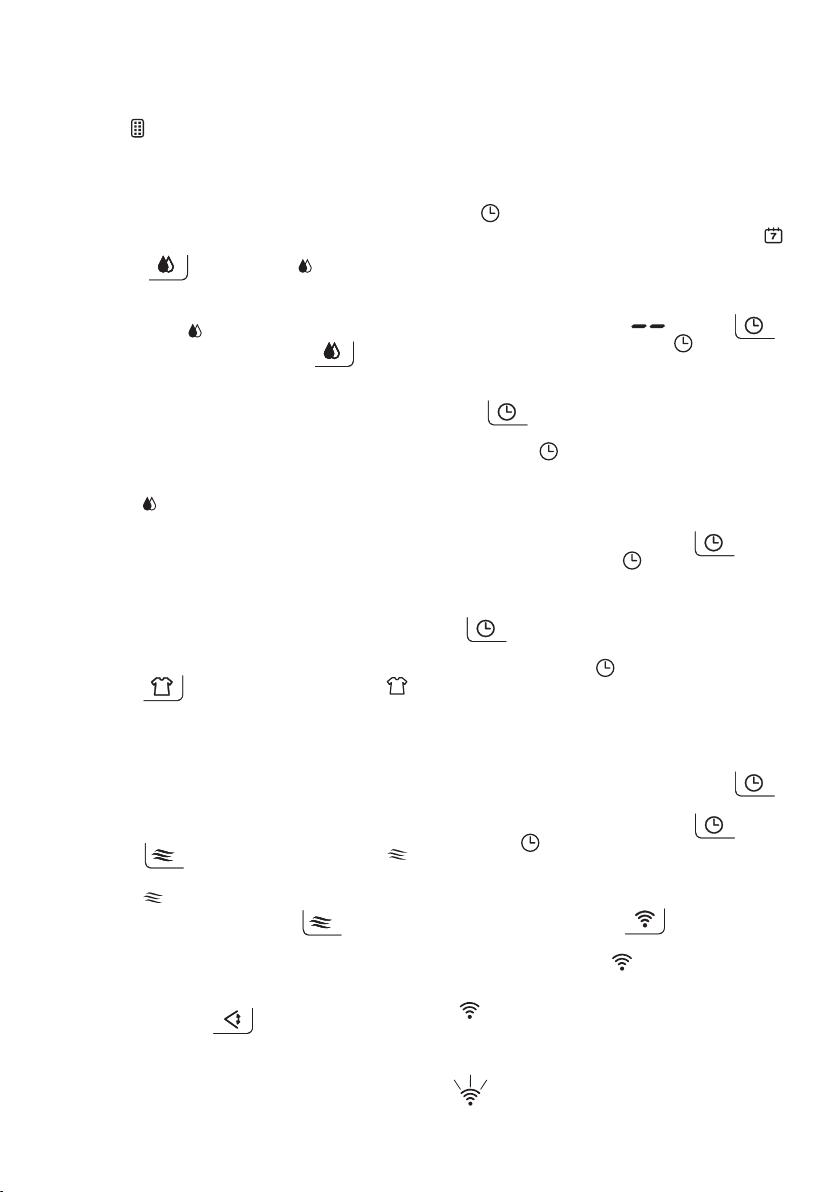
4.6 Wi-Fi function
The appliance has a built-in Wi-Fi function. To activate or
deactivate this function, hold the button (B4) pressed
until the appliance emits two beeps. When the Wi-Fi function is
active, the display will show the Wi-Fi symbol (C5) with the
following operating modes:
- FIXED
this means the Wi-Fi functions are active and the
“Home WLAN” has been found
- SLOW FLASHING
this means the appliance is searching for the
“Home WLAN”
11

FAST FLASHING
this means the “Home WLAN” has not been found
or has not been set.
“APP CONTROL” ICON
When the APP CONTROL icon appears this means the
last command was received via app.
If the saved “Home WLAN” setting needs to be changed, proceed
as follows:
1. Hold the button pressed for about 20 seconds until
a long beep is heard;
2. Use the app to insert the new “Home WLAN” settings in
the unit.
5. CLEANING AND MAINTENANCE
• Always disconnect the appliance from the mains before
carrying out cleaning operations (g. 13).
• Never submerge the appliance in water.
5.1 Cleaning the cabinet
• Never pour water directly over the appliance (g. 14).
• Never use petrol, alcohol or solvents.
• Never spray insecticides or similar substances as these may
deform the plastic.
• Clean the surfaces of the appliance using a soft cloth and do
not use abrasive sponges as these may scratch the surfaces
themselves (g. 15).
5.2 Cleaning the dust or silver ion lter
The frequency of cleaning will depend on the frequency of use:
if used daily, it is recommended to clean the lter every week.
• Remove the lter housing cover (A9) from the appliance
(g. 16).
• Ex tract the dust lter (g. 17).
• Remove any dust from the lter using a vacuum cleaner
(g. 18).
• If the dust lter is very dirty, rinse it well with warm water.
The water temperature must not exceed 40° C.
• Leave it to dry completely, then put it back into place.
5.3 Replacing the EPA lter
The appliance will automatically remind you when the EPA lter
(A7) needs to be replaced . After a preset number of operating
hours, the display shows the blinking symbol (C2) to indicate
that the lter needs to be replaced.
Always use original De’Longhi lters.
• Remove the lter housing cover (A9) (g. 16).
• Extract the used lter (g. 19) and replace it with a new
one.
• Close the lter housing cover (with the dust lter (A8)
inserted).
• Reset the lter alarm by holding the button (B2)
pressed for at least 10 seconds until you hear a long beep.
Please note:
the symbol is intended only as a guide and it may be
necessary to replace the EPA lter more frequently, depending
on the air quality.
For long periods of downtime
• Disconnect the appliance from the mains and empty the
tank (A6).
• Clean the dust lter (A8) and re-insert it.
• Cover the appliance with a plastic bag to protect it from
dust.
6. TECHNICAL SPECIFICATIONS
Power supply voltage See rating plate
Input power “
Maximum input power “
Defrost device Yes
Hygrometer Yes
Fan speed 3
Air lter Yes
Operating limits:
Temperature 2°C - 30°C
Relative Humidity 30 - 90%
12

7. ALARMS SHOWN ON DISPLAY
ALARM CAUSE SOLUTION
Tank (A6) missing or incorrectly
positioned
Tank full Empty the tank (see paragraph “3.1 Draining into the
Place the tank back in its correct position (see paragraph “3.1 Draining into the tank”)
tank”)
Room temperature too low (see operating limits in chap. “6. Technical
Specications”)
Humidity in room too low or too high for
correct measuring (see operating limits
in chap. “6. Technical Specications”)
Faulty probe Call Service Centre
Wi-Fi interface not working properly Turn the appliance o and disconnect the plug from
After a preset number of operating hours,
the symbol (C2) blinks on the display
to indicate that the EPA lter (A7) needs
to be replaced.
Increase the room temperature if possible
Move the appliance to another room with humidity
and temperature levels within the operating limits: if
the problem persists, call the Service Centre.
the power socket. Wait a few minutes, then re-insert
the plug: if the problem persists, contact the Service
Centre.
Replace the EPA lter (see para. “5.3 Replacing the
EPA lter”).
If the EPA lter has recently been replaced, reset the
alarm (see para. “5.3 Replacing the EPA lter”)
8. TROUBLESHOOTING
Below is a list of possible malfunctions.
If the problem cannot be resolved using the proposed solution, contact the Service Centre.
PROBLEM CAUSE SOLUTION
The appliance is operating in dehumidifying mode, but the humidity does not
decrease
The lter is clogged Clean the dust lter (para. “5.2 Cleaning
the dust lter”) and check whether the
EPA lter needs replacing (para. “5.3 Replacing the EPA lter”)
Either the temperature or humidity in the
room is too low
The set relative humidity level is too high Set a lower humidity value (see para-
In certain conditions the appliance will
not dehumidify: check the operating limits of the appliance (see chap. “6. Technical Specications”). In certain cases, it is
recommended to heat the room needing
to be dehumidied.
graph “4.1 Dehumidifying mode”).
13
 Loading...