

Page 1
The above sink Boiling Water Unit dispenses boiling water — Please treat it with care.
If a tundish is used it must be placed above the sink in the open.
IMPORTANT: THIS UNIT MUST BE INSTALLED BY AN AUTHORISED PLUMBER.
WARNING:
WE RECOMMEND A BACKFLOW PREVENTION DEVICE COMPLYING WITH THE REQUIREMENT OF A.S. 3500.1 BE
INSTALLED ON THE WATER SUPPLY INLET TO THIS UNIT.
*Unit to be connected in accordance with A.S.3500 & A.S.3000
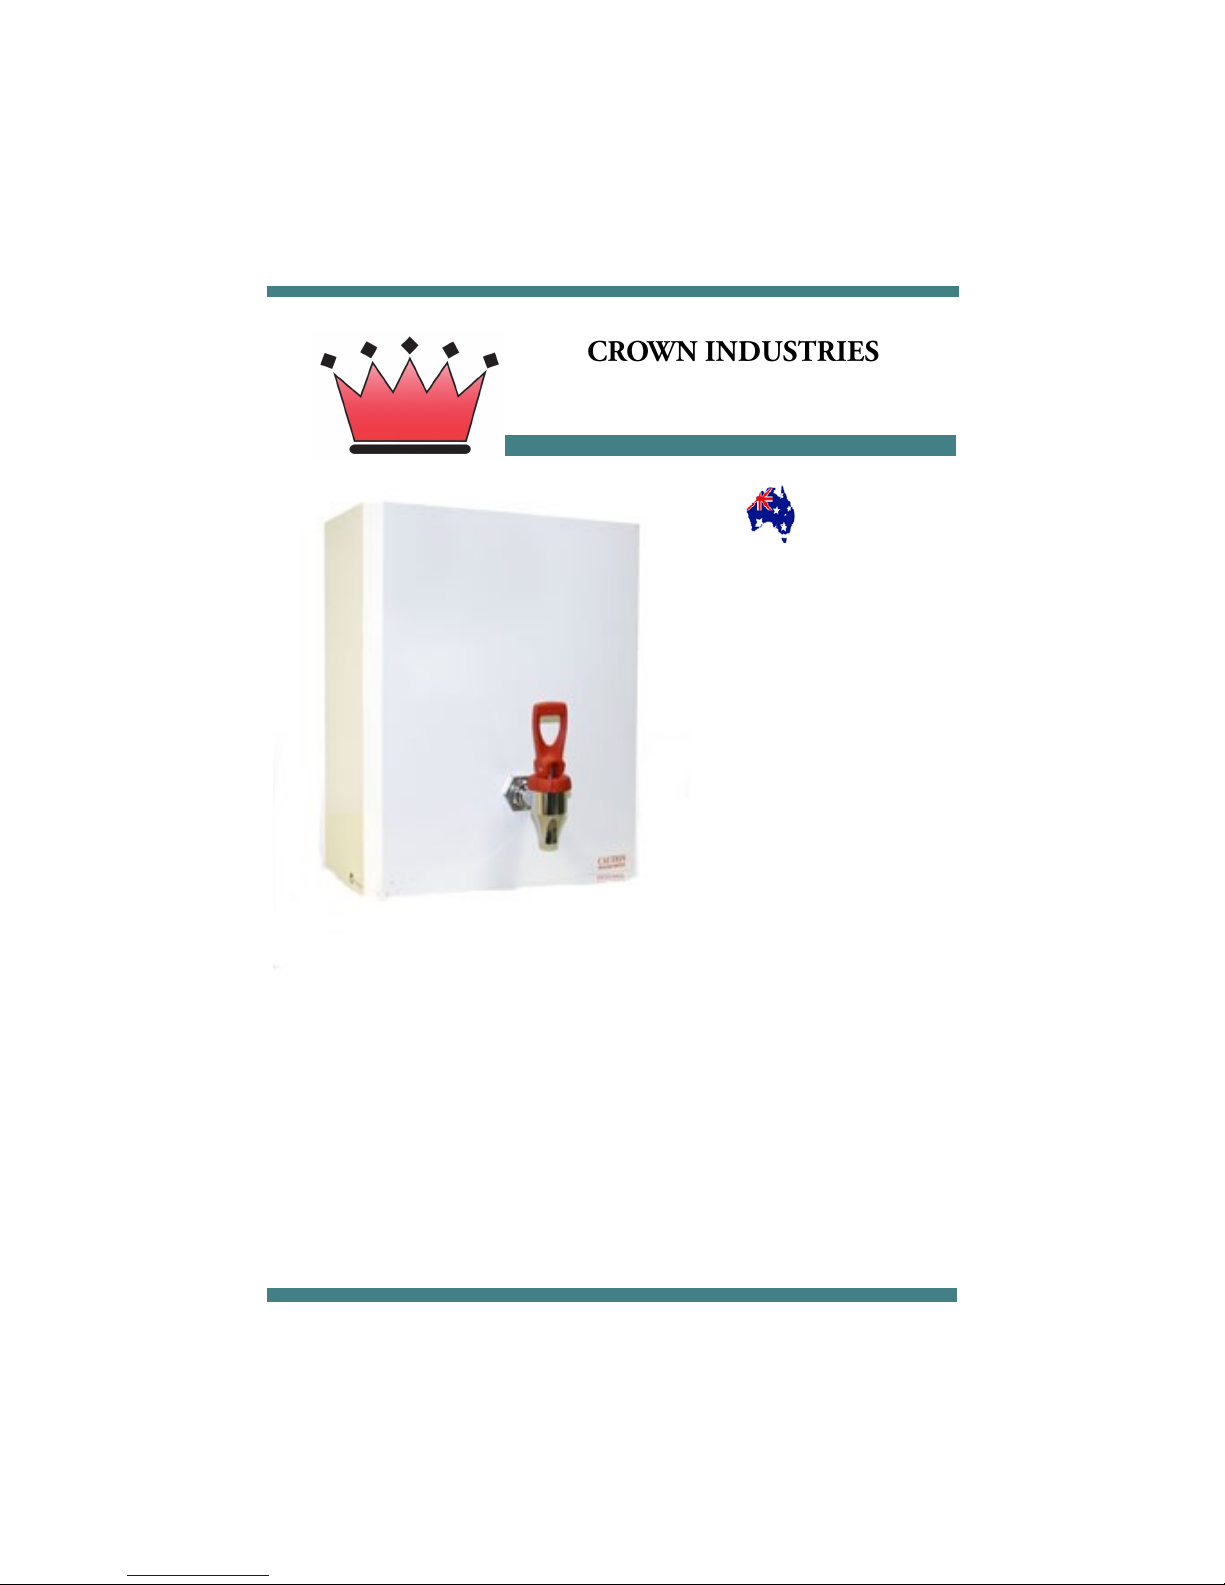
PROUDLY MADE IN AUSTRALIA
Boiling Water Units
30, 40, 50 & 60 litres
Wall Mounted
Oponal Stainless Steel Cover
Simple service if required
No costly parts
1 year warranty
Energy ecient
Standard colour bond nish
OPERATING & INSTALLATION INSTRUCTIONS
CELSIUS 100 ABOVE SINK BOILING WATER UNIT. Series JE
Page 2
CELSIUS 100 BOILING WATER UNIT SPECIFICATIONS JE SERIES
CELSIUS 100 ABOVE SINK BOILING
WATER UNIT JE SERIES
Model No Capacity
(Litres)
No. of Cups/Hr Cup/Hr
Recovery
Rating KW Height mm Width mm Depth mm
CRN30 30 150 160 3.0 635 600 250
CRN40 40 200 200 4.8 775 600 250
CRN50 50 250 200/260 4.8/6.0 775 600 250
CRN60 60 300 200/260 4.8/6.0 840 600 250
DO NOT SWITCH ON POWER WITHOUT WATER RUNNING OUT FROM THE
TAP, POWER MUST BE OFF UNTIL INSTALLATION IS COMPLETE.
This unit is ed with a computerised element and boil dry protecon.
Maximum inlet pressure 820 kpa. Fit PLV if required.
Minimum inlet pressure 200 kpa. If a lower pressure is encountered refer to
manufacturer.
DO NOT PLUG IN. POWER MUST BE OFF UNTIL INSTALLATION IS
COMPLETE
PLEASE LEAVE THESE INSTRUCTIONS WITH THE OWNER.
Page 3

DO NOT PLUG IN OR TURN ON POWER
1. Fit tap on to the outlet connecon provided.
2. Mount unit on wall using xing points on the back of the unit. It is advisable to posion the tap outlet over a drain
board, so that in the event of a leaking tap the water can be disposed via the sink.
3. Connect cold water supply to inlet (12mm) through a stop tap in the supply line. (stop tap to be provided by installer)
4. Connect the overow pipe to waste or any other area where water can be disposed of in a safe manner.
5. Plug unit into 10 amp power outlet. *If installing larger 3.6kw element model, be sure that lead and plug is 15amp.
The same as power outlet.
6. Turn “ON” water supply to unit and “OPEN” the outlet tap.
7. Wait unl water ows out of the tap.
8. When water ows out of the tap please SWITCH THE POWER ON.
BEFORE USING:
WE RECOMMEND THE FITTING OF A TRIPPLE ACT ION FILTER.
ONLY TEFLON TAPE TO BE USED WHERE NEC ESSARY.
UNDER NO CIRCUMSTANCES IS PLUMBE RS PASTE TO BE USED.
DO NOT CONNECT TO HOT WATER LINE — TO DO SO WILL VOID WARRANTY.
AFTER POWER IS ON — ALLOW 45 MINUTES BEFORE USING
UNIT MUST BE POSITIVELY EARTHED
Page 4

TROUBLE SHOOTING
ACTION ONLY TO BE PERFORMED BY A QUALIFIED PERSON
CROWN INDUSTRIES
F 47 / 70-72 Cave Hill Road, Lilydale, Victoria 3140
Tel. 61 3 9739 6966 AUSTRALIA Fax 61 3 9739 6977
Website: www.crownindustries.com.au
Email: sales@crownindustries.com.au
SYMPTON CAUSES
ACTION
WATER OVERFLOWING WATER LEVEL TOO HIGH Check and set water level to indicated
level 20mm below overow pipe.
Remove ball valve insert.
Clean and reinstall and adjust ball valve
arm if necessary.
Remove ball oat and check to make
sure there is no water in it. Replace if
necessary.
CONTINUOUS BOILING BALL VALVE DEFECTIVE.
FAULTY ELEMENT
Ensure ball valve is closed o (does not
leak). Replace if necessary.
Replace element.
WATER NOT HOT POWER NOT TURNED ON.
ELEMENT FAULTY
Check if power is ON.
Check the element is drawing the cor-
rect current. Replace if found to be
faulty.
NO WATER WATER HAS BEEN TURNED OFF.
BLOCKED BALL VALVE.
BLOCKED FLOW TANK.
BLOCKED FILTER
Turn water ON.
Remove ball valve and clean out hole or
replace ball valve.
Clean out hole with piece of 3mm wire
that is situated at the boom of the ow
tank.
Change lter cartridge.
 Loading...