

Page 1
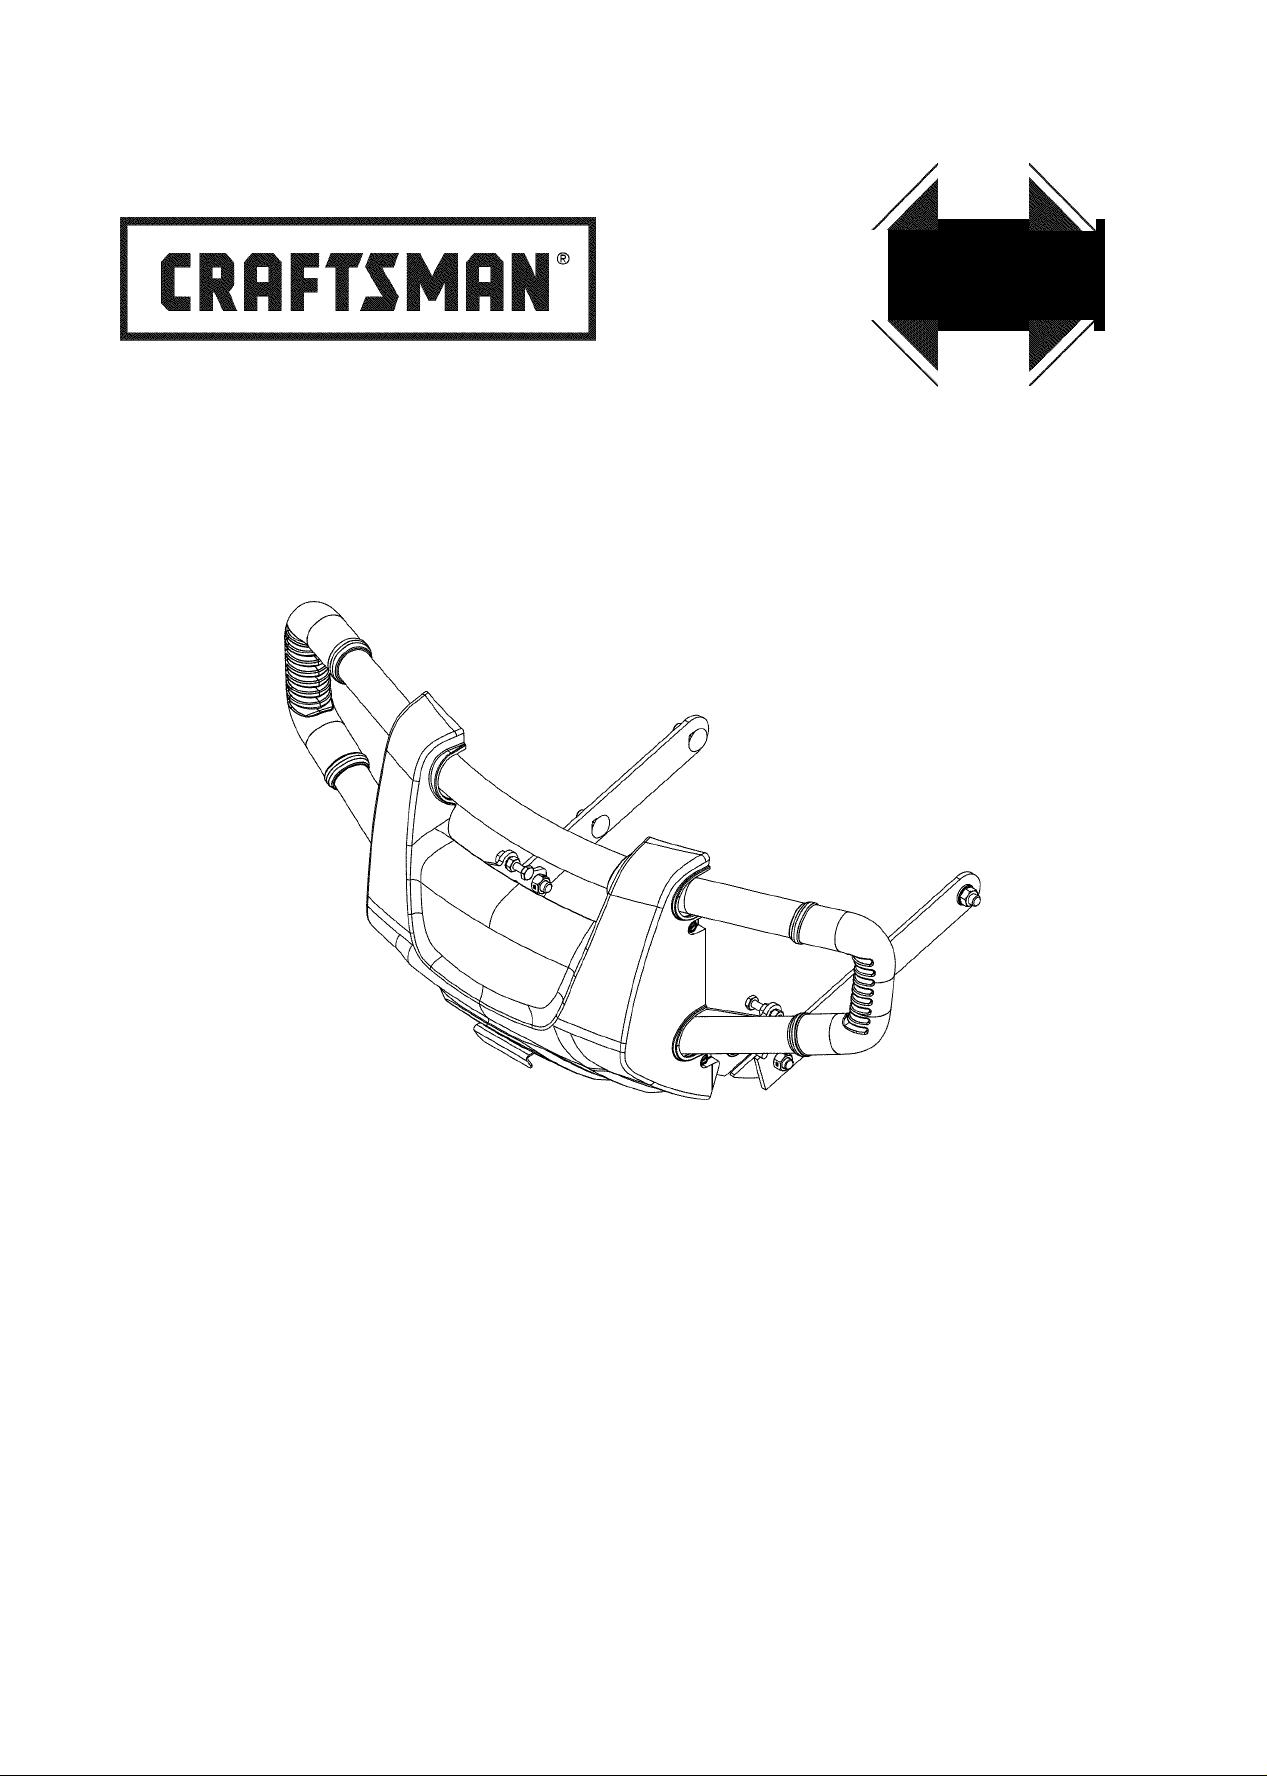
Operator's lianual
BRUSH GUARD
liodel No. 486.24628
STOP
DO NOT RETURN TO STORE
For Missing Parts or Assembly
Ouestions Call 1-866-576-8388
CAUTION:
Before using this product, read
this manual and follow all Safety
Rules and Operating Instructions.
Sears, Roebuck and Co., Hoffman Estates, IL 60179 U.S.A.
www.sears.com/craftsman
PRINTED IN U.S.A. FORM NO. 42187 (12/11/08)
Safety
Assembly
Operation
Maintenance
Parts
Page 2

TABLE OF CONTENTS
______
I
WARRANTY...................................................................2
SAFETY RULES.............................................................2
CARTON CONTENTS....................................................3
FULL SIZE HARDWARE CHART
ASSEMBLY
....................................................................
..................................
3
4
OPERATION
REPAIR PARTS ILLUSTRATION
REPAIR PARTS LIST....................................................7
PARTS ORDERING/SERVICE
r
..................................................................
.................................
.....................
BACK PAGE
5
6
WARRAN
]
ONE YEAR FULL WARRANTY
When operated and maintained according to aii suppiied instructions, if this Craftsman product faiis due to a defect in
materiai or workmanship within one year from the date of purchase, return it to any Sears store or other Craftsman outiet in
the United States for free repiacement.
This warranty appiies for only 90 days if this product is ever used for commerciai or rentai purposes.
This warranty gives you specific iegai rights, and you may aiso have other rights which vary from state to state.
Sears, Roebuck and Co., D817WA, Hoffman Estates, IL 60179
SAFETY RULE
Any power equipment can cause injury if operated improperiy or if the user does not understand how to operate the equipment.
Exercise caution at aii times when using power equipment.
• Refer to your tractor owners manuai for "Rules For Safe Operation".
Look for this symboi to point out important safety precautions. It
A
The model number and serial numbers will be found on a
decal attached to the Brush Guard.
You should record both the serial number and the date of
purchase and keep in a safe pi ace for future reference.
means — Attention!! Become alert!! Your safety is involved.
MODEL NUMBER:
SERIAL NUMBER:
DATE OF PURCHASE:
486.24628
Call 1 -866-576-8388 for missing parts or assembly help
DO NOT RETURN TO STORE
Page 3
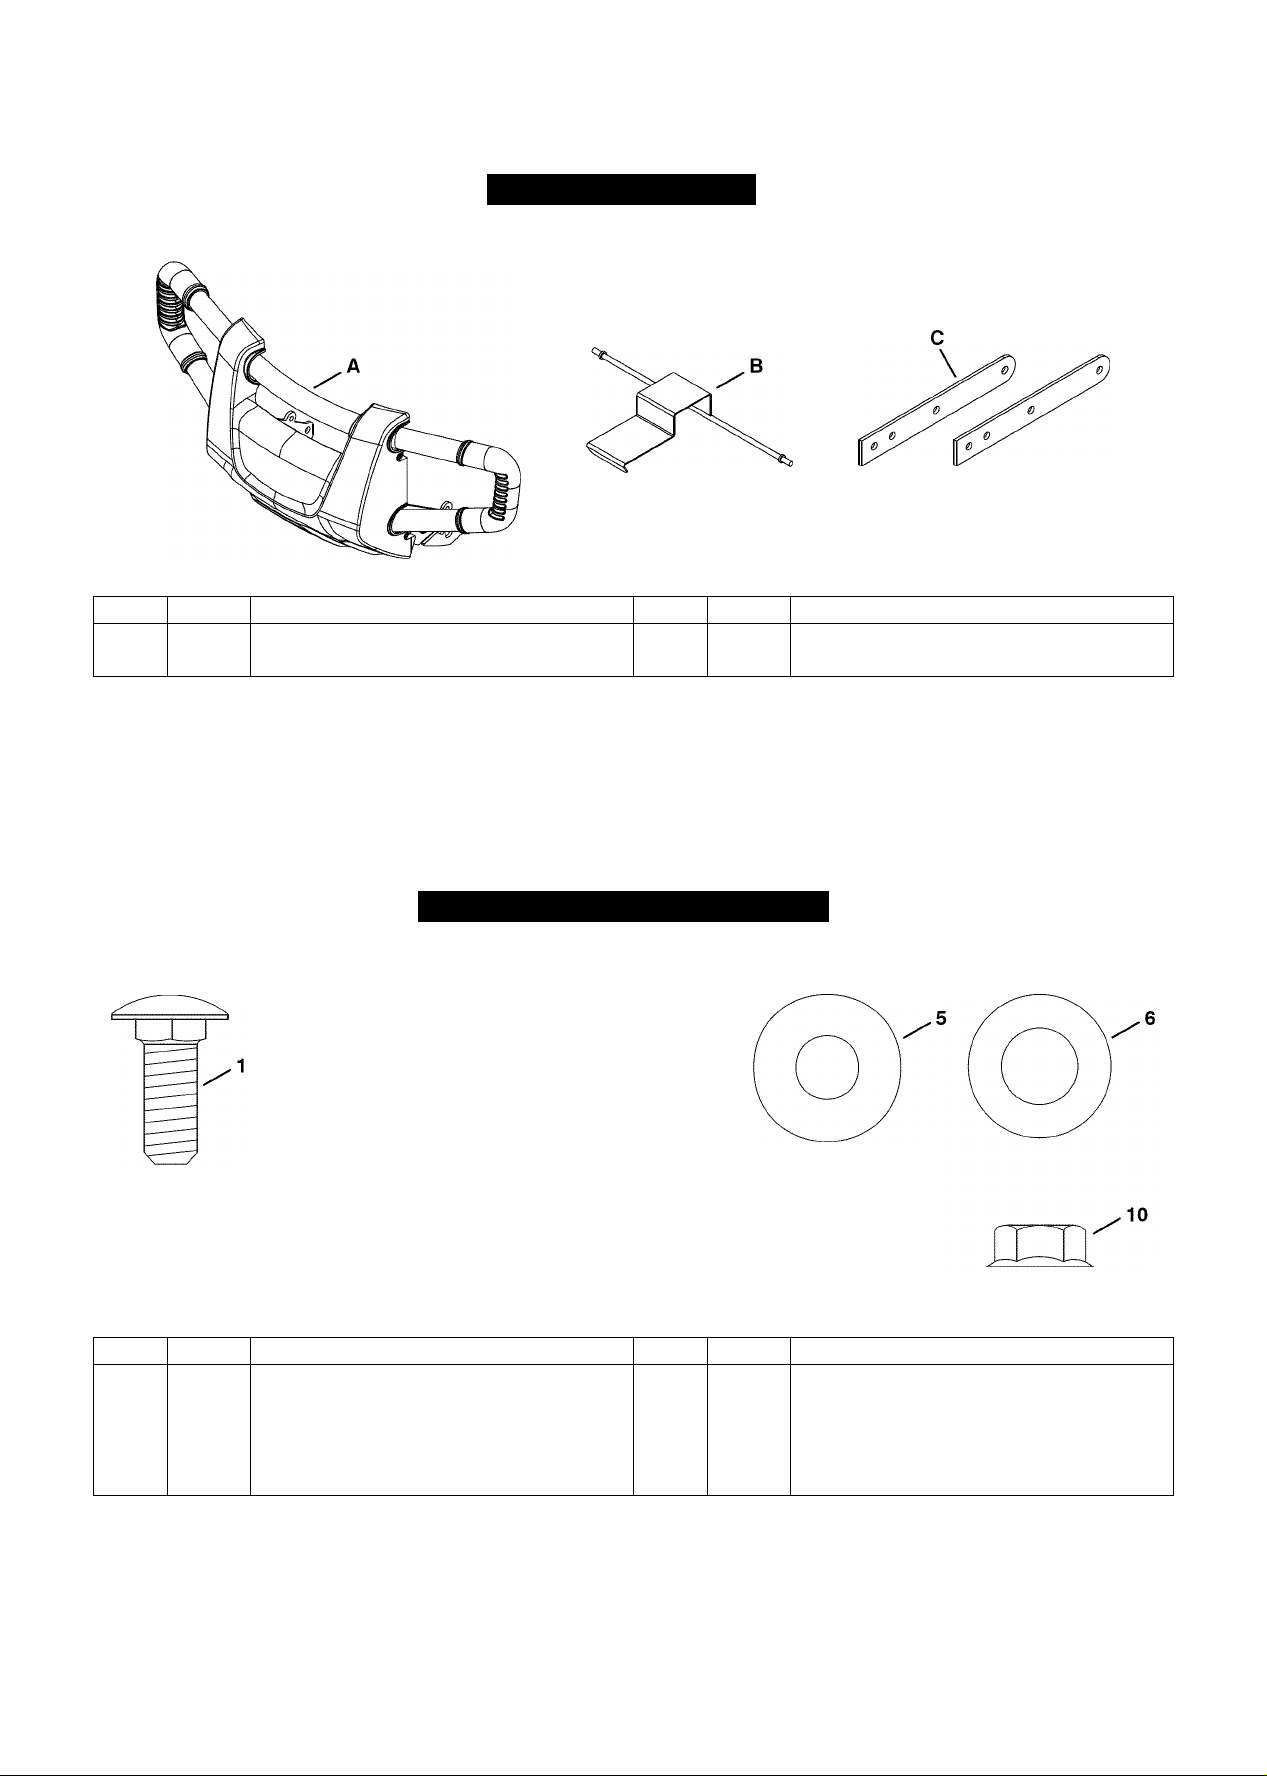
CARTON CONTENT
REF QTY DESCRIPTION REF QTY DESCRIPTION
1 4 Brush Guard 3 2
2 2 Latch
Frame Brace
J
FULL SIZE HARDWARE CHAR'
□
V
REF QTY DESCRIPTION REF QTY DESCRIPTION
1 4 Carriage Bolt, 3/8-16 x 1" 6 2 Washer, .5312 x 1 x .0598"
2 2 Hex Bolt, 3/8-1 X 1" 7 2 Spring
3 2 Hex Bolt, 1/4-20 X 1-1/4" 8 4 Hex Nut (SIMS), 1/4"
4 2 Shoulder Bolt, 3/8-16 9 4 Lock Nut, 3/8"
5 2 Washer, 3/8" 10 4 Whiziock Nut, 3/8"
j
Call 1 -866-576-8388 for missing parts or assembly help
DO NOT RETURN TO STORE
Page 4

ASSEMBLY
J
TOOLS REQUIRED FOR ASSEMBLY
(2) 7/16" Wrenches
(2) 9/16" Wrenches
(1) 3/4" Wrench
CAUTION! Muffler is hot! Allow engine to
cool down before proceeding with bumper
A
STEP 1: (SEE FIGURE 1)
• Slide the ends of the latch into the slots located on
the bottom of the bumper.
• Push the front of the latch down past plastic shroud
of bumper. Latch will be under the shroud and
should appear as shown in figure 3 when assembled
correctly.
• Attach one spring onto the rod on each side of the
latch.
installation.
STEP 2: (SEE FIGURE 2)
• Insert 1/4 X 1-1/4" hex bolt through one of the springs.
• Assemble 1/4 x 1-1/4" hex bolt onto the bumper using
two 1/4-20 hex nuts (SIMS) with end of bolt extending
slightly through outside nut.
• Repeat for spring on other side.
STEP 3: (SEE FIGURE 3)
• Assemble a 3/8 x 1" hex bolt, 3/8" washer, frame
brace and 3/8" lock nut to the rear hole of the bumper.
Call 1 -866-576-8388 for missing parts or assembly help
DO NOT RETURN TO STORE
Page 5

STEP 4: (SEE FIGURE 4)
• Assemble a shoulder bolt, large washer and 3/8" lock
nut to the frame brace and slotted hole on each side
of the bumper.
STEP 5: (SEE FIGURE 5)
• Fasten the frame braces to the tractor frame using
four 3/8-16 X 1" carriage bolts and 3/8" whiziock nuts.
NOTE: Only tractor frame shown for clarity.
OPERATIO
TILT BUMPER DOWN BEFORE RAISING TRACTOR HOOD: (SEE FIGURE 6)
• While pushing In lightly on top of bumper, pull latch
under front of bumper.
• Keep latch pulled out and pull down on bumper.
LOCK BUMPER INTO UP POSITION: (SEE
FIGURE 6)
• Push bumper up Into position. Latch will lock bumper
Into place.
•
J
FIGURES
Call 1 -866-576-8388 for missing parts or assembly help
DO NOT RETURN TO STORE
Page 6
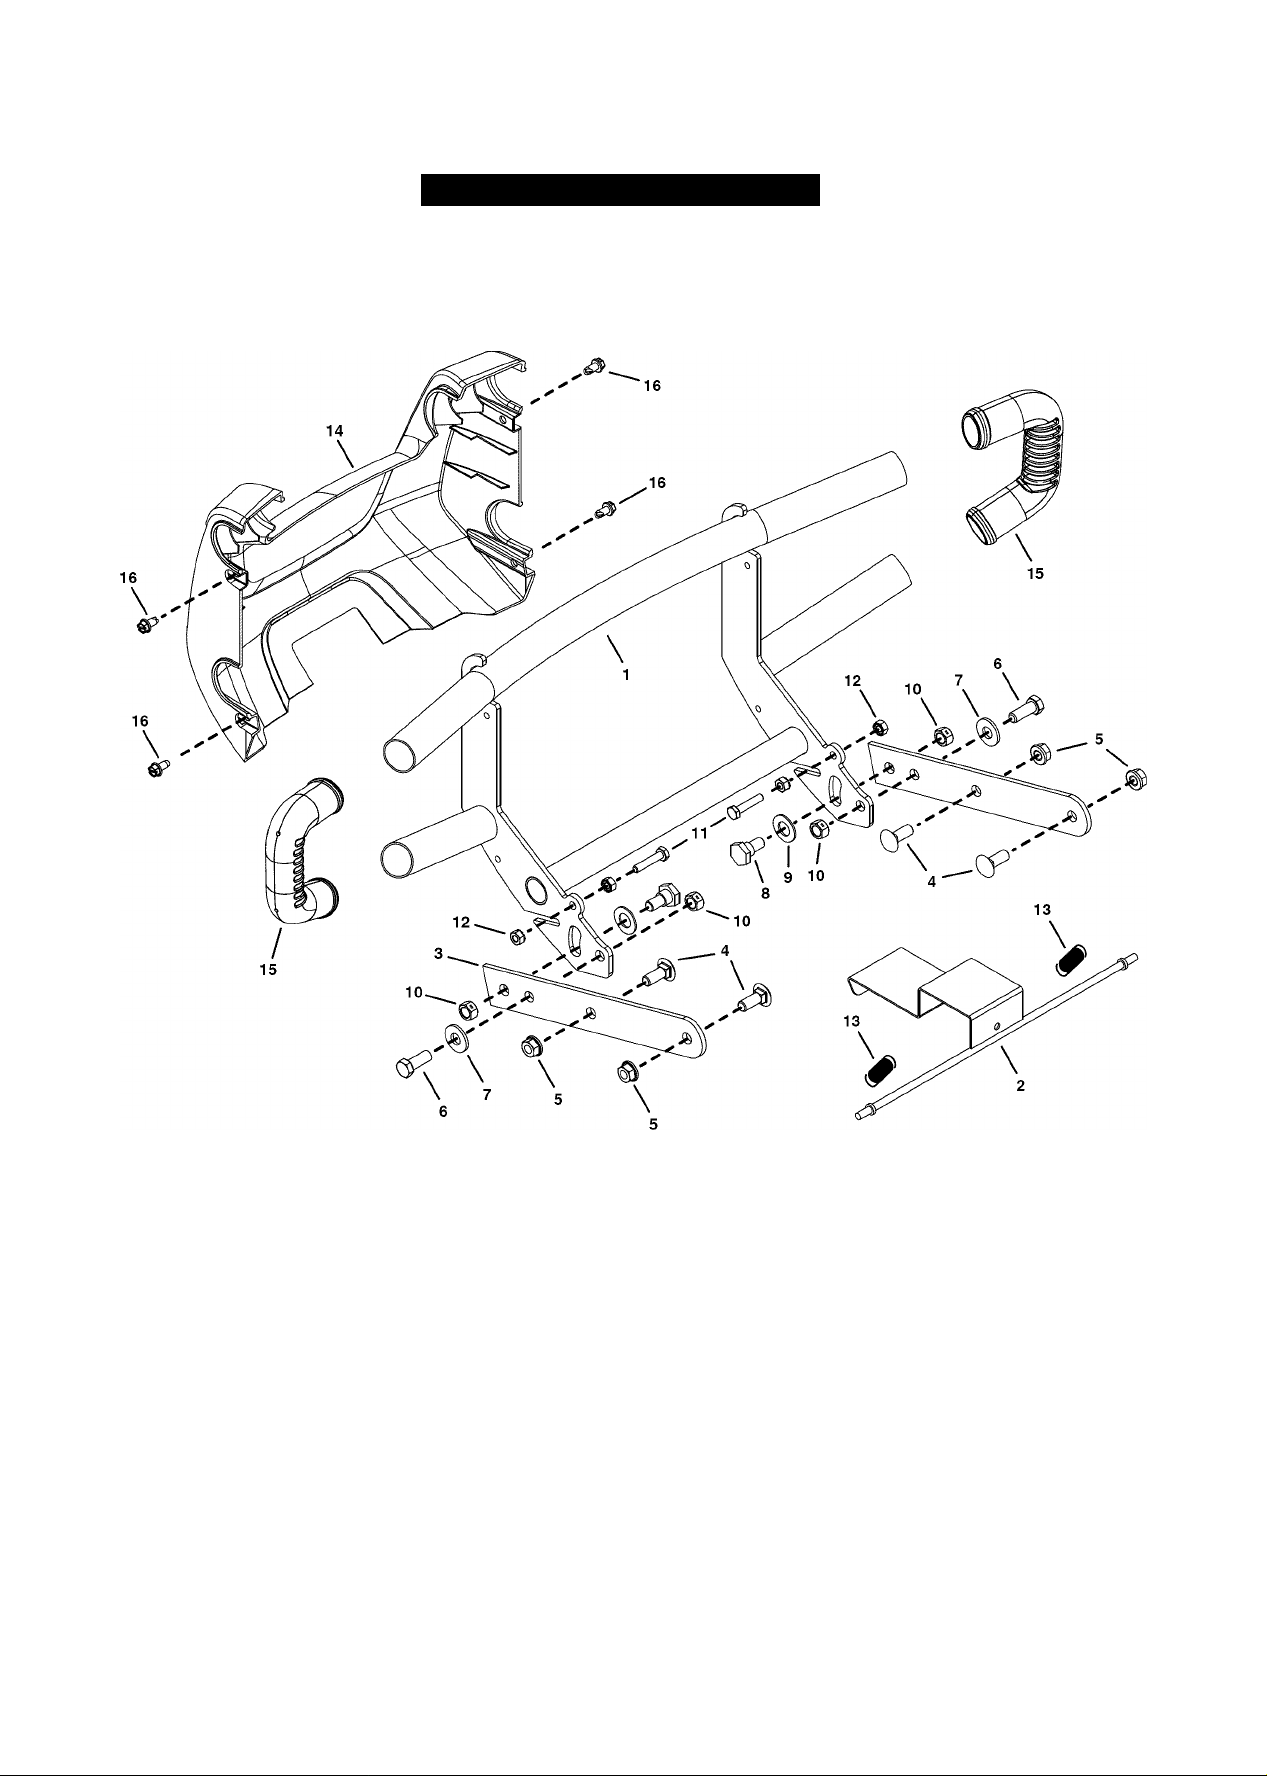
REPAIR PARTS ILLUSTRATIO
MODEL #486.24628 BRUSH GUARD
J
Call 1-866-576-8388 for missing parts or assembly help
DO NOT RETURN TO STORE
Page 7

I
REPAIR PARTS LIS'
MODEL #486.24628 BRUSH GUARD
REF QTY PART NO. DESCRIPTION REF QTY PART NO. DESCRIPTION
1 1 421265 Brush Guard Assembly 10 4 43082 Lock Nut, 3/8"
2 1 66696 Latch 11 2 1509-90 Hex Bolt, 1/4-20 X 1-1/4"
3 2 26729
4 4 43350 Carriage Bolt, 3/8-16 x 1" 13 2 42117 Spring
5 4 44072 Whiziock Nut, 3/8" 14 1 422754
6 2 43001 Hex Bolt, 3/8-16x1" 15 2 422752
7 2 43070 Washer, 3/8" 16 2 48840 Screw, 1/4-20 x 1/2"
8 2 48106 Shoulder Bolt, 3/8-16 1 42187
9 2 R19171616 Washer, .5312x1 x .0598"
Frame Brace
12 4 46978 Hex Nut (SIMS), 1/4"
Shroud
End Cap
Owners Manual
J
Call 1 -866-576-8388 for missing parts or assembly help
DO NOT RETURN TO STORE
Page 8

Get it fixed, at your home or ours!
-
Your Home
For expert troubleshooting and home solutions advice:
www.managemyhome.com
For repair - in your home - of all major brand appliances,
lawn and garden equipment, or heating and cooling systems,
no matter who made it, no matter who sold it!
For the replacement parts, accessories and
owner’s manuals that you need to do-it-yourself.
For Sears professional installation of home appliances
and items like garage door openers and water heaters.
1-800-4-MY-HOME® (i-8oo-469-4663)
Call anytime, day or night (U.S.A. and Canada)
www.sears.comwww.sears.ca
Our Home
For repair of carry-in items like vacuums, lawn equipment,
and electronics, call anytime for the location of your nearest
Sears Parts & Repair Service Center
1 -800-488-1222 (USA) 1 -800-469-4663 (Canada)
www.sears.com www.sears.ca
To purchase a protection agreement on a product serviced by Sears:
1-800-827-6655 (U S A )
Para pedir servicio de reparación
a domicilio, y para ordenar piezas:
1-888-SU-HOGAR®
(1-888-784-6427)
® Registered Trademark / ™ Trademark / Service Mark of Sears Brands, LLC
® Marca Registrada / ™ Marca de Fábrica / ™ Marca de Servicio de Sears Brands, LLC
Marque de commerce / “° Marque déposée de Sears Brands, LLC
1-800-361-6665 (Canada)
Au Canada pour service en français:
1-800-LE-FOYER“'=
(1-800-533-6937)
www.sears.ca
© Sears Brands, LLC
 Loading...