

Page 1
Owner's Manual
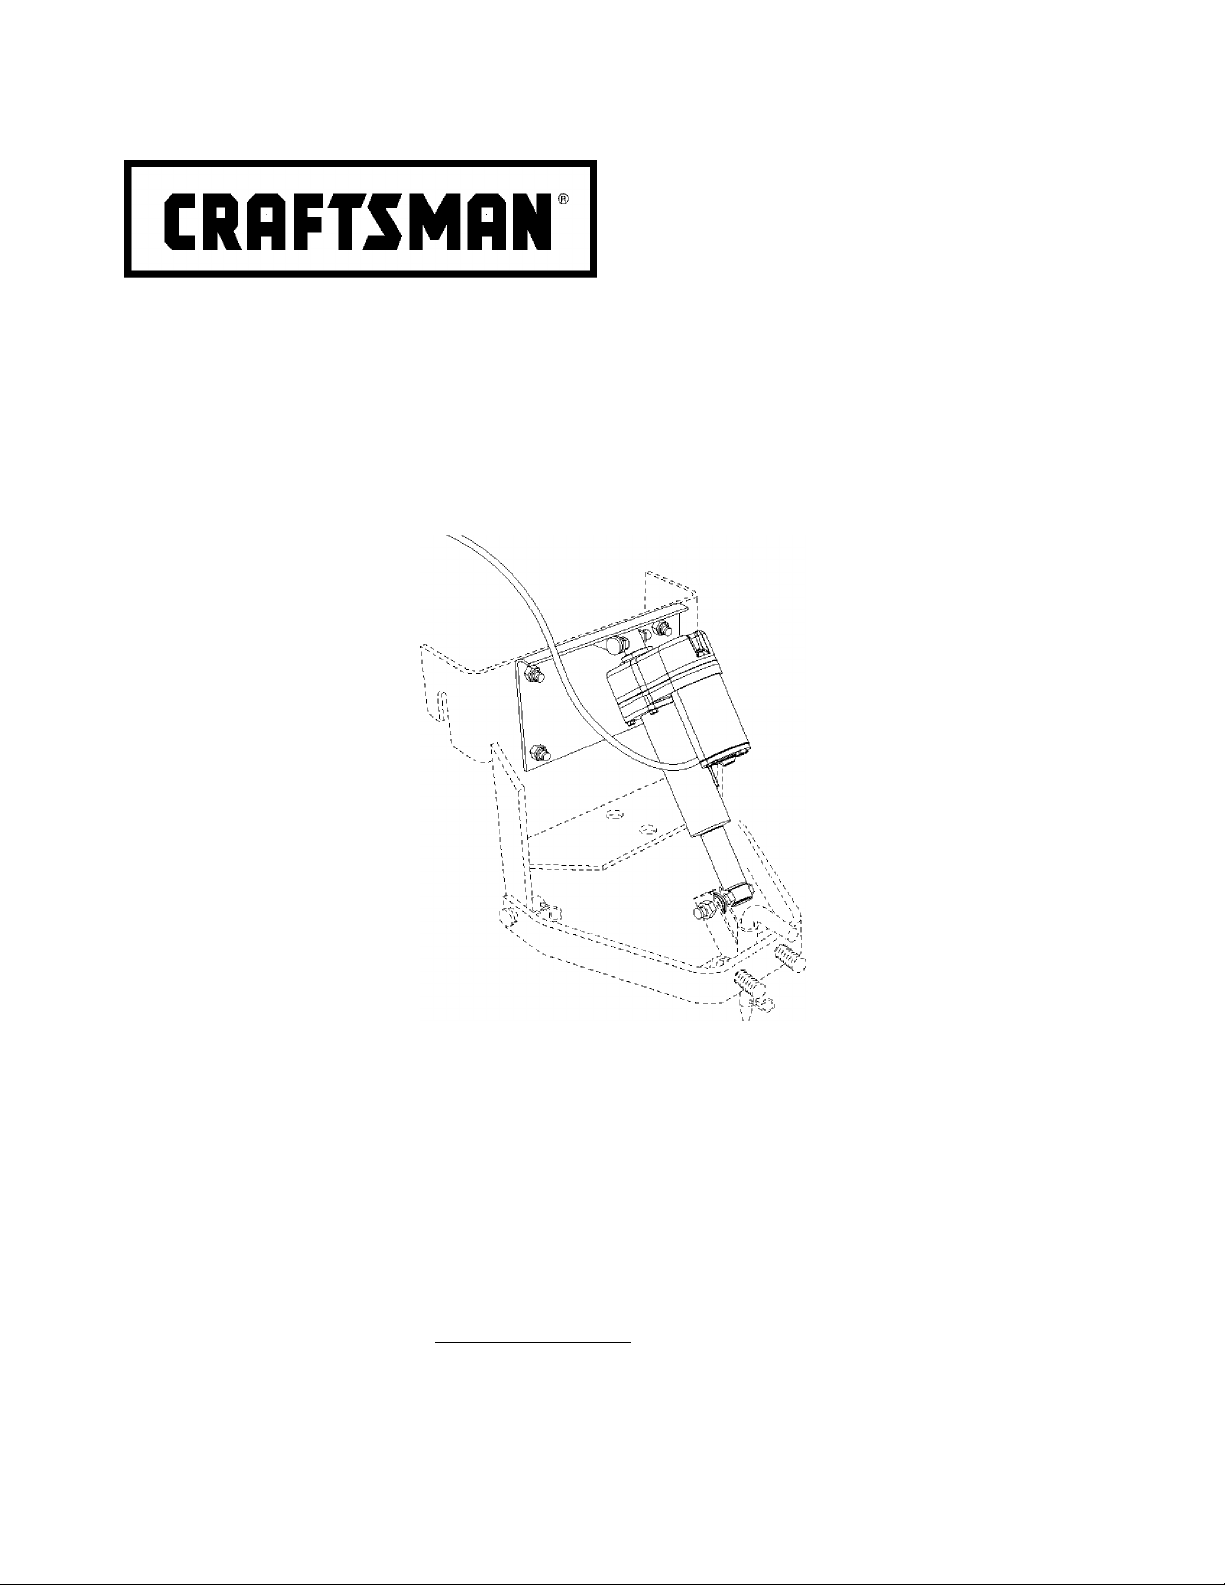
ELECTRIC ASSIST KIT
(FOR 486.24535 SLEEVE HITCH)
Model No. 486.24545
CAUTION:
Before using this product, read
this manual and follow all
Safety Rules and
Operating Instructions.
IMPORTANT - READ THIS FIRST!!!
For Missing Parts or Assembly Questions
Please Call 866-576-8388
Mon.-Fri. 7 am - 5 pm CST.
FAX 217-728-2032 or e-mail info@aari-fab.com
Missing parts will be sent UPS in 24 hours directly to your home.
Sears, Roebuck and Co., Hoffman Estates, IL 60179 U.S.A.
www.sears.com/craftsman
PRiNTED IN U.S.A.
• Safety
• Assembly
• Operation
• Maintenance
• Parts
FORM NO. 49234 (3/04)
Page 2
TABLE OF CONTENTS
SAFETY RULES
FULL SIZE HARDWARE CHART
CARTON CONTENTS
ASSEMBLY
OPERATION
........................................................
...............................................
................................................................
..............................................................
..............................
2
3
4
4
6
MAINTENANCE
REPAIR PARTS ILLUSTRATION..............................7
REPAIR PARTS LIST
PARTS ORDERING/SERVICE
.........................................................
................................................
...................
Back Page
WARRANTY
LIMITED ONE YEAR WARRANTY ON ELECTRIC ASSIST KIT
For one year from the date of purchase, when this electric assist kit is maintained and lubricated according to the
operating and maintenance instructions in the owner’s manual, Sears will repair any defect in material or work
manship free of charge. If this electric assist kit is used for commercial or rental purposes, this warranty applies
for only 90 days from the date of purchase.
This warranty does not cover repairs necessary because of operator negligence or abuse, including the failure to
maintain the equipment according to instructions contained in the owner's manual.
WARRANTY SERVICE IS AVAILABLE BY CONTACTING THE NEAREST SEARS SERVICE CENTER/DEPARTMENT IN THE UNITED STATES.
This warranty applies only while this product is in the United States.
6
7
This warranty gives you specific legal rights, and you may also have other rights which vary from state to state.
Sears, Roebuck and Co. D/817 WA. Hoffman Estates, Chicago, !L 60179
Any power equipment can cause injury if operated improperly or if the user does not understand how to operate
the equipment. Exercise caution at all times, when using power equipment.
Read this owners manual and your vehicle and
sleeve hitch owners manuals before using this
electric assist kit with the sleeve hitch.
Do not allow children to operate vehicle or sleeve
hitch.
Look for this symbol to point out important safety precautions. It means-Attention!!
A
Become alert!! Your safety is involved.
• Do not allow adults to operate the vehicle or sleeve
hitch without proper instructions.
• Keep all nuts and bolts tight and be sure the
equipment is in safe operating condition.
The model number and serial numbers will be found on a MODEL NUMBER:
decal attached to the frame.
You should record both the serial number and the date of
purchase and keep in a safe place for future reference.
SERIAL NUMBER:
DATE OF PURCHASE:
486.24545
Page 3
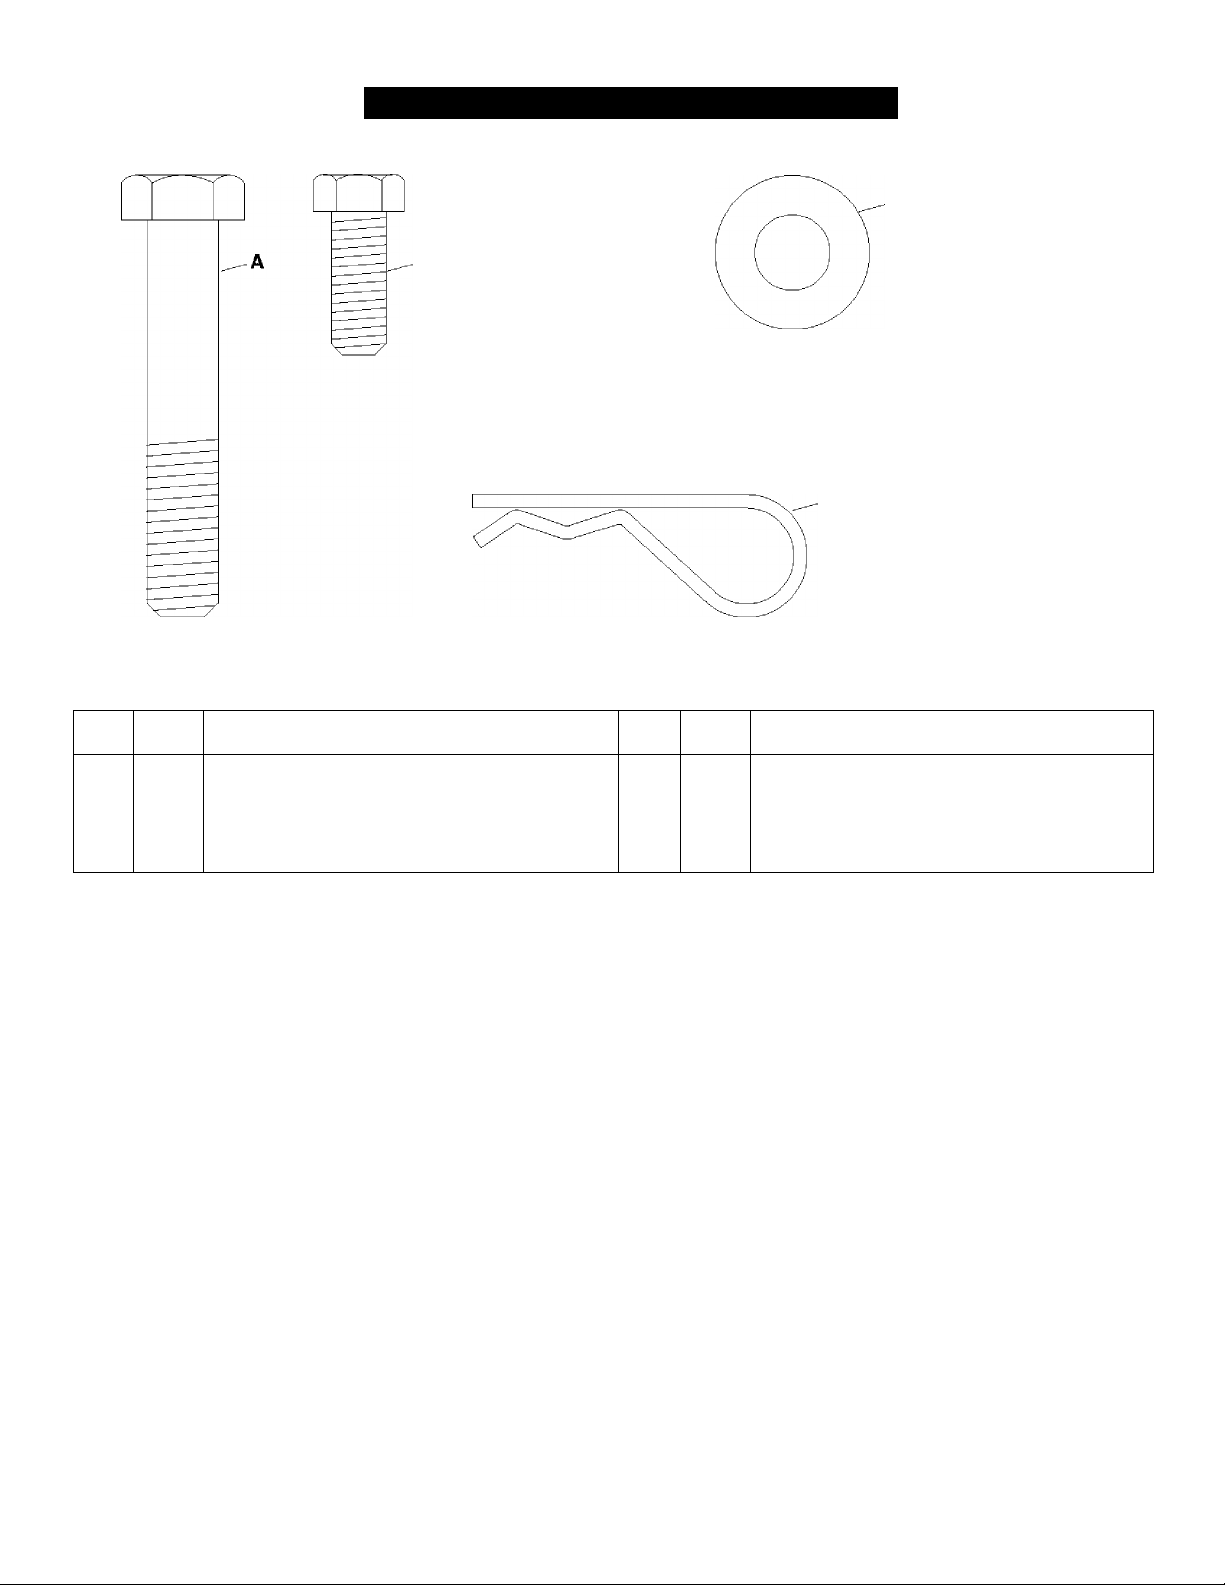
HARDWARE PACKAGE CONTENTS
□
B
D
o
KEY QTY. DESCRIPTION
A 1
B 4
C
2 Hex Lock Nut, 1/2"
Hex Boit, 1/2” X 2-3/4"
Hex Boit, 3/8" X 1”
KEY QTY. DESCRIPTION
D 4
E 5 Flat Washer, 1/2"
1
G
1 Hair Cotter Pin, 3/32"
Hex Nyiock Nut, 3/8"
Clevis Pin, 1/2" X 2"
Page 4

ASSEMBLY
CARTON CONTENTS
1. Mount Bracket Assembly
2. Switch with Wiring
3. Linear Actuator
ATTACHING THE ELECTRIC ASSIST KIT
• Attach the mount bracket assembly to the sleeve
hitch frame using four 3/8" x 1" hex bolts and 3/8"
nylock hex nuts. See figure 2.
TOOLS REQUIRED FOR ASSEMBLY
(2) 9/16" Wrenches or Adjustable Wrenches
(2) 3/4" Wrenches or Adjustable Wrenches
PREPARING THE SLEEVE HITCH
• Remove the bolt and nut that attach the lift link to
the sleeve hitch frame. Remove the handle and the
pivot brackets from the sleeve hitch frame. See
figure 1.
Page 5

• Insert the 1 /2" x 2-3/4" hex bolt into the lower shaft
of the actuator and then screw a 1/2" hex lock nut
as far as possible onto the bolt. See figure 3.
• Place up to five 1/2" flat washers between the
anchor brackets on the lift assembly and insert the
end of the 1/2" x 2-3/4" hex bolt through the anchor
brackets and the washers. Screw a second 1/2"
hex lock nut onto the bolt so that it is flush with the
end of the bolt. Screw the first nut back against the
anchor brackets and tighten both nuts securely.
See figure 3.
IMPORTANT: Connect to a 12 volt power source only.
• If you wish to permanently attach the switch to the
tractor dash:
a. Drill a 1/2" hole in the lower right hand corner of
the tractor's dash as shown in figure 5. A hole
larger than 1/2" may cause the nuts on the
switch to not hold properly.
b. Remove the hex nut from the actuator switch
and then screw the round nut to about the mid
point on the threads.
c. Insert the switch into the hole you drilled in the
tractor's dash and secure it with the hex nut you
removed from the switch.
• To connect the switch to the tractor battery, attach
the terminal on the red wire (with fuse) to the
positive post and the terminal on the black wire to
the negative post of the battery.
• Route the flexible conduit to the rear of the tractor
avoiding hot engine parts, moving parts and pinch
points. Connect the plug on the conduit wires to the
plug on the actuator wires.
Place the other end of the actuator between the
anchor brackets on the mount bracket assembly.
Insert the 1/2" x 2" clevis pin through the anchor
brackets, securing it with the 3/32" hair cotter pin.
See figure 4.
FIGURE 5
Page 6

OPERATION
• Keep clear of the linear acutator, the sleeve hitch
and the attached implement when raising and
lowering.
• The linear actuator is equipped with a safety clutch.
When the actuator reaches the end of it's stroke
the clutch will slip and make a loud clicking sound.
MAINTENANCE
• Clean off after each use.
• Store in a dry location.
Page 7

PARTS FOR MODEL 486.24545 ELECTRIC ASSIST KIT
Ref Part No. Qty
1
49235
2 64941 1
3 43343
4
HA23505
5 43001
1 Linear Actuator
1 Hair Cotter Pin, 3/32" X 2-5/16"
1 Cievis Pin, 1/2" X 2"
4
Description
Mount Bracket Assembly
Hex Boit, 3/8-16x1"
Ref Part No. Qty
43082 4
6
7 43262 2 Hex Lock Nut, 1/2-13
8 1540-59 5
9 23510
10 49309
49234 1
Description
Hex Lock Nut, 3/8-16
Fiat Washer
1 Hex Bolt, 1/2-13x2-3/4"
1
Switch with Fuse
Owner’s Manual
Page 8

Caet fix
For repair of major brand appliances in your own home...
it
no matter who made it, no matter who sold it!
d. at
DUrfihom
V
j
liaiMifi
1-800-4-MY-HOME
(1-800-469-4663)
www.sears.com
To bring in products such as vacuums, lawn equipment and electronics
for repair, call for the location of your nearest Sears Parts & Repair Center.
SM
Anytime, day or night
1-800-488-1222 Anytime, day or night
www.sears.com
For the replacement parts, accessories and owner’s manuals
that you need to do-it-yourself, call Sears PartsDirect®^ I
1 -800-366-PART 6 a m ^ 11 p m CST
(1 -800-366-7278) 7 days a week
www.sears.com/partsciirect
To purchase or inquire about a Sears Service Agreement:
1 ■*800—827—6655
7 a.m. - 5 p.m. CST, Mon. -- Sat.
Para pedir servicio de reparación a domicilio,
y para ordenar piezas con entrega a domicilio:
1-888-SU-HOGAR®“
(1-888-784-6427)
® Registered Trademark / Trademark of Sears, Roebuck and Co.
) Sears, Roebuck aad Co.
i Marca Registrada / ™ Marca de Fábrica de Sears, Roebuck and Ce.
Au Canada pour service en français:
1 -877-LE-FOYER
(1-877-533-6937)
 Loading...