

Page 1
Owner's Manual
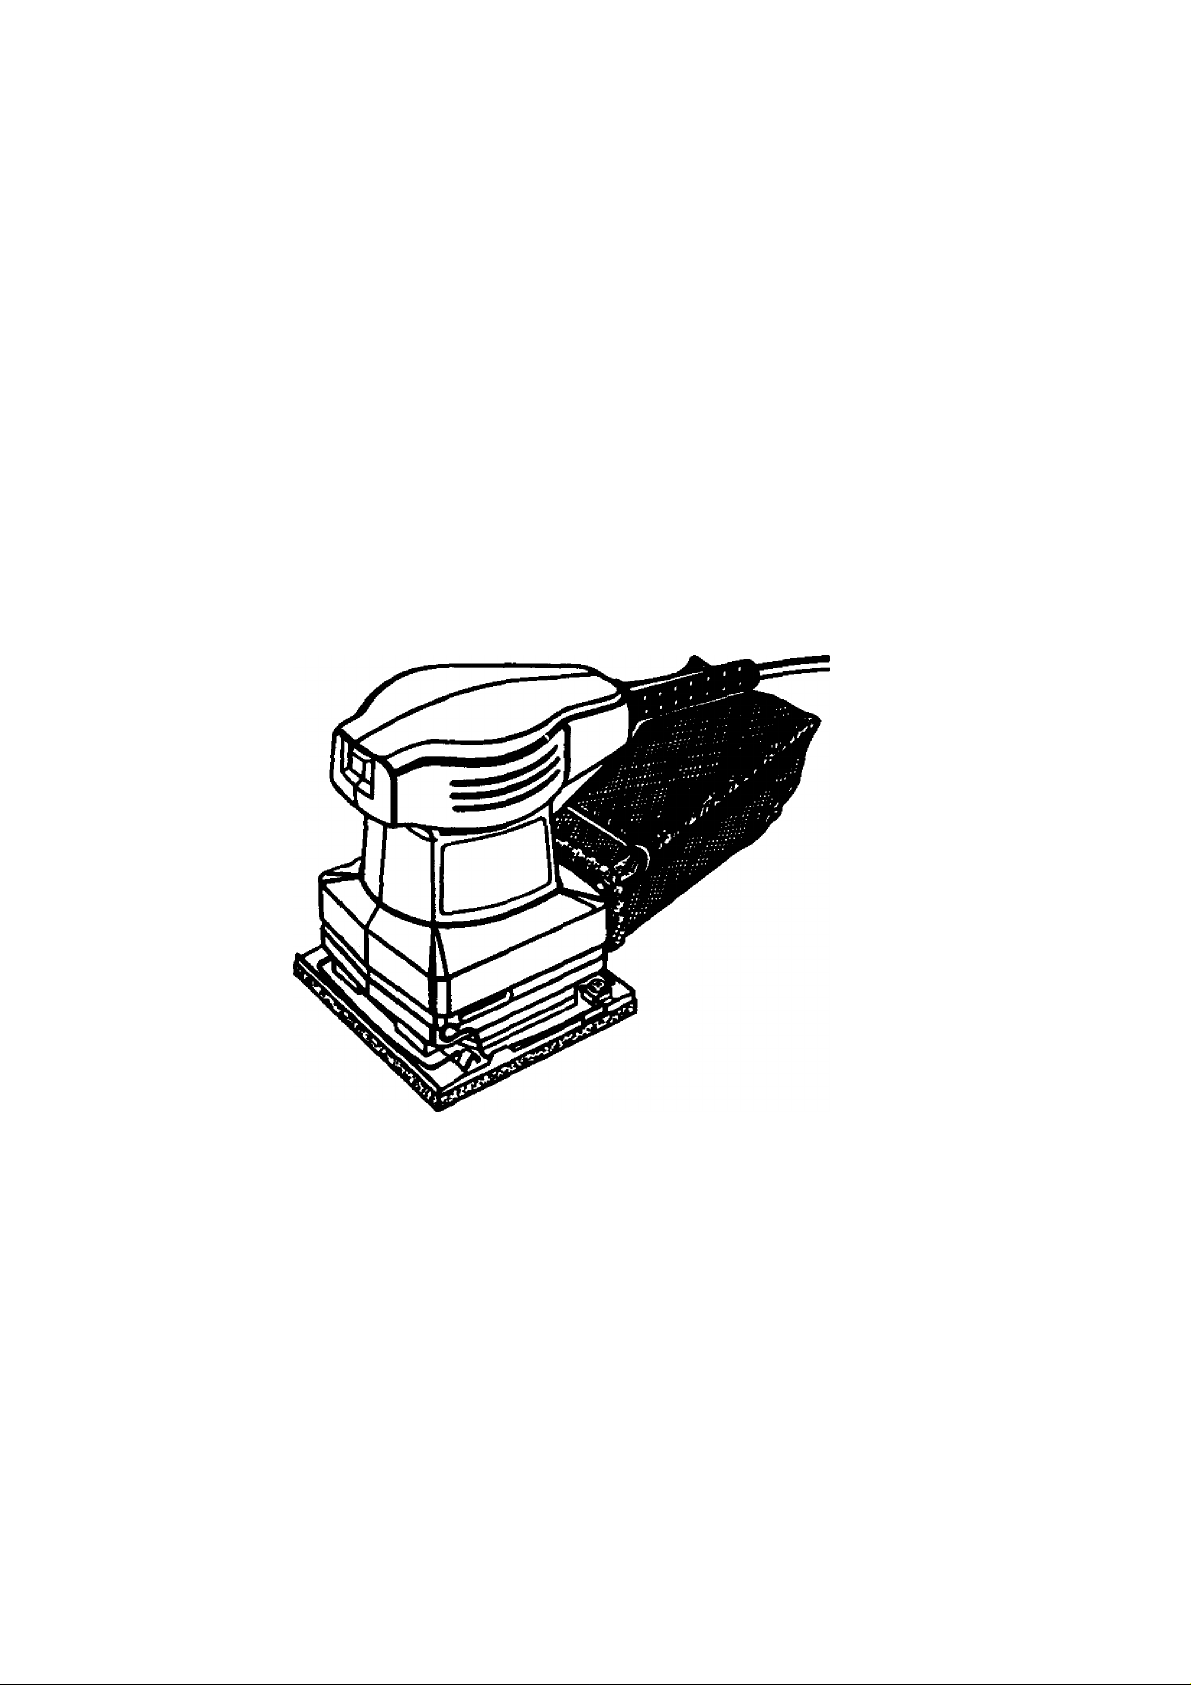
CRAFTSMAN
1/4 SHEET PROFESSIONAL SANDER
Double Insulated
Model No.
315.277011
Save this manual
forfiiure reference
^ CAUTION: Read and '
follow all Safety Rules and
Operating Instructions before
first use of this product.
Customer Help Line: 1-800-932-3188
Sears Roebuck and Co., Hoffman Estates, IL 60179 USA
Visit the Craftsman web page;
972000-555
8-98
www.sears.com/craftsman
• Safety
• Features
• Operation
• Maintenance
• Parts List
Page 2

TABLE OF CONTENTS
Table Of Contents.......................................................................................................................................................... 2
Warfanty....,
Introduction..........................................................................................................................................................................2
Rules for Safe Operation............................................................................................................................................... 3-4
Product Specifications........................................................................................................................................................5
Unpacking
Accessories..........................................................................................................................................................................5
Features.............................................................................................................................................................................. 6
Operation......................................................................................................................................................................... 6-9
Maintenance...................................................................................................................................................................... 10
Exploded View and Repair Parts List.........................................................................................................................12-13
Parts Ordering / Service....................................................................................................................................................14
........................................................................................................................................................................ 2
........................................................................................................................................................................... 5
WARRANTY
FULL ONE YEAR WARRANTY ON CRAFTSMAN PROFESSIONAL SANDER
If this CRRFTSMRN Professional Sander falls due to a defect in material or workmanship within one year from
the date of purchase. Sears will repair it, free of charge.
WARRANTY SERVICE IS AVAILABLE BY SIMPLY RETURNING THE TOOL TO THE NEAREST SEARS
STORE IN THE UNITED STATES.
This warranty gives you specific legal rights, and you may also have other rights which vary from state to state.
Sears, Roebuck and Co., Dept 81 TWA, Hoffman Estates, IL 60179
INTRODUCTION
Your Sander has many features for making sanding
operations more pleasant and enjoyable. Safety,
performance and dependability have been given top
priority in the design of this sander making it easy to
maintain and operate.
CAUTION; Carefuily read through this entire
owner's manual before using your new sander.
Pay close attention to the Rules for Safe
Operation, Warnings and Cautions. If you use
your sander property and only for what It is
intended, you will enjoy years of sate, reliable
service.
^ Look for this symbol to point out important safety precautions. It means attentionlll
Your safety is involved.
Д WARNING:
The (gelation of any sander can result in foreign objects being thrown into your eyes, which
can result In severe eye damage. Before be^nning power tool operation, always wear safety
goggles or safety glasses with side shields and a full face shield when needed. We
recommend Wide Vision Safety Mask for use over eyeglasses or standard safety glasses
with side shields, available at Sears Retail Stores. -
Page 3

RULES FOR SAFE OPERATION
The purpose of safety symbols is to attract your sttentlon to possible dangers. The safety symbols, and
the explanations with them, deserve your careful attention and understanding. The safety warnings do
not by themselves eliminate any danger. The Instructions or warnings they give are not substitutes for
proper accident prevention measures.
SYMBOL MEANING
^ SAFETY ALERT SYMBOL:
Indicates danger, warning, or caution. May be used in conjunction with other symbols or
pictographs.
iV DANGER: Failure to obey a safety warning will result in serious injury to yourself or to others.
^ CAUnON: Fatilure to obey a safety warning may reajtt in property damage or personal injury to
NOTE; Advises you of information or insbuctions vitai to the operation or maintenance of the equipment.
DOUBLE INSULATION
Double insulation is a concept in safety, in electric
power toctis, which eliminates the need for the usual
three-wire grounded power cord. All exjoosed metal
parts are isolated from internal metal motor
components with protecting Insulation. Double
insulated tools do not need to be grounded.
A WARNING: Do not attempt to operate this
toot until you have read thoroughly and
understand completely all Instructions, safety
rules, etc. contained in this manual. Failure
to comply can result in accidents involving
fire, electric shock, or serious personal
injury. Save owner's manual and review
frequently for continuing safe operation, and
instructing others who may use this tool.
READ ALL INSTRUCTIONS
■ KNOW YOUR POWER TOOU Read owner's
manual carefully. Learn its applications and
limitations as well as the specific potential hazards
related to this toot.
■ GUARD AGAINST ELECTRICAL SHOCK BY
PREVENTING BODY CONTACT WITH
GROUNDED SURFACES. For example; pipes,
radiators, ranges, refrigerator endoeuree.
■ KEEP GUARDS IN PUCE AND IN WORIGNQ
ORDER.
■ KEEP WORK AREA CLEAN. Cluttered ertee and
benchas invite accidents.
Always follow the safety precautions to reduce the risk of fire, electric shock and personal injury.
WARNING: Failure to obey a safety warning can result in serious injury to yourself or to others.
Always follow the safety precautions to reduce the risk of fire, electric shodr and personal injury.
yourself or to others. Always foltow the safety precautions to reduce the risk of fire, electric shodt
and personal injury.
IMPORTANT
Servicing of a tool with double insulation requires
extreme care and knowledge of the system and
should be performed only by a qualifi^ service
technician. For service we suggest you return the tool
to your nearest Sears Store for repair. Always use
original factory replacement parts when servicing.
AVOID DANGEROUS ENVIRONMENT. Do
not use power tools In damp or wet locations or
expose to rain. Keep work area well lit.
KEEP CHILDREN AND VISITORS AWAY. All
visitors should wear safety glasses and be kept a
safe distance from work area. Do not let visitors
contact tool or extension cord.
STORE IDLE TOOLS. When not In use, tools
should be stored In a dry and high or locked-up
place - out of the reach of children.
DO NOT FORCE TOOL. It will do the job better
and safer at the rate for which it was designed.
USE RIGHT TOOL. Don't force small tool or
attachment to do the job of a heavy duty toot.
Do not use tool for purpose not lntended>for
example-dont usa a circular saw for cutting tree
limbs or logs.
WEAR PROPER APPAREL. Do not wear loose
clothing or Jewelry that can gst caught In tool's
moving parts snd causs personal Injury, Rubber
gloves and nonskid footwear are recommended
Mien working outdoors. Wear protectlva hair
Page 4

RULES FOR SAFE OPERATION (Continued)
covering to contain long hair and keep it from being
drawn into nearby air vents.
■ ALWAYS WEAR SAFETY GLASSES. Everyday
eyeglasses have only impact-resistant lenses; they
are not safety glasses.
■ PROTECT YOUR LUNGS. Wear a face or dust
mask if the operation is dusty.
■ PROTECT YOUR HEARING. Wear hearing
protection during extended periods of operation.
■ DO NOT ABUSE CORD. Never carry tool by cord
or yank it to disconnect from receptacle. Keep cord
from heat, oil, and sharp edges.
■ SECURE WORK. Use clamps or a vise to hold
work. It is safer than using your hand and it frees
both hands to operate tool.
■ DO NOT OVERREACH. Keep proper footing and
balance at all times. Do not use on a ladder or
unstable support. Secure tools when working at
elevated positions.
■ MAINTAIN TOOLS WITH CARE. Keep tools sharp
and clean for best and safest performance. Follow
instructions for lubricating and changing accesso
ries.
■ DISCONNECT TOOLS. When not in use, before
servicing, or when changing attachments, tools
should be disconnected from power supply.
■ REMOVE ADJUSTING KEYS AND WRENCHES.
Form habit of checking to see that keys and
adjusting wrenches are removed from tool belore
turning it on.
■ AVOID ACCIDENTAL STARTING. Do not carry
plugged-in tool with finger on switch. Be sure
switch is off when plugging in.
■ MAKE SURE YOUR EXTENSION CORD IS IN
GOOD CONDITION. When using an extension
cord, be sure to use one heavy enough to carry the
current your product wilt draw. An undersized cord
- ..iWitI cause a drop in line voltage resulting in loss of
power and overheating. A wire gage size (A.W.G.)
of at least 16 is recommended for an extension
cord 100 feet or less in length. A cord exceeding
too feel is not recommended. If in doubt, use the
next heavier gage. The smaller the gage number,
the heavier the cord.
■ OUTDOOR USE EXTENSION CORDS. When tool
is used outdoors, use only extension cords suitable
for use outdoors. Outdoor approved cords are
marked with the suffix W-A, for
example - SJTW-A or SJOW-A,
■ NEVER USE THIS OR ANY POWER SANDER
FOR WET SANDING OR LIQUID POLISHING.
Failure to comply can result in electrical shock
causing serious injury or worse.
KEEP HANDS AWAY FROM SANDING AREA.
I NEVER USE IN AN EXPLOSIVE
ATMOSPHERE. Normal sparking of the motor
could ignite fumes.
INSPECT TOOL CORDS PERIODICALLY and if
damaged, have repaired by authorized service
facility. Stay constantly aware of cord location.
I INSPECT EXTENSION CORDS
PERIODICALLY and replace if damaged.
I KEEP HANDLES DRY, CLEAN. AND FREE
FROM OIL AND GREASE. Always use a clean
cloth when cleaning. Never use brake fluids,
gasoline, petroleum-based products, or any strong
solvents to clean your tool.
I STAY ALERT AND EXERCISE CONTROL Watch
what you are doing and use common sense. Do
not operate tool when you are tired. Do not rush.
I CHECK DAMAGED PARTS. Before further use of
the tool, a guard or other part that Is damaged
should be carefully checked to determine that it will
operate properly and perform its intended function.
Check for alignment of moving parts, binding of
moving parts, breakage of parts, mounting and any
other conditions that may affect Its operation. A
guard or other part that is damaged should be
properly repaired or replaced by an authorized
service center.
I DO NOT USE TOOL IF SWITCH DOES NOT
TURN IT ON AND OFF. Have defective switches
replaced by an aufliorized service center.
I INSPECT FOR and remove all nails from lumber
before sanding.
I DO NOT operate this tool while under the influence
of drugs, alcohol, or any medication.
I POLARIZED PLUGS. To reduce the risk of electric
shock, this tool has a polarized plug (one blade is
wider than the other). This plug will fit in a polar
ized outlet only one way. If the plug does not fit
fully in the outlet, reverse the plug. If it still does
not fit, contact a qualified electrician to install the
proper outlet. Do not change the plug in any way.
I WHEN SERVICING USE ONLY IDENTICAL
CRAFTSMAN REPLACEMENT PARTS.
I SAVE THESE INSTRUCTIONS. Refer to them
frequently and use them to instruct others wriio may
use this too), if you loan someone this too), loan
them these instructions also.
SAVE THESE INSTRUCTIONS
Page 5

PRODUCT SPECIFICATIONS
Size of Paper
No Load Speed
Orbital Motion
1/4 sheet Rating
14,000 opm Input
Paper Type
120 Volts, 60 Hz. AC only
Non-Adhesive Sandpaper
UNPACKING
Your Sander has been shipped completely assembled
except for the dust bag. Inspect it carefully to make
sure no breakage or damage has occurred during
shipping. If any parts are damaged or missing, contact
your nearest Sears Retail Store to obtain replacement
parts before attempting to operate sander. The dust
bag, sandpaper, paper punch, and this owner's
manual are also includ^ in the box.
A WARNING: if any parts are missing, do not
operate this tool until the missing parts are
replaced. Failure to do so could result In possible
serious personal injury.
ACCESSORIES
The following recommended accessories are currently available at Sears Retail Stores.
ALUMINUM OXIDE SHEETS WITH PAPER BACKING (1/4 SHEET)
Item No. a-28275 —X-FIne
Rem No. a-28276 — Fine
Rem No. S-28277 — Medium
Rem No. 9-28278 — Coarse
PRESSURE-SENSITIVE ADHESIVE, PAPER BACKED SHEETS (1/4 SHEET)
Rem No. 9-28280 — X-FIne
Item No. 3-28281 — Fine
Rem No. 9-28282 — Medium
Rem No. 9-28283 — Coarse
THE FOLLOWING STANDARD 4-1/2 X 11 In. SANDING SHEETS CAN BE CUT TO FIT YOUR SANDER.
NON-LOADING ALUMINUM OXIDE SANDING SHEETS
Hem No. 9-28250 — X-FIne
Rem No, 9*28251 — Fine
- Rem No. 9-28252 ~ Medium
Hem No. 9-28253— Coarse
2.0 Amperes
Adhesive Sandpaper
WARNING: The use of aHachments or accessories not listed might be hazardous.
Page 6

FEATURES
KNOW YOUR SANDER
See Figure 1.
Before attempting to use your sender, familiarize
yourself with ail operating features and safety
requirements.
Your Sander has a comfortable palm grip handle that
provides maximum <»ie-hand control and comfort, plus
it reduces operator fatigue during continuous sanding
operations; it has quick action paper clamps; it is
suitable for sanding with coarse, medium, and fine grit
sandpaper; and has a built-in dust collection that
collects dust through punched holes in the sandpaper
and cushion.
SWITCH
This toot has a simple switch control. To turn your
Sander ON, depress the switch button as shown in
figure 1. Depress the switch button in the opposite
direction to turn your sender OFF.
SWITCH
ELECTRICAL CONNECTION
Your Sander has a precision built electric motor. It
should be connected to a power supply that Is 120
volts, 60 Hz, AC only (nomnat household current).
Do not cerate this tool on direct current (DC). A
substan^ voltage drop will cause a loss of power and
the motor will overheat. If your tod does not operate
when f^ugged into an outlet, double-check the power
supply.
A WARNING: Do not allow familiarity with your
Sander to make you careless. Remember that a
careless fraction of a second is sufficient to inflict
severe injury.
APPUCAHONS
(Use only for die purposes listed below)
■ Sanding on wood surfaces.
■ Removing rust from and sanding steel surfaces.
PAPER PUNCH
LEVER
OPERATION
A WARNING: Your sender should never be connected to power suf^ly when you are assembling parts,
making adjustments, assembling or replacing sandpaper, cleaning, or when not In use. Disconnecting your
Bander will prevent accidental starting that could cause serious personal injury.
DUST
BAG
Rg.1
Page 7

OPERATION
INSTALUNG SANDPAPER
See Figures 2 and 3,
The cushion on your sender gives you the option of
using either non-adhesive sandpaper that clamps to
the platen; or adhesive backed sandpaper with
pressure sertsMve adhesive backing that sticks to the
cushion.
INSTALUNG NON-ADHESIVE SANDPAPER
See Figure 2.
Inspect sandpaper before Instatling. Do not use if
broken or defective.
■ Unplug your sender.
WARNING: Failure to unplug your sander could
result in accidental starting causing possible
serious personal injury.
NON-ADHESIVE
SANDPAPER
CUSHION
PAPER CLAMP
PLATEN
PAPER CLAMP
INSTALUNG ADHESIVE SANDPAPER
See Figure 2.
■ Unplug your Sander.
A WARNING: Failure to unplug your sander could
result in accidents starting causing possible
serious personal injury.
■ If replacing sandpaper, remove old sandpaper by
peeling it off cushion. If removing regular sand
paper, release paper clamp by lifting up on lever
and disengaging it from the tab on the platen.
■ Remove non-adhesive sandpaper, then lift up on
paper clamp lever and lock it into place.
■ Carefully peel adhesive backing from new 1/4
sheet sandpaper.
■ Position sandpaper, making sure front edge of
sandpaper is aligned with front edge of the
cushion, then carefully press sticky side of
, ' sandpaper on cushion. Note: Sandpaper must
be aligned with the front edge of the cushion for
proper functioning of the flush sanding feature.
See Figure 2.
Note: The cushion on ywir sander is approximately 1/4
In. smaller than precut adhesive backed sanding sheets.
If desired you may want to trim off the overhang of
sandpaper on the back side of cushion. The cushion has
been made smaller so that multiple sheets of non
adhesive sandpaper can be installed.
PAPER PUNCH
See Figure 3.
A paper punch template has bean supplied with your
sander. It should be used for aligning and punching
holes in the sandpaper for alignment with the holes in
the cushion.
Punching the holes property Is a necessary step in
order for the dustless feature of your sander to
function propedy.
Fig. 2
I If replacing sandpaper, remove old sandpaper. To
remove paper, release paper clamp by lifting up on
lever and disengaging it from the tab on the platen.
Insert end of new 1/4 sheet sandpaper
approximately (1/2 inch) under the paper clamp.
Lift up on lever and lock into place. Apply down
ward pressure to corrform sandpaper to platen.
Wrap stmdpaper around cushion. Lift lever on
opposite end of sander and insert loose end of
sandpaper under the paper cleunp. Fit sandpaper
aganst cushion as tight as possible.
Lift up on lever and lock into place.
ORIENT PAPER
PUNCH AS SHOWN
Flg.3
Page 8

OPERATION
^ WARNING: Always wear safety goggles or
safety glasses with side shields when operating
your Sander. Failure to do so could result in
foreign objects being thrown into your eyes,
resulting in possible serious injury. If the sanding
operation is dusty, also wear a face or dust
mask.
SANDPAPER SELECTION
Selecting the conect size grit and type sandpaper is
an extremely important step in achieving a high
quality sanded finish. Aluminum oxide, silicon carbide,
and other synthetic abrasives are best for power
sanding. Natural abrasives, such as flint and garnet
are too soft for economical use in power sanding.
in general, coarse grit will remove the most material
and finer grit will produce the best finish in all sanding
operations. The condition of the surface to be sanded
will determine which grit will do the job. If the surface
is tough, start with a coarse grit and sand until the
surface is uniform. Medium grit may then be used to
remove scratches left by the coarser grit and finer grit
used for finishing of the surface. Always continue
sanding with each grit until surface is uniform.
Note: Do not use sander without sandpaper. Doing
so will damage the cushion.
PREPARING FOR OPERATION
^ CAUTION: Be careful not to let your hand cover
the air vents,
SANDING
Clamp or otherwise secure the work to prevent it from
moving under your sander.
Fig. 4
Do not force. The weight of the unit supplies ad
equate pressure, so let the sandpaper and sander do
the work. Applying additional pressure only slows the
motor, rapidly wears sandpaper and greatly reduces
sander speed. Excessive pressure will overload the
motor causing possible damage from motor overheat
ing and can result in inferior work. Any finish or resin
on wood may soften from the frictional heat. Do not
allow sanding on one spot too long as the sender's
rapid action may remove too much material, making
the surface uneven.
Flush sanding can be performed with your sander.
See Figure 5. Tbe front edge of your sander allows
flush sanding in corners. Always remove sander from
workpiece before turning your sander off.
^ WARNING: Unsecured virork could be thrown
towards the operator causing injury.
Hold your sander in front and away from you, keeping
it clear of the workpiece. Start your sander by press
ing the switch button to on position and letting the
motor build to its maximum speed. Gradually lower
your sander on the work with a slight forward move
ment. See Figure 4. Move it slowly using forward and
backward strokes.
WARNING: Do not wear loose clothing or
jewelry when operating sander. They could get
caught in moving parts causing serious injury.
Keep head away from sander and sanding area.
Hair could be drawn into sander causing serious
injury.
Page 9

OPERATION
ORBITAL MOTION
Orbitat motion is ideal for fast cutting action when
removing old finishes, smoothing rough wood, cutting
stock down to required dimensions, or for finishing
surfaces to be painted. As shown in figure 6, the
sandpaper moves in tiny circles at a very high speed,
aliowing the sander to move easily.
ORBITAL MOTION -yj
ifcf. trftrttiif. ..I., iiw
DUSTLESS SANDING
The dust bag located on the rear of your sander
provides a dust collection system for your sander.
Sanding dust is drawn up through the holes of the
cushion and collects in the dost bag during sanding
operation. For more efficient operation, empty dust
bag when half full.
TO EMPTY DUST BAG
■ Unplug your sander.
^ WARNING: Failure to unplug your sander could
result in accidental starting causing possible
serious personal injury.
■ Unzip dust bag.
■ Shake dust bag to empty.
■ djust bag up after emptying.
TO REMOVE DUST BAG FOR EMPTYING OR
CLEANING
See Figure 7.
■ Unplug your sander.
WARNING: Failure to unplug your sander could
result in accidental starting causing possible
serious personal injury.
Fig. 6
■ Slide dust bag retainer from sander as shown by
the arrow in figure 7. Note: Grooves on dust bag
retainer align with grooves on your sander.
■ Empty dust bag.
TO INSTALL DUST BAG
See Figure 8.
■ Unplug your sander.
^ WARNING: Failure to unplug your sander could
result in accidental starting causing possible
serious personal injury.
DUSTBAG
DUSTBAG
RETAINER GROOVES
GROOVES
ON SANDER
Realign grooves on dust bag retainer with
grooves on your sander.
Slide dust bag assembly into place as shown by
the arrow in figure 8.
Fig. 8
Page 10

MAINTENANCE
WARNING: When servicing use only identical
Craftsman replacement parts. Use of any other
parts may^ create a hazard or cause product
damage.
GENERAL
Only the parts shown on parts list, page thirteen, are
intended to be repaired or replaced by the customer.
All other parts represent an Important part of the
double insulation system and should be serviced oniy
by a qualified Sears service technician.
Avoid using solvents when cleaning plastic parts.
Most piastics are susceptibie to damage from various
t^Ms of commercial solvents and may be damaged
by their use. Use clean cloths to remove dirt, carbon
dust, etc.
WARNING: Do not at any time let brake fluids,
gasoiine, petroleum'based products, penetrating
oiis, etc. come in contact with plastic parts. They
contain chemicals that can damage, weaken, or
destroy plastic.
it has been found that eiectric toois are subject to
accelerated wear and possible premature failure when
they are used on fiberglass boats, sports cars,
watlboard. spackling compounds, or plaster. The
chips and grirKlings from these materials are highly
abrasive to electric tool parts such as bearings,
brushes, commutators, etc. Consequently, it is not
recommended that this tool be used for extended
work on any fiberglass material, wallboard, spackling
compounds, or plaster. During any use on these
materials it is extremely important that the tool is
cleaned frequently by blowing with an air Jet.
EXTENSION CORDS
The use of any extension cord will cause some loss of
power. To keep the loss to a minimum and to prevent
tool from overheating, use an extension cord that is
heavy enough to carry the current the tool will draw.
A wire gage size (A.W.G.) of at least 16 Is recom
mended for an extension cord 100 feet or less in
length. When working outdoors, use an extension
cord that is suitable for outdoor use. "Rie cord's jacket
will be marked WA.
^ CAUTION: Keep extension cords away from the
sanding area and position the cord so that It will
not get caught on lumber, tools, etc., during
sanding.
iL WARNING: Check extension cords before each
use. If damaged replace Immediately. Never use
tool with a damaged cord since touching the
damaged area could cause electrical shock
resulting in serious injury.
Extension cords suitable for use with your sender ate
available at your nearest Sears Retail Store.
VL WARNING: Always wear safety goggles or
safety glasses with side shields during power tool
operation or when blowing dust. If operation is
dusty, also wear a dust mask.
LUBRICATION
All of the bearings in this tool are lubricated with a
sufficient amount of high grade lubricant for the life of
the unit under normal operating conditions. Therefore,
no further lubrication is required.
to
Page 11

11
Page 12

CRAFTSMAN SANDER - MODEL NO. 315.277011-
SEE NOTE "A " PAGE 13
12
Page 13

CRAFTSMAN SANDER - MODEL NO. 315.277011
The mcxiel number will be found on a plate attached to the motor housing. Always mention the model
number in alt correspondence regarding your SANDER or when ordering repair parts.
SEE BACK PAGE FOR PARTS ORDERING INSTRUCTIONS
PARTS LIST
Key
No.
10 623019-004 Rubber Plug
11 662315-003 Platen
12 662317-004 Cushion
13
14
15 662870-001 Dust Shield...................................................
Part
Number Description Quan.
1 031500-300
2 968700-004 * Screw (#6-19 X 5/16 in. Pan Hd.)
3 968700-007 * Screw (#6-19 X 1/2 in. Pan Hd.)
4 662316-001 Fan Baffle
5 979855-001 Data Plate
6 662514-001
7 979853-001 Logo Plate
8
9 662318-001
«*s
617966-030
662447-001 Paper Punch
972000-555 Owner’s Manual
Clamp............................................................
..................
....................
.....................................................
.....................................................
Dust Bag Assembly.....................................
....................................................
Sandpaper
Wire Clamp...................................................
.................................................
...........................................................
........................................................
* Screw (#8-10 X 5/8 in. Pan Hd.)....................
................................................
.....................
.....................
.....................
.....................1
.....................
.....................
.....................
.....................
.....................
.....................
.....................
.....................
.....................
.....................
2
2
2
1
1
1
2
1
1
1
4
1
1
NOTE: "A"- The assembly shown represents an Important part of the Double Insulated System.
To avoid the possibility of alteration or damage to the system, service should be
performed by your nearest Sears Repair Center. Contact your nearest Sears Retail
Store for Service Center information.
* Standard Hardware Item - May Be Purchased Locally
' Complete Assortment Available At Your Nearest Sears Retail Store
13
Page 14

For in-home major brand repair service:
Call 24 hours a day, 7 days a week
1-800-4-MY-Home»“ (1-800-469-4663)
Para pedir servicio de reparación a domicilio -1-800-676-5811
tn Canada for all your service and parts needs call
Au Canada pour tout le service ou les piéces
For the repair or replacement parts you need:
Call 7 am - 7 pm, 7 days a week
-1-800-665-4455
1 -800-366-PART (1-800-366-7278)
Para ordenar piezas con entrega a domicilio -1-800-659-7084
For the location of a Sears Parts and Repair Center in your area:
Call 24 hours a day, 7 days a week
1-800-488-1222
For information on purchasing a Sears Maintenance Agreement
or to inquire about an existing Agreement:
Call 9 am - 5 pm, Monday - Saturday
1-800-827-6655
The Service Side of Sears’“
 Loading...