

Craftsman 137215360 Owner’s Manual

4" × 36" Be_t
6" Disc
@
/
_lod÷_ No,
!37o2t5360
@
R
o Safety Instructions
CAUT_©N:
Before using this Belt / Disc Sander,
read this manuai and follow
all its Safety Rubs and
Operating _nstructions,
o _nstallation
o Operation
o Maintenance
o Parts List
o Espa_oi
1°81@°848=1882
Sears, Roebuck and Co_ Hoffman Estates_ _L (}0!79 USA
Part No, 1372t5360001
SECTION PAGE
Warranty .................................................................. 2
Product Specifications ....................................................... 2
Safety Rnstructions .......................................................... 3
Accessories and Attachments ................................................. 6
Carton Contents ............................................................ 6
Know your Belt ! D]sc Sander .................................................. 7
AssembJy and Adjustments ................................................... 8
Operation ................................................................. 14
Maintenance ................................................. , ............ 16
Troubleshooting Guide ...................................................... 17
Parts ..................................................................... 18
MOTOR ................. 120',/, 60 HZ, 4.2 AMPS
HORSEPOWER ........... 2/3 (Max. Developed)
SPEEDS:
MOTOR .............. 3450 RPM
BELT ................ 1760 FPM
DISC ................ 2800 RPM
SIZES:
BELT ................ 4" X 36"
DISC ................ 6"
TABLE .................. DISC / BELT
TABLE TILT .............. 0° TO 45°
BELT ARM TILT ........... 0° TO 90°
MITER GAUGE ........... YES
Some dust created by power sanding, sawing, grinding, drilling, and other construction activities
contains chemicals known [to the State of California] to cause cancer, birth defects or other
reproductive harm. Some examples of these chemicals are:
¢ Lead from lead-based paints.
¢ Crystalline silica from bricks, cement and other masonry products.
€ Arsenic and chromium from chemically4reated lumber.
Your risk from these exposures varies, depending on how often you do this type of work. To reduce
your exposure to these chemicals:work in a well ventilated area, and work with approved safety
equipment, such as those dust masks that are specially designed to filter out microscopic particles.
To avoid electrical hazards, fire hazards, or damage to the
tool, use proper circuit protection.
Your bench belt/disc sander is wired at the factory for
120V operation. Connect to a 120V, 15 amp branch circuit
and use a 15 amp time delay fuse or circuit breaker. To
avoid shock or fire, replace power cord immediately if it is
worn, cut or damaged in any way.
GENERAL SAFETY INSTRUCTIONS
BEFORE USING THE BELT/DISC SANDER
Safety is a combination of common sense, staying alert
and knowing how to use your belt / disc sander.
To avoid mistakes that could cause serious injury, do not
ptug the belt / disc sander in until you have read and
understood the following:
1.
READ and become familiar with this entire instruction
manual. LEARN the tool's applications, limitations, and
possible hazards.
2_
KEEP GUARDS IN PLACE and in working order.
3.
REMOVE ADJUSTING KEYS AND WRENCHES,
Form the habit of checking to see that keys and
adjusting wrenches are removed from the tool before
turning ON.
.
KEEP WORK AREA CLEAN. Cluttered areas and
benches invite accidents.
6_
DON'T USE IN A DANGEROUS ENVIRONMENT.
Don't use power tools in damp or wet locations, or
expose them to rain. Keep work area well lighted.
.
KEEP CHILDREN AWAY,All visitors should be kept at
a safe distance from the work area.
7,
MAKE WORKSHOP KID PROOF with padlocks, master
switches, or by removing starter keys.
8.
DON'T FORCE THETOOL. It will do the job better
and safer at the rate for which it was designed.
9.
USE THE RIGHTTOOL, Don't force tool or the
attachment to do a job for which it was not designed.
I0.
USE PROPER EXTENSION CORD. Make sure your
extension cord is in good condition. When using an
extension cord, be sure to use one heavy enough to
carry the current your product will draw. An undersized
cord will cause a drop in line voltage resulting in loss
of power and overheating. The table on page 5 shows
the correct size to use depending on cord length and
nameplate ampere rating. If in doubt, use the next
heavier gauge. The smaller the gauge number, the
heavier the cord.
11. WEAR PROPER APPAREL. DO NOT wear loose
clothing, gloves, neckties, rings, bracelets, or other
jewelry which may get caught in moving parts.
Nonslip footwear is recommended. Wear protective
hair covering to contain long hair.
t2.
13.
14.
15.
16,
17.
18.
19.
20.
2t.
22.
23.
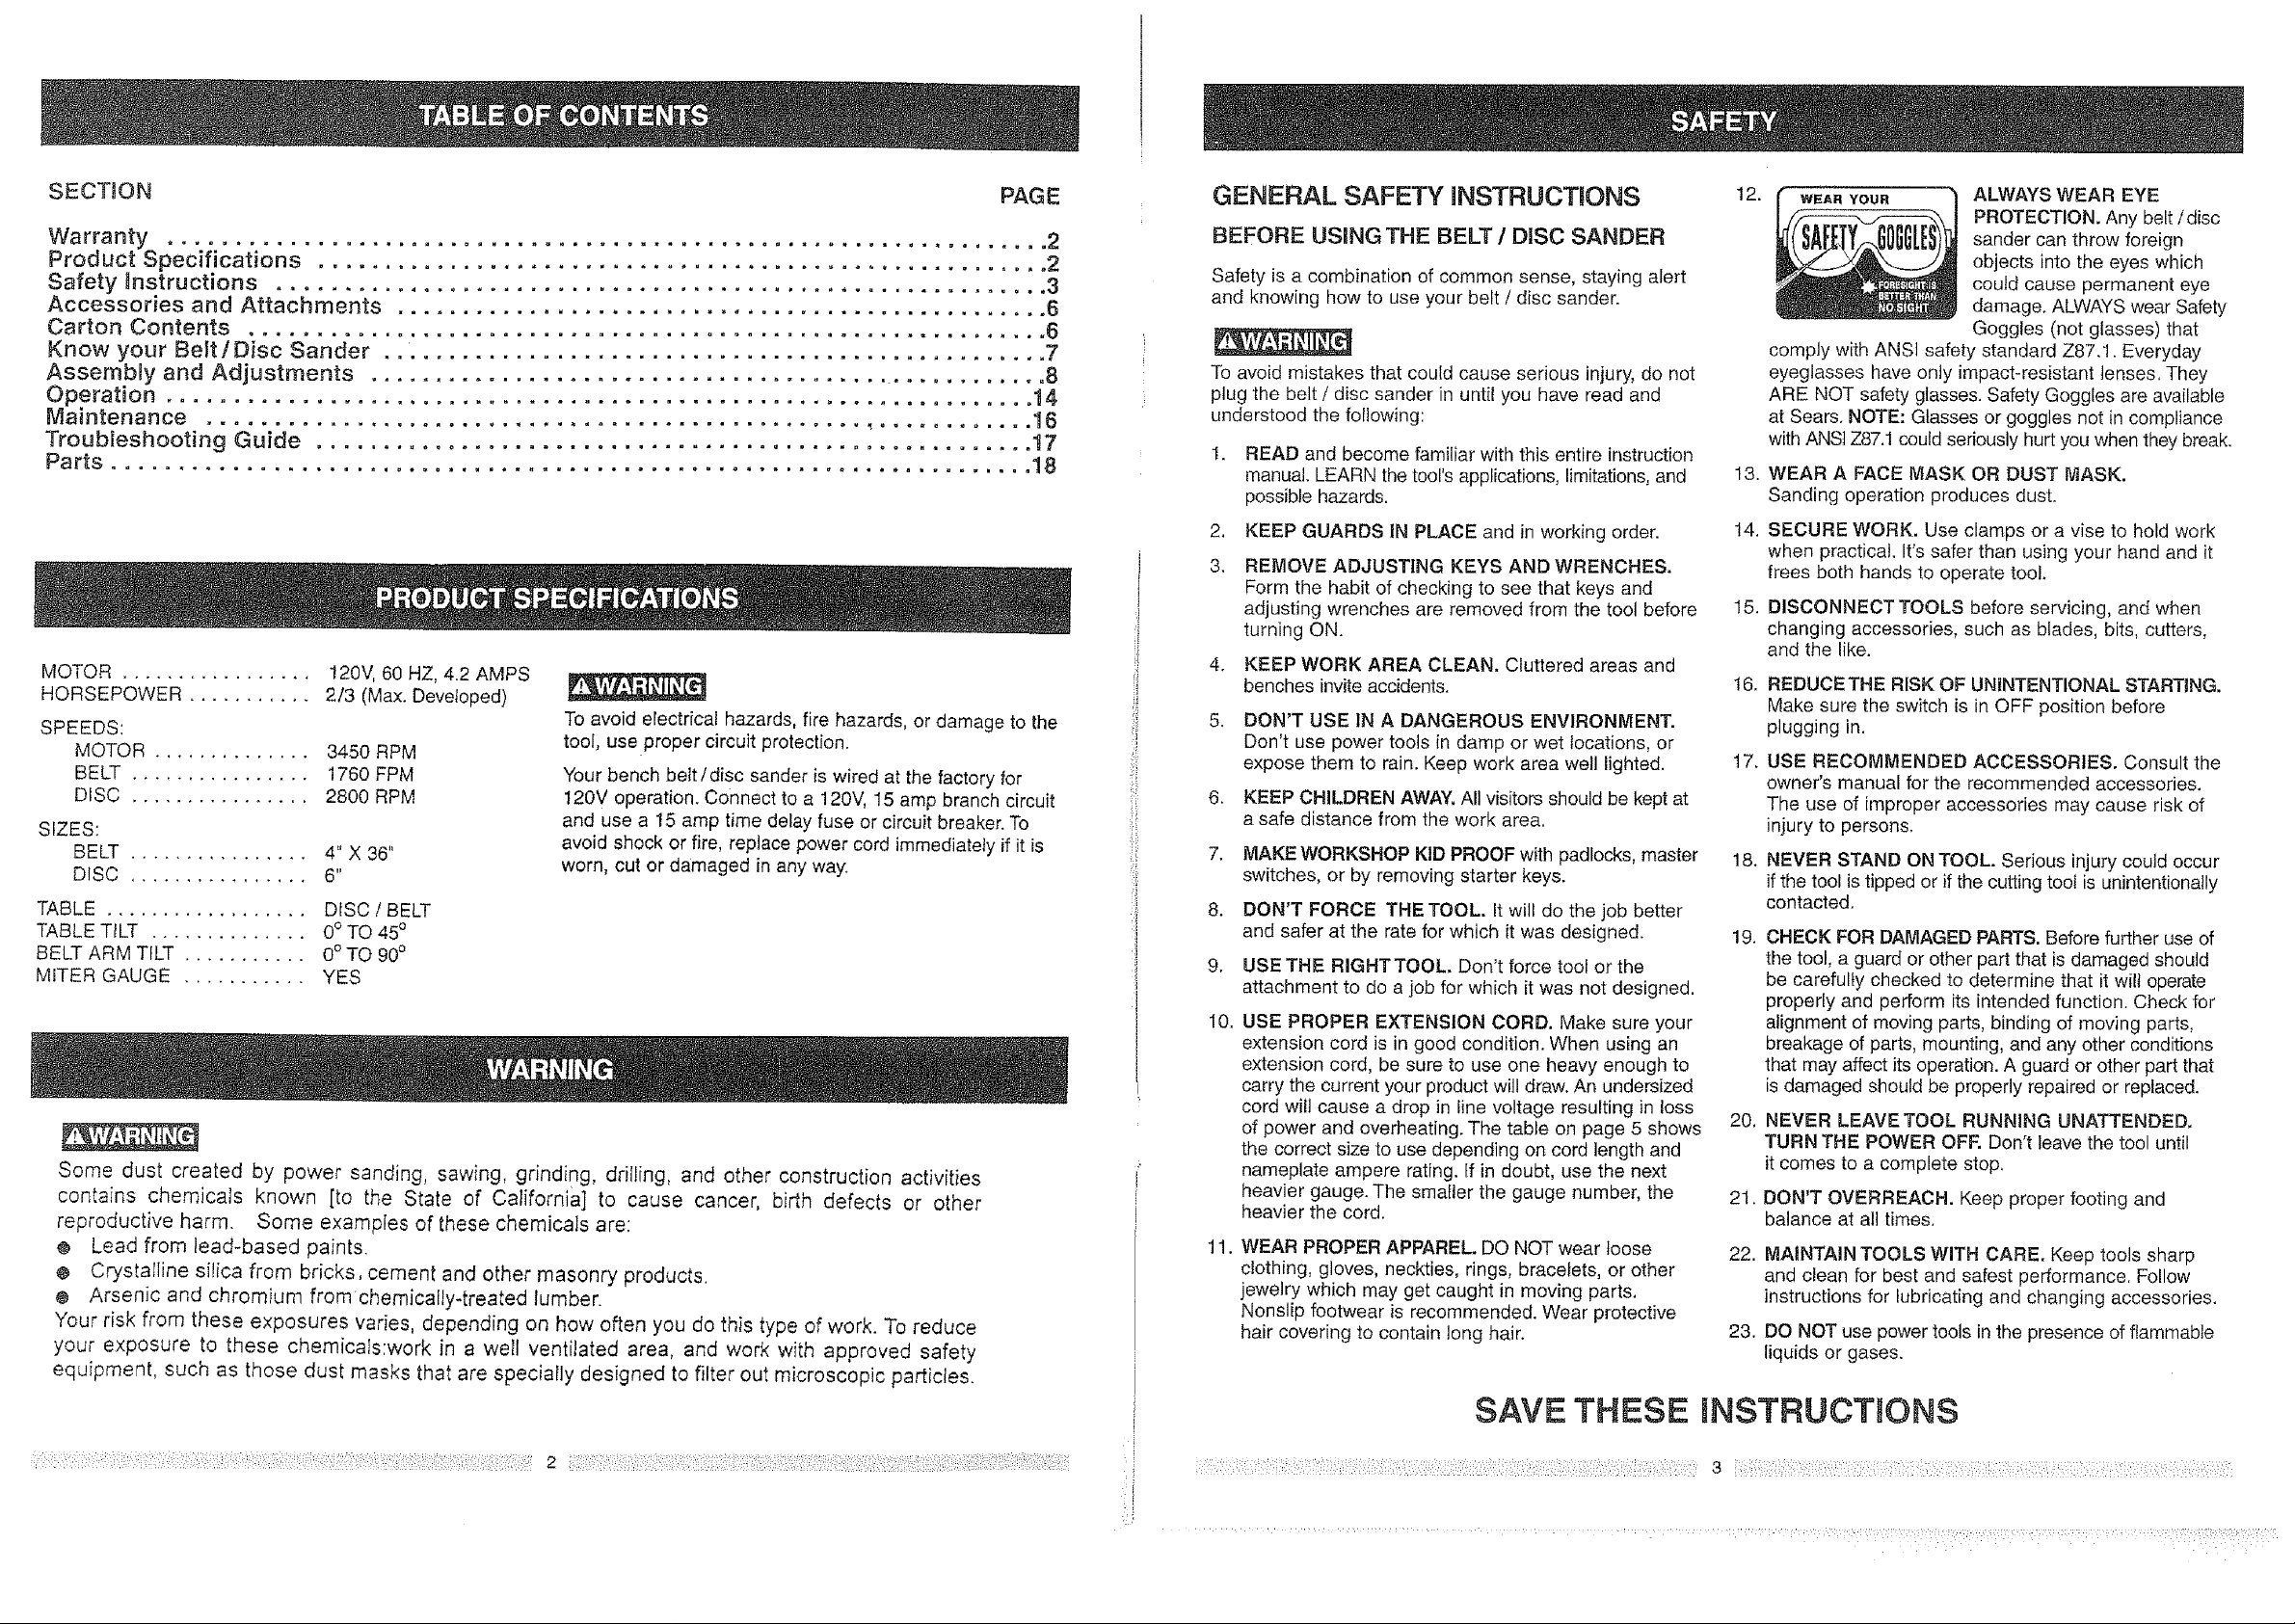
w_A_ Your ALWAYS WEAR EYE
PROTECTION. Any belt / disc
sander can throw foreign
objects into the eyes which
could cause permanent eye
damage. ALWAYS wear Safety
Goggles (not glasses) that
comply with ANSI safety standard Z87.1. Everyday
eyeglasses have only impact-resistant lenses, They
ARE NOT safety glasses. Safety Goggles are available
at Sears. NOTE: Glasses or goggles not in compliance
with ANSt Z87.1 could seriously hurt you when they break.
WEAR A FACE MASK OR DUST MASK.
Sanding operation produces dust,
SECURE WORK. Use clamps or a vise to hold work
when practical. It's safer than using your hand and it
frees both hands to operate tool.
DISCONNECT TOOLS before servicing, and when
changing accessories, such as blades, bits, cutters,
and the like.
REDUCE THE RISK OF UNINTENTIONAL STARTING.
Make sure the switch is in OFF position before
plugging in.
USE RECOMMENDED ACCESSORIES. Consult the
owner's manual for the recommended accessories.
The use of improper accessories may cause risk of
injury to persons.
NEVER STAND ON TOOL. Serious injury could occur
if the tool is tipped or if the cutting toot is unintentionally
contacted.
CHECK FOR DAMAGED PARTS. Before further use of
the tool, a guard or other part that is damaged should
be carefully checked to determine that it wilt operate
properly and perform its intended function. Check for
alignment of moving parts, binding of moving parts,
breakage of parts, mounting, and any other conditions
that may affect its operation. A guard or other part that
is damaged should be properly repaired or replaced.
NEVER LEAVE TOOL RUNNING UNATTENDED,
TURN THE POWER OFF. Don't leave the tool until
it comes to a complete stop.
DON'T OVERREACH. Keep proper footing and
balance at all times.
MAINTAIN TOOLS WITH CARE. Keep tools sharp
and clean for best and safest performance. Follow
instructions for lubricating and changing accessories,
DO NOT use power tools in the presence of flammable
liquids or gases.
SAVE THESE
INSTRUCT ONS
3
24.DONOToperatethetoo!ifyouareundertheinfluence 12.ALWAYSmaintainaminirnumclearanceof1/16inch
ofanydrugs,alcoholo1"medicationthatcouldaffect orlessbetweenthetableorbackstopandthesanding
yourabilityto usethetoolproperiy, beltordisc.
25.Dustgeneratedfromcertainmaterialscanbe -13.
hazardous to your health. Atways operate the
belt/disc sander in a well-ventilated area and provide
for proper dust removal. Use dust collection systems !4..
whenever possible.
SPECHF C SAFETY NSTRL CTIONS
FOR BELT / DISC bANDERs'- " "
For your own safety, do not try to use your belt/disc sander
or plug it in until it is comple[ely assembled and installed
according to the instructions, and until you have read and
understood this instruction manual:
.
THiS SANDER tS DESIGNED TO SAND WOOD OR
WOOD-LIKE PRODUCTS ONLY. Sanding or grinding
other materials could result in fire, injury or damage to
workpiece.
2,
USE sander on horizontal surfaces only. Operating
the sander when mounted on nonqqerizontal surfaces
might result in motor damage. 20.
TO STOP i[ from tipping over or moving when in use,
the sander must be securely fastened to a bench top
or supporting surface.
,
PLACE the sander so neither the user nor bystanders
are forced to stand in line with the abrasive belt or disc.
5. MAKE SURE the sanding belt is installed in the correct
direction. See directional arrow on back of belt.
.
ALWAYS have the tracking adjusted properly so the
belt does not run off the pulleys.
7_
DO NOT USE sanding belts or discs that are damaged,
torn, loose. Use only correct size sanding belt and disc.
Narrower belts uncover parts that could trap fingers.
,
MAKE SURE there are no nails or foreign objects in
the part of the workpiece to be sanded.
9.
ALWAYS HOLD the workpiece firmly when sanding•
Keep hands away from sanding belt or disc. Sand
only one workpiece at a time.
10. ALWAYS HOLD the workpiece firmly on the table
when using the disc sander and when using the belt
sander.
11. ALWAYS SAND ON THE DOWNWARD S_DE of the
sanding disc when using the disc sander. Sanding on
the upward side of the disc could cause the workpiece
to fly out of position, resuking in injury.
DO NOT sand pieces of material that are too small to
be safely supported.
KEEP fingers away [rom where the belt goes into the
dusl trap.
15.
WHEN sanding a large workpiece, provide additional
support at table height.
16.
DO NO'[' sand with the workpiece unsupported.
Support the workpiece with the backstop or table. The
only exception is curved work performed on the outer
sanding drum. Plan your work support
17.
NEVER USE ANOTHER PERSON as additional
support for a workpiece longer or wider than the table.
i8.
ALWAYS remove scrap pieces and other objects from
the table, backstop or belt before turning the sander
ON.
19.
NEVER perform layout, assembly or set-up work on the
table while the sander is operating.
NEVER use solvents Io clean plastic parts. Solvents
coutd dissolve or other wise damage the material. Use
only a soft damp cloth to clean plastic parts.
21.
SHOULD any part of your sander be missing, damaged,
or fai! in any way, or any electrical components fail to
perform proper!y, shut off switch and remove plug from
power supply outlet. Replace missing, damaged or
failed parts before resuming operation.
22.
NEVER PULL°THE POWER CORD out of the receptacle.
Keep cords away from heat, oil and sharp edges.
23.
HAVE AN ELECTRiCiAN REPLACE OR REPAIR
damaged or worn cords immediately.
24.
When using the bett to grind or sharpen metal or
plastic material:
o DO NOT wet grind or polish. Never use a steady
stream of water on the workpiece. Dip or quench
the workpiece in water Io cool it.
o DO NOT OVERHEATTHE WORKP_BCE. Move
meta the material across the abrasive and al!ow
it to coo} when it becomes hot.
o DO NOT grind or pol s_ magnestum. It could
• 3
CATCH on fire.
GROUNDING DNSTRUCTIONS
IN THE EVENT OF A MALFUNCTmONOR BREAKDOWN,
grounding provides a path of least resistance for electric
current and reduces the risk of electric shock. This tool is
equipped with an electric cord that has an equipment
grounding conductor and a grounding plug. The plug
MUST be plugged into a matching receptacle thai is
properly installed and grounded in accordance with ALL
local codes and ordinances.
DO NOT MODIFYTHE PLUG PROVIDED. If it will not fit the
receptacle, have the proper receptacle installed by a
qualified electrician.
IMPROPER CONNECTION of the equipment grounding
conductor can result in risk of electric shock. The
conductor with the green insulation (with or without yellow
stripes) is the equipment grounding conductor. If repair or
replacement of the electric cord or plug is necessary, DO
NOT connect the equipment grounding conductor to a live
terminal.
CHECK with a qualified electrician or service personnel if
you do not completely understand the grounding instructions,
or if you are not sure the tool is properly grounded.
USE ONLY 3-W_RE EXTENS!ON CORDS THAT HAVE
3-PRONG GROUNDING PLUGS AND 3-POLE
RECEPTACLES THAT ACCEPT THE TOOL'S PLUG.
REPAIR OR REPLACE DAMAGED OR WORN CORD
IMMEDIATELY,
GUIDELINES FOR EXTENSION CORDS
USE PROPER EXTENSION CORD. Make sure your
extension cord is in good condition. When using an
extension cord, be sure to use one heavy enough to carry
the current your product will draw. An undersized cord wilt
cause a drop in line voltage resulting in loss of power and
overheating. The table below shows the correct size to use
depending on cord length and nameplate ampere rating. If
in doubt, use the next heavier gauge. The smaller the gauge
number, the heavier the cord.
Be sure your extension cord is properly wired and in
good condition. Always replace a damaged extension cord
or have it repaired by a qualified person before using it.
Protect your extension cords from sharp objects, excessive
heat and damp or wet areas.
Use a separate electrical circuit for your tools. This circuit
must not be less than #!2 wire and should be protected
with a 15 Amp time lag fuse. Before connecting the motor to
the power line, make sure the switch is in the OFF
position and the electric current is rated the same as the
current stamped on the motor nameplate. Running at a
lower voltage will damage the motor.
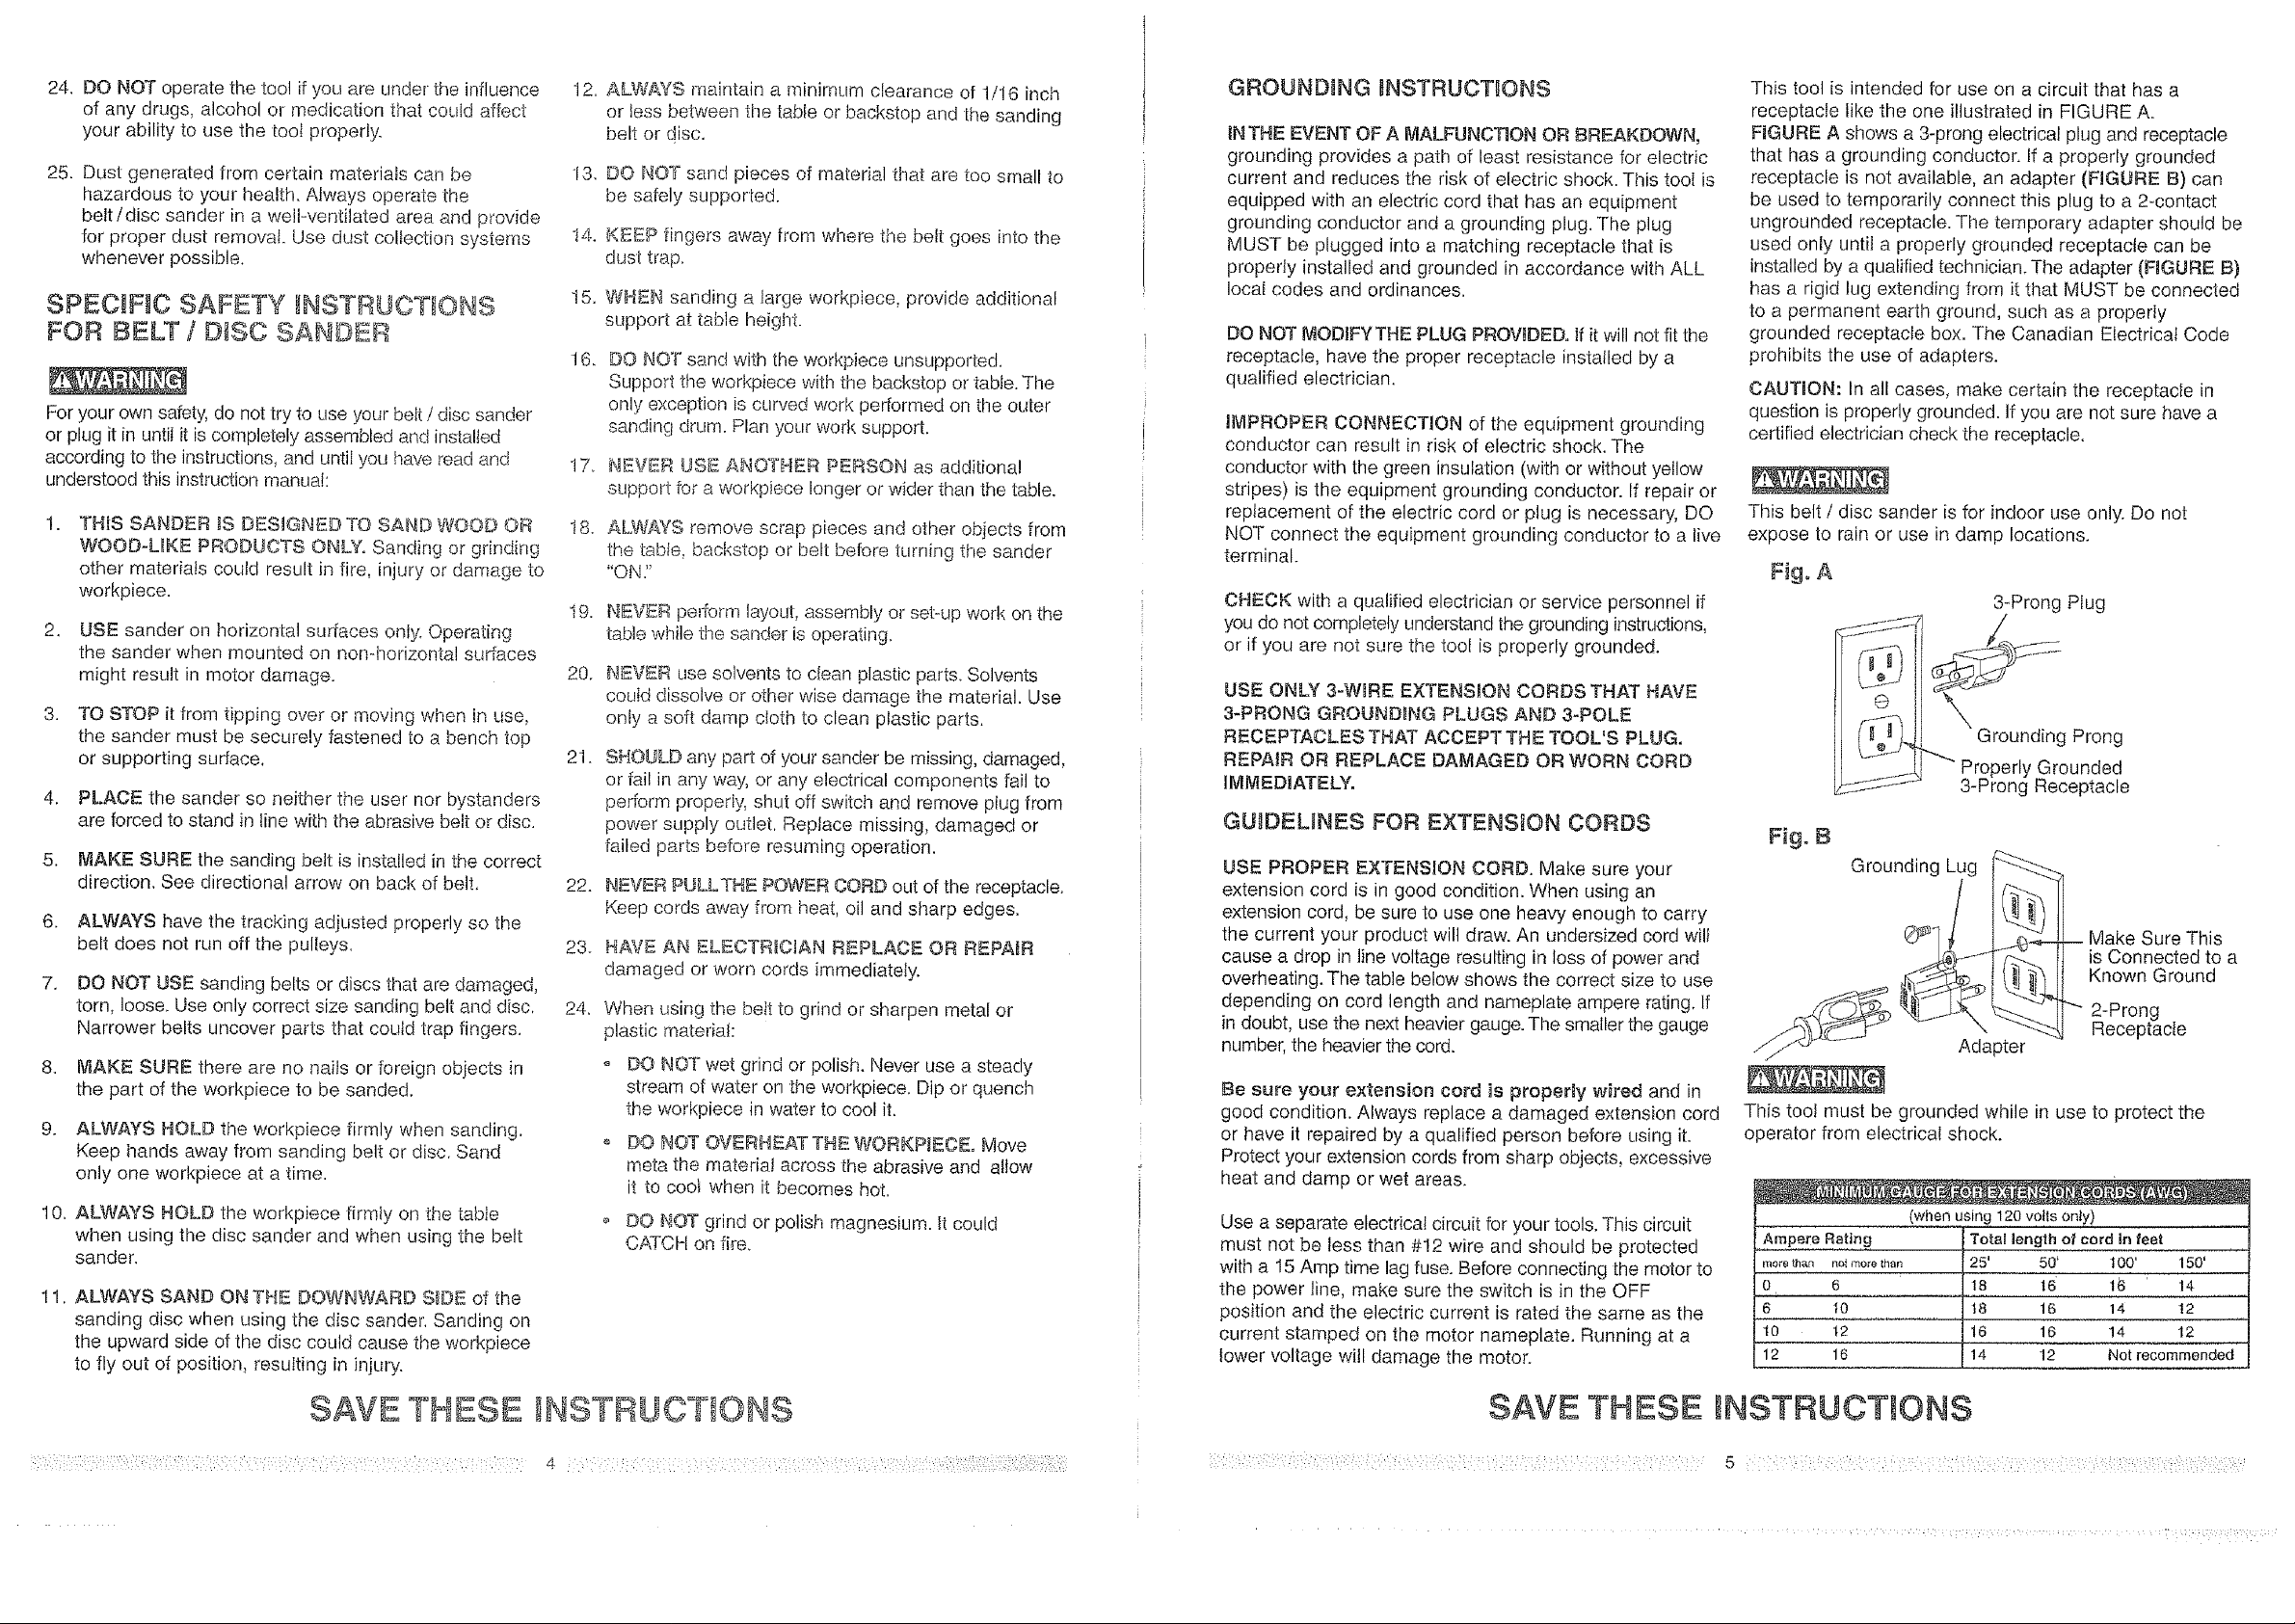
This tool is intended for use on a circuit that has a
receptacle like the one illustrated in FIGURE A.
FIGURE A shows a 3-prong electrical plug and receptacle
that has a grounding conductor. If a properly grounded
receptacle is not available, an adapter (FIGURE B) can
be used to temporarily connect this plug to a 2-contact
ungrounded receptacle. The temporary adapter should be
used only until a properly grounded receptacle can be
installed by a qualified technician. The adapter (FAGURE B)
has a rigid lug extending from it that MUST be connected
loa permanent earth ground, such as a properly
grounded receptacle box. The Canadian Electrical Code
prohibits the use of adapters.
CAUTmON: In all cases, make certain the receptacle in
question is properly grounded. If you are not sure have a
certified electrician check the receptacle.
This belt / disc sander is for indoor use only. Do not
expose to rain or use in damp locations.
Fig, A
3-ProngPlug
._...,... Grounding Prong
Properly Grounded
3-Prong Receptacle
Fig. B
Grounding Lug _
is Connected to a
Known Ground
I ake Sure This
2-Prong
Receptacle
This tool must be grounded while in use to protect the
operator from electrical shock.
{when using 120 voits only)
_.mpe:e,_e_!qg
more than not more _hal;
0 6
6 10
t0 t2
12 16
Totallength of cord in feet ,,
25' 50' 100' 150'
18 16 16 14
18 16 14 i2
16 16 14 12
14 12 Notrecommended
SAVE THESE NSTRUCT ONS
SAVETHESE
NSTRUCT ONS
 Loading...