


CM Tech CMT2003T User Manual

▣ CONTENTS
SYSTEM RECOMMENDATION
DESCRIPTIONS OF THE PRODUCT
ACCESSORIES
INSTALLNG THE PROGR AM AND DRIVER
UNINSTALLING THE PROGRAM AND DRIVER
HOW TO USE THE PROGRAM
HOW TO FORMAT THE DEVICE
HOW TO UPDATE THE FIRMWARE
INSERTING A BATTERY
POWER ON / OFF
CHANGING THE MODE (MP3 ↔ Voice)
PLAY
SKIP OR SEARCH
REPEAT (A- B)
USING THE OPTIONS MENU
SETTING THE EQUALIZER (MP3 MODE)
REPEAT (MP3 MODE)
ADJUSTING THE CONTRAST
AUTO- INTELLIGENT POWER-OFF (AI-OFF)
RECORDING A VOICE MESSAGE
PLAYING A VOICE MESSAGE
DELETE A VOICE MESSAGE (From the device)
DELETE A VOICE MESSAGE (From the PC)
KEY- GUARD LOCK (Slide Switch)
TROUBLESHOOTING
SPECIFICATIONS
W ARRANTY
■ In order to improve the product; quality, design and/or specifications may change
without notice.
The MUSIC BOX is a fun device filled with 3 main, powerful functions.
• 64MB / 128MB high quality MP3 Music Player.
• Digital Voice Recorder
• Removable Flash Hard Drive for (PC) data storage

▣ SYSTEM RECOMMENDATION
■ Processor : Pentium 233MHz or Better
■ OS: Windows 98 / 98SE / ME / 2000 / XP(Home Edition)
■ 1GB Hard Disc or Higher (4GB Recommended)
■ 64MB RAM or Better
■ USB Port
■ Monitor Resolution : 1024 × 768 , 16Bit Color or Better
■ CD- ROM Drive to Install Software
▣ DESCRIPTIONS OF THE PRODUCT
▣ ACCESSORIES
Please check to make sure all contents of the box were received.
■ Installation CD ■ USB Cable ■ Battery (1.5V, AAA)
■ Earphones ■ Manual ■ Neck Strap
▣ INSTALLING THE PROGRAM AND DRIVER
CAUTION
1. Insert the Installation CD into your CD- ROM drive. The installation will start
automatically and the following screen appears. If the program does not auto- start,
double- click the “INSTALL” icon from the CD.
Do not connect the player to your computer before completing the
program installation. If the player is connected, unplug it from
your computer.

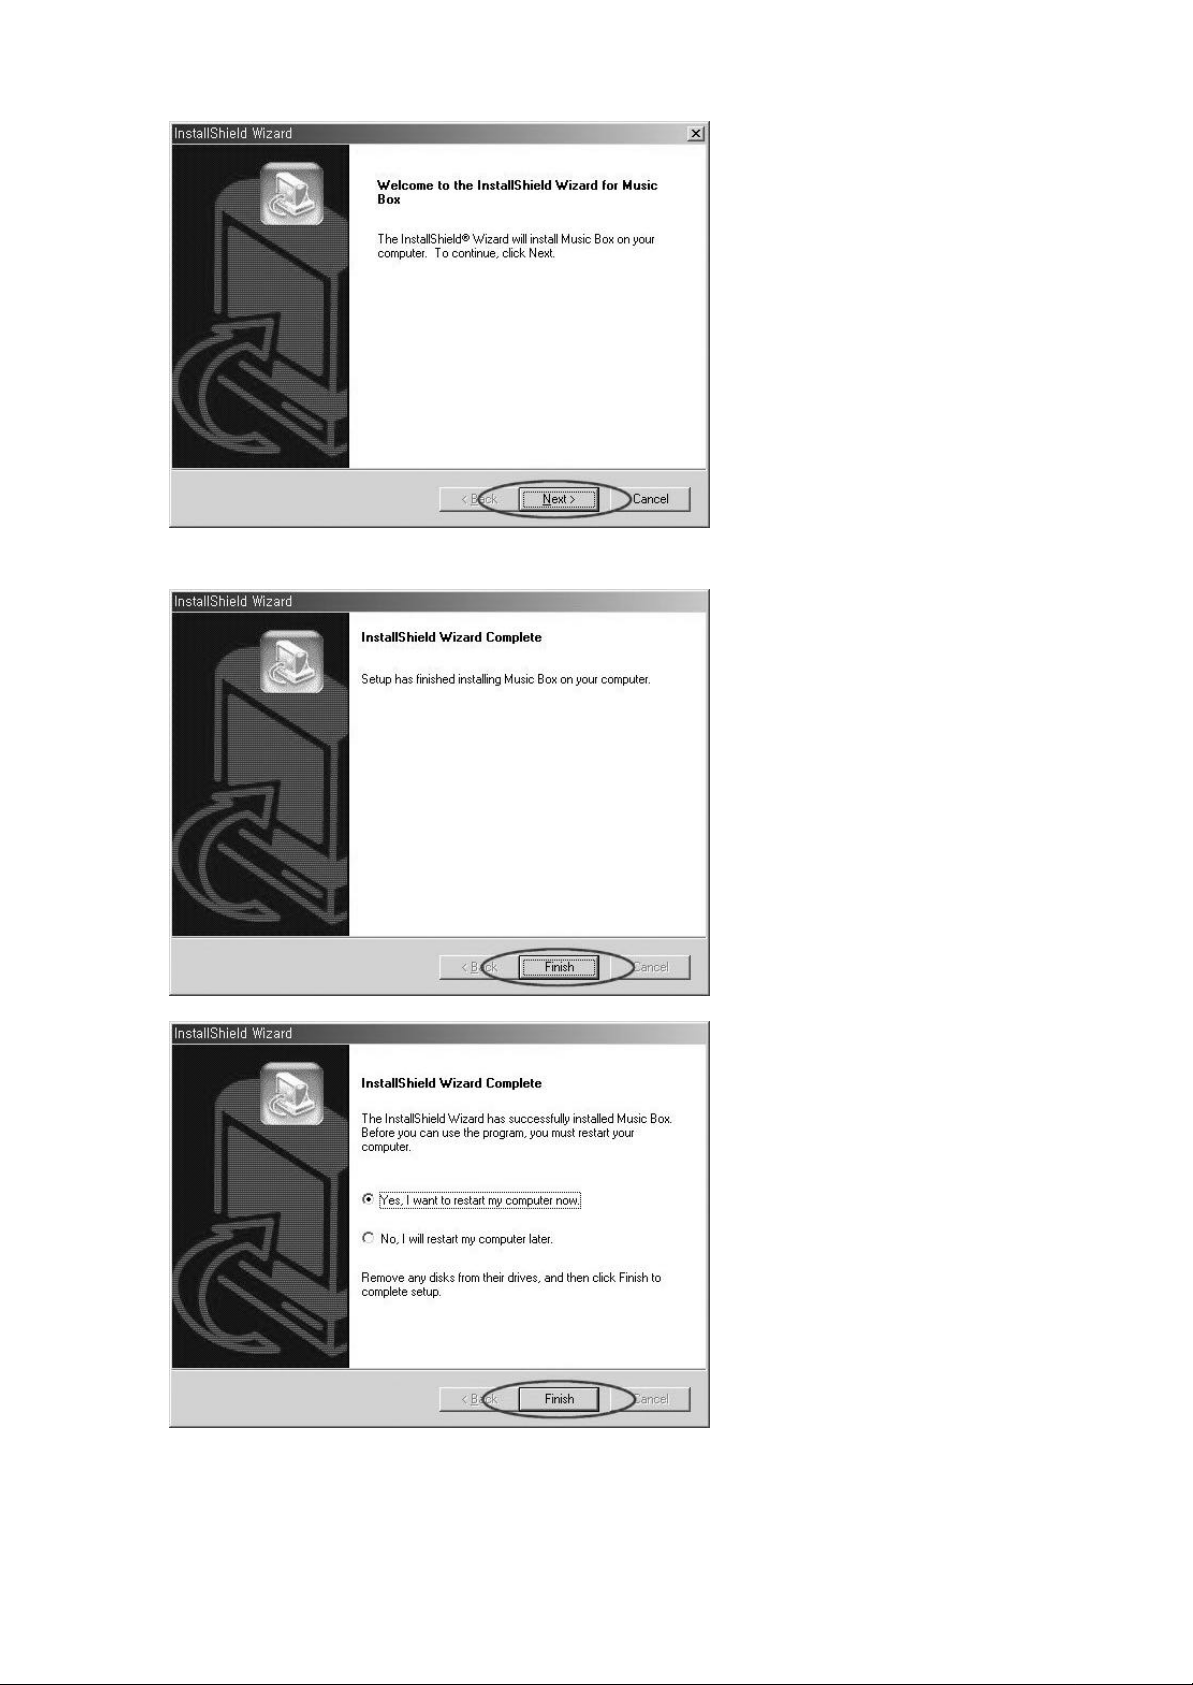
2. In the installation menu, click the “INSTALL” button to start the installation. The
installation will proceed as the figures shown below. Follow the Instructions displayed
on the screen.
3. Click the “FINISH ” button to reboot your PC. This will complete your installation
process.
4. After rebooting PC, connect the player to the USB port of your PC and
turn the power on by pressing the “▶/ ■” button.
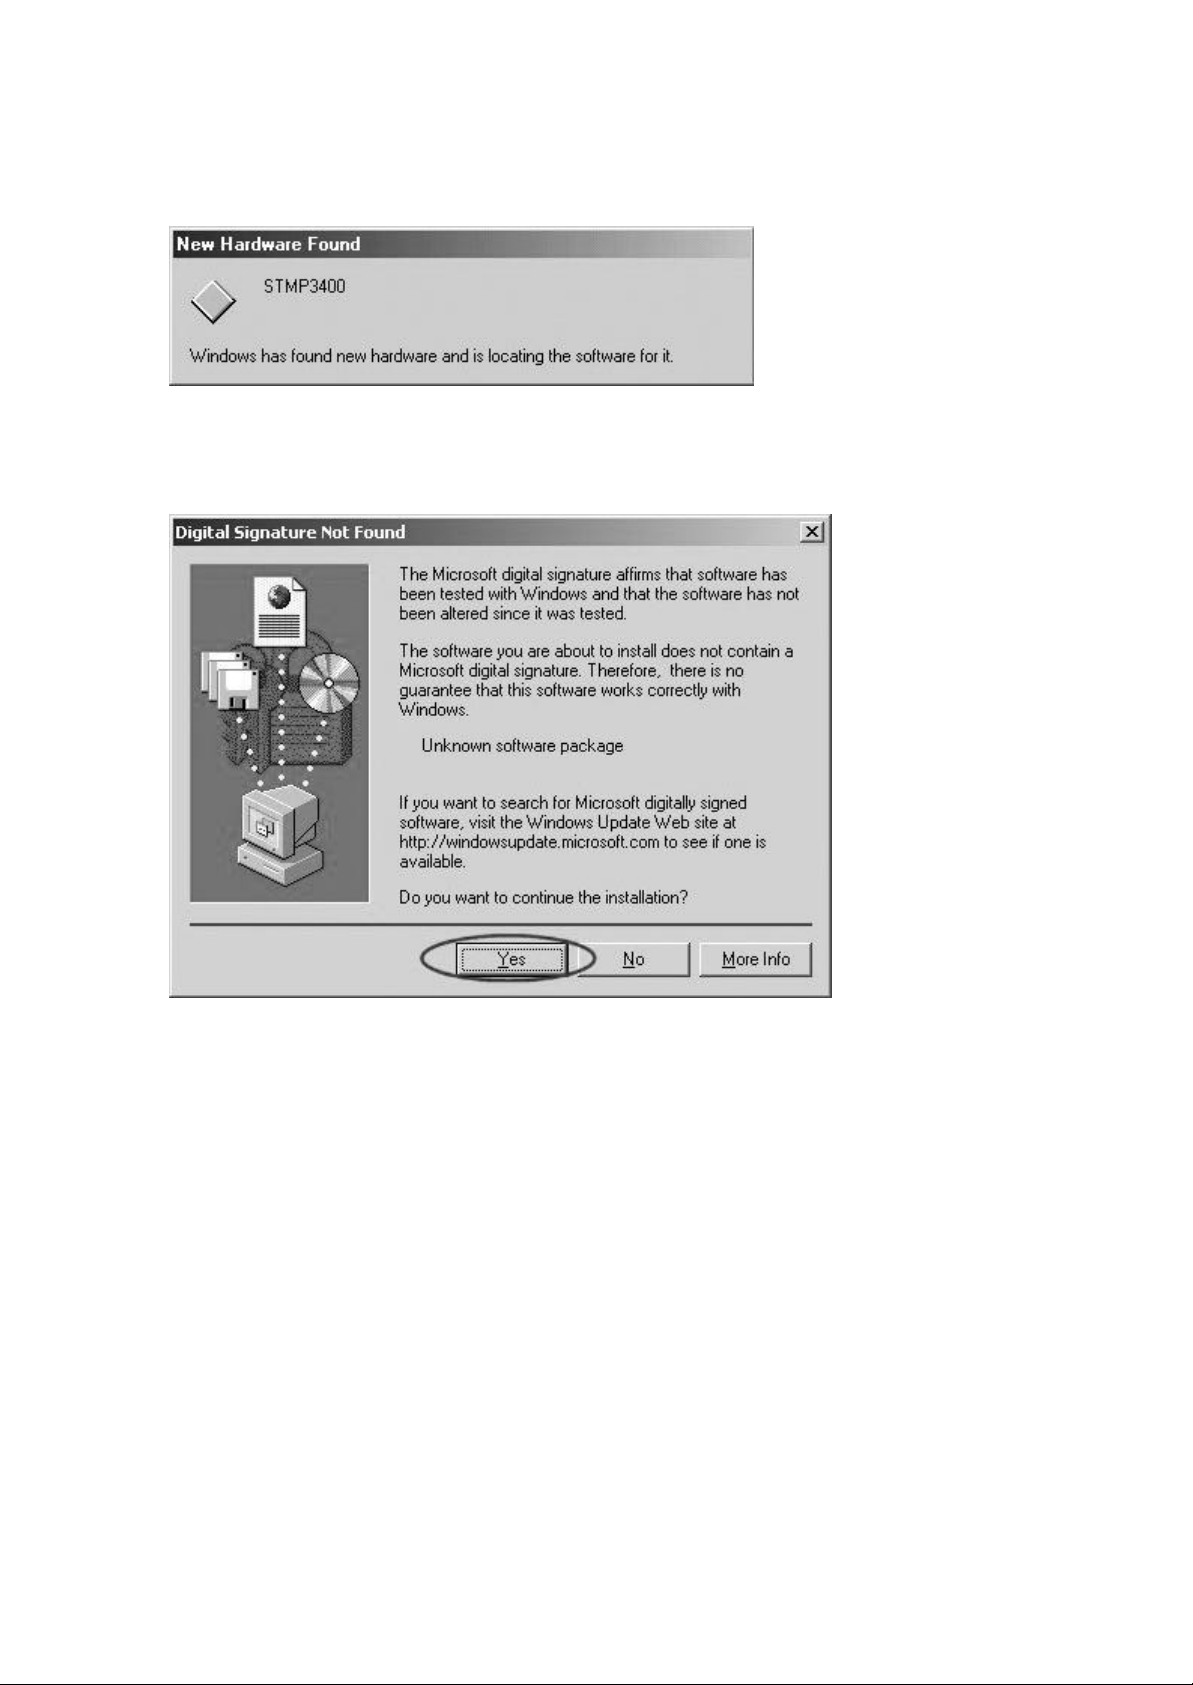
5. When the power is on, the player will display “READY” on the LCD. “New Hardware
Found” window will immediately appear as shown below.
(This window may slightly vary from the different Windows versions.)
6. During your installation of “New Hardware Found”, W indows 2000 and Windows XP
will display the following message:
Click “Yes ” or “Continue Anyways” button to continue with your installation
If you click “STOP Installation”, your installation will not be complete and the computer
will not recognize the Music Box Player.
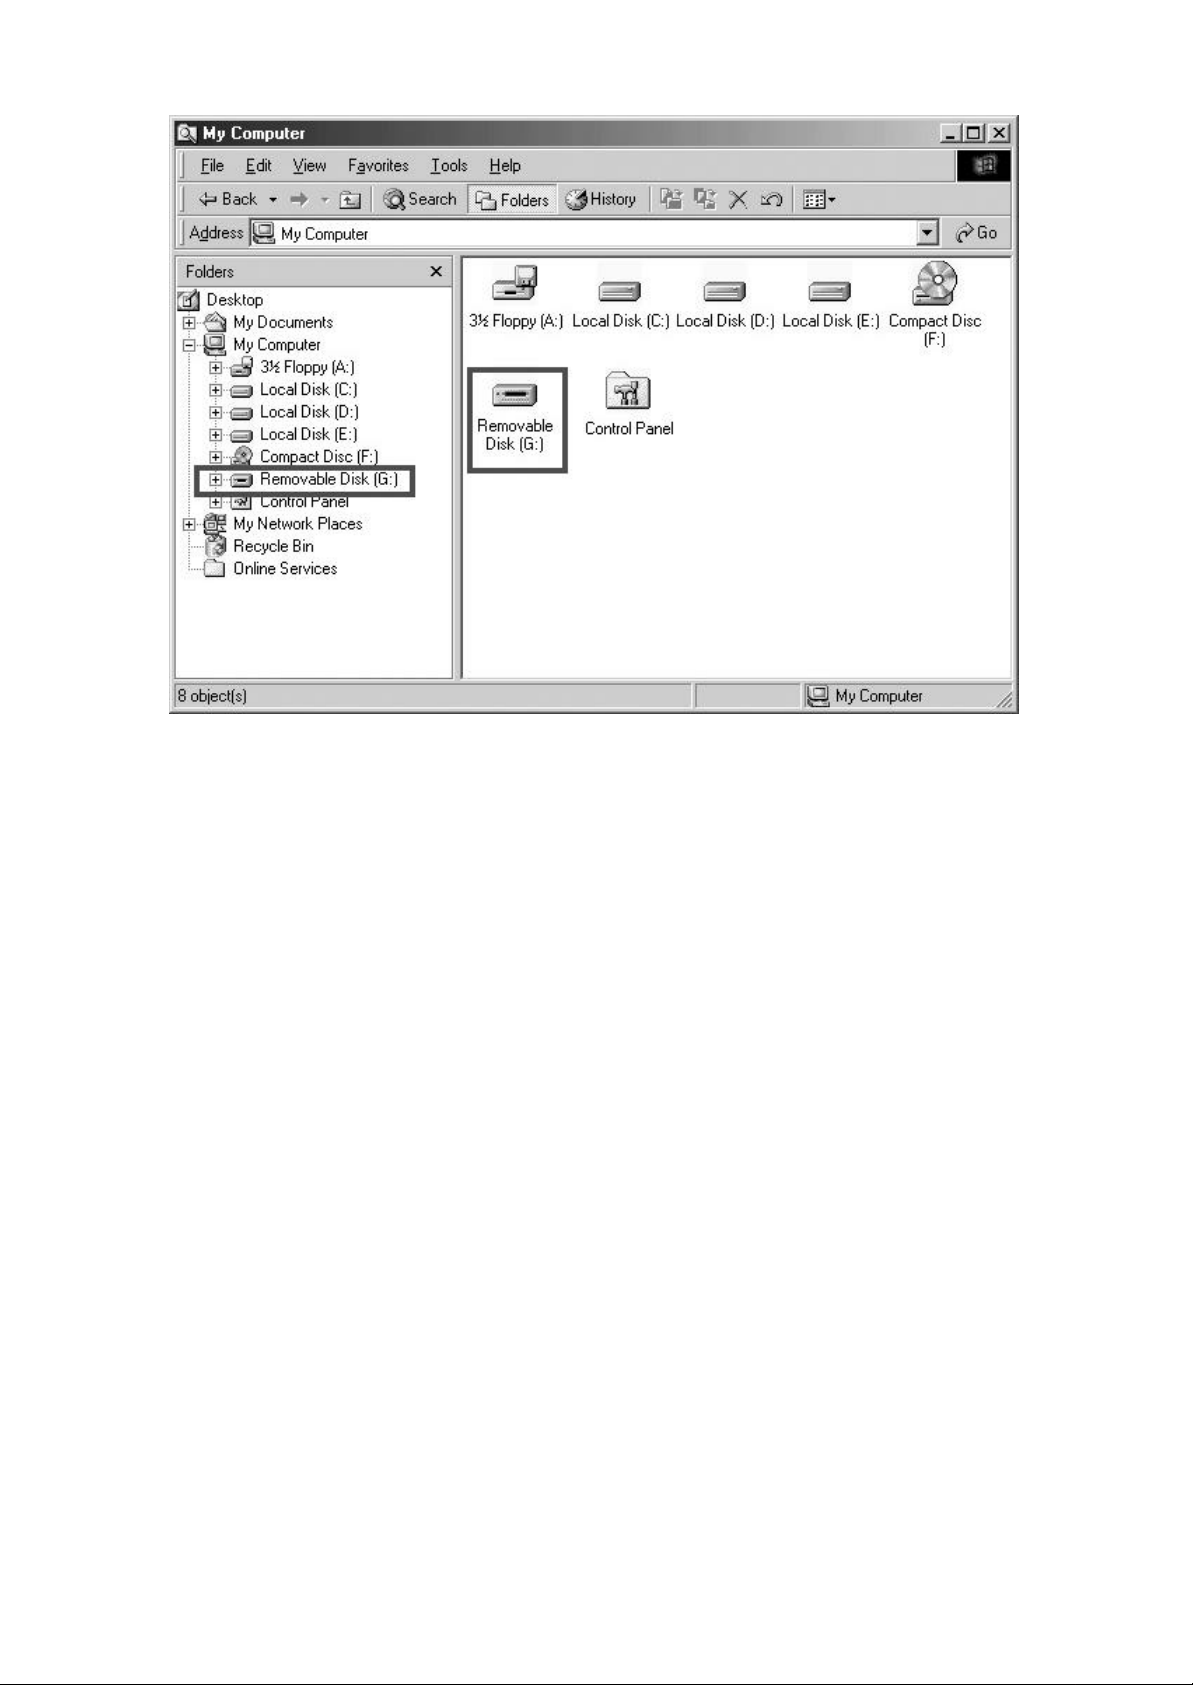
7. If the above steps have been completed, the player has been installed properly.
Now, run Windows Explorer or My Computer and there should be a new Removable
Disk on your system. The drive letter will vary upon the number of different drive
already present on your system.
This drive can be used like any other removable hard drive. Drag- and-drop and store
any types of PC files (up to the memory capacity).
NOTE
No shortcut icon will be created on Windows desktop after installing the CD. The
installation CD installs two programs on your PC: Music Box Format and Music Box
Update. These icons are found in Start Menu > (All) Programs > Music Box MP3
Player.
▣ UNINSTALLING THE PROGRAM AND DRIVER
1. If the player is connected to PC, unplug it from your computer before starting.
2. Run Add/Remove Programs from the Control Panel to display the list of installed
programs.
3. Locate “MUSIC BOX ” in the list and double-click it to completely remove the
programs and drivers.
4. Click the “REMOVE” check- box and click “NEXT”.