

ClearSounds A400 User Manual
A400 DECT 6.0
Amplified Cordless Phone
User’s Guide
* Instructions are included for
optional additional handsets.
*


1
Welcome
Thank you for purchasing the ClearSounds A400 amplied
cordless telephone.
If you purchased additional A400E expandable handsets:
This guide also applies to your expandable handsets.
We hope that you enjoy the robust feature set of your new phone!
• Handset carrying clip
• Headset-compatible
• Large, backlit keys
• Four languages, with voice prompt while dialing,
scrolling lists and receiving incoming calls
• Large, backlit display shows time, number of unheard
messages, missed call notication and the number
being called
• Alarm clock with snooze function
• Multiple ringtones, personalized ringtones and ve
selectable ringtone volumes
• Bright strobe-light ringing notication
• Silence ringing with one touch
• Handset volume control, amplication and tone equalizer
• Handset speakerphone with volume control
• One-touch calling via four handset memory keys
• Last number redial
• Mute

2
• Transfer calls and conference calling
• Dialed calls list (last ten calls)
• Personal phonebook (200 entries)
• Compatible with hearing aid T-coil feature and audio
neckloops
• If contracted with your service provider:
Voicemail (message waiting indication)
Call waiting
Caller ID (last 30 calls), talking caller ID
Non-viewed calls indication
Contact information
Please contact us with any questions that you might have.
We are happy to assist you!
ClearSounds Communications, Inc.
1743 Quincy Avenue, Suite 155
Naperville, IL 60540 USA
800-965-9043 (toll-free)
www.clearsounds.com
Welcome

3
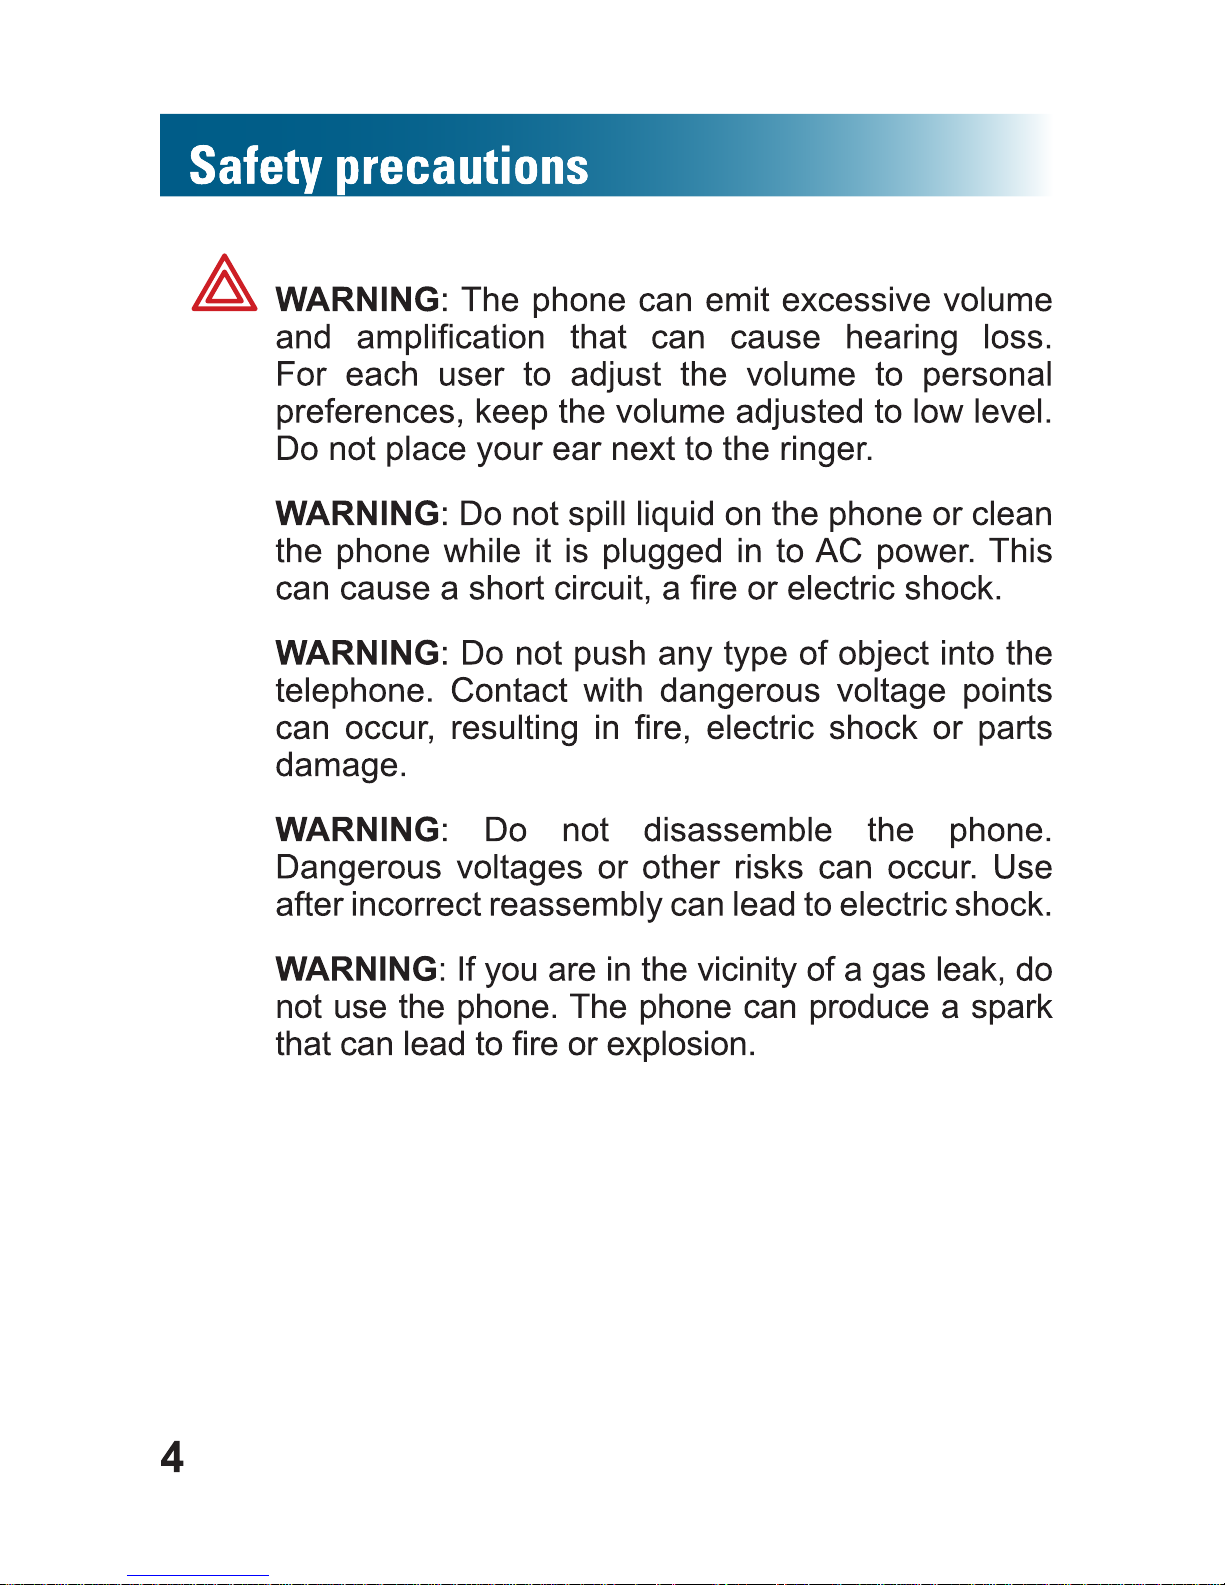
Safety precautions
Carefully read and observe the warnings and cautions in
this manual and on the equipment.
Warnings
Warnings must be observed to prevent bodily injury.
WARNING: Use the phone only in the described
manner to avoid bodily injury or damage to the
equipment.
WARNING: Locate and use the phone away from
water and damp areas, such as swimming pools,
bathtubs, sinks and damp basements, and do not
use the phone when you are wet, to avoid electrical
shock. If the phone is submerged, unplug the base
from AC power before you retrieve the phone.
WARNING: Do not overload extension cords or
power strips. This can result in electric shock.
WARNING: Use this phone only with the supplied
AC power adapter assembly. Other types of power
adapter assemblies can damage the phone and
cause personal injury.
WARNING: Avoid using the phone during an
electrical storm. There is a slight risk of electrical
shock from lightning during a storm.
W
ARNING: This equipment complies with FCC
radiation exposure limits set forth for an uncontrolled
environment. This equipment should be installed and
operated with a minimum distance of 20 centimeters
(8 inches) between the phone base and your body.
This transmitter must not be co-located with or
operating in conjunction with any other antenna or
transmitter. Privacy of communication may not be
ensured when using this telephone!
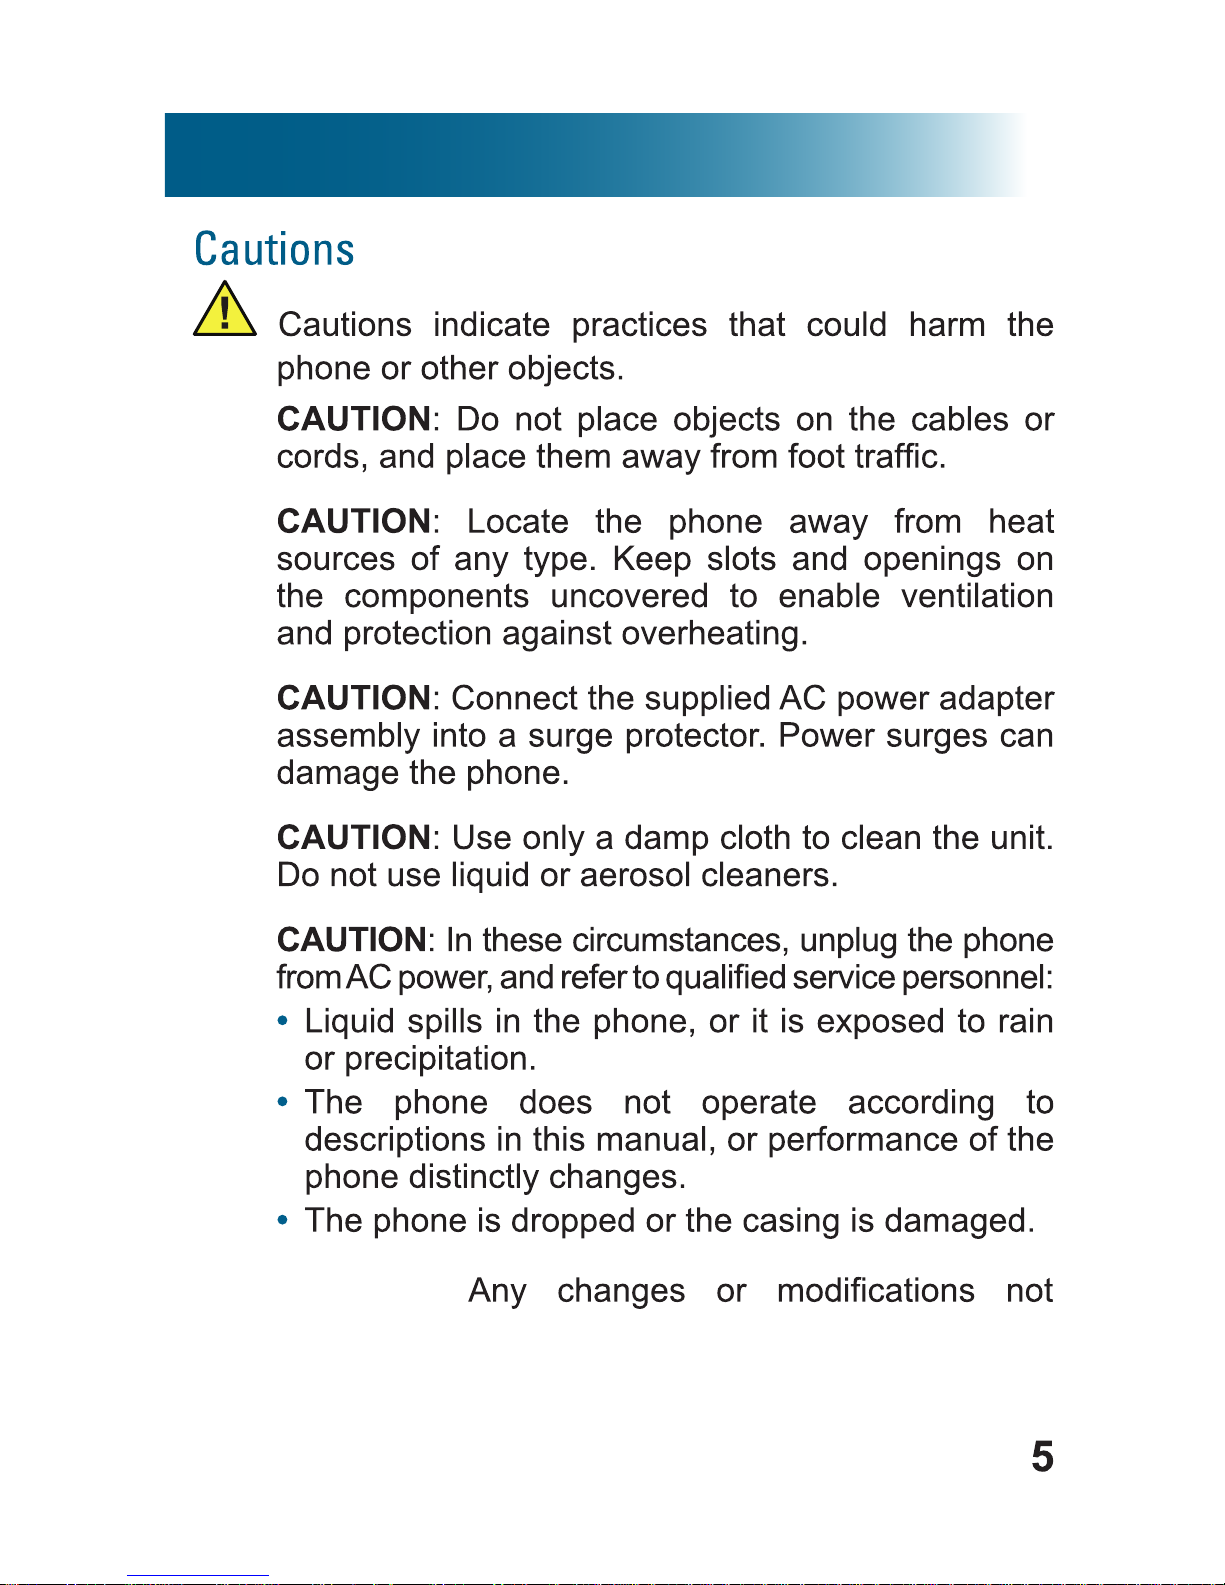
CAUTION:
expressly approved by the party responsible for
compliance could void the user's authority to operate
the equipment.

6
Contents
Setup ....................................................................... 10
Unpack .............................................................. 10
Install handset batteries ......................................11
Connect the cords ............................................. 13
Charge the batteries .......................................... 14
Carrying clip (optional) ....................................... 15
Important concepts .................................................. 16
Personalize your phone ..................................... 16
Register additional handsets ............................. 16
Let's begin! .............................................................. 17
Place a call ........................................................ 17
Answer a call ..................................................... 17
Handset ................................................................... 18
Backlighting ....................................................... 19
Home screen ..................................................... 19
Icons .................................................................. 19
Let’s navigate .................................................... 21
Handset keys ..................................................... 23
Area settings............................................................ 26
Language ........................................................... 26
Call storage: local area code ............................. 26
Dialing mode ...................................................... 28
Display adjustments ................................................ 29
Handset name ................................................... 29
Screen contrast ................................................. 30
Backlight-on time ............................................... 31
Date and time .................................................... 32
Audio adjustments ................................................... 34

7
Consistently amplied volume ........................... 34
Tone equalizer ................................................... 35
Keypad beep ..................................................... 36
Conrmation beep ............................................. 36
Handset voice prompt ........................................ 37
Alarm ....................................................................... 40
Assistive listening .................................................... 42
T-Coil ................................................................. 42
Neckloops .......................................................... 42
Call notication adjustment...................................... 43
Ringtones .......................................................... 43
Ringer volume ................................................... 44
Memory keys ........................................................... 46
Manually store or edit a memory-key entry ....... 46
Delete a memory-key entry ............................... 50
Keypad tips .............................................................. 51
Using the keypad ............................................. 51
Inserting a pause ..................................................... 52
What is a pause? ............................................... 52
For example ....................................................... 52
Insert pauses while storing a number ................ 53
Phonebook .............................................................. 54
Manually store phonebook entries ..................... 54
Store entries from lists ....................................... 56
Copy entries from one handset to another ........ 59
Edit a phonebook entry ...................................... 61
Delete one or all phonebook entries .................. 64
Answering and calling.............................................. 65

8
Contents
Auto answering .................................................. 65
Answer, place or end a call ................................ 67
Silence a ringing handset .................................. 68
Place a one-touch call ....................................... 68
Redial a number ................................................ 69
Call from your phonebook ................................. 70
Call from the inbound calls list ........................... 71
Call other handsets in your home (intercom) ..... 72
During calls .............................................................. 73
Adjust sound ...................................................... 73
Use the speakerphone ...................................... 74
Mute the microphone ......................................... 75
Transfer a call .................................................... 75
Use a headset ................................................... 76
Set up a conference call .................................... 77
Voicemail and inbox................................................. 78
Screen a call ...................................................... 78
Intercept a call waiting call ................................. 78
Visual indicators of calls and voicemail ............. 79
Review inbound calls ......................................... 80
Listen to voicemail messages ............................ 80
List maintenance ..................................................... 81
Delete entries from lists ..................................... 81
Security.................................................................... 82
Personalize the system PIN .............................. 82
Restoring defaults.................................................... 84
Restore handset default settings ....................... 84
Additional handsets ................................................. 86

9
Register additional handsets to the base .......... 86
Delete a handset registration ............................. 87
Troubleshooting ....................................................... 88
Compliance.............................................................. 94
Warranty ................................................................ 100
Accessories ........................................................... 102
Service................................................................... 103
10
Setup
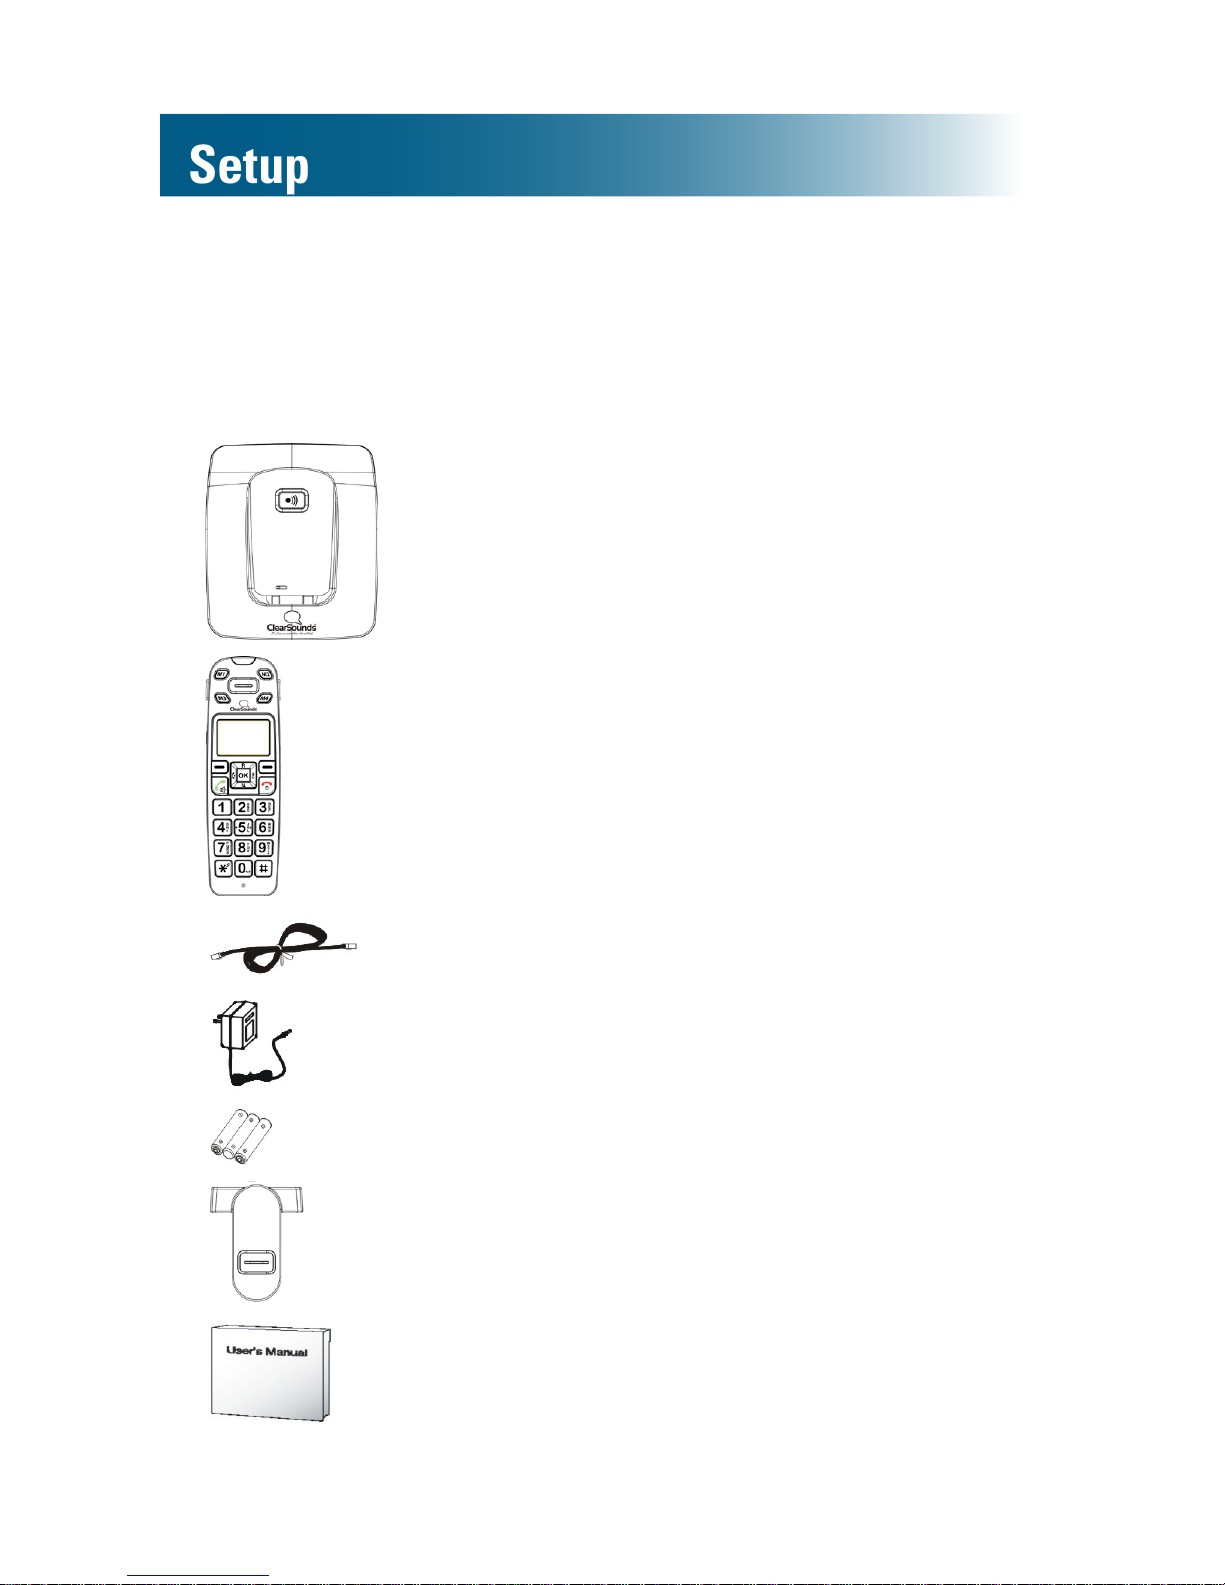
Unpack
Ensure that your packing box includes all of these parts.
If any parts are missing or damaged, please contact your
vendor or ClearSounds.
Base
Handset
(Optional) additional A400
handsets
are available. Each additional handset
comes with an A400 base, a power
adapter, batteries, a carrying clip and
a Setup Guide.
Phone line cord
AC power adapter assembly
Three rechargeable AAA NiMH batteries
Carrying clip
User's Guide

11
IMPORTANT: YOUR RECEIPT IS REQUIRED FOR
WARRANTY. PLEASE RETAIN YOUR RECEIPT.
Install handset batteries
Follow these warnings to avoid explosive or caustic reactions.
WARNING: Insert batteries according to the marked
polarity symbols.
WARNING: Use only rechargeable AAA NiMH
batteries. Other types of batteries can damage
the phone and cause personal injury. Do not mix
battery brands, battery types (chemistries) or
exhausted/full batteries.
WARNING: Do not attempt to recharge a battery
unless it is marked “rechargeable.”
WARNING: Immediately remove exhausted
batteries, and dispose of them properly.
WARNING: Do not burn exhausted batteries.
WARNING: Do not dispose of batteries with
household waste. Recycle or dispose of batteries
according to regulations of your local municipality.
12
Setup
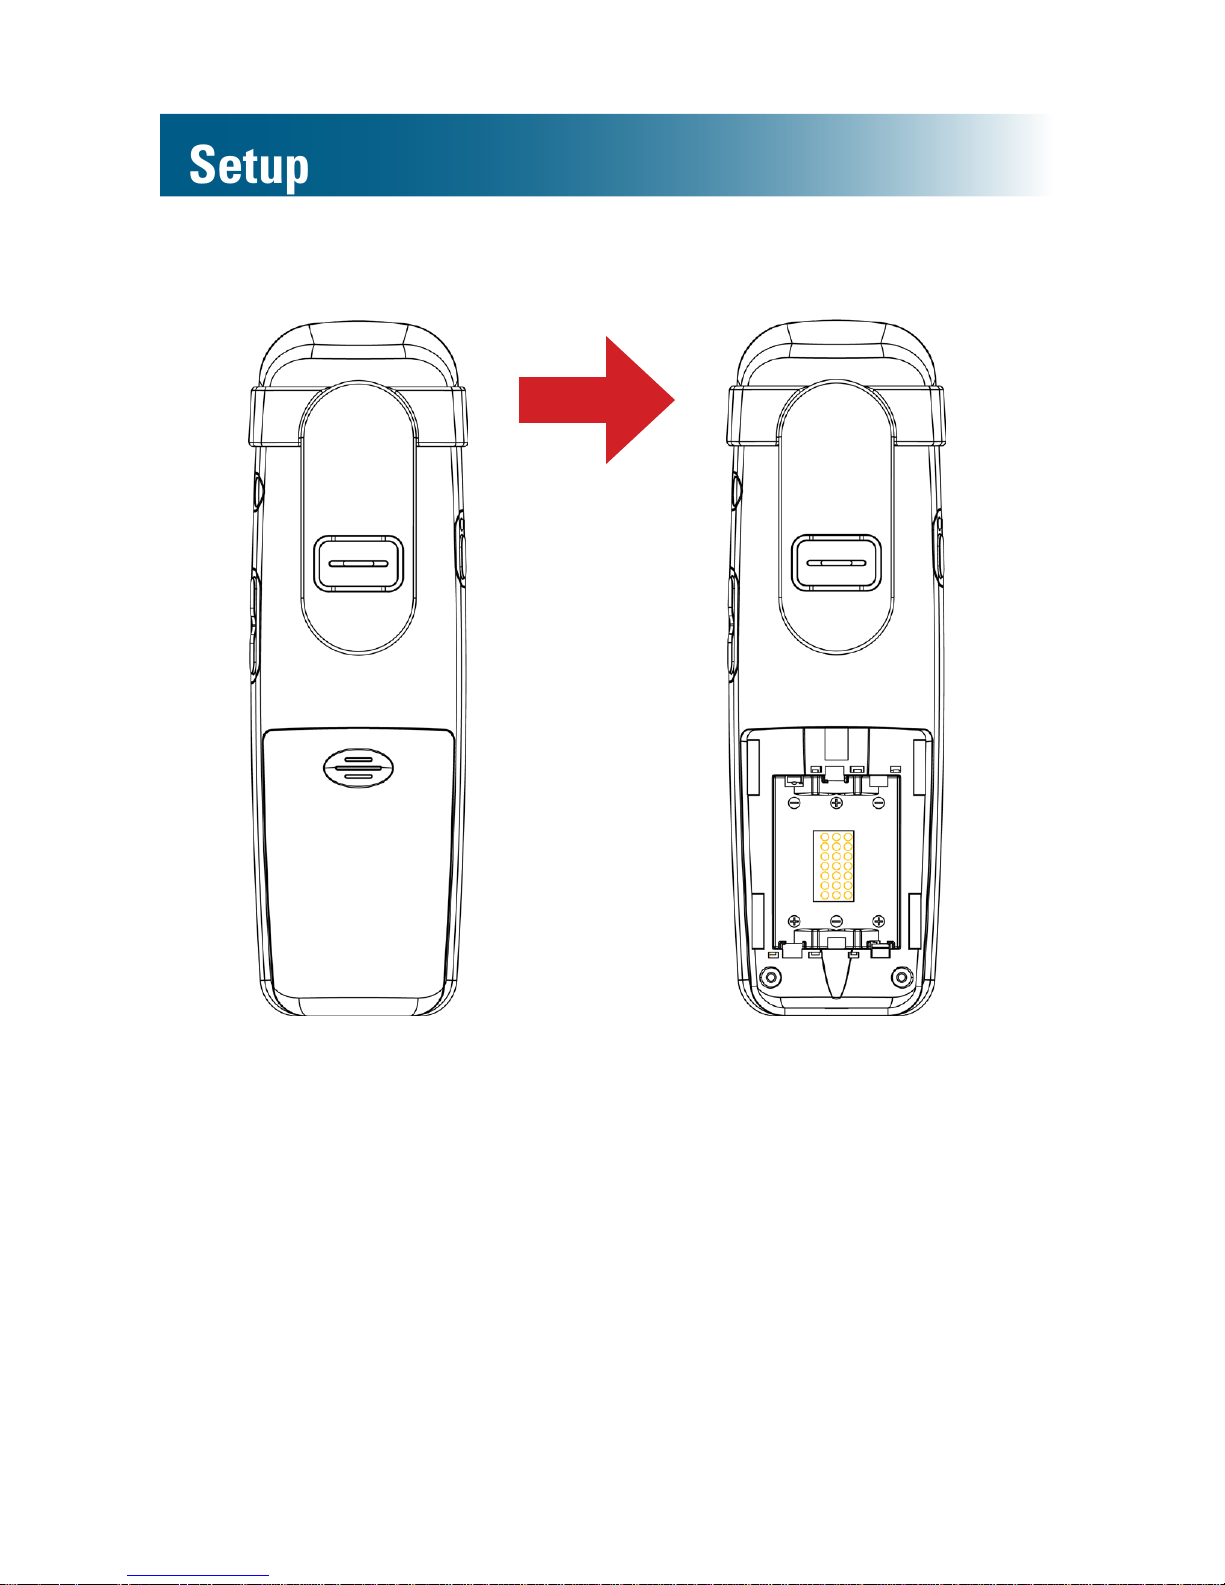
To install handset batteries
1. Slide back the battery cover and remove the cover.
2. Insert the batteries according to the marked polarity
symbols.
The at side of each battery presses against a spring.
3. Slide the battery cover until it snaps into place.

13
Connect the cords
To avoid potential interference, place the phone away
from electronic equipment.
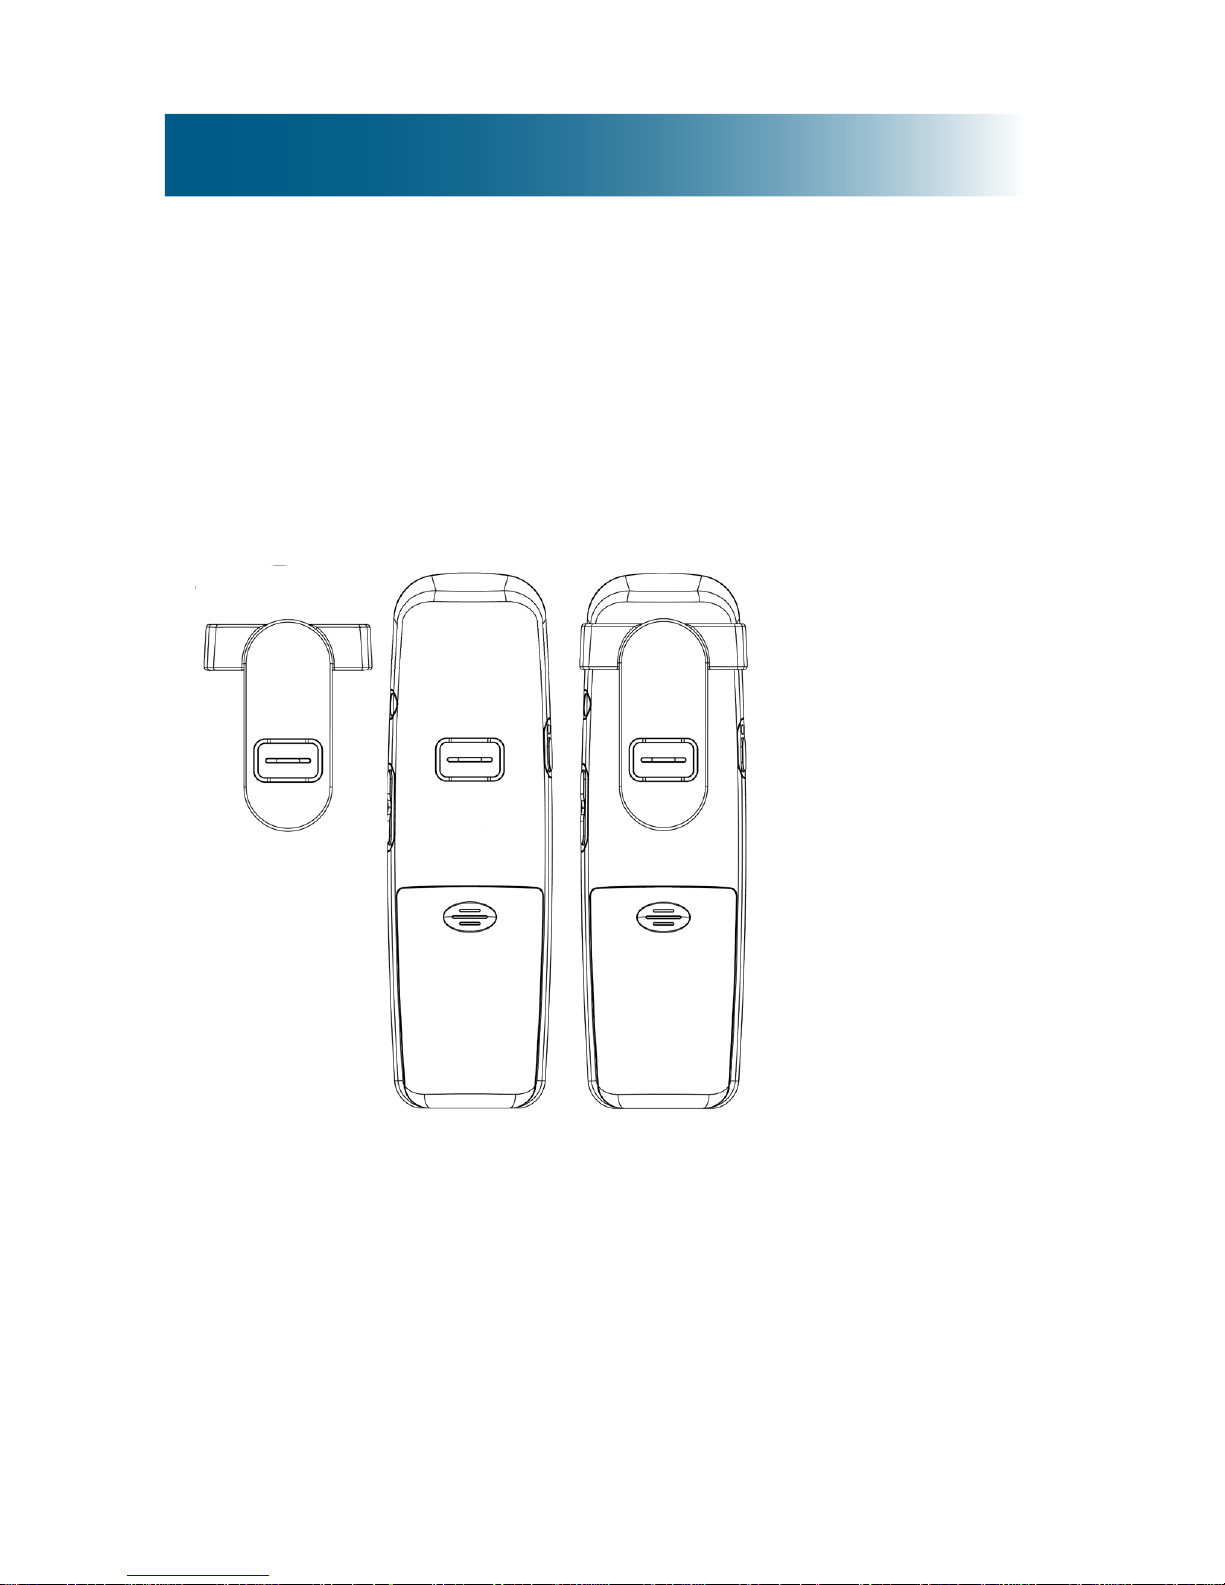
On the underside of the base, thread the cord(s) between
the guides.
To connect the cords
A 400 base (Optional) A400E charger
If you subscribe to DSL service
If you hear noise during conversations or if the caller ID
function does not work properly, please obtain and attach
a DSL noise lter.
Attach the lter between the telephone cord and the
telephone communication jack in the wall.
To phone jack
To AC outlet
Guide
To AC outlet
14
Setup
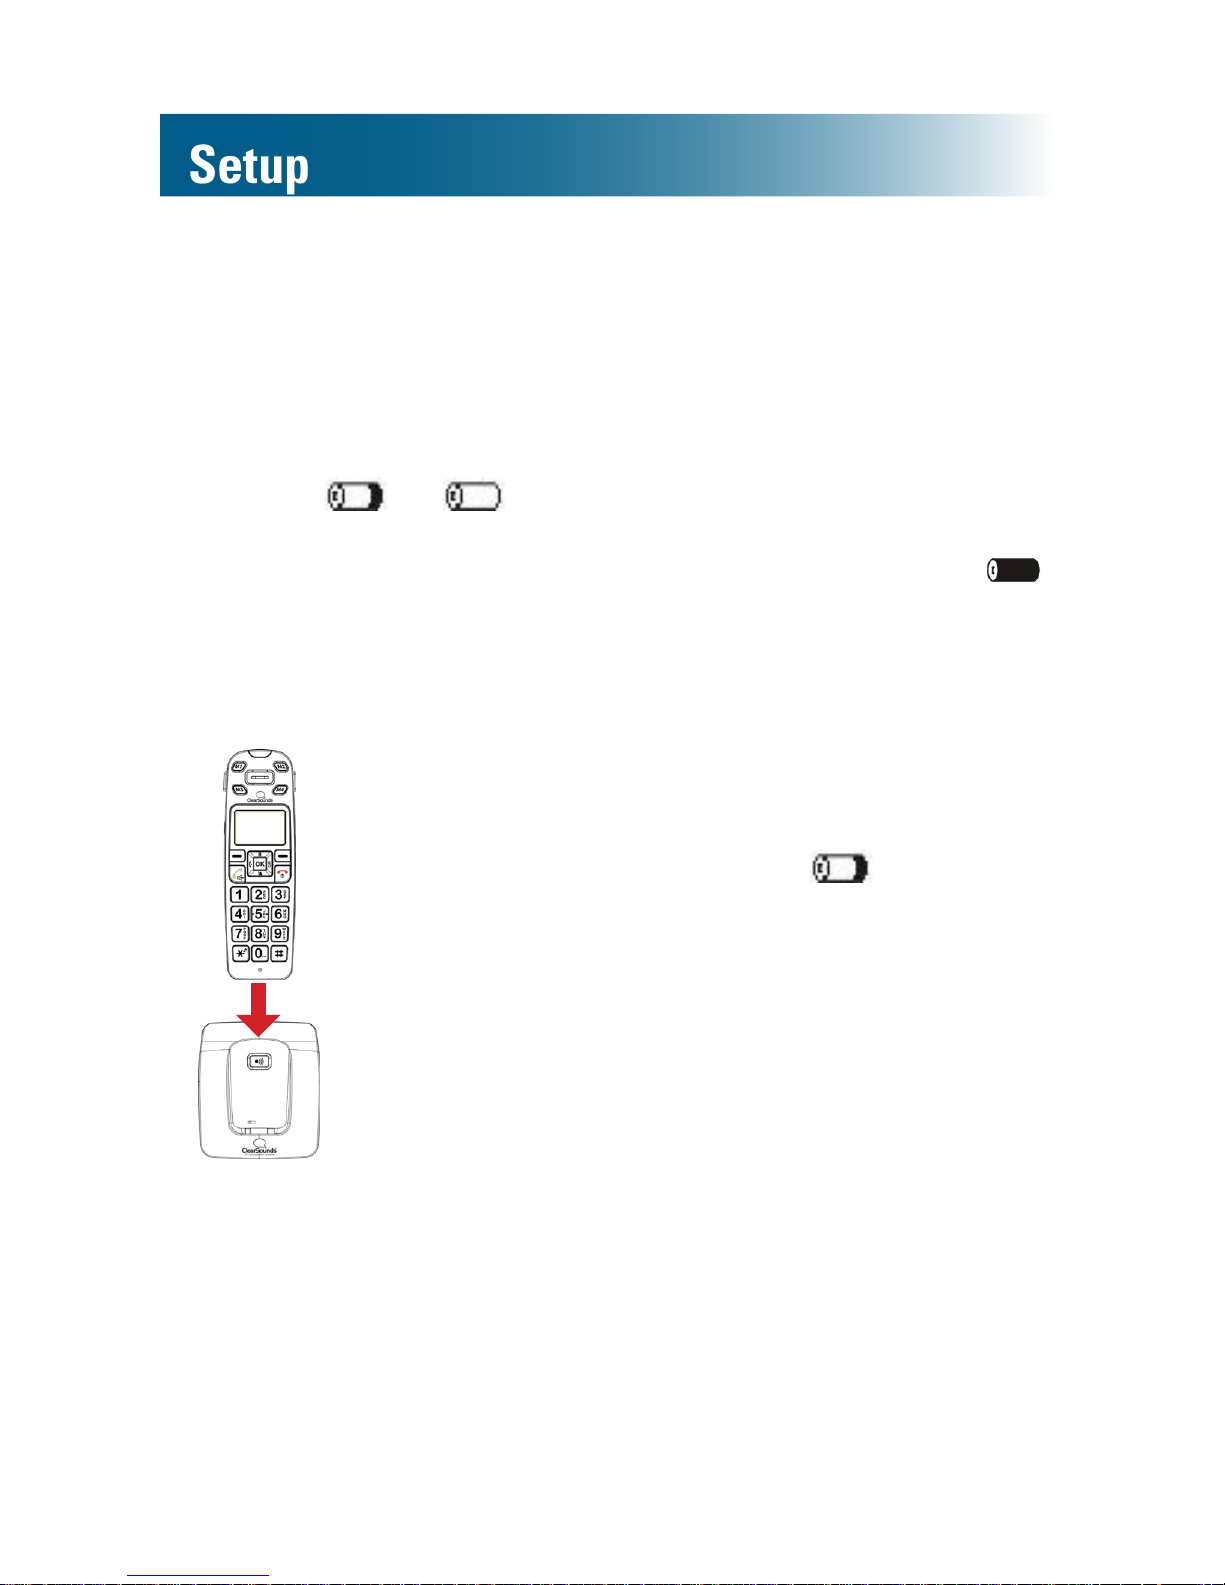
Charge the batteries
Before you use the phone for the rst time, fully charge
the batteries for approximately 24 hours.
Recharge the batteries regularly.
Note: If or appears on the screen, the battery
charge is low or depleted. If you attempt to fully recharge
the batteries and the battery icon does not return to ,
insert fresh batteries.
To charge the batteries
1. Place the telephone
handset on the base.
A beep occurs and
ashes as the phone
charges.
15
Carrying clip (optional)
If you want to converse using a headset while keeping your
hands free, you can attach the handset to a belt and use the
handset speakerphone.
To install the carrying clip
To install a handset carrying clip
1. On the back of the phone, align the arms of the
carrying clip above the slots on the sides of the phone.
2. Gently press the arm clips into the slots.

16
Personalize your phone
The ClearSounds A400 phone is feature-rich.
This manual describes all available features. Scan the
topics, and if you see an interesting feature, follow the
instructions to personalize your phone.
Register additional handsets
Your telephone handset is registered to the base (Base 1).
If you purchased additional ClearSounds A400E
handsets, you must register each additional
handset to the base. For registration instructions, see
page 86.
Important concepts
17
Let's begin!
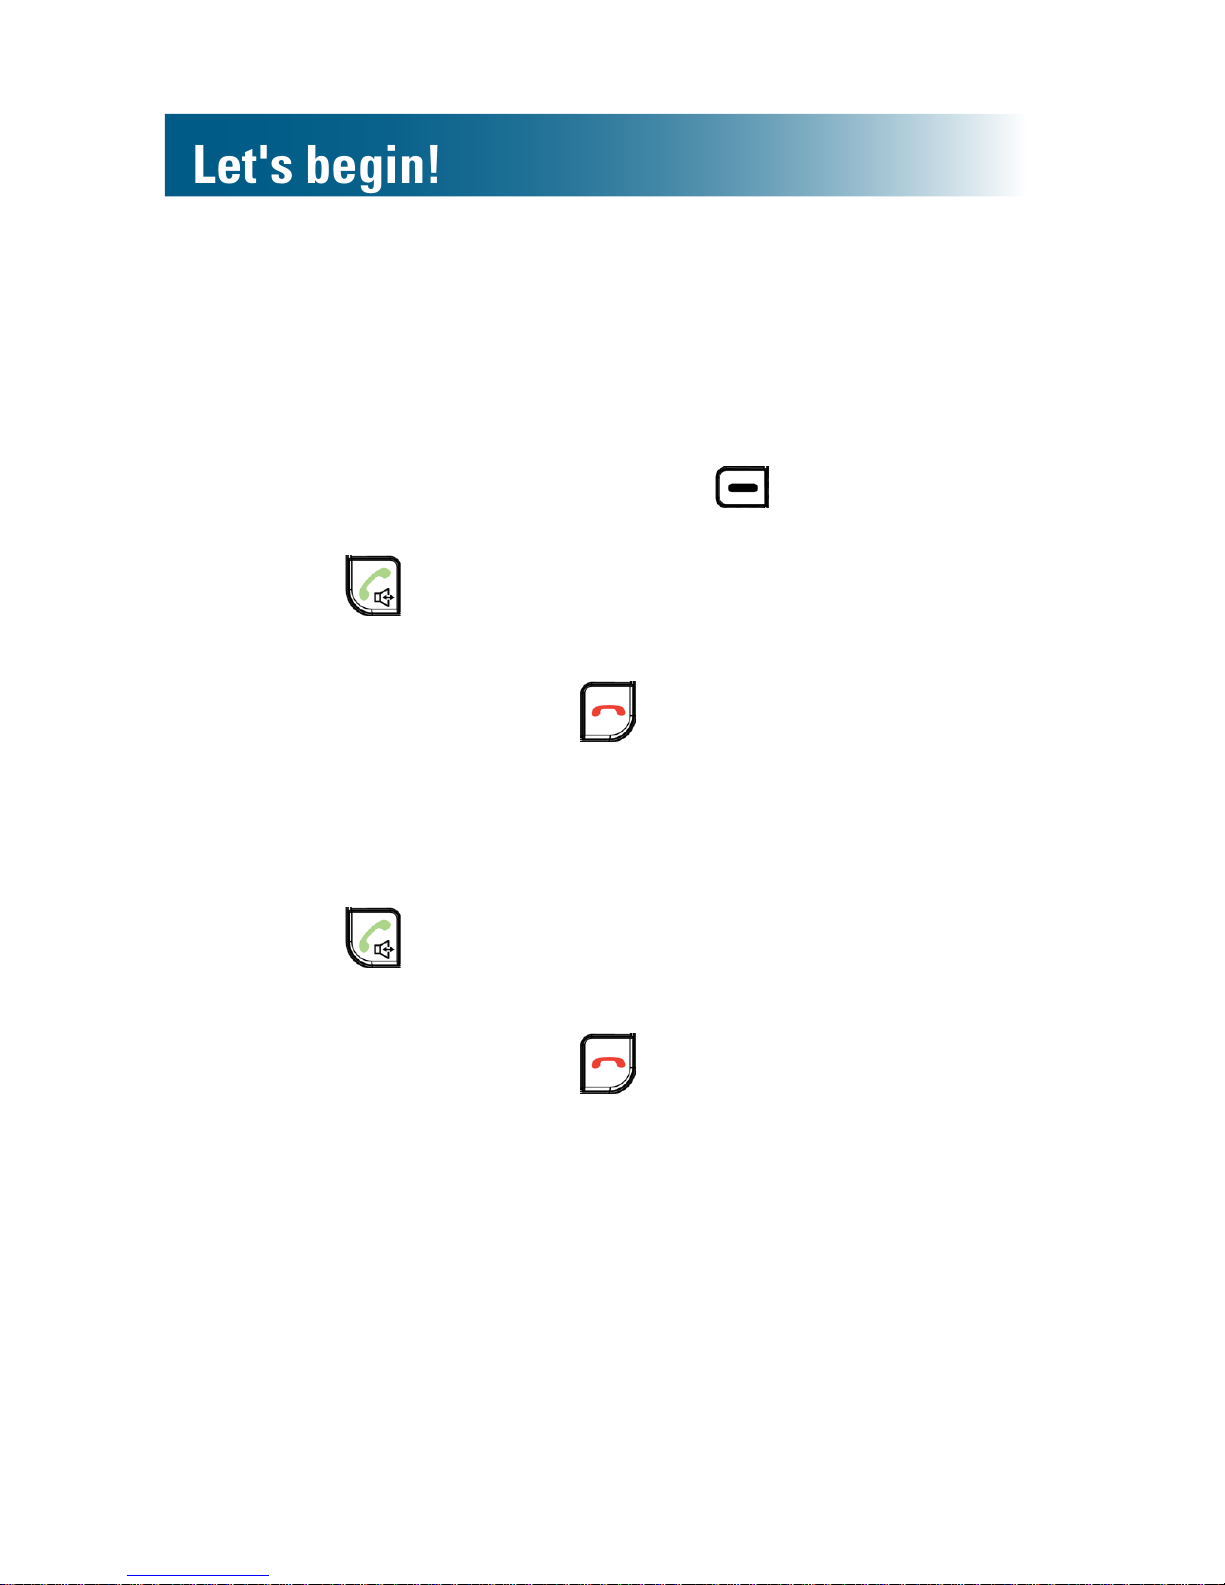
Place a call
Note: You can reverse Step 1 and Step 2, but you can
make corrections only if you dial in Step 1.
1. Press the alphanumeric keys.
If you make a mistake, press beneath Clear on
the screen.
2. Press and speak.
Call duration appears on the handset screen.
3. To end the call, press .
Answer a call
1. Lift the handset from the base.
2. Press and speak.
Call duration appears on the handset screen.
3. To end the call, press .

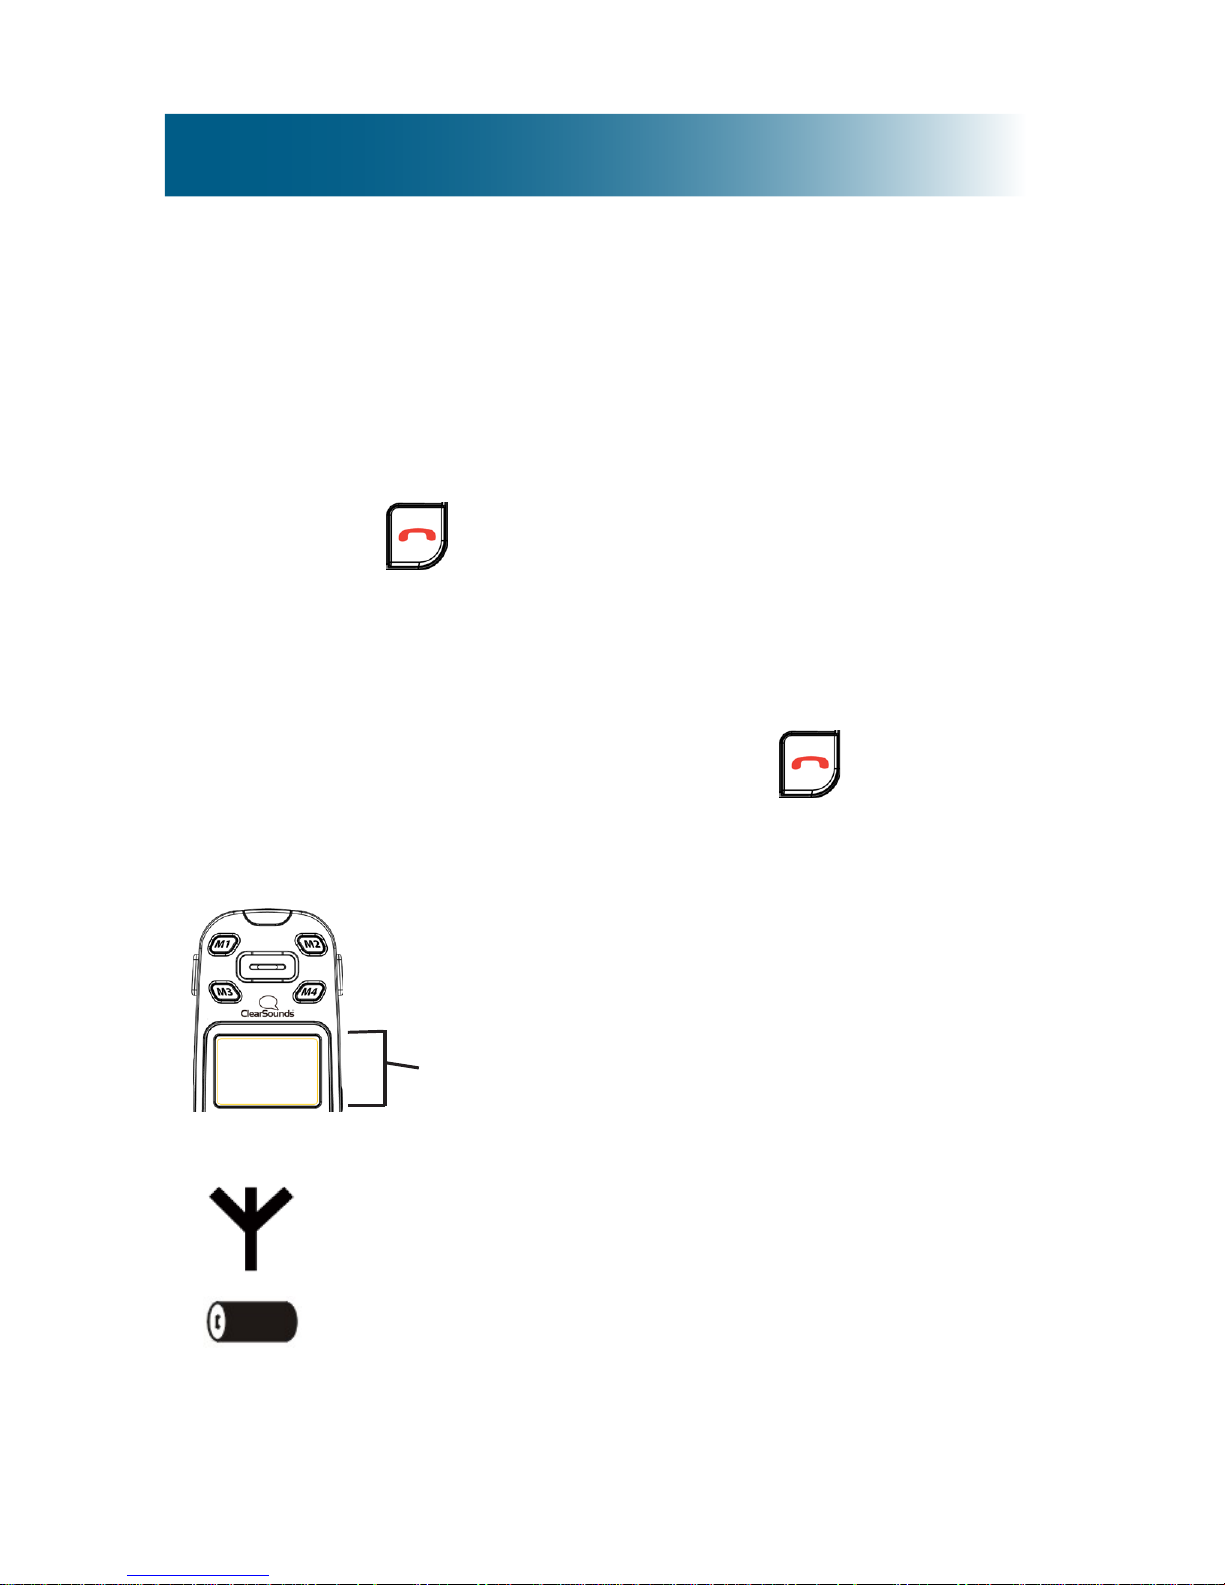
18
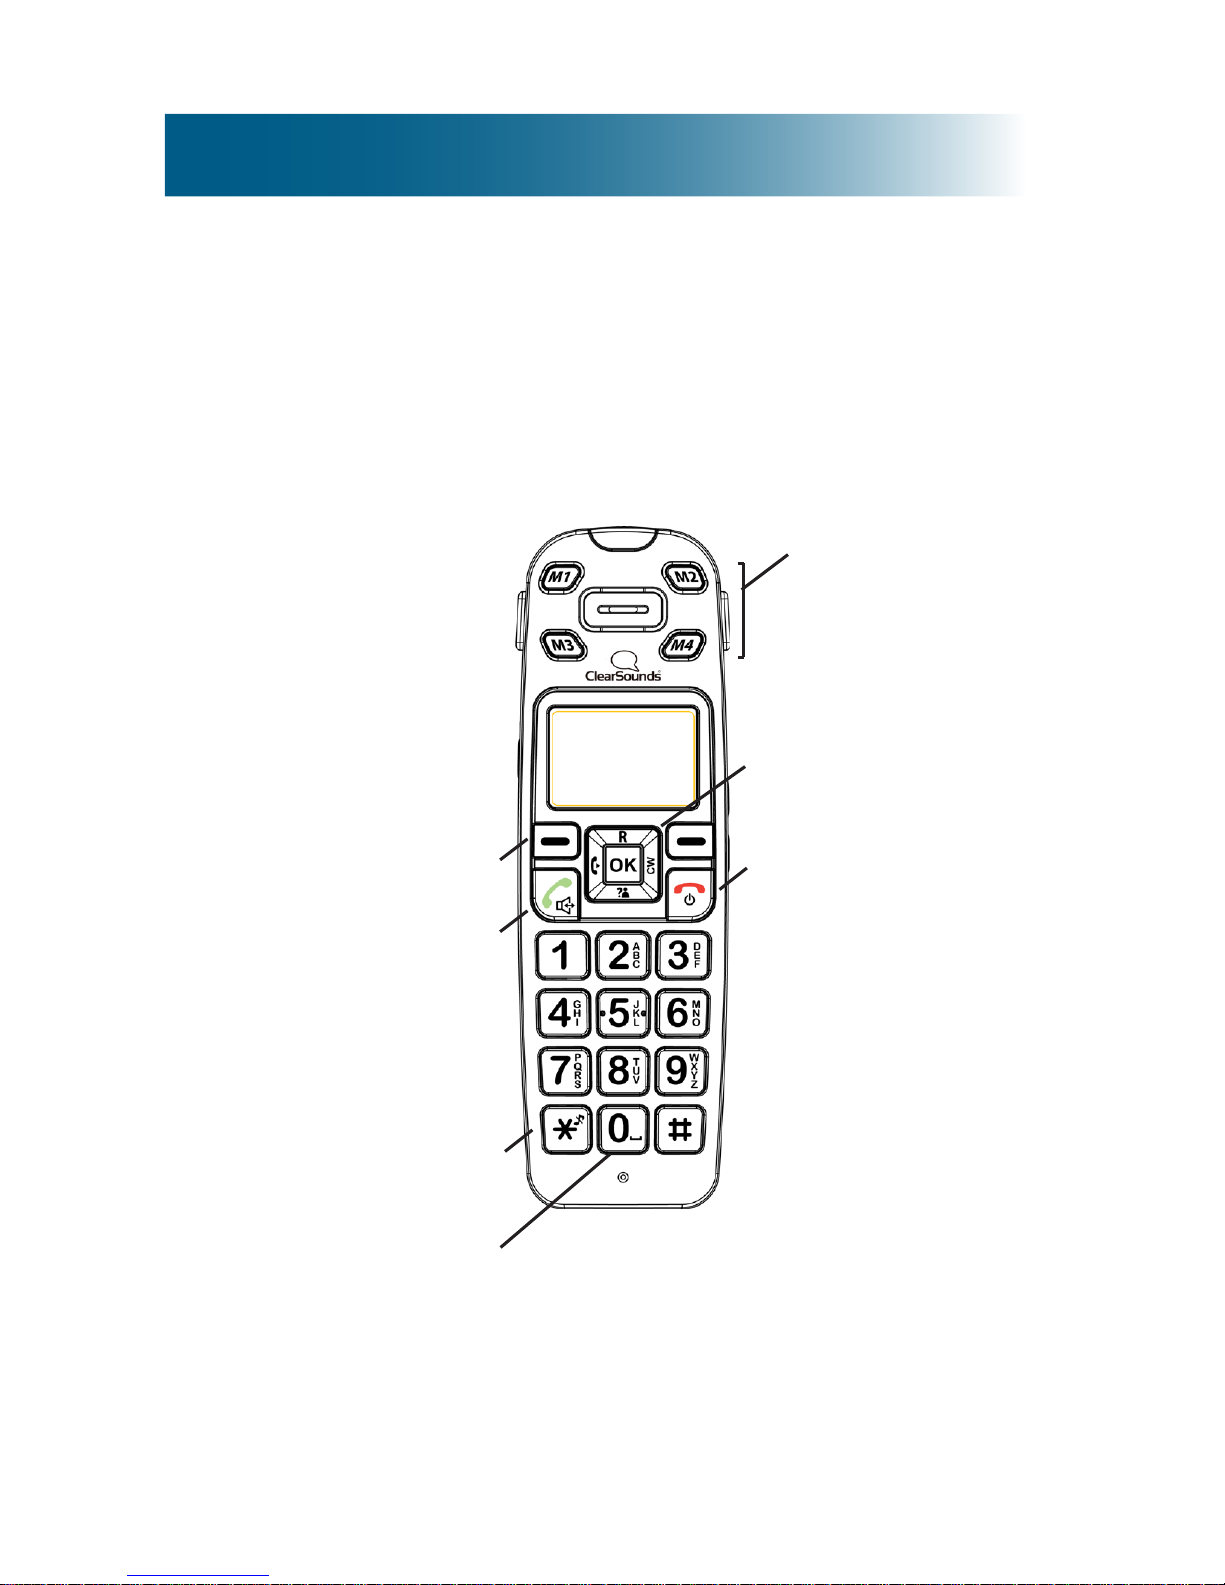
Handset
Alpha-numeric keypad
Earphone
White ringer indicator
Microphone
Display
Speaker
Battery compartment
Carrying clip
19
Backlighting
The display and keys light when you lift the handset from
the base or when you press handset keys.
After 20 seconds, the backlighting turns off. To turn it on
again, press .
Home screen
The home screen is the phone display that you see when
the phone is at rest or when you press .
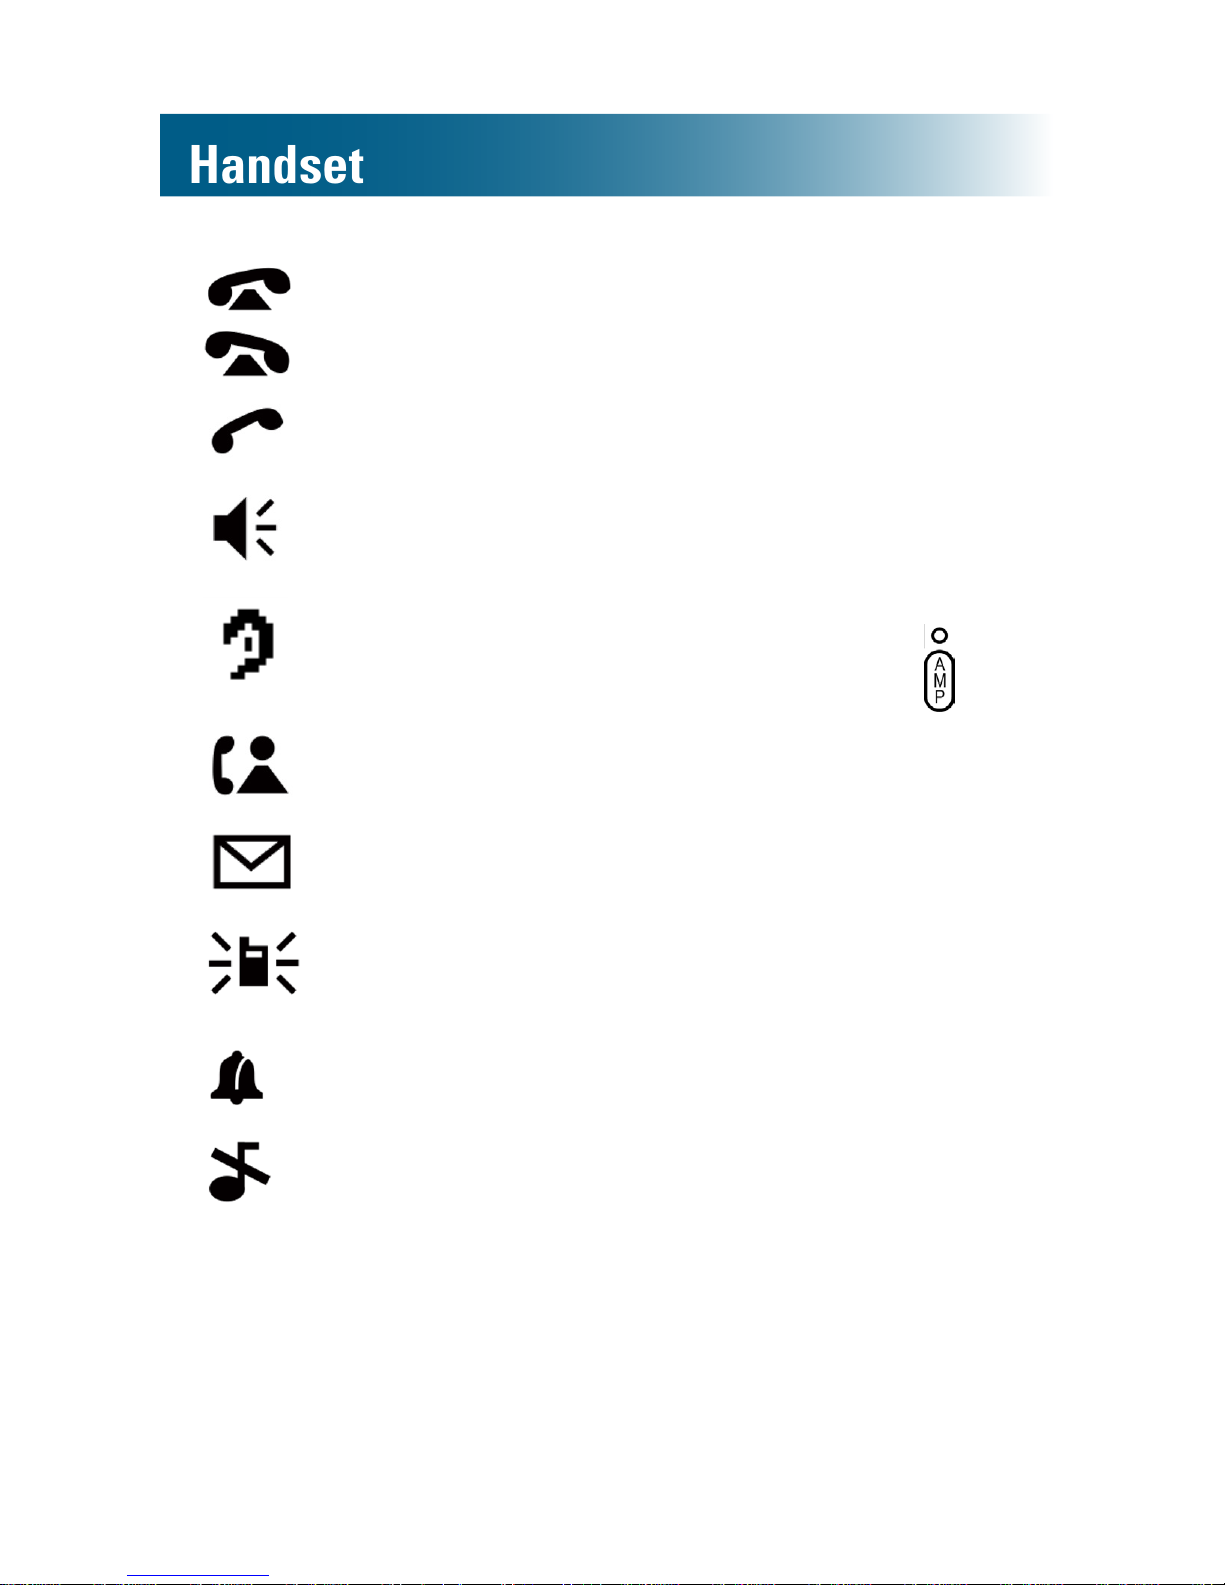
Icons
Signal strength Blinks if the handset is out
of range of the base.
Battery strength Black = fully charged
White = depleted.
Display icons appear here.
20
Incoming call
(toggles)
An incoming call is
occurring.
Line in Use The phone line is engaged.
Speakerphone on The handsfree
speakerphone is on.
Amplication is on Phone amplication is on.
To turn it off, press on
the handset side.
Missed calls
(ashes)
There are one or more
unreviewed missed calls.
Messages
(Voicemail service)
One or more unprocessed
voicemail messages.
Intercom The internal
communication phone line
is engaged.
Alarm clock set The alarm is set to ring.
Ringer off The handset ringer is set
to off.
Handset
21
Let’s navigate
Take these steps to practice basic navigation through the
menus.
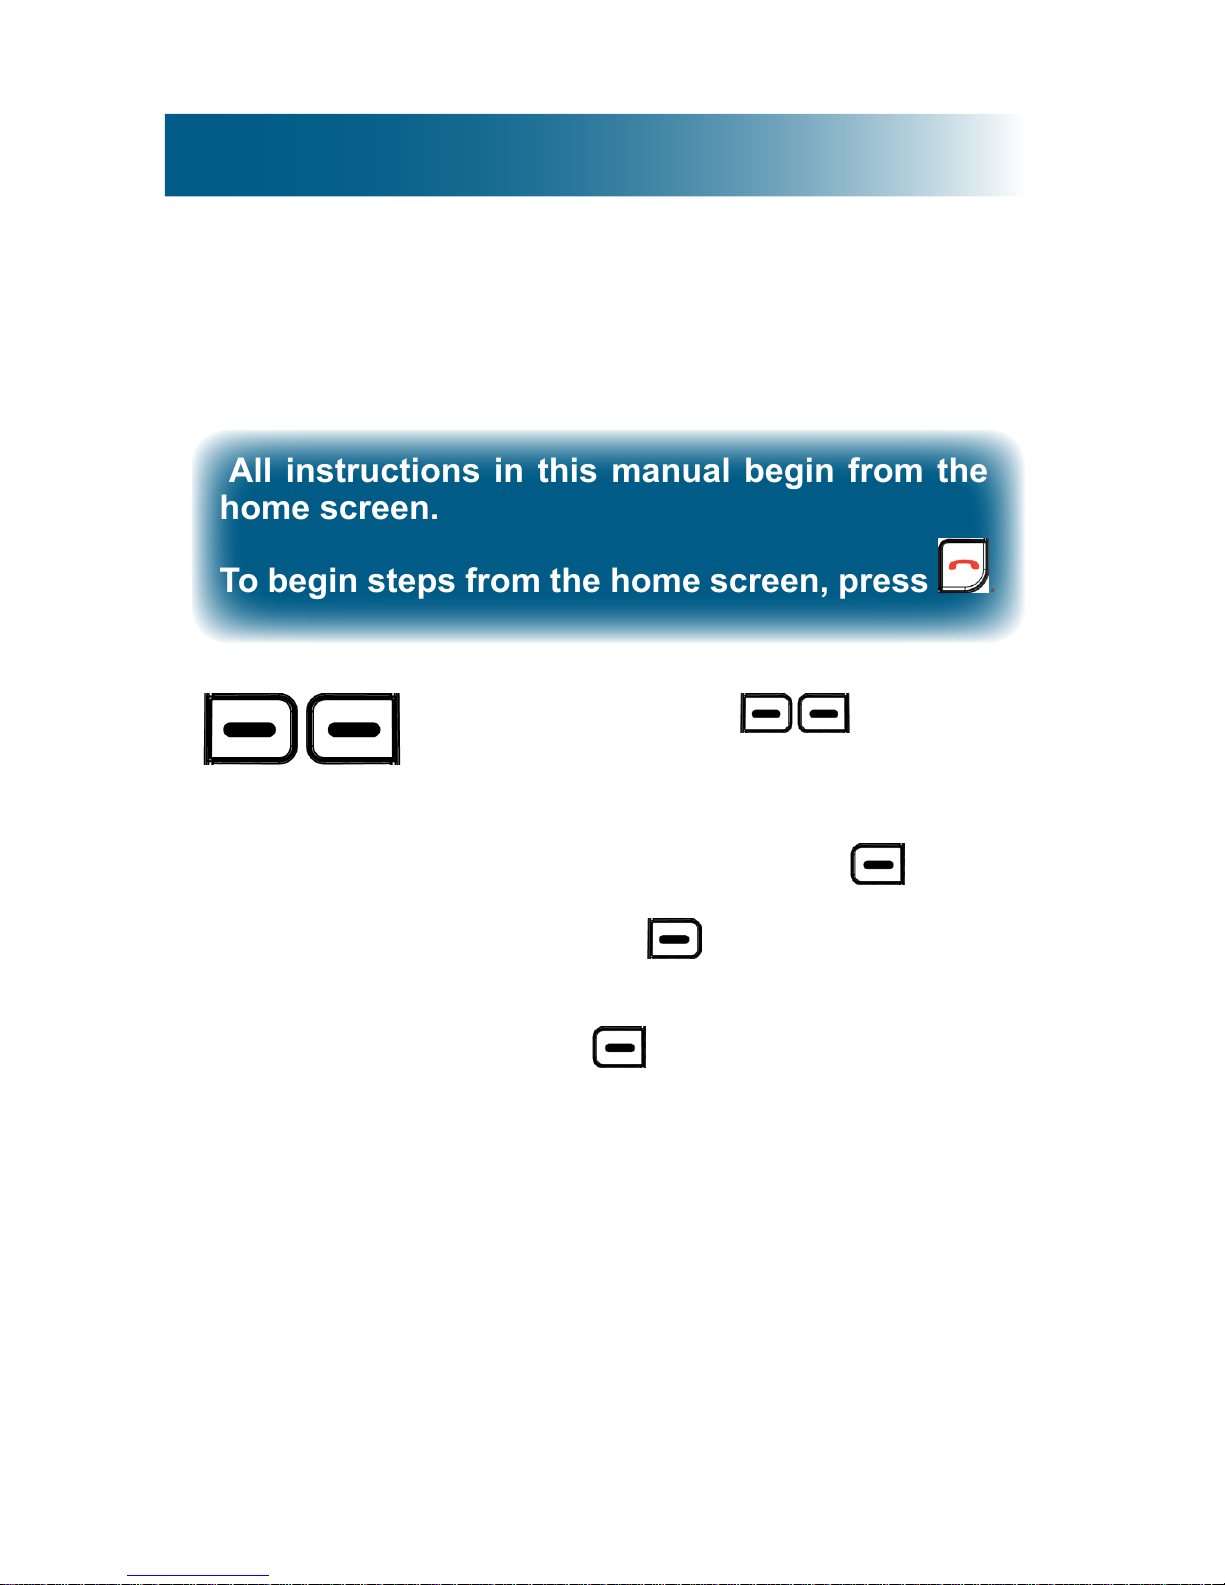
All instructions in this manual begin from the
home screen.
To begin steps from the home screen, press
.
Select keys
When you press beneath a
command on the screen, you select or
implement the command.
For example, if you press beneath
Back, you return to the previous screen.
If you press beneath Select, you
select the highlighted menu item.
1. Press beneath Menu.
The main menu appears on the
screen.
22
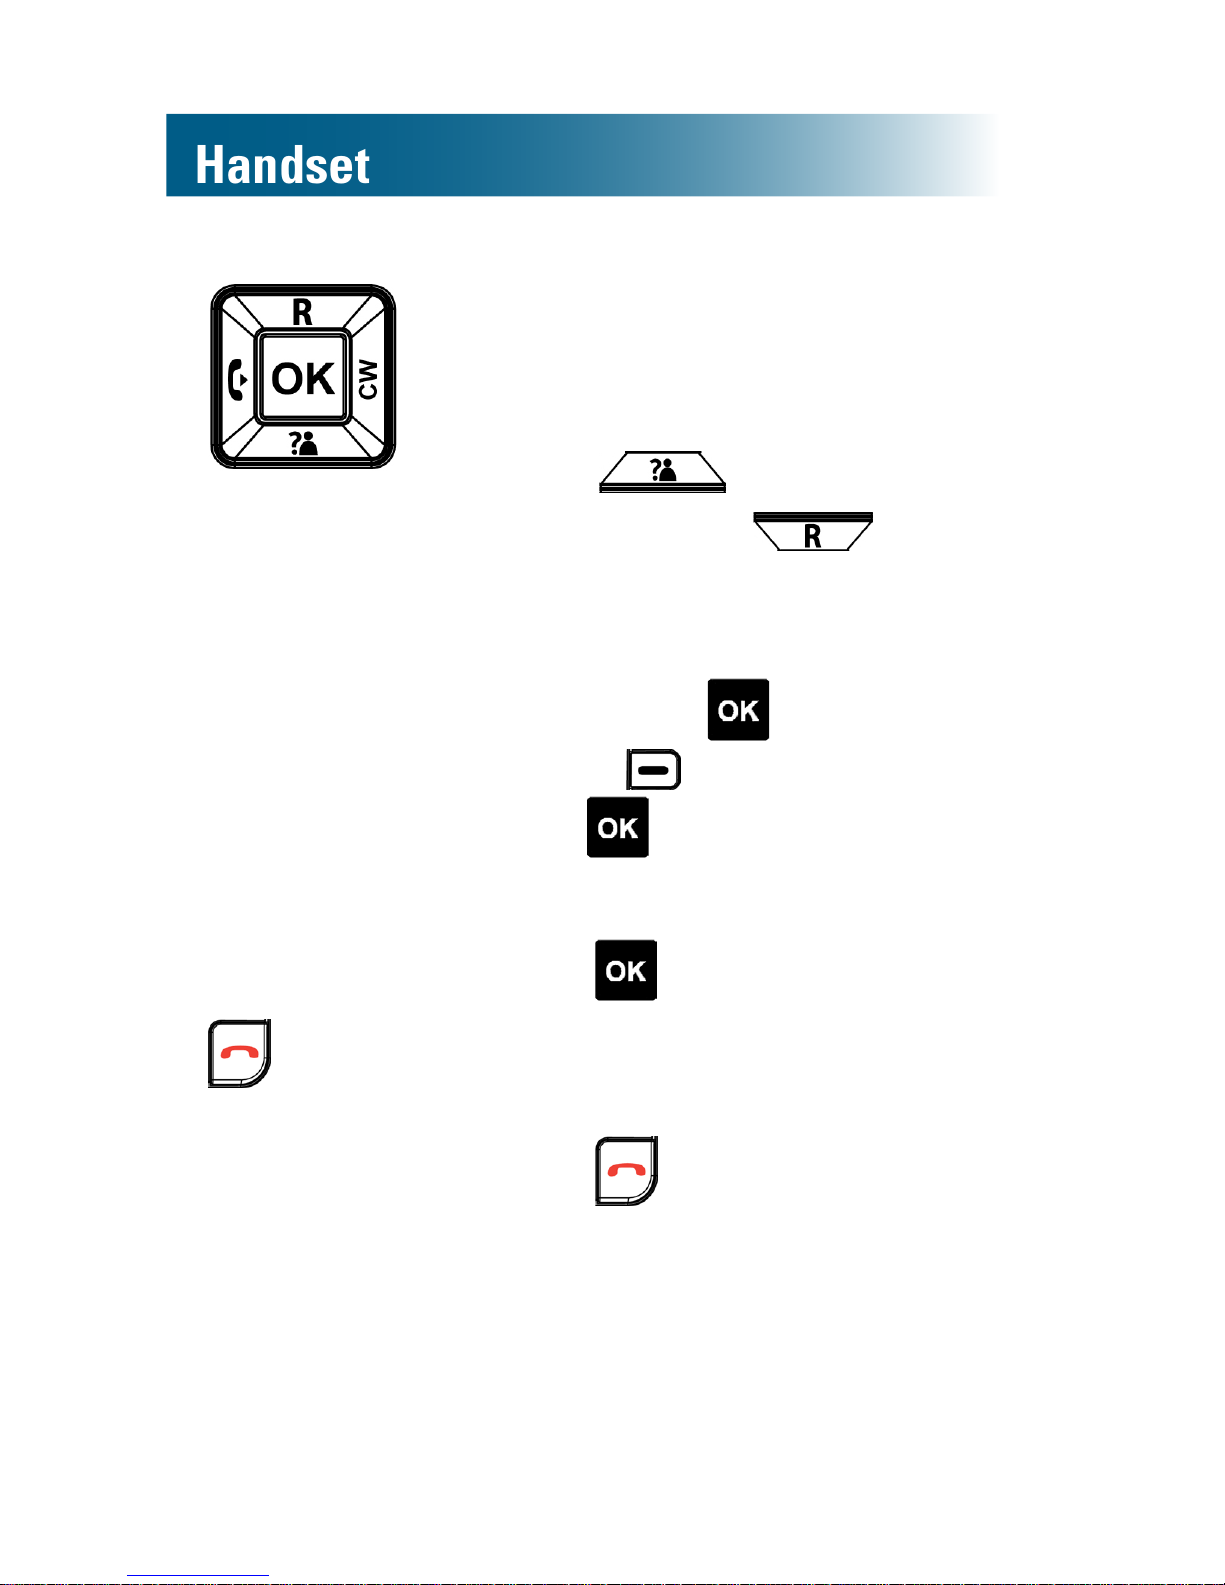
Handset
Scroll padOK key
When a menu list is present on the
screen, you can scroll through the list by
pressing the top and bottom pads on the
scroll pad.
2. Press and scroll down the
list. Now press and scroll
up the list.
You can also select a highlighted menu
item by pressing . This is the same
as pressing beneath Select.
Because is convenient, throughout
the manual we instruct you to press it to
select highlighted menu items.
3. Press .
Home key
No matter where you are in the menus,
you can always press this key to return
to the home screen.
4. Press .
The Home screen appears.
23
Handset keys
Most keys have several functions. Take a few minutes to
explore all of the keys.
This is a good time to become familiar with the keys. Later,
you can refer to these diagrams, as necessary.
A. Memory keys
G. Select
F. Dial/Answer/
Speakerphone
B. Scroll pad/OK
select/Individual keys
C.
• End Call
• Home
• Backlight
D. Add a space
or pause while
storing entries.
E. Ringer off-on/
Uppercase-
lowercase letter
entry/Add a 1
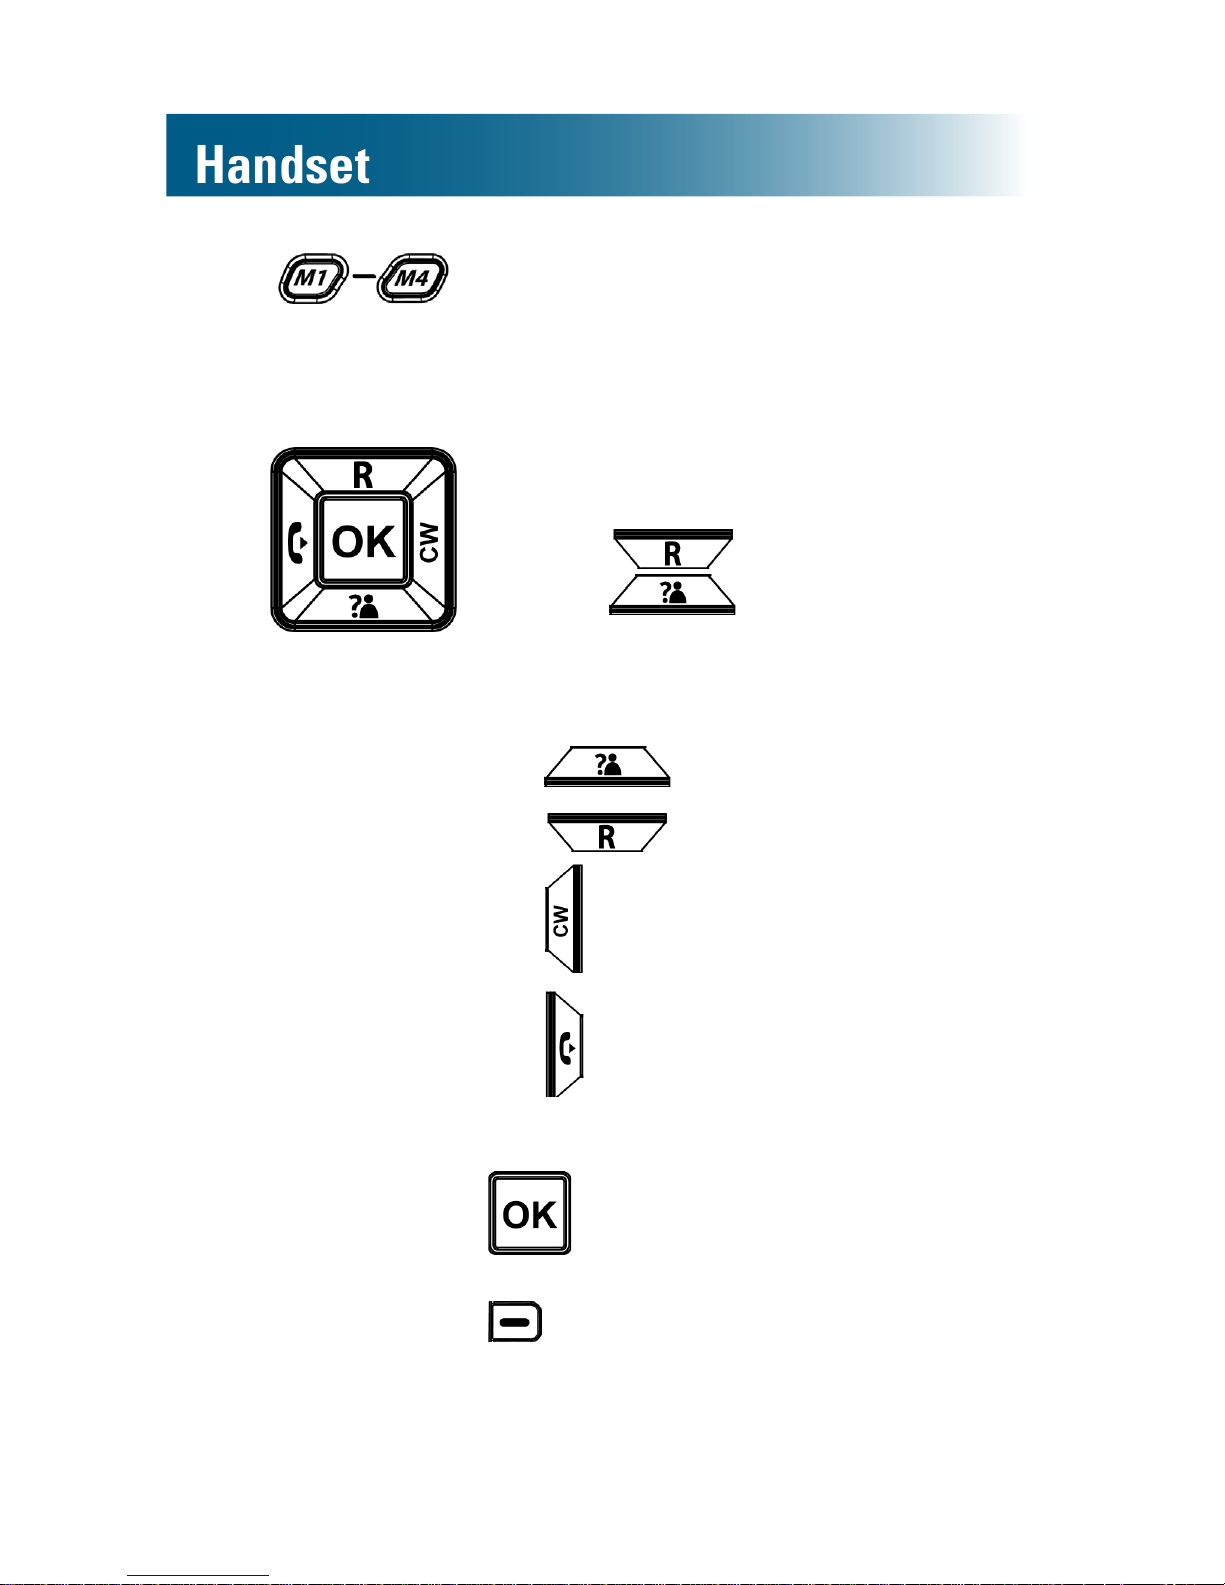
Handset
A. Memory keys For one-touch calling,
you can store one commonly called
number in each of the four memory
keys.
B.
Scroll pad
• If the screen shows a menu
list: scrolls up the list
and scrolls down the list.
• If no menu list is present on the
screen:
Enters the inbound calls list.
Enters the dialed calls list.
Toggles between callers (call
waiting service required).
Places an internal call to
another handset that is
registered to your ClearSounds
A400 base.
Selects a highlighted menu
item or the text that appears above
on the left side of the screen.
24
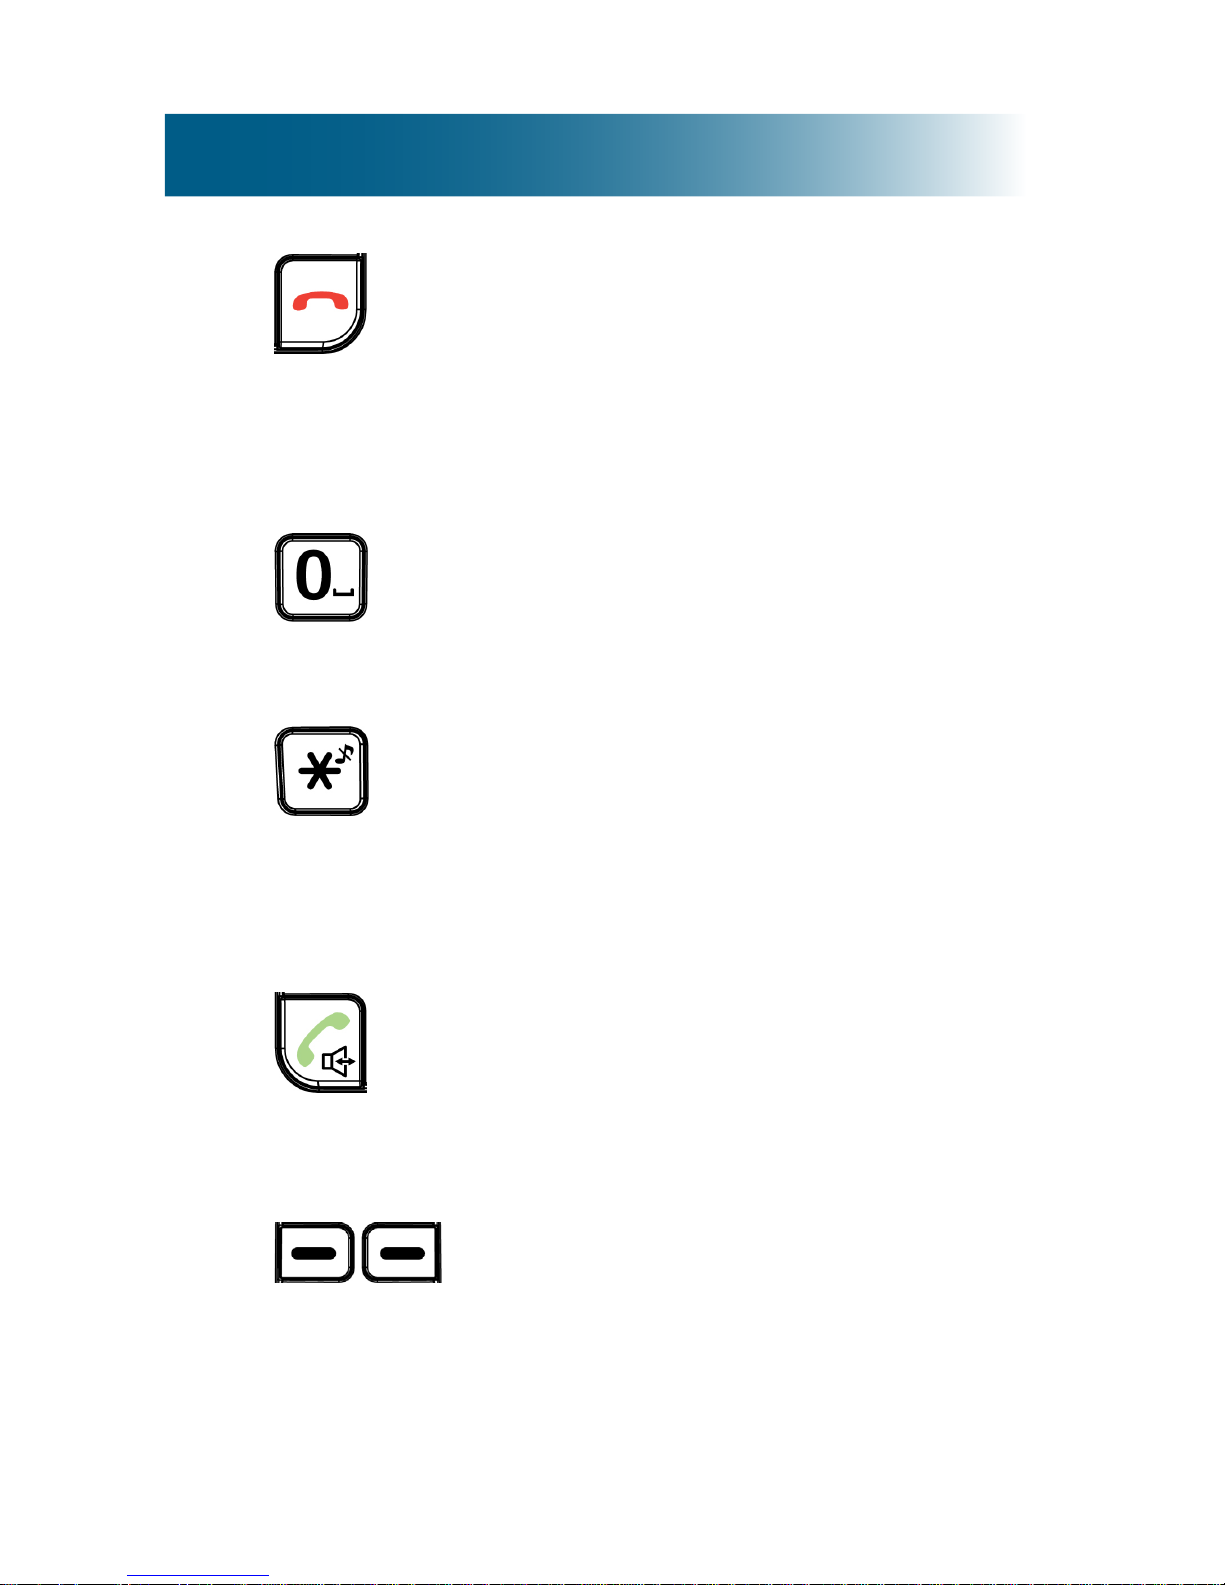
25
C. End call key Ends a call.
Home key No matter where you are
in the menu structure, returns you to
the home screen.
Backlighting key From the home
screen, turns on the backlighting.
D. Inserts a space: While storing letters.
Inserts a pause: While storing
numbers: (For further information, see
"What is a pause?" on page 52).
E. Ringer: Turns it on or off
Uppercase/lowercase letters:
While storing letters, switches
between case.
Adds a 1: While dialing from a stored
number.
F. Dial/Answer Places a call or answers
a call.
Speakerphone During a call,
activates the speakerphone for
handsfree conversation.
G. Select keys Implement the command
that appears directly above on the
screen. The commands change as
you scroll through menus.
Area settings
26
Language
The default display and prompt language on the handset
is English.
You can select from English, French, Spanish and Chinese.
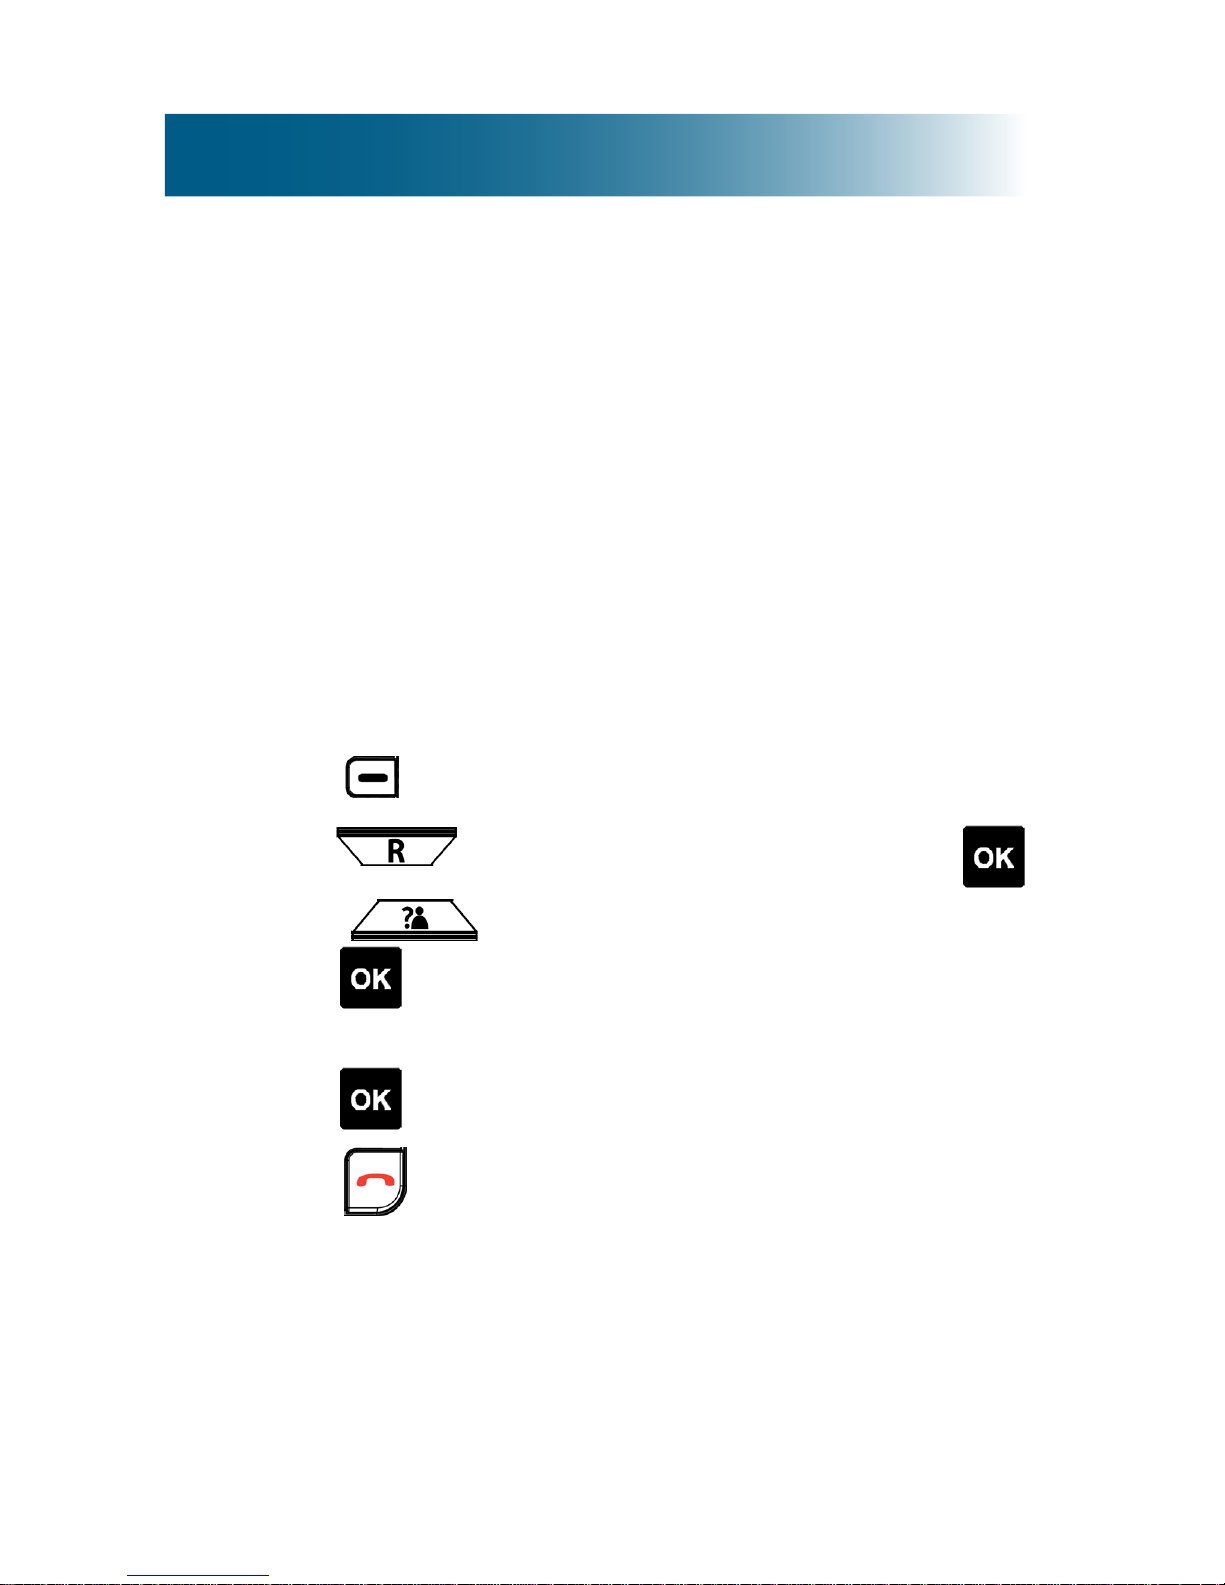
To change the handset language
1. Press beneath Menu on the screen.
2. Press and scroll to the third item in the list,
and then press .
3. Press to select the rst item in the list.
4. Press and scroll to the language of your
choice, and then press .
A conrmation tone occurs and Saved appears on
the screen.
5. Press .
Call storage: local area code
If you subscribe to caller ID service, you can quickly place
a call, without dialing, by selecting a call in the incoming
calls list and pressing .
The A400 phone stores all incoming calls with their area
codes.
27
If an area code is not required for local dialing in your
region, you might prefer that the A400 store local incoming
calls
without
the area code, so that you can call out from
the incoming call list.
If you take these steps to specify your area code, the phone
stores local calls without the area code, and it continues
to store long-distance calls with their area codes.
Note: To undo this function, take all of the same steps, but
delete
the area code in Step 4.
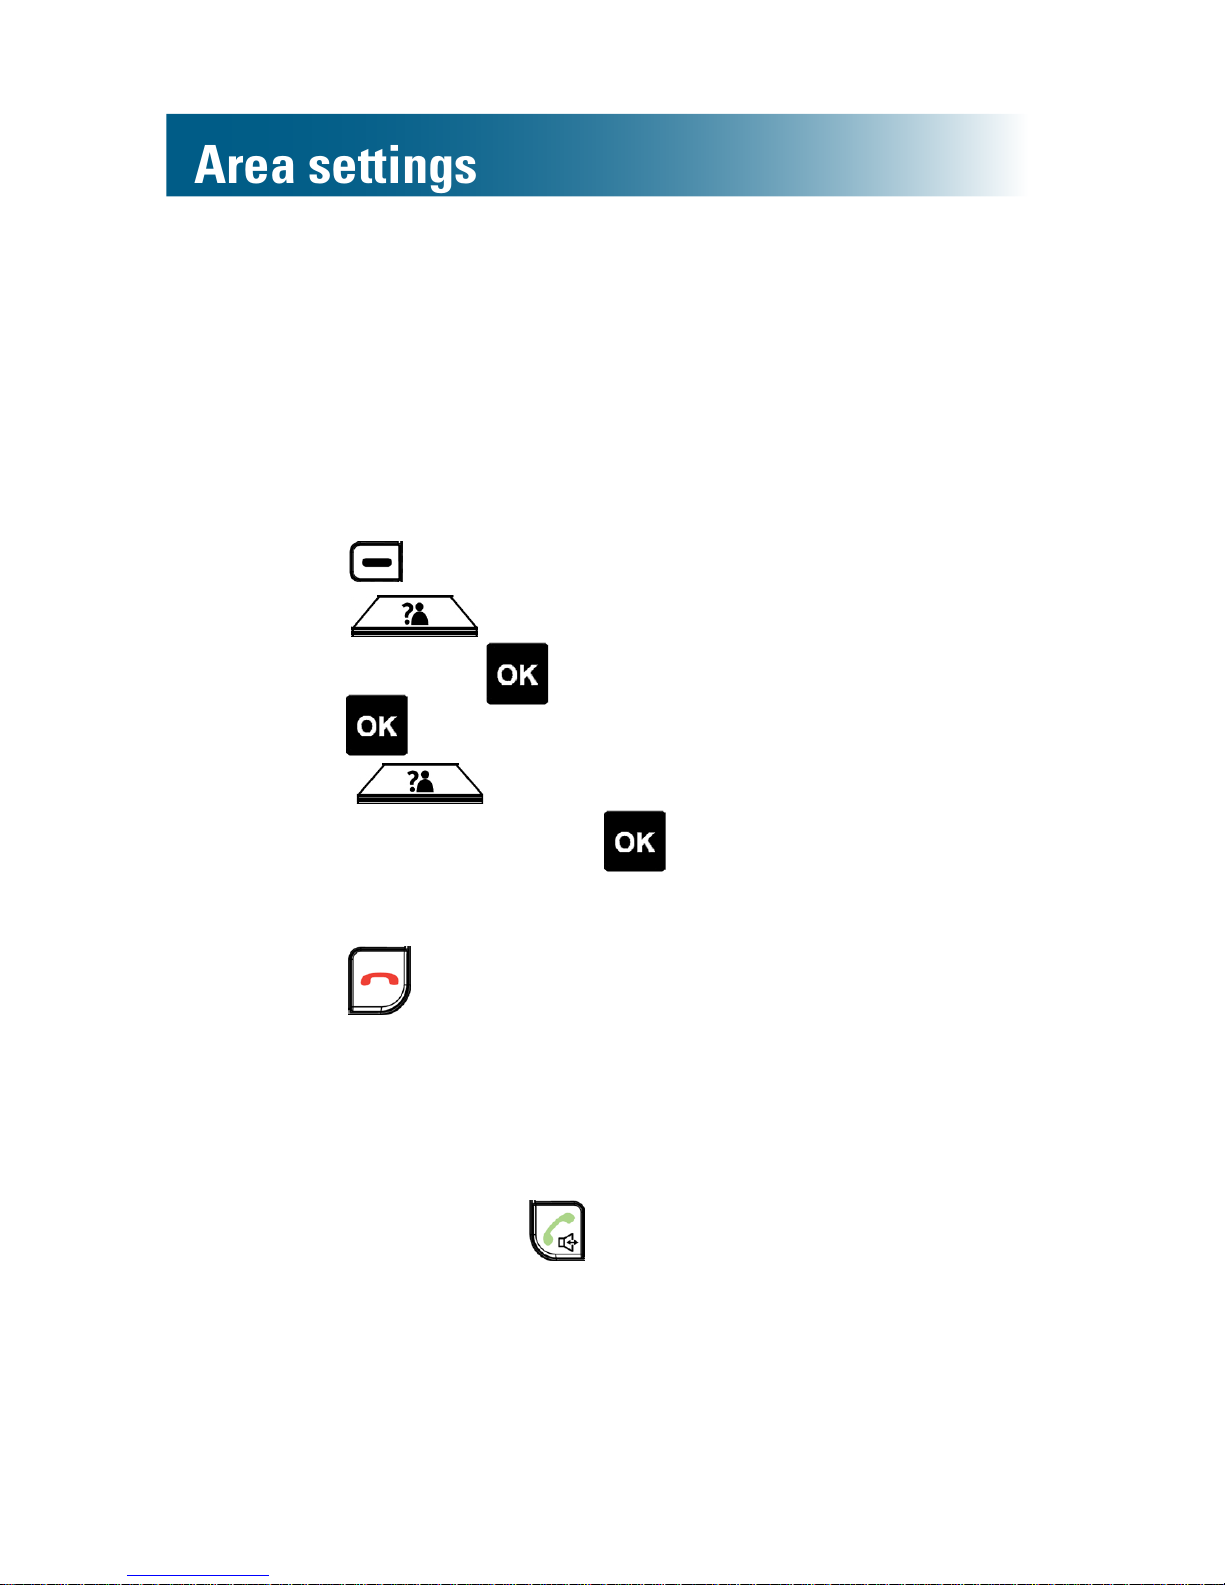
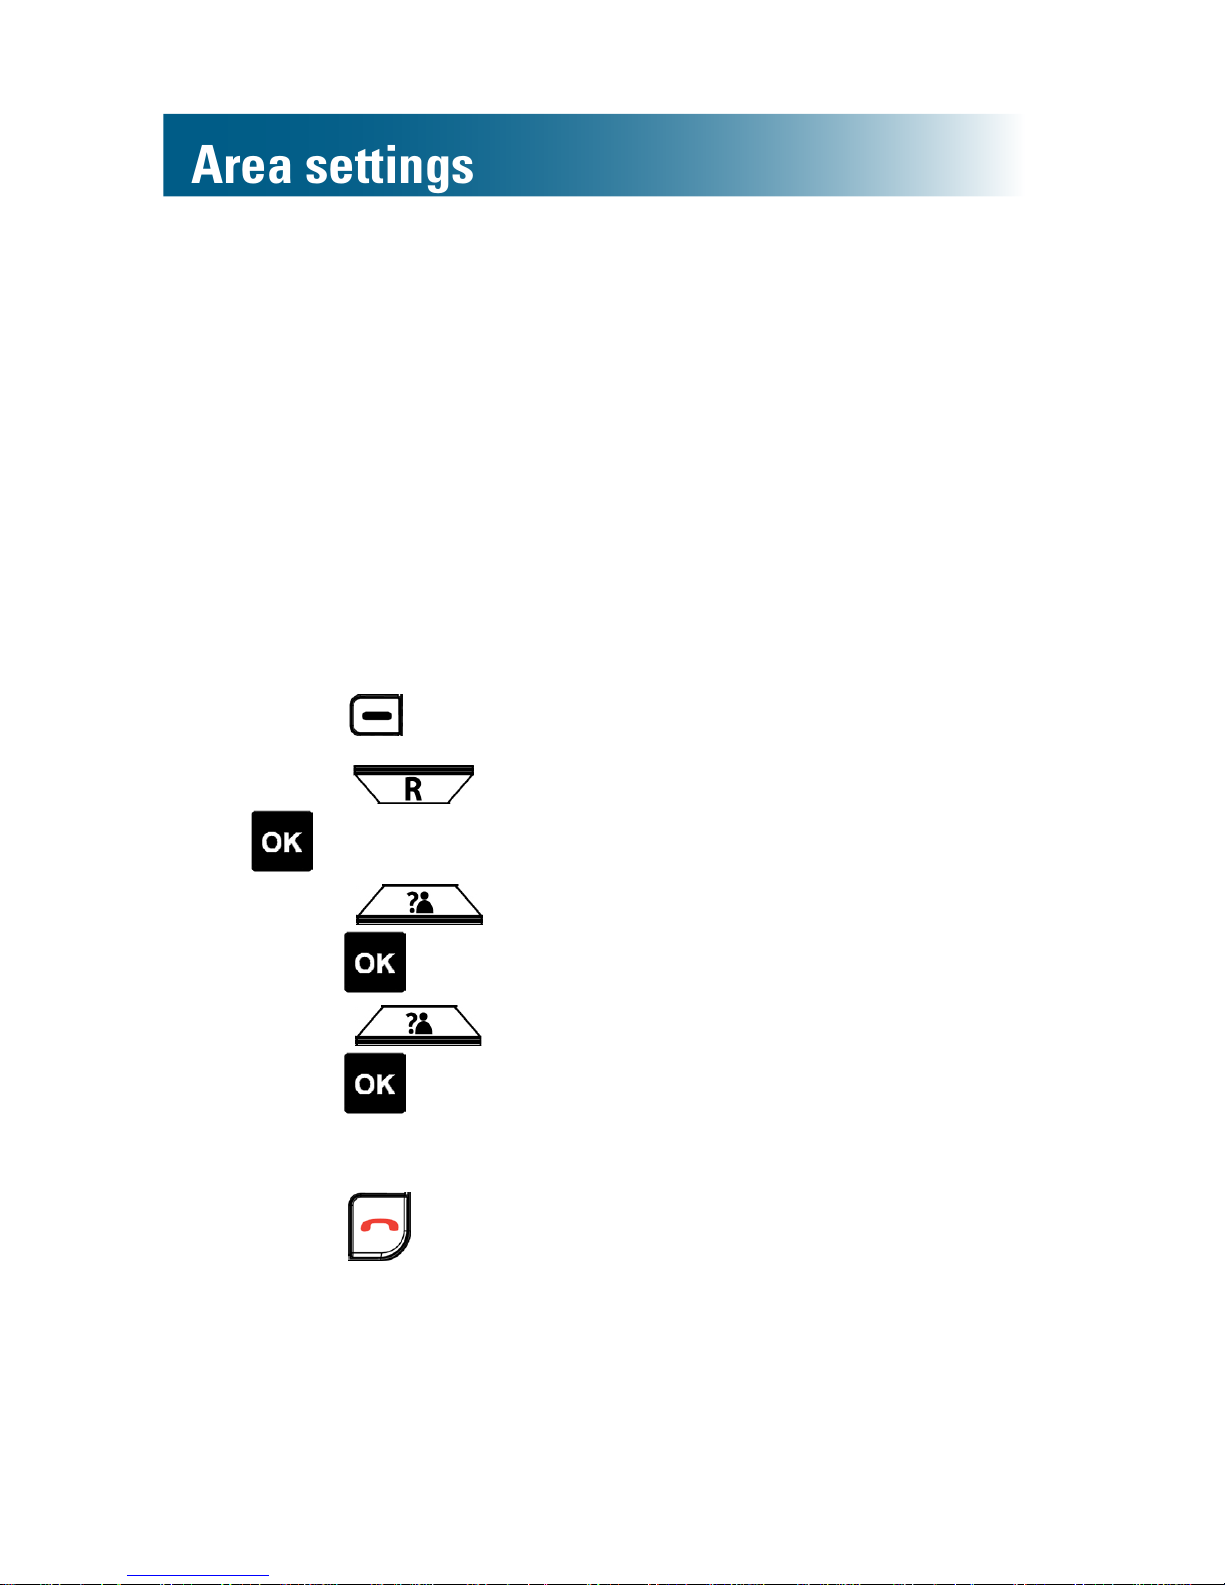
To specify local call storage without the area code
1. Press beneath Menu on the screen.
2. Press and scroll to Setting, and then press .
3. Press and scroll to Area Code, and then
press .
4. Press numeric keys to enter your area code, and then
press .
5. Press .
28
Area settings
Dialing mode
When you place a call, the phone generates numbers by
tone or by pulse. By default, your phone is set to the tone
dialing mode.
Should you need to change this setting based on your
telephone service, use Tone for touch-tone service, or use
Pulse for rotary dialing.
To set the dialing mode
1. Press beneath Menu on the screen.
2. Press and scroll to Setting, and then press
.
3. Press and scroll to Dial Mode, and then
press .
4. Press and scroll to your choice, and then
press .
A conrmation tone occurs and Saved appears on
the screen.
5. Press .
 Loading...