

Page 1
ISO 9001 : 2000 CERT IF IE D
2
PR0
C
INSTRUCTION
MANUAL
Printer
Page 2

Contents
Intended Use
Safety Precautions
Intended Use
Model CPR02 is a data printer designed to receive weighing data from
1
2
a connected weighing instrument and to print it on plain paper
(roll width: 57.5 mm). Text and data are printed with up to 24 characters per line.
Installation
Operation
Printing the Data of Connected Weighing Instrument
Statistical Evaluation of the Data
Settings
Maintenance
Specifications
2
3
4
4
8
14
16
This data printer is equipped with a real-time clock. After the printer has been
configured according to the required settings, it is suitable for use in legal
metrology.
In addition to recording individual weighing data, the data printer can generate
a statistical evaluationof weighing data. All values transferred from
an on-line weighing instrument are stored.
The following can be computed/printed out:
– Number of weighing operations
– Mean value
– Variation coefficient
– C umulative
– Standard deviation
– Minimum value/weight
– Maximum value/weight
– Difference between the maximum
a nd minimum value/weight
Data is transferred either automatically or manually by pressing a key.
1
Page 3
Safety Precautions
When cleaning the data printer, make sure that no liquid enters the printer
housing: use only a moist cloth to wipe down the housing.
Installation
Equipment Supplied
The following components are supplied:
– Interface cable for connecting the printer
to a weighing instrument
– Black ink ribbon cassette (is installed)
– Paper roll
– Power Supply Adapter
– You cannot thread the paper roll until the printer has been
turned on.
Installing the Ink Ribbon Cassette
§ To install the ink ribbon cassette, refer to “Maintenance”
Page No..15
Inserting the Paper Roll
§ Insert the paper roll as described in “Maintenance”
Page No...14
Setting the Date and Time
§ For instructions on setting the date and time,
please refer to “Settings” on Page No....
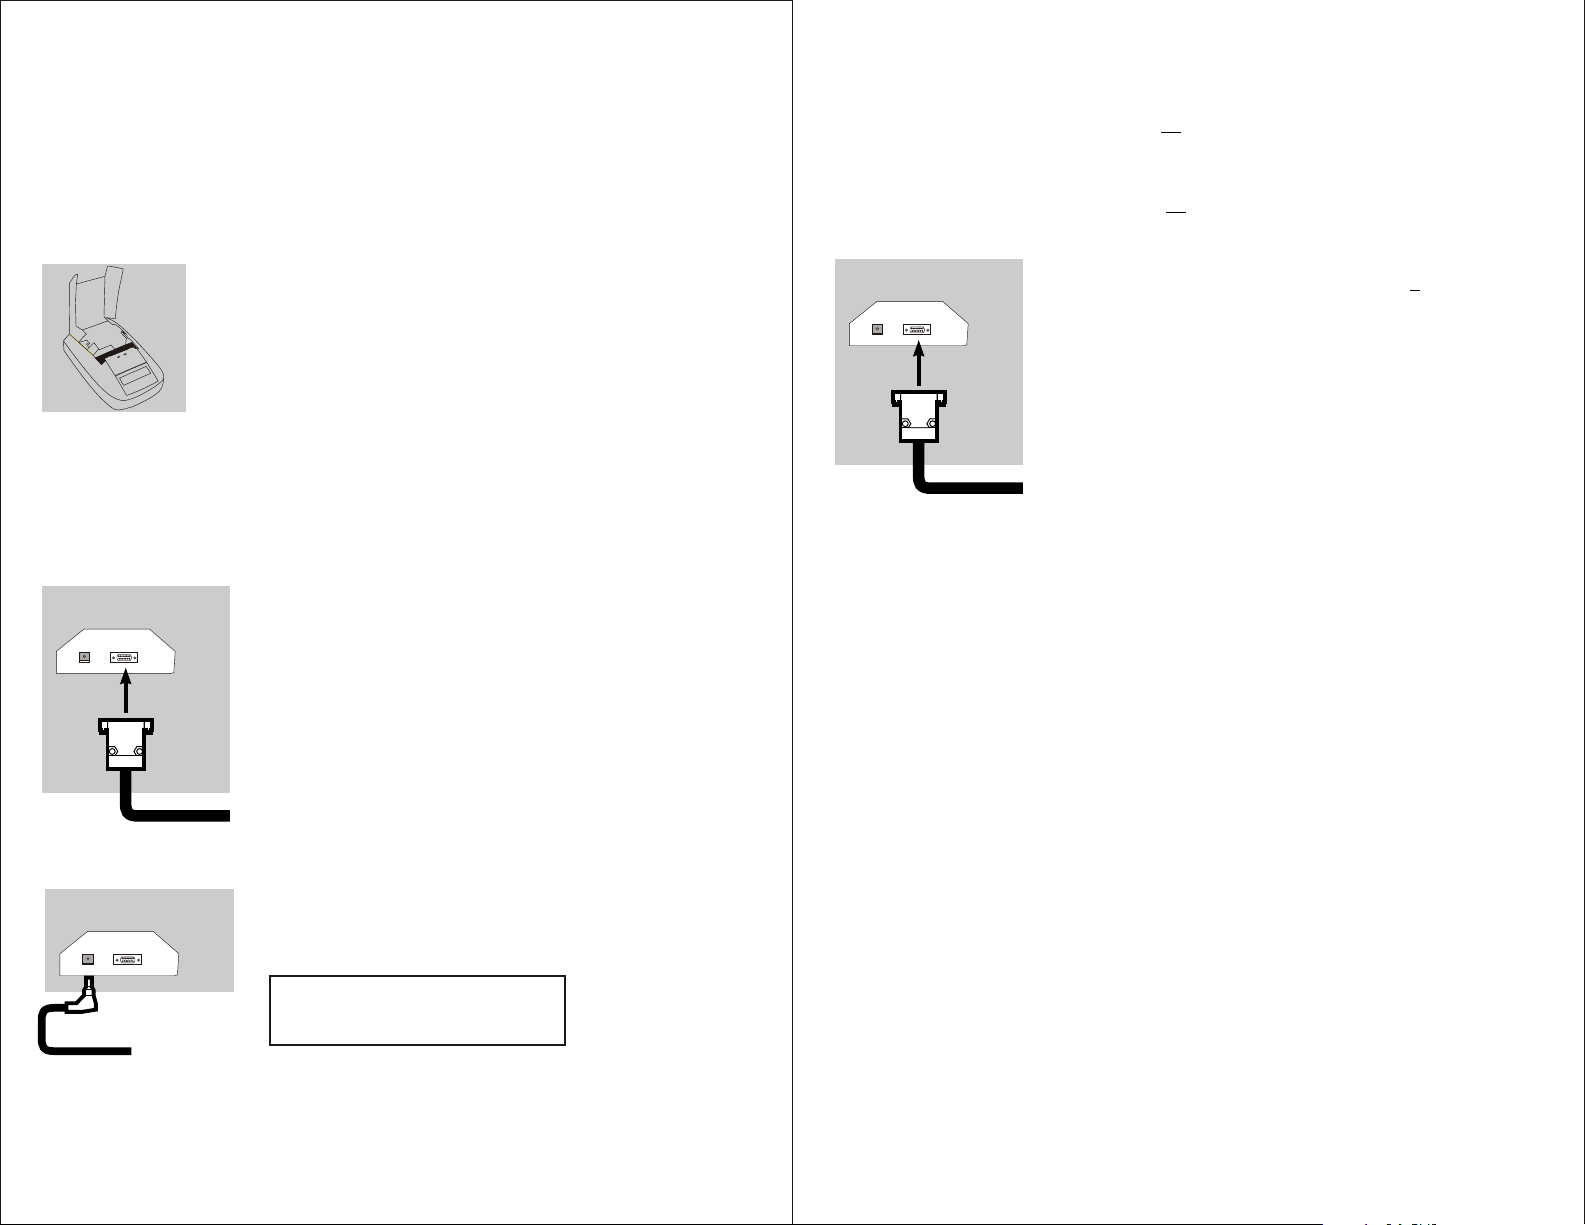
§ Plug the original company DC adapter into an electrical
outlet
§ Insert the plug into the jack on the right of the
printer’s rear panel
$ Connect the printer and the weighing instrument
by following the steps mentioned in the previous section
8
Connecting the Data Printer to a Weighing Instrument
§ Connect the interface cable to the printer and the
weighing instrument you are using.
Turning On the Weighing Instrument and the Printer
§ To power the weighing instrument, plug in the DC
adapter/power supply
§ Turn on the weighing instrument
> To Power the Printer, Plug in the DC Adapter / Power Supply.
> Printer will print the following Data with Current Date & Time.
CITIZEN SCALE, MUMBAI - 097.
STATISTIC PRINTER
3-JAN-2008 19:42:59
2
Operations :
The data printer has 6 function keys for operation:
1 LF : Line Feed : Press the LF key to advance the paper by one blank line.
2 N /`N:Numbering Function (ON/OFF) : This is only possible if the numbering function
(-p4-) in the menu “Interface Settings for the Data Printer” has been activated.
3 CN : Clear Number : This key resets the numbering counter
4 STAT : Statistical Evaluation : To enter in the stat mode. .
5 Date : Date : Print the Date and Time.
6 Print : Print : the values or reads them into the statistics memory and
prints the data of the connected weighing instrument
.
3
Page 4

Printing the Data of the
Connected Weighing Instrument
$ If necessary, print required blank lines (line feed):
Press the key several times,
Numbering Each Value
All individual values printed will be numbered if you set
the “Statistics Applications” menu as follows:
– Numbering function = 1 (
(Factory setting = 1)
-p4-)
123456789012345678901234
12-AUG-2008 10:25:38
123456789012345678901234
01: + 123.4 g
$ To print the date and time, press the key
> The printout will be as shown on the left
§ To print data, press the key
$ To reset the numbering function, if necessary, press the
key
$ To turn off the numbering function, press the key
PRINT
Statistical Evaluation of the Data
The printer’s built-in statistics program can process all
values that are computed or weighed and transferred from
an on-line weighing instrument.
The number of values read into the statistics memory is also
displayed.
To print the statistics, press the key. Once the
data has been printed out, the statistics memory will be
Cleared.
Configuring the Data Printer for Statistical Evaluation
Any of the following statistical values can be configured in
the “Statistics Applications” menu so that it will be printed
or not printed:
– Number of weighing operations n (-s3- )
– Mean value x¯ (-s4- )
– Variation coefficient s
– Sum of the individual values/weights
– Standard deviation s (
– Minimum value/weight min (-s8- )
– Maximum value/weight max (-s9- )
––Difference between the minimum
and the maximum value/weight diff (Date
Set this to 1 if date is required at the
end of statistics readings
n
x
srel
rel
Sx
Σx (-s7- )
s
min
max
diff
date
-s5- )
(-s6- )
-s 10)
(s3)
(s4)
(s5)
(s6)
(s7)
(s8)
(s9)
(s10)
(s11)
The symbol shown on the top right side will be displayed
You can deactivate the numbering function during
subsequent operation of the printer by pressing the
key
This is a very convenient feature for the statistical
evaluation of a series of weights, as you can consecutively
place your samples on the weighing pan without having
to remove them.
4 5
Page 5

Data Transfer and Statistical Evaluation
in the Manual Mode
Required Printer Configuration
You must set the following printer configuration
in the “Statistics Applications” menu:
– Data transfer manual = 0 (-p5-).
Recording and Evaluating Data
§ Press the key to clear the printer memory prior
to initial data transfer
> Any previous values remaining will be evaluated first,
then you will obtain a printout of the statistics.
The statistics will be deleted.
§ Place the first sample on the weighing pan
§ Print should come from Weighing Scale
> The value will be printed, if the printer has been
configured accordingly
> The count of the transferred values will be displayed
123456789012345678901234
01: + 123.6 g
02: + 117.8 g
03: + 119.1 g
123456789012345678901234
n 12
x 99.8 g
s 3.55 g
srel 3.57 %
x 1203.4 g
min 96.0 g
max 103.2 g
Diff 7.2 g
12-AUG-2008 16:02:11
Recording and Evaluating Data
§ Press the key to clear the statistics memory prior to
initial data transfer
> The value will be printed out
§ To record consecutive weighing operations, follow the
steps mentioned above. Then:
§ Press the key to obtain a printout of the statistics
> The values, as shown on the left, are automatically
computed and printed out
> Once the data has been printed out, the statistics memory
will be cleared
123456789012345678901234
01: + 123.6 g
02: + 117.8 g
03: + 119.1 g
§ Remove the sample from the weighing pan
§ Place the next sample on the weighing pan and
press print button key.
6 7
Page 6

Settings :
Date:
How to enter into date and time menu?
Press button for 5 sec at stand by mode or Press button for
2 sec when printer is switched on.
Then printer will enter into setting mode of date.
Then with the help of and , the value will increase and
decrease respectively.
After pressing the button the cursor will move to month.
Then with the help of and , the value will increase and
decrease respectively.
After pressing the button the cursor will move to year.
Then with the help of and , the value will increase and
decrease respectively.
After pressing the button the cursor will move to time (hour).
Then with the help of and , the value will increase and
decrease respectively.
Data Menu:
How to enter into Data Menu?
Press button for 5 sec at stand by mode or Press button
PRINT
for 2 sec when printer is switched on.
Then printer will enter into setting mode of Data menu.
Then with the help of and , the value will increase and
decrease respectively from “Pass code” to “-C2-”.
To set the Pass code:
After pressing the button the cursor will display “----“.
Then with the help of and ,the value will increase and
decrease respectively from “01” to “99, the first two digits will be selected.
After pressing the button the cursor will display “XX--“.
Then with the help of and ,the value will increase and
decrease respectively from “01” to “99”, the next two digits will be selected.
NOTE: The letter at the end of the second line indicates whether
menu settings can be changed:
C: Change: Settings can be changed
L: Locked: Settings cannot be changed
PRINT
After pressing the button the cursor will move to time (minute).
Then with the help of and , the value will increase and
decrease respectively.
To set the data of date and time press button once.
8 9
To change the settings enter the old password again.
Press button to confirm the settings or select the Pass code.
Press button to exit.
To set the Baud rate:
Press button to enter in the setting mode of Baud rate.
It gives the option for Baud Rate as
1200
2400
4800
9600
19200
Press button to select any one of them and the selected value
will show “.” sign.
EX: .9600
Page 7

Designation Display Setting option
Print VARTEXTl
-S1- PRINT
VERTEXT:
0 = no, l = yes
on statistics printout
Print VARTEXT2
-S2- PRINT
VERTEXT:
0 = no, l = yes
on statistics printout
Print number of
measurements
-S3- PRINT READ
COUNT:
0 = no, l = yes
Print mean value
-S4- PRINT MEAN
VALUE :
0 = no, l = yes
Print variation coefficient -S5- PRINT STD.
RELATIVE
0 = no, l = yes
Print sum of individual
values
-S6- PRINT
CUMMULATIVE:
0 = no, l = yes
Print standard deviation
-S7- PRINT STD.
DEVIATION
0 = no, l = yes
Print minimum value
-S8-PRINT
MINIMUM:
0 = no, l = yes
Print maximum value
-S9-PRINT
MAXIMUM:
0 = no, l = yes
Print difference between
maximum and minimum
values
-S10- PRINT
DIFFERENCE:
0 = no, l = yes
Print date/time
-S11- PRINT
DATE/TIME:
0 = no, l = yes
123456789012345678901234
Application Settings
Program Vers. 1.xx C
-----------------------TEXT1
S1:Print
TEXT2
S2:Print
S3:Print n
S4:Print
S5:Print srel
S6:Print
S7:Print S
S8:Print
S9:Print
S10:Print diff
S11:Print date
X
Sx
Min
Max
ON
ON
0FF
OFF
0FF
OFF
OFF
OFF
OFF
OFF
ON
HARD COPY OF THE STATISTICS MENU
§ To select the “Statistics Applications” menu,
- hold down the key when you start the printer;
or
- hold down the key for more than 5 seconds during printer
operation
-To print the settings, press the key
PRINT
-To exit the “Statistics Menu” , press the key.
10 11
123456789012345678901234
Interface Settings
Program Vers. 1.xx C
-----------------------Baud rate
Parity
Handshake
P1:Send CR/LF
P2:Print format
P3:Decimal-Char point
P4:Num.function ON
P5:Inverse from
P6:Print mode
P7:Date/Time
P8:Print TEXT1
P9:Print TEXT2
C1:Time format
C2:Display
1200
Odd
DTR/CTS
ON
Right
0FF
Standard
ON
OFF
OFF
24h
Time
bd
Printing a Hard Copy of the Interface Settings
§ To select the “Interface Settings for the Data Printer”
menu,
– hold down the key when you start the printer;
PRINT
or
– hold down the key for more than 5 seconds during
PRINT
printer operation.
§ To print the settings, press the key
PRINT
> You will obtain the readout shown on the left
(Example: these are the factory settings)
§ To exit the “Interface Settings for the Data Printer” menu,
press the key
Page 8

DESIGNATION DISPLAY SETTING OPTION
Passcode PASSCODE: 100--9999
Data transmission baud
rate (baud rate)
BAUD RATE: 1200,2400,4800,
9600,19200
Parity PARITY: Odd
Even
Space
None
RS-232C handshake
RS232 HANDSHAKE
MODE:
0 = hardware, 1 = software
Print using <CR, LF>
-PI- PRINT USING
CR-LF:
0 = no, 1 = yes
Print flush, right-/
left-hand margin
-P2- PRINT FLUSH
MARGIN:
0 = right, 1 = left
Print
Decimal points/commas
-P3- DECIMAL /
COMMA:
0 = decimal points, 1 =
commas
Numbering function on/off -P4- NUMBERING
FUNCTION:
0 = off, 1 = on
Inverse printing
-P5- INVERT PRINT no inverse printing,
last digit inverse,
last 2 digits inverse,
last 3 digits inverse
Manual/automatic data
transfer
-P6- TRANSFER
DATA:
0 = manual (indiv.) data
transfer
1 = automatic data transfer
Date/time when printer
starts
-P7- TIME-DATE
PRINT:
0 = no, 1 = yes
Print VARTEXT1
when printer starts
-P8- VARTEXT1
PRINT:
0 = no, 1 = yes
Print VARTEXT2
when printer starts
-P9- VARTEXT2
PRINT:
0 = no, 1 = yes
Time display
-C1-TIME DISPLAY
FORMAT
12, 24 hours
Date/time display
-C2- DISPLAY RTC 0 = date, 1 = time
12 13
Statistics Menu
How to enter into Statistics Menu?
Press button for 5 sec at stand by mode or Press button
for 2 sec when printer is switched on.
Then printer will enter into setting mode of Statistics Menu.
Then with the help of and ,the value will increase and
decrease respectively from “-S1-” to “-S11-”.
To set the Print Read Count:
After pressing the button the cursor will display previous
setting of the machine
It gives the option for Print Read Count:
0: NO
1: YES
Press button to select any one of them and the selected value
will show “.” sign.
EX: .0: NO
Page 9

Maintenance
Changing the Paper Roll
To operate your data printer, the paper rolls must have the
following specifications:
– Standard paper roll
– Wood-free paper, 60 g
– Width: 57.5 ± 0.5 mm
– Diameter: 65 mm max.
– Core diameter: 8 mm min.
§ To open the paper roll compartment, lift the cover
Remove the old roll core
$ Place a new paper roll on a flat surface
$ The beginning of the paper must be on the bottom and
facing you
Release the roll holders on both sides
To close the paper roll compartment, lower the cover
Changing the Ink Ribbon Cassette
To operate your data printer, you must use a black ink
ribbon cassette,
§ Lift the cover of the paper roll compartment
§ To remove the paper from the ink ribbon cassette,
turn the paper roll opposite to the paper feed direction
§ Press down on the right side of the cassette
> The left side of the cassette will lift up
§ Remove the cassette
§ Insert a new ink ribbon cassette from the top
> The cassette will lock into place
$ If necessary, turn the small tension wheel located
on the left in the direction of the arrow until the ribbon
is stretched taut in front of the paper
§ Using your other hand, thread the paper through the slot
underneath the ink ribbon
§ To transport the paper through the ink ribbon cassette,
press the key several times.
> The paper will be threaded into, then out of the ink ribbon
cassette
14
§ To thread the paper, refer to “Changing the Paper Roll”
§ Lower the cover of the paper roll compartment to close it
15
Page 10

Specifications
Designation Dimensions
Length
Width
Height
Weight
Operating temperature
Storage temperature
16
 Loading...